VSCode Chinese configuration+ L a T e X LaTeX LaTeX configuration
equipment
MacBook Pro (13 inch, 2018, four thunderbolt 3 ports)
Operating system: MacOS Big Sur v11.6
Demo software: Visual Studio Code v1.61.0
Download and install VSCode
get into VSCode official website download Corresponding system version file
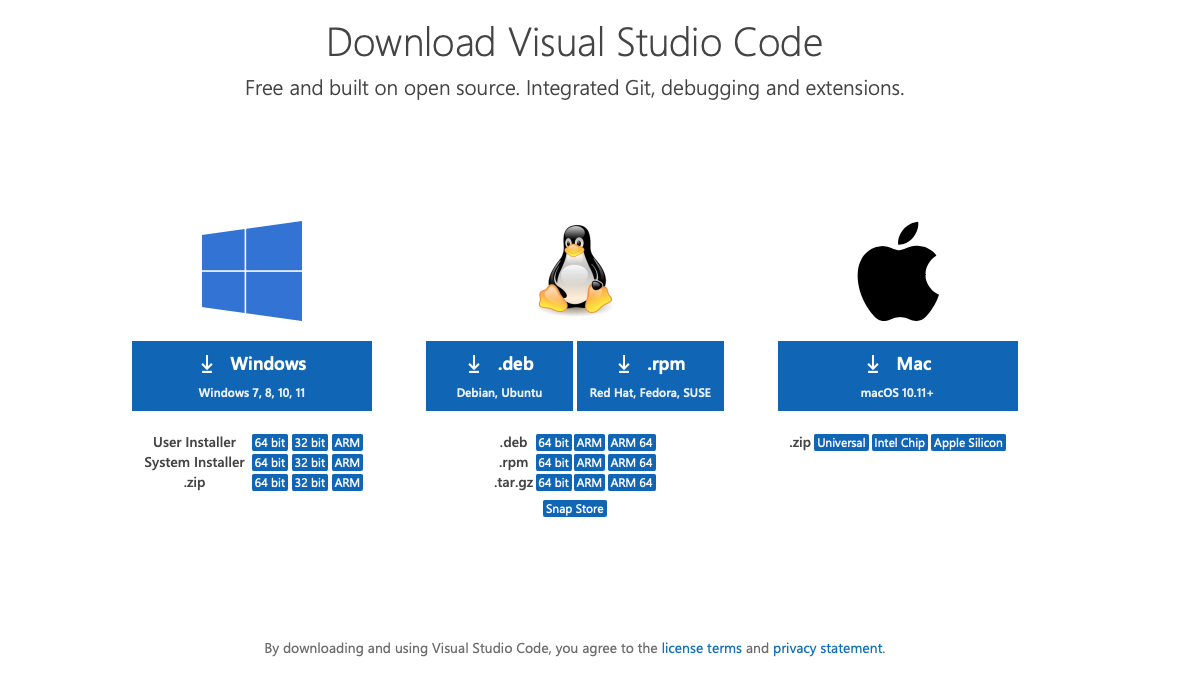
Follow the prompts to install
Configure VSCode
VSCode Chinese environment configuration
By default, the language of Visual Studio Code is English (En). We can install Chinese plug-ins for Sinicization
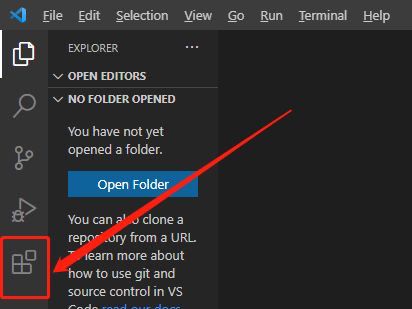
After entering the software, click the Extensions icon on the left
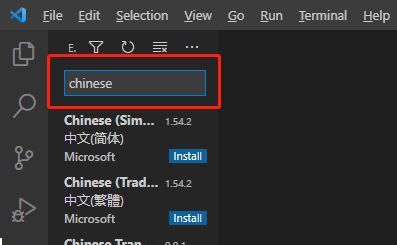
Then fill in chinese in the search box
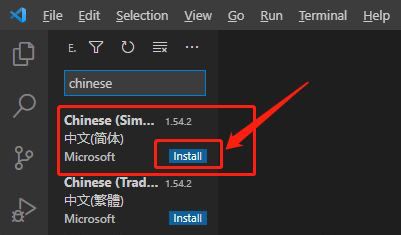
Many search results will appear at this time. We select the option with "Chinese (Simplified)" and click Install in the lower right corner to install it
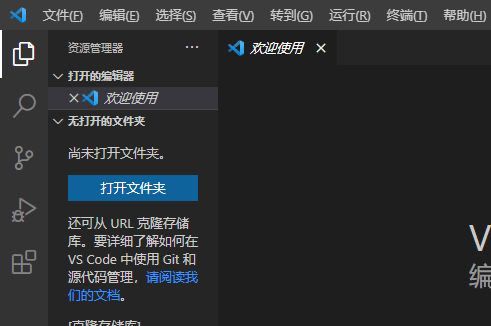
Finally, after restarting the software, you can see that the presentation language has become Chinese
Latex environment configuration
Installing the LaTeX Workshop plug-in
After entering the software, click the extension icon on the left

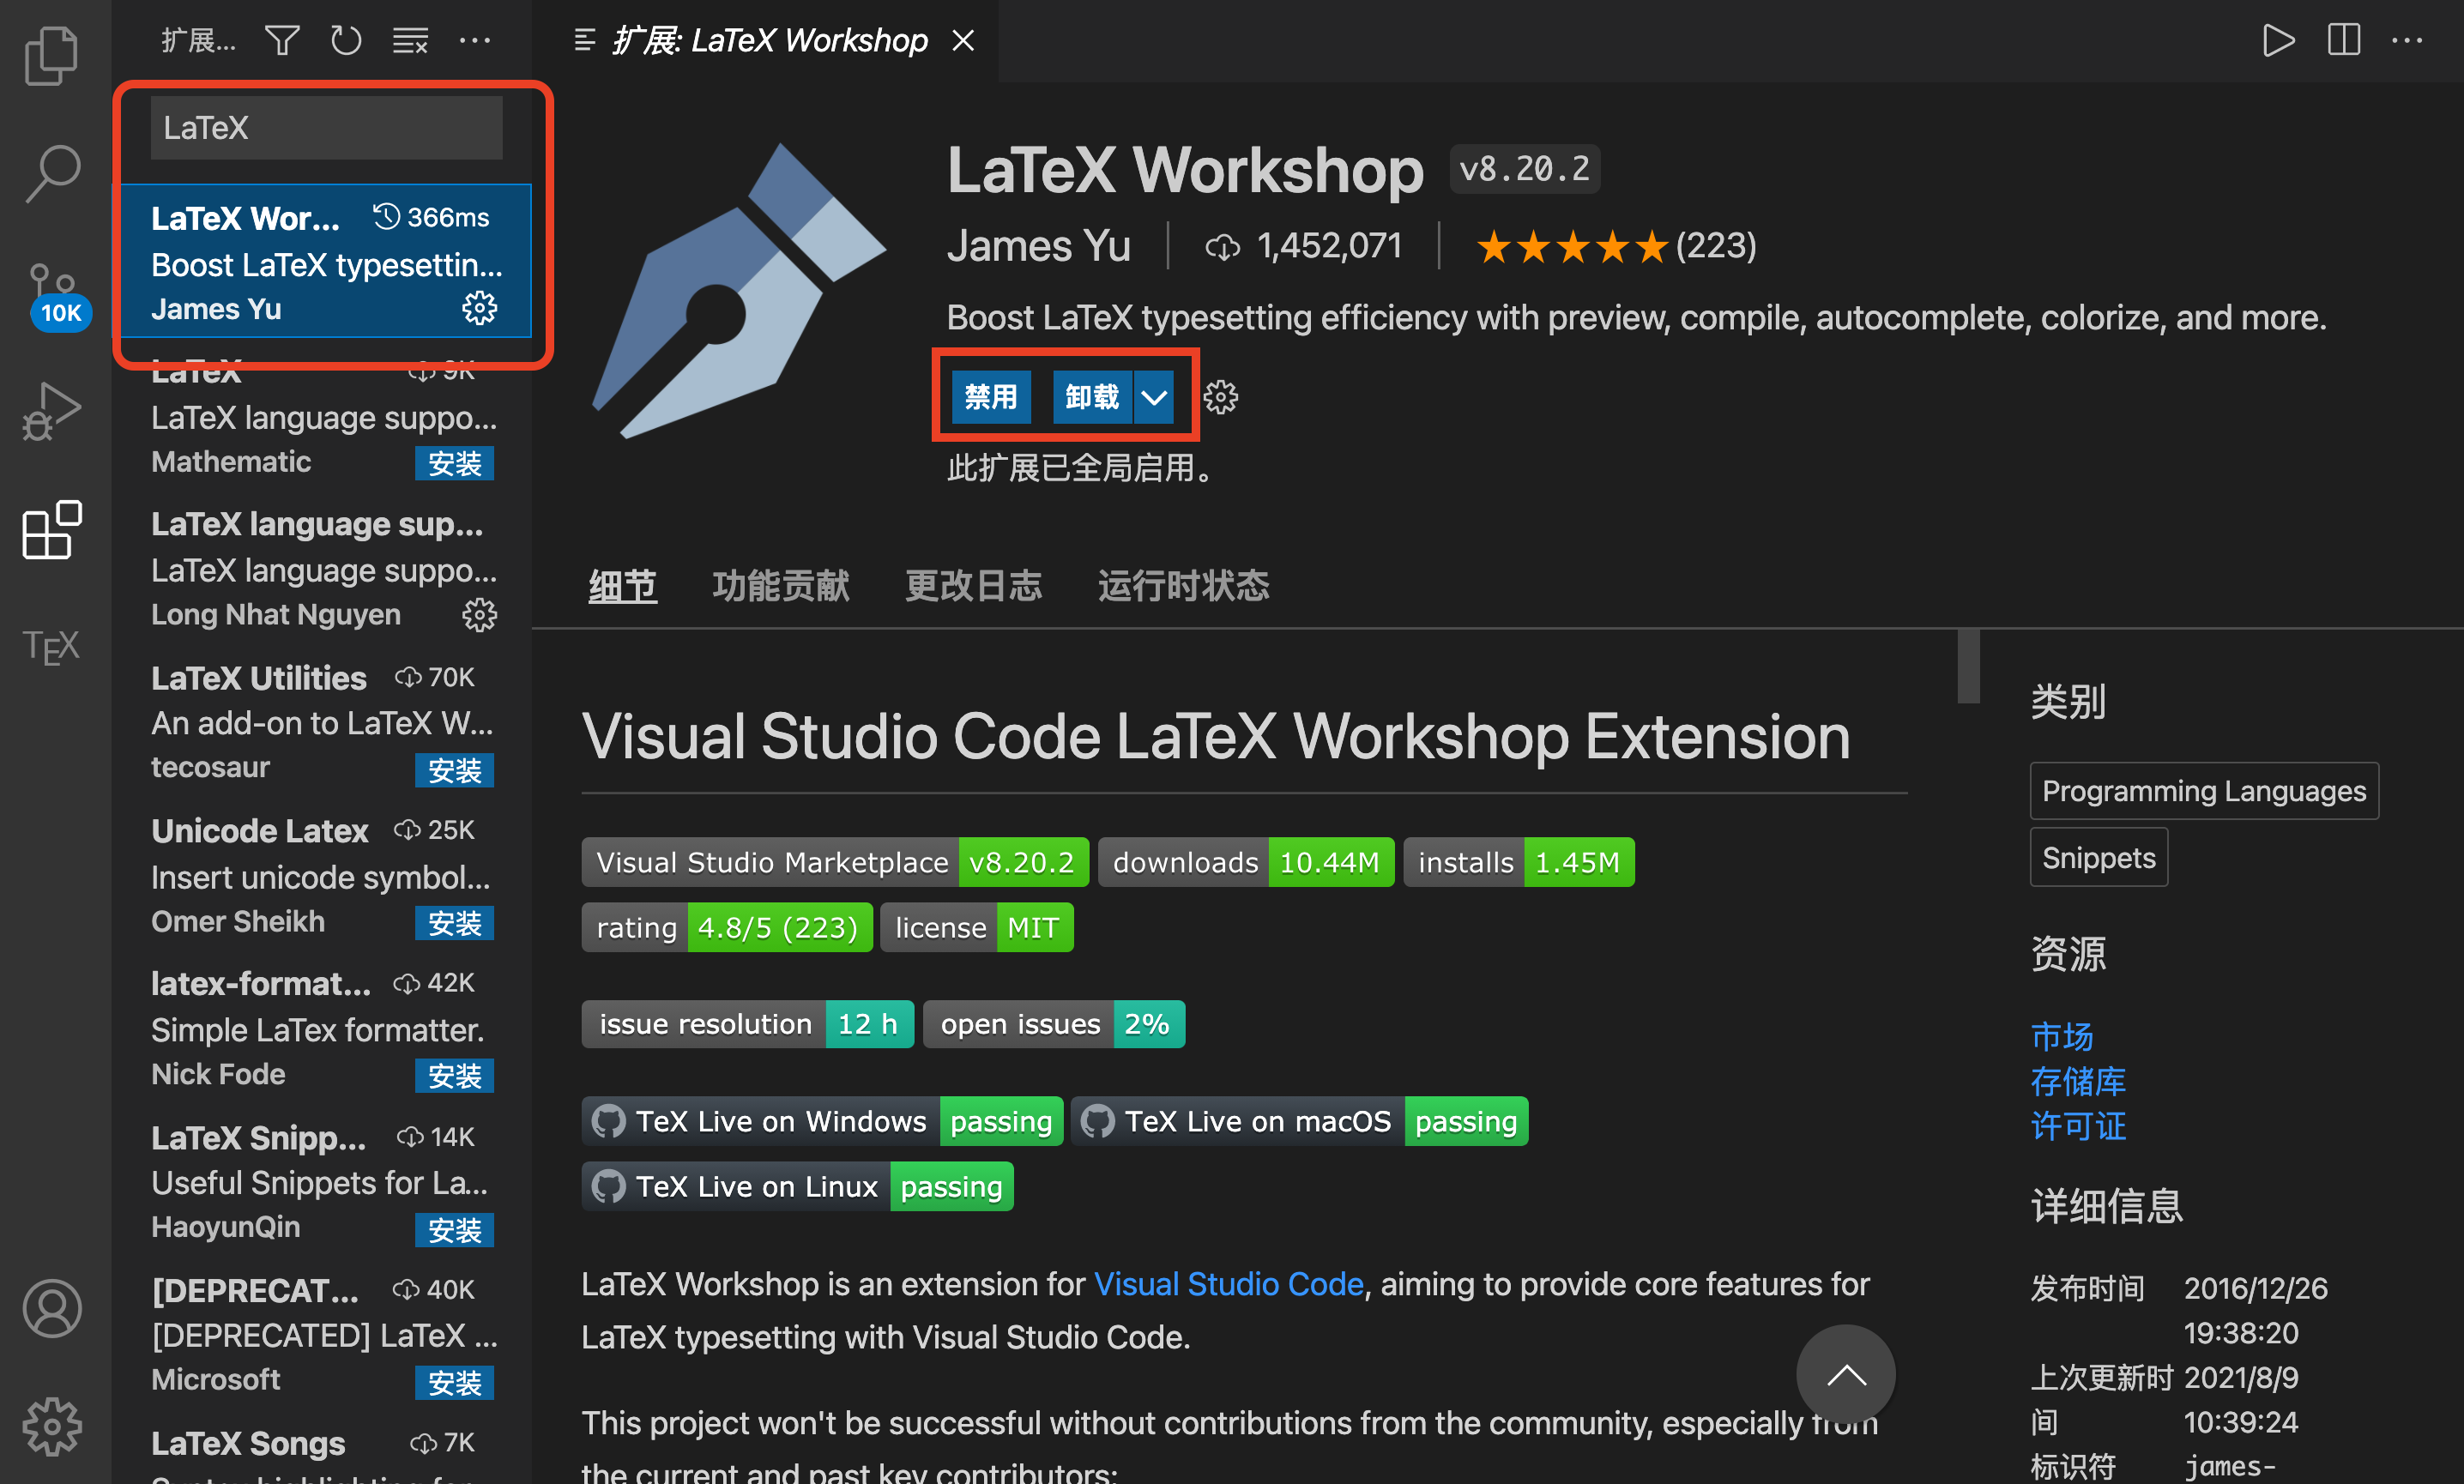
Then fill in LaTeX in the search box, and many search results will appear. We select the option of LaTeX Workshop, and click Install on the right detail page to install
Modify user setting
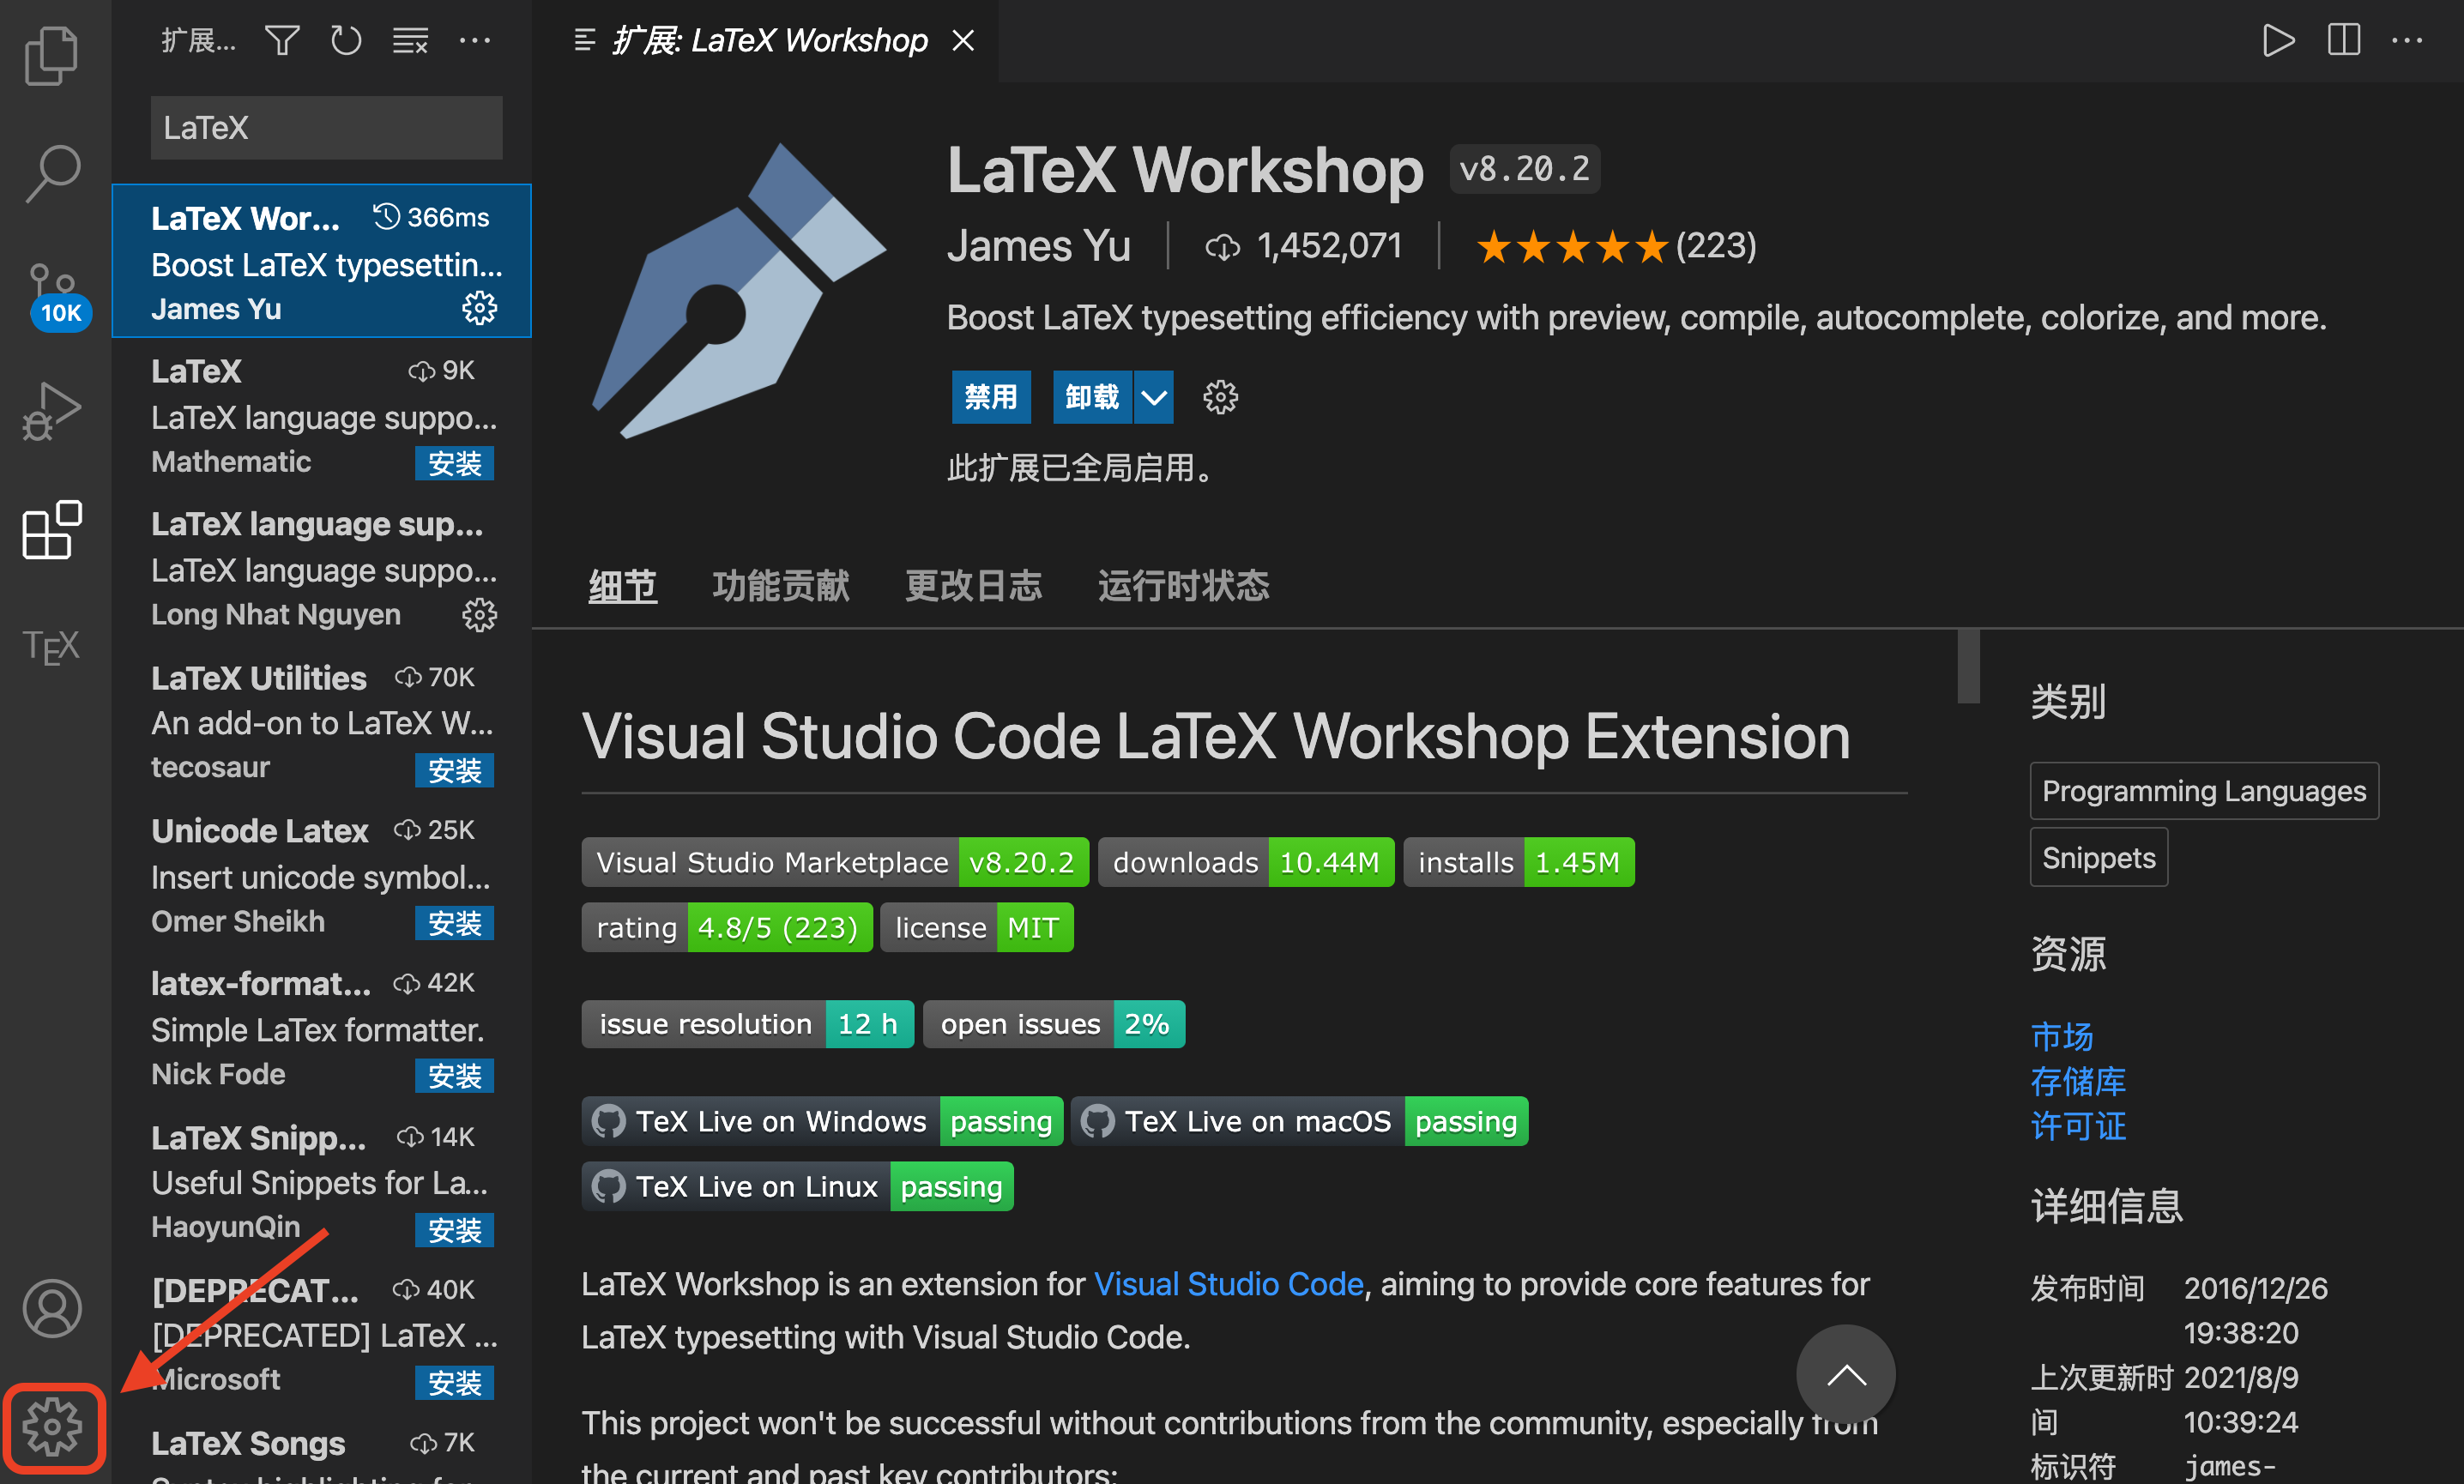
Click the management icon in the lower left corner
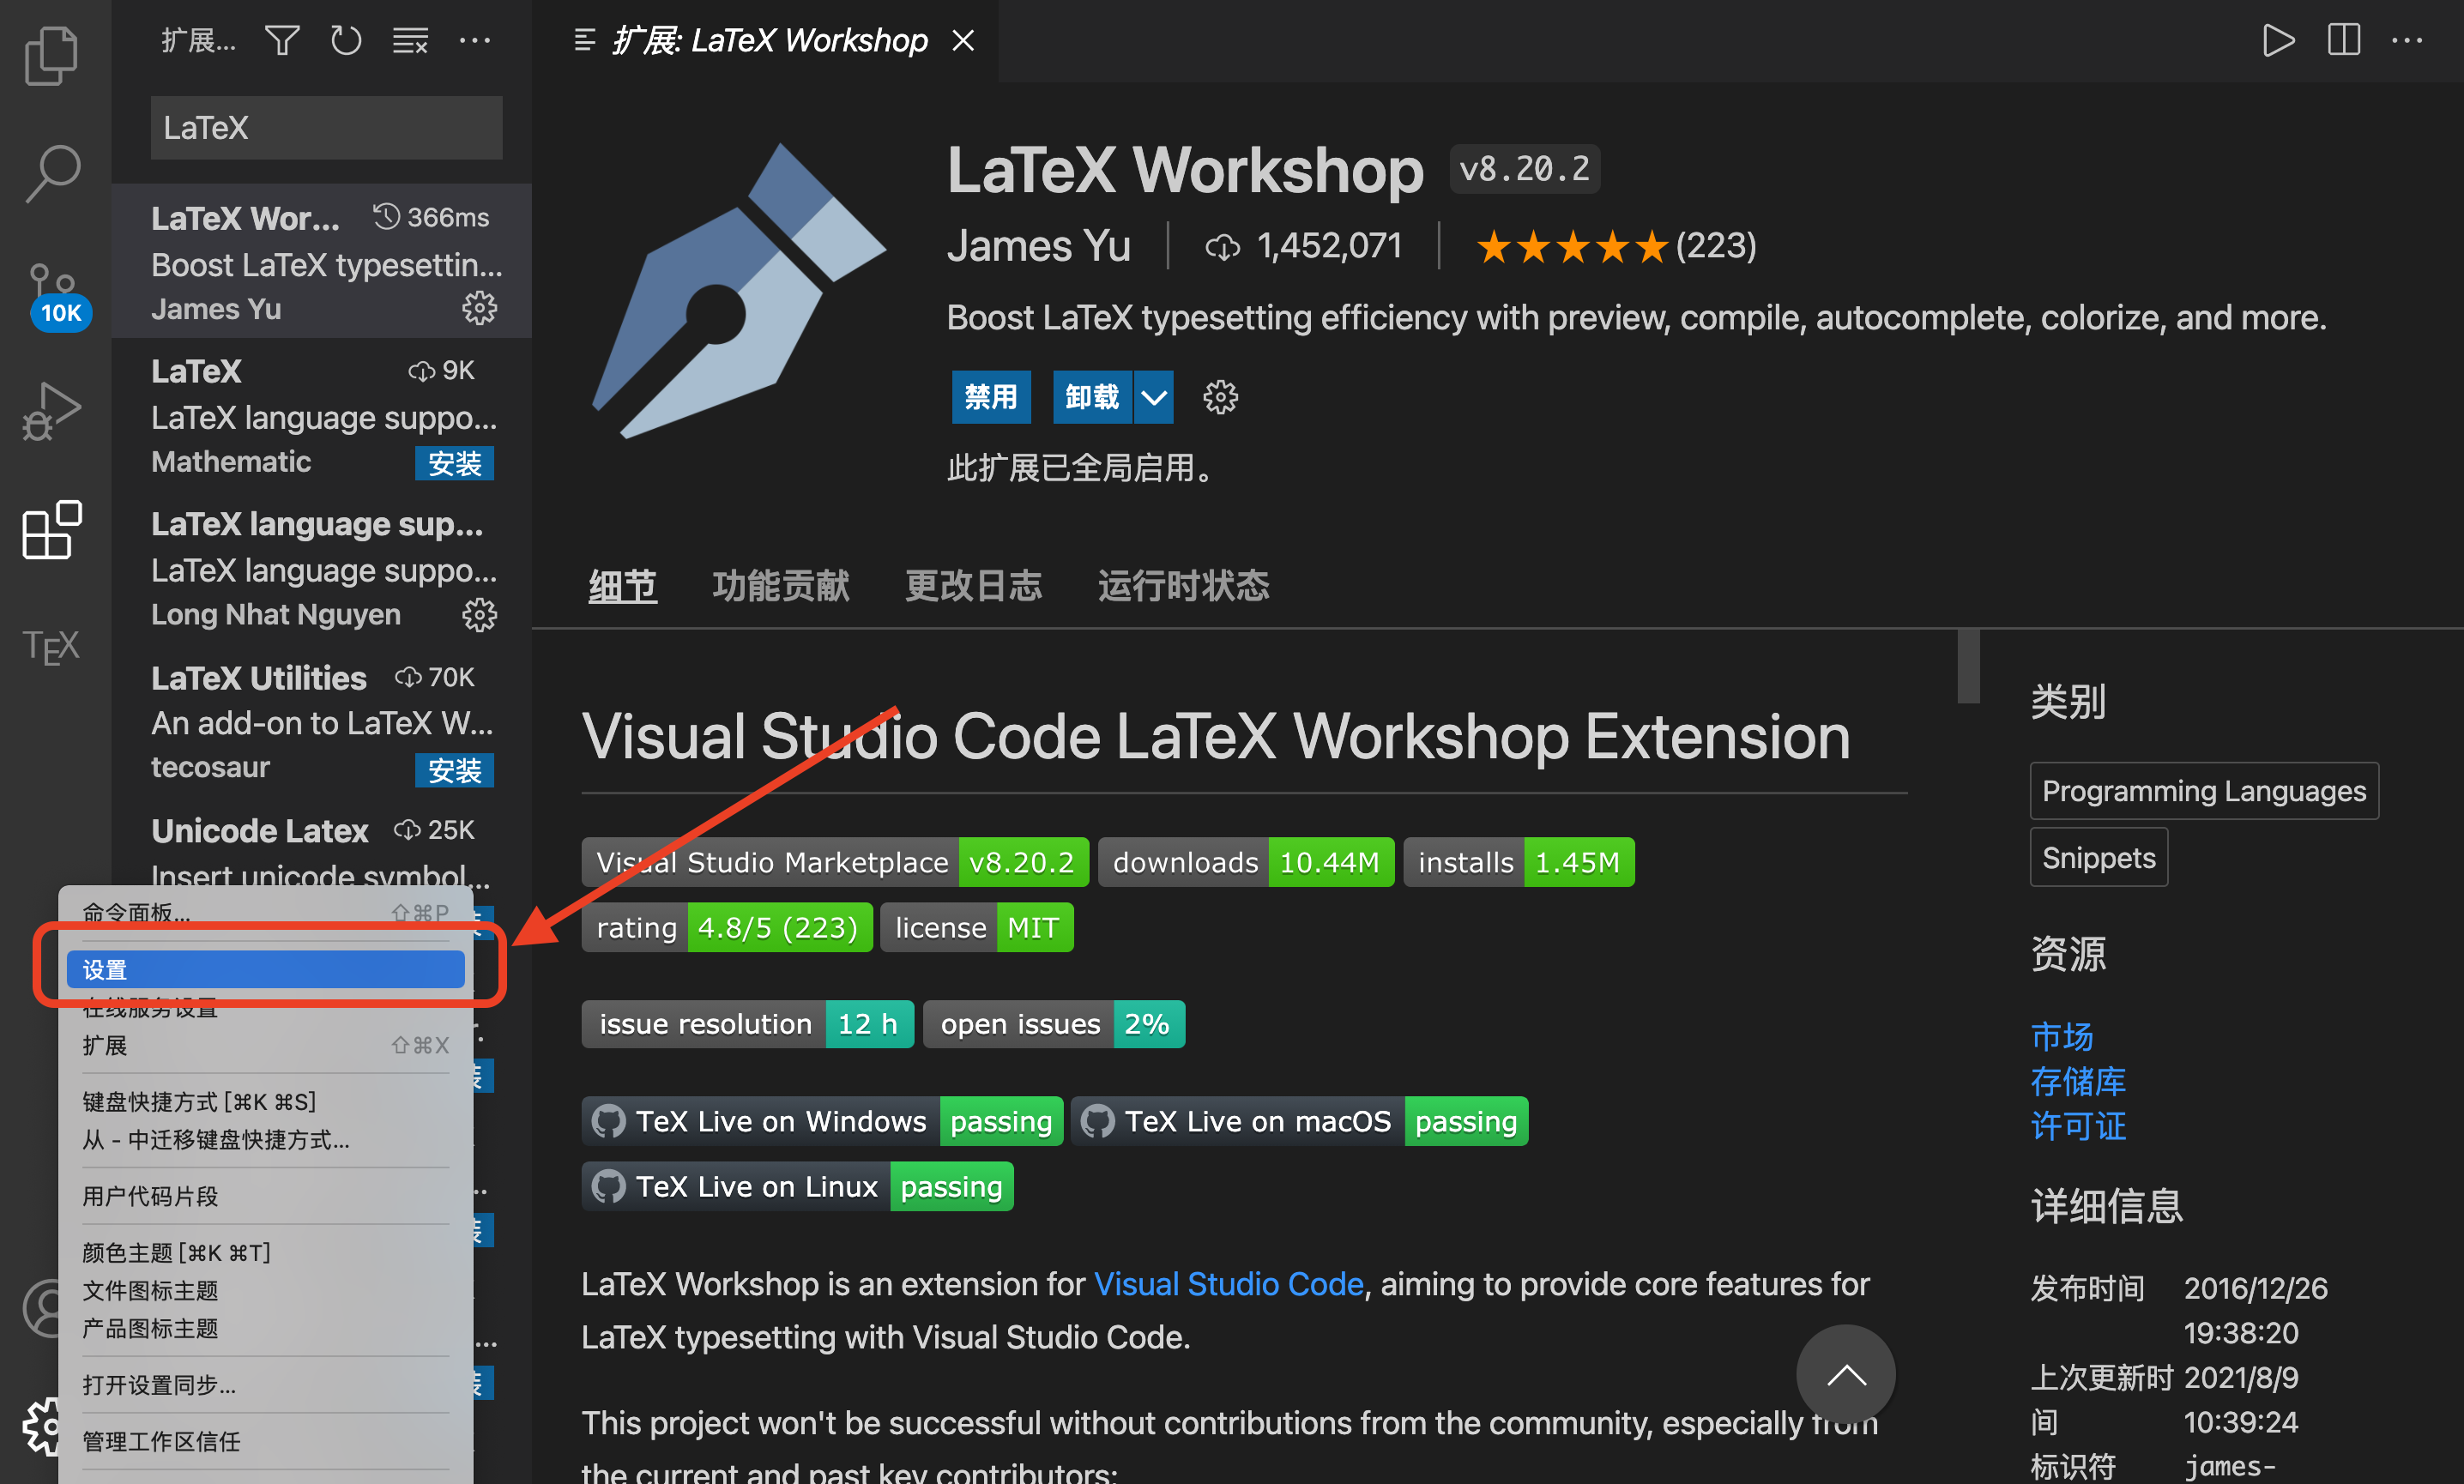
Click settings to enter user settings
A search box appears at the top of the main interface. Enter setting in the search box and click Edit options in settings.json below
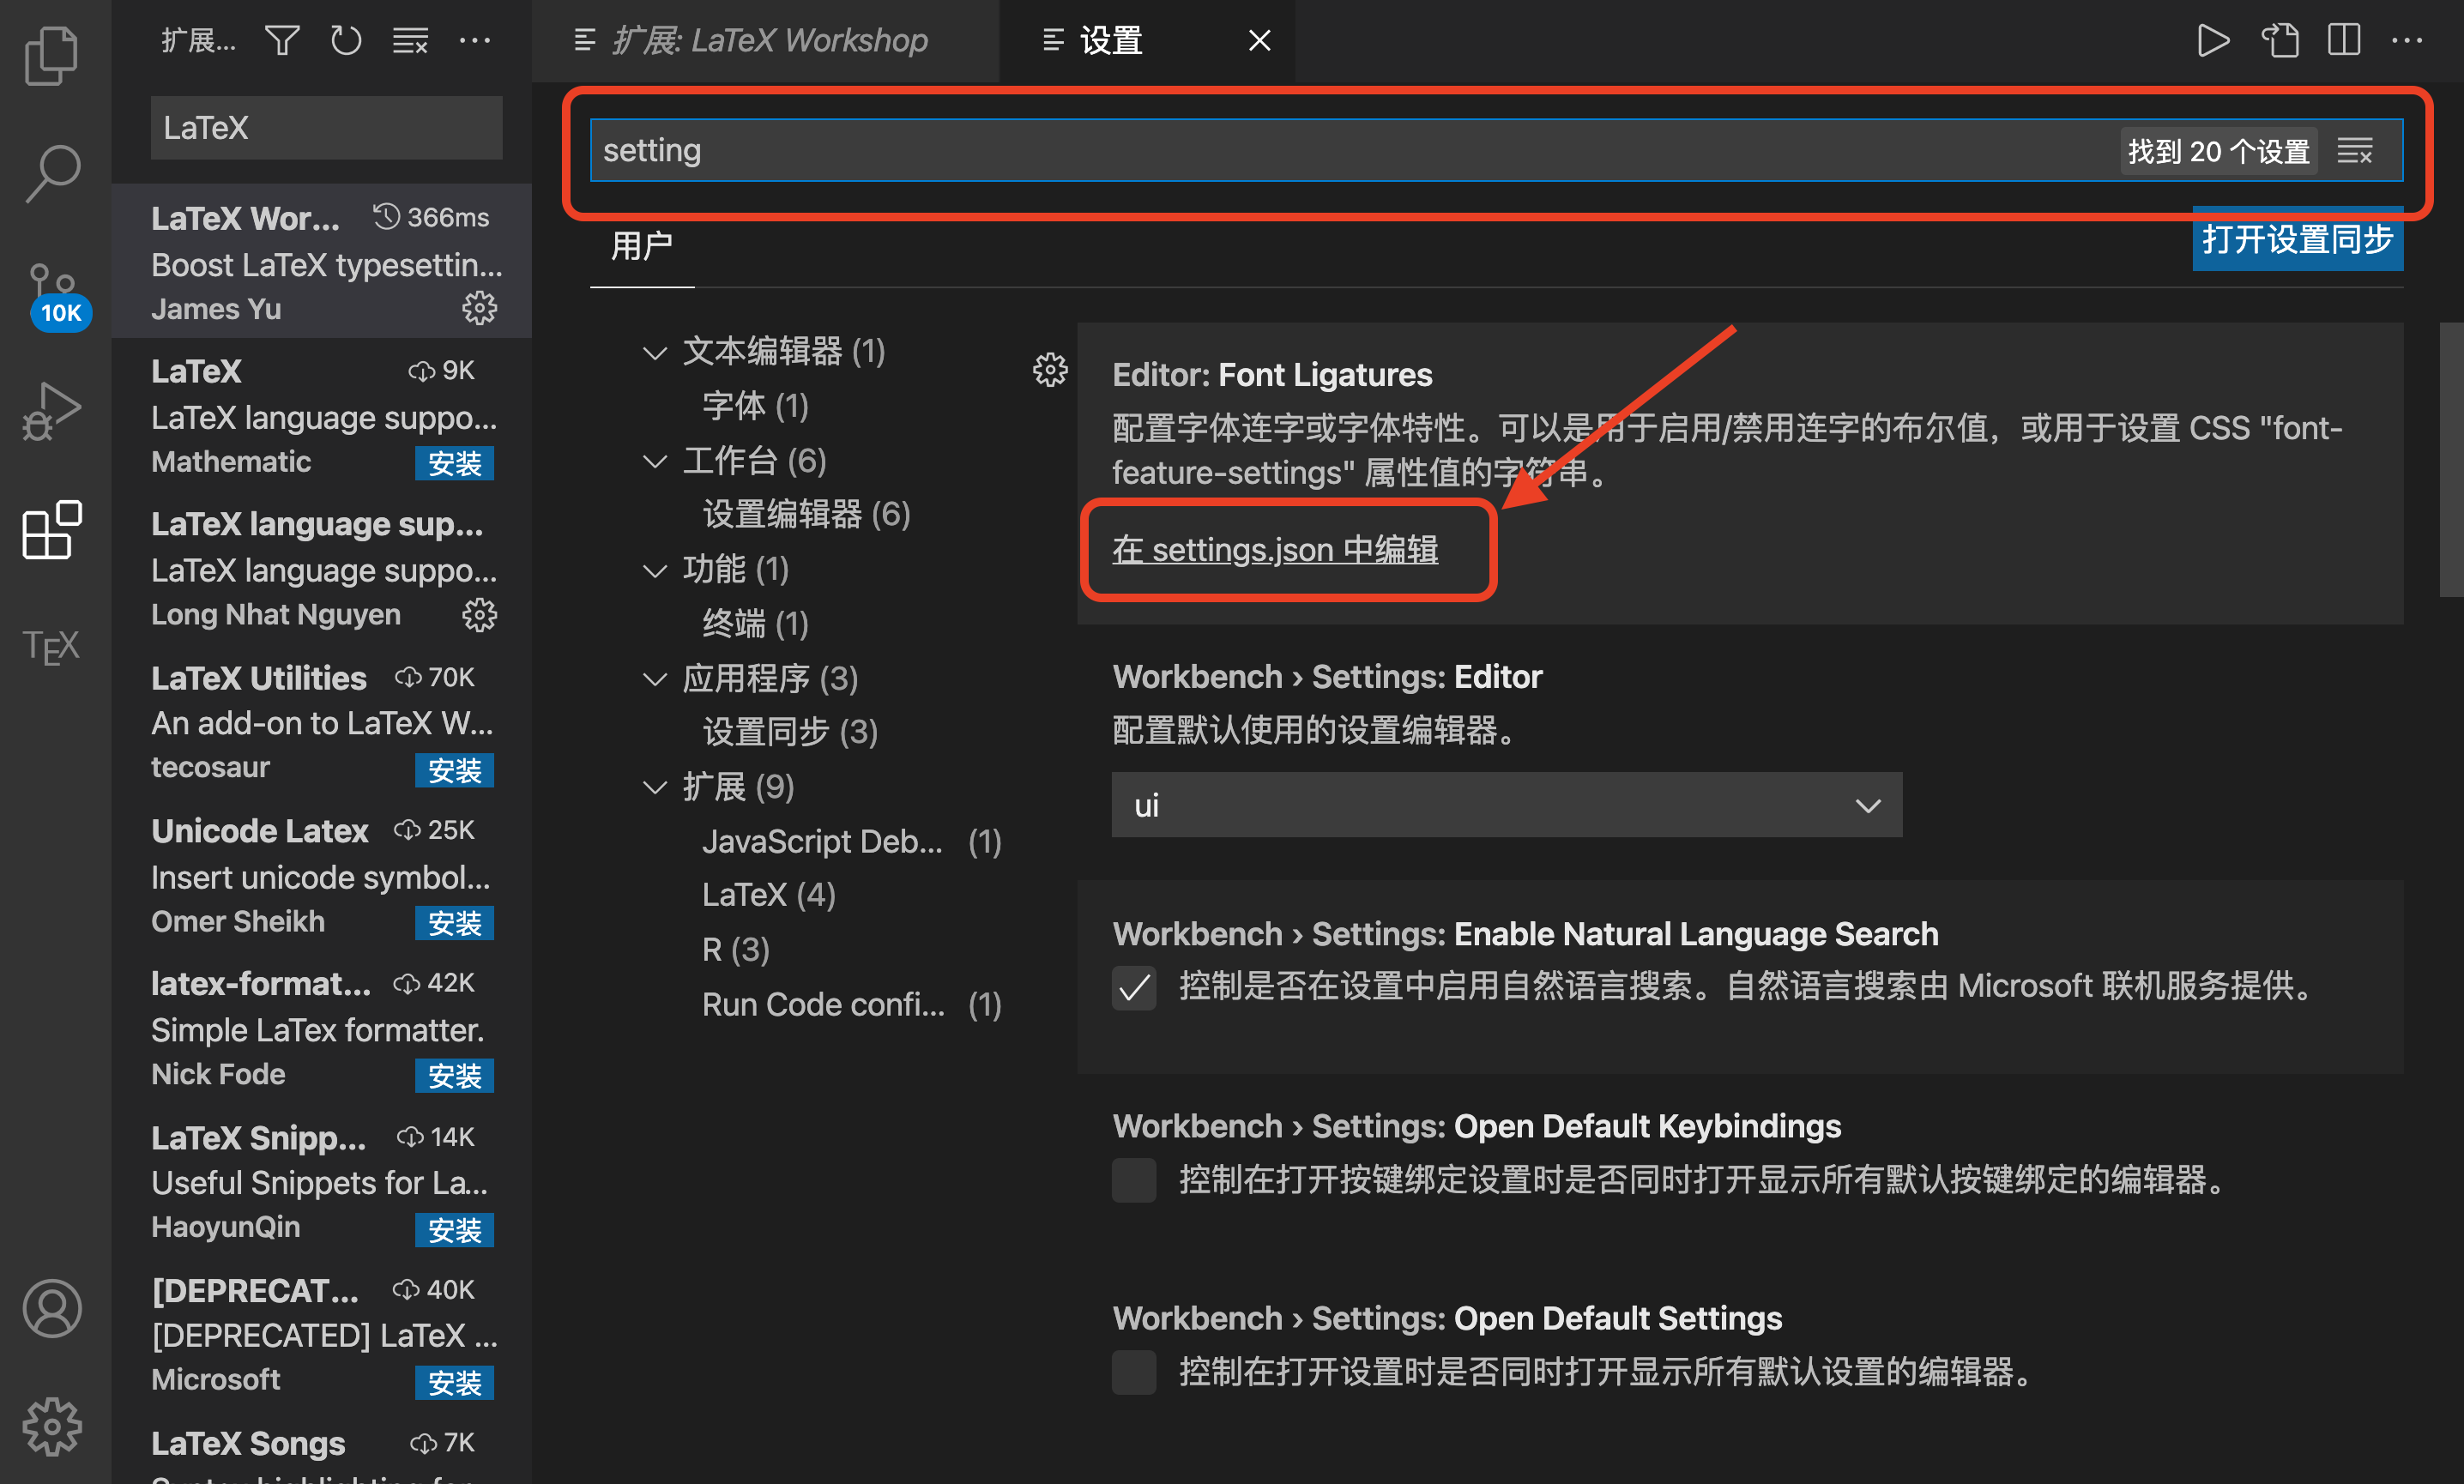
Enter the parameter configuration interface of VS Code, which is set in JSON, as shown in the following figure
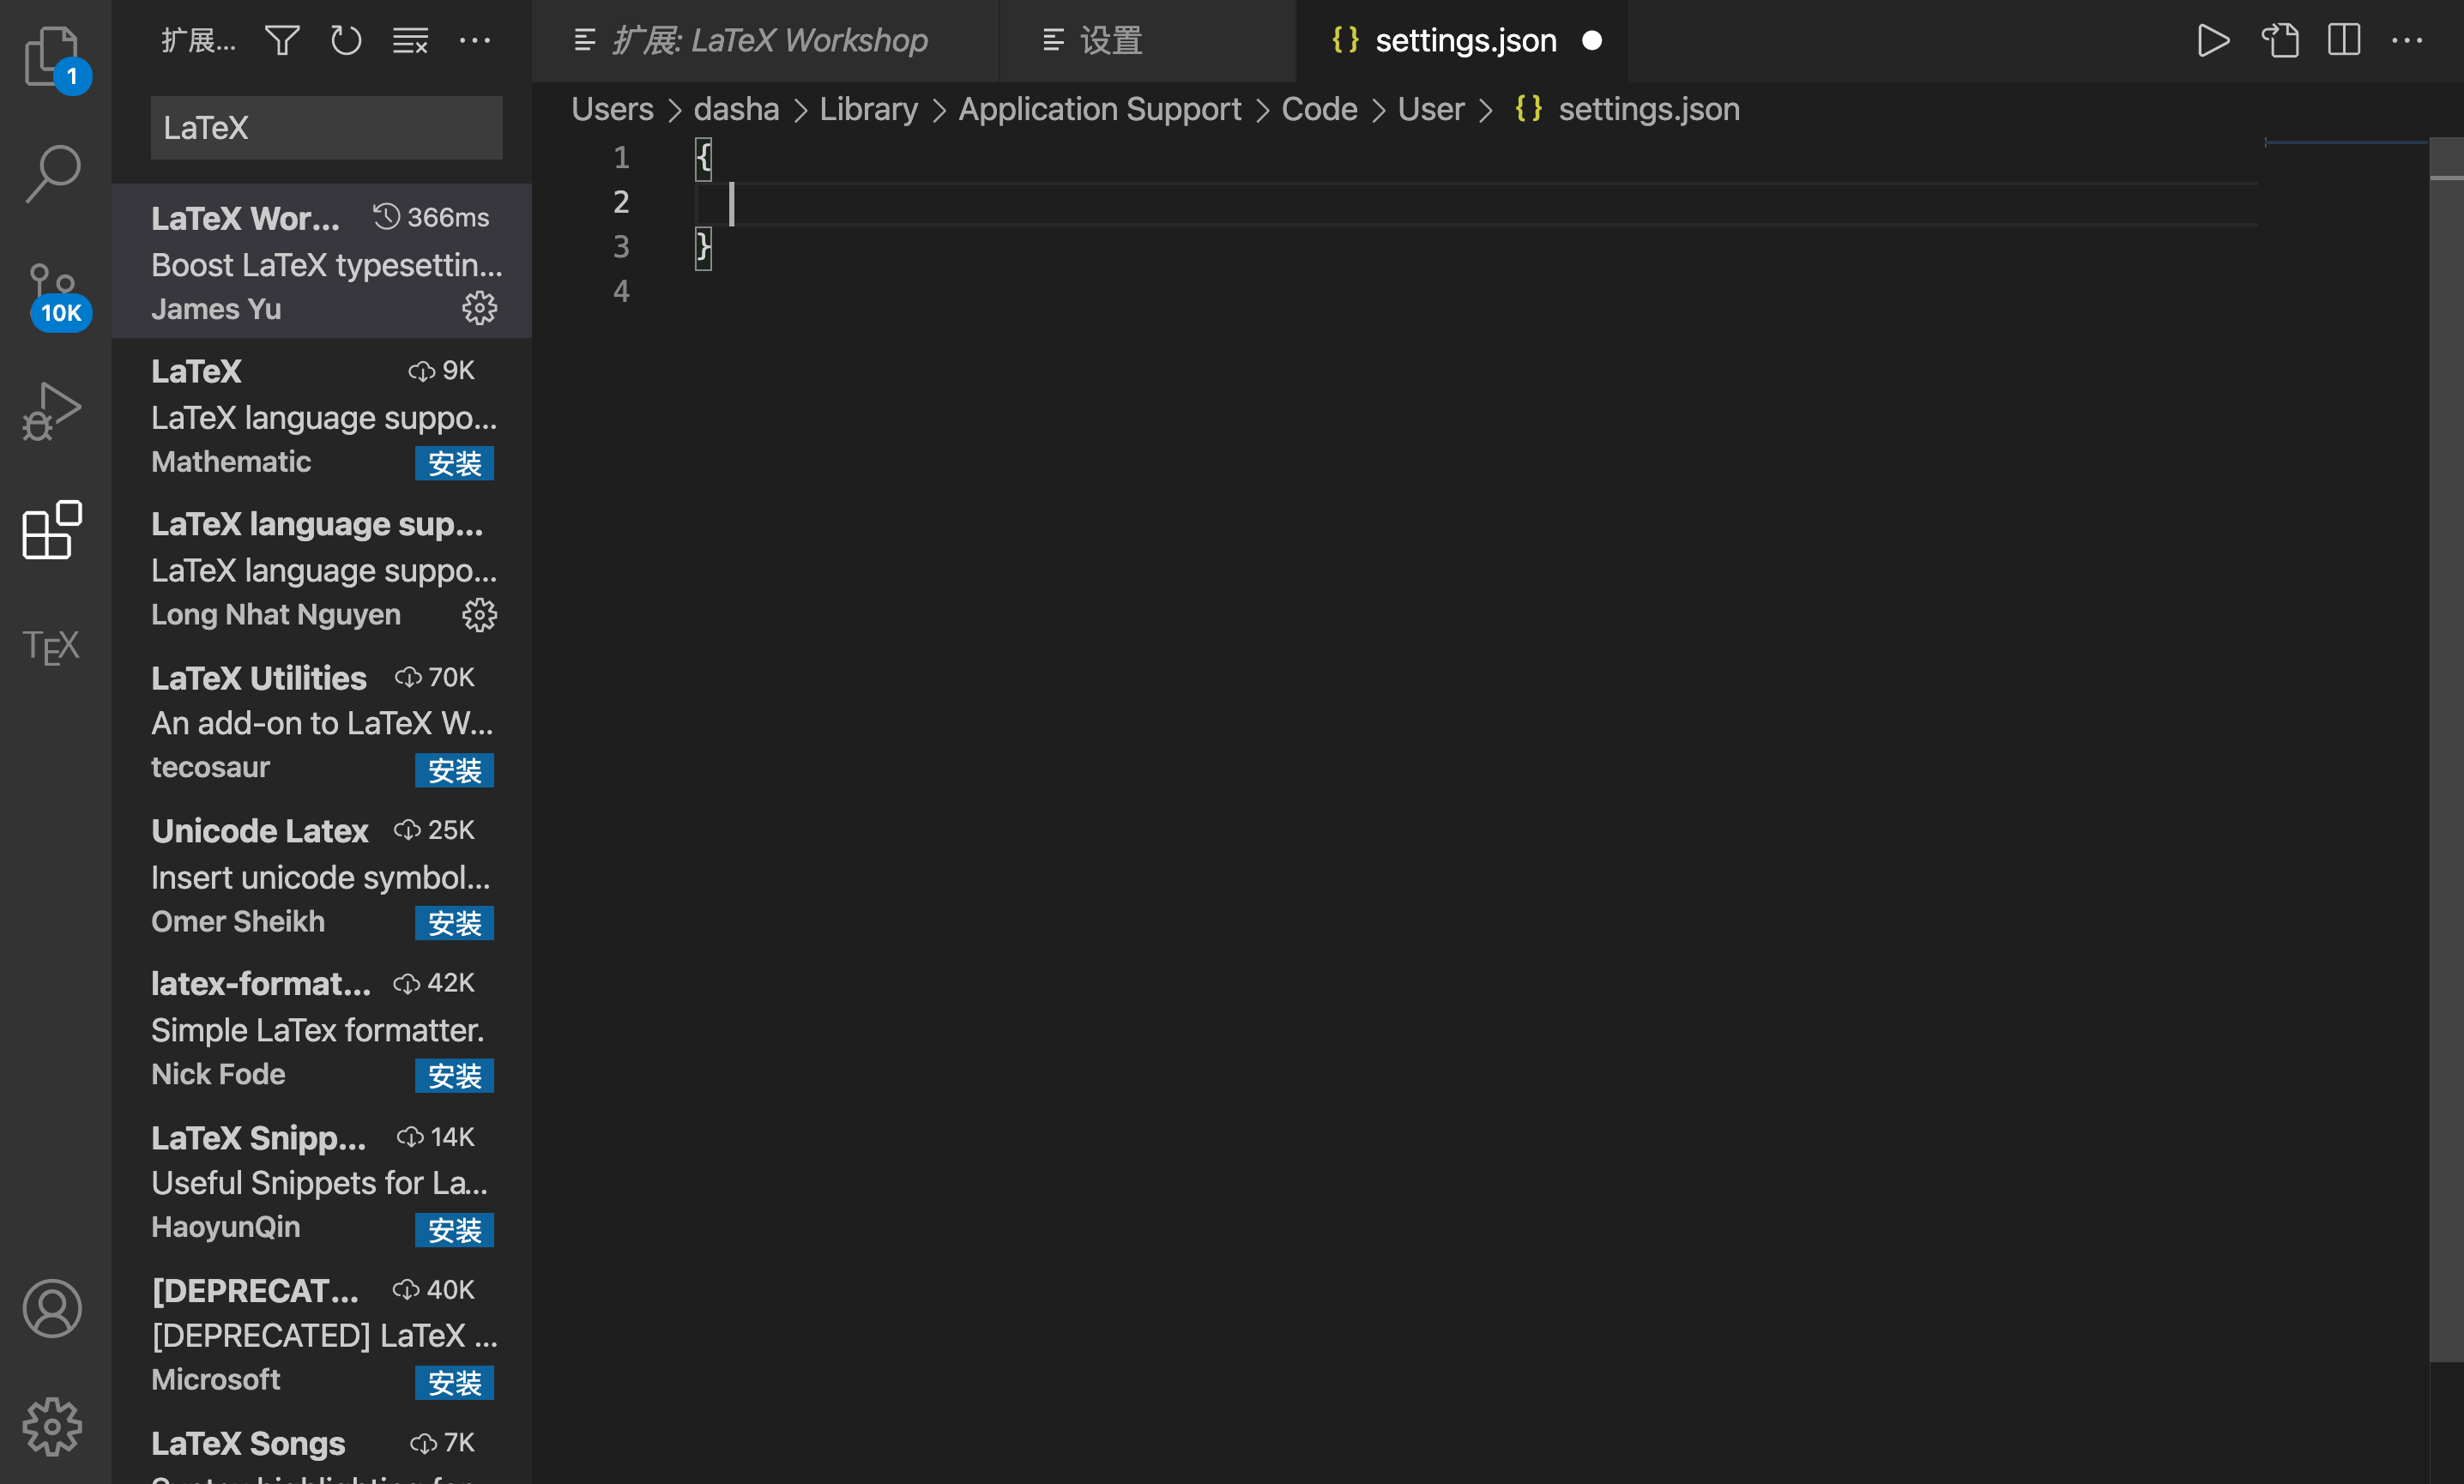
Then, configure the following in the file
   {
    // Latex workshop
    "latex-workshop.latex.tools": [
          {
            "name": "latexmk",
            "command": "latexmk",
            "args": [
            "-synctex=1",
            "-interaction=nonstopmode",
            "-file-line-error",
            "-pdf",
            "%DOC%"
            ]
          },
          {
            "name": "xelatex",
            "command": "xelatex",
            "args": [
            "-synctex=1",
            "-interaction=nonstopmode",
            "-file-line-error",
            "%DOC%"
              ]
          },
          {
            "name": "pdflatex",
            "command": "pdflatex",
            "args": [
            "-synctex=1",
            "-interaction=nonstopmode",
            "-file-line-error",
            "%DOC%"
            ]
          },
          {
            "name": "bibtex",
            "command": "bibtex",
            "args": [
            "%DOCFILE%"
            ]
          }
        ],
    "latex-workshop.latex.recipes": [
          {
            "name": "xelatex",
            "tools": [
            "xelatex"
                        ]
                  },
          {
            "name": "latexmk",
            "tools": [
            "latexmk"
                        ]
          },

          {
            "name": "pdflatex -> bibtex -> pdflatex*2",
            "tools": [
            "pdflatex",
            "bibtex",
            "pdflatex",
            "pdflatex"
                        ]
          }
        ],
    "latex-workshop.view.pdf.viewer": "tab",
    "latex-workshop.latex.clean.enabled": true,
    "latex-workshop.latex.clean.fileTypes": [
        "*.aux",
        "*.bbl",
        "*.blg",
        "*.idx",
        "*.ind",
        "*.lof",
        "*.lot",
        "*.out",
        "*.toc",
        "*.acn",
        "*.acr",
        "*.alg",
        "*.glg",
        "*.glo",
        "*.gls",
        "*.ist",
        "*.fls",
        "*.log",
        "*.fdb_latexmk"
      ],
      "security.workspace.trust.untrustedFiles": "open",
      "window.zoomLevel": 2,
      "code-runner.runInTerminal": true,

}
Restart the VSCode configuration to take effect
test L a T e X LaTeX Is LaTeX successfully configured
-
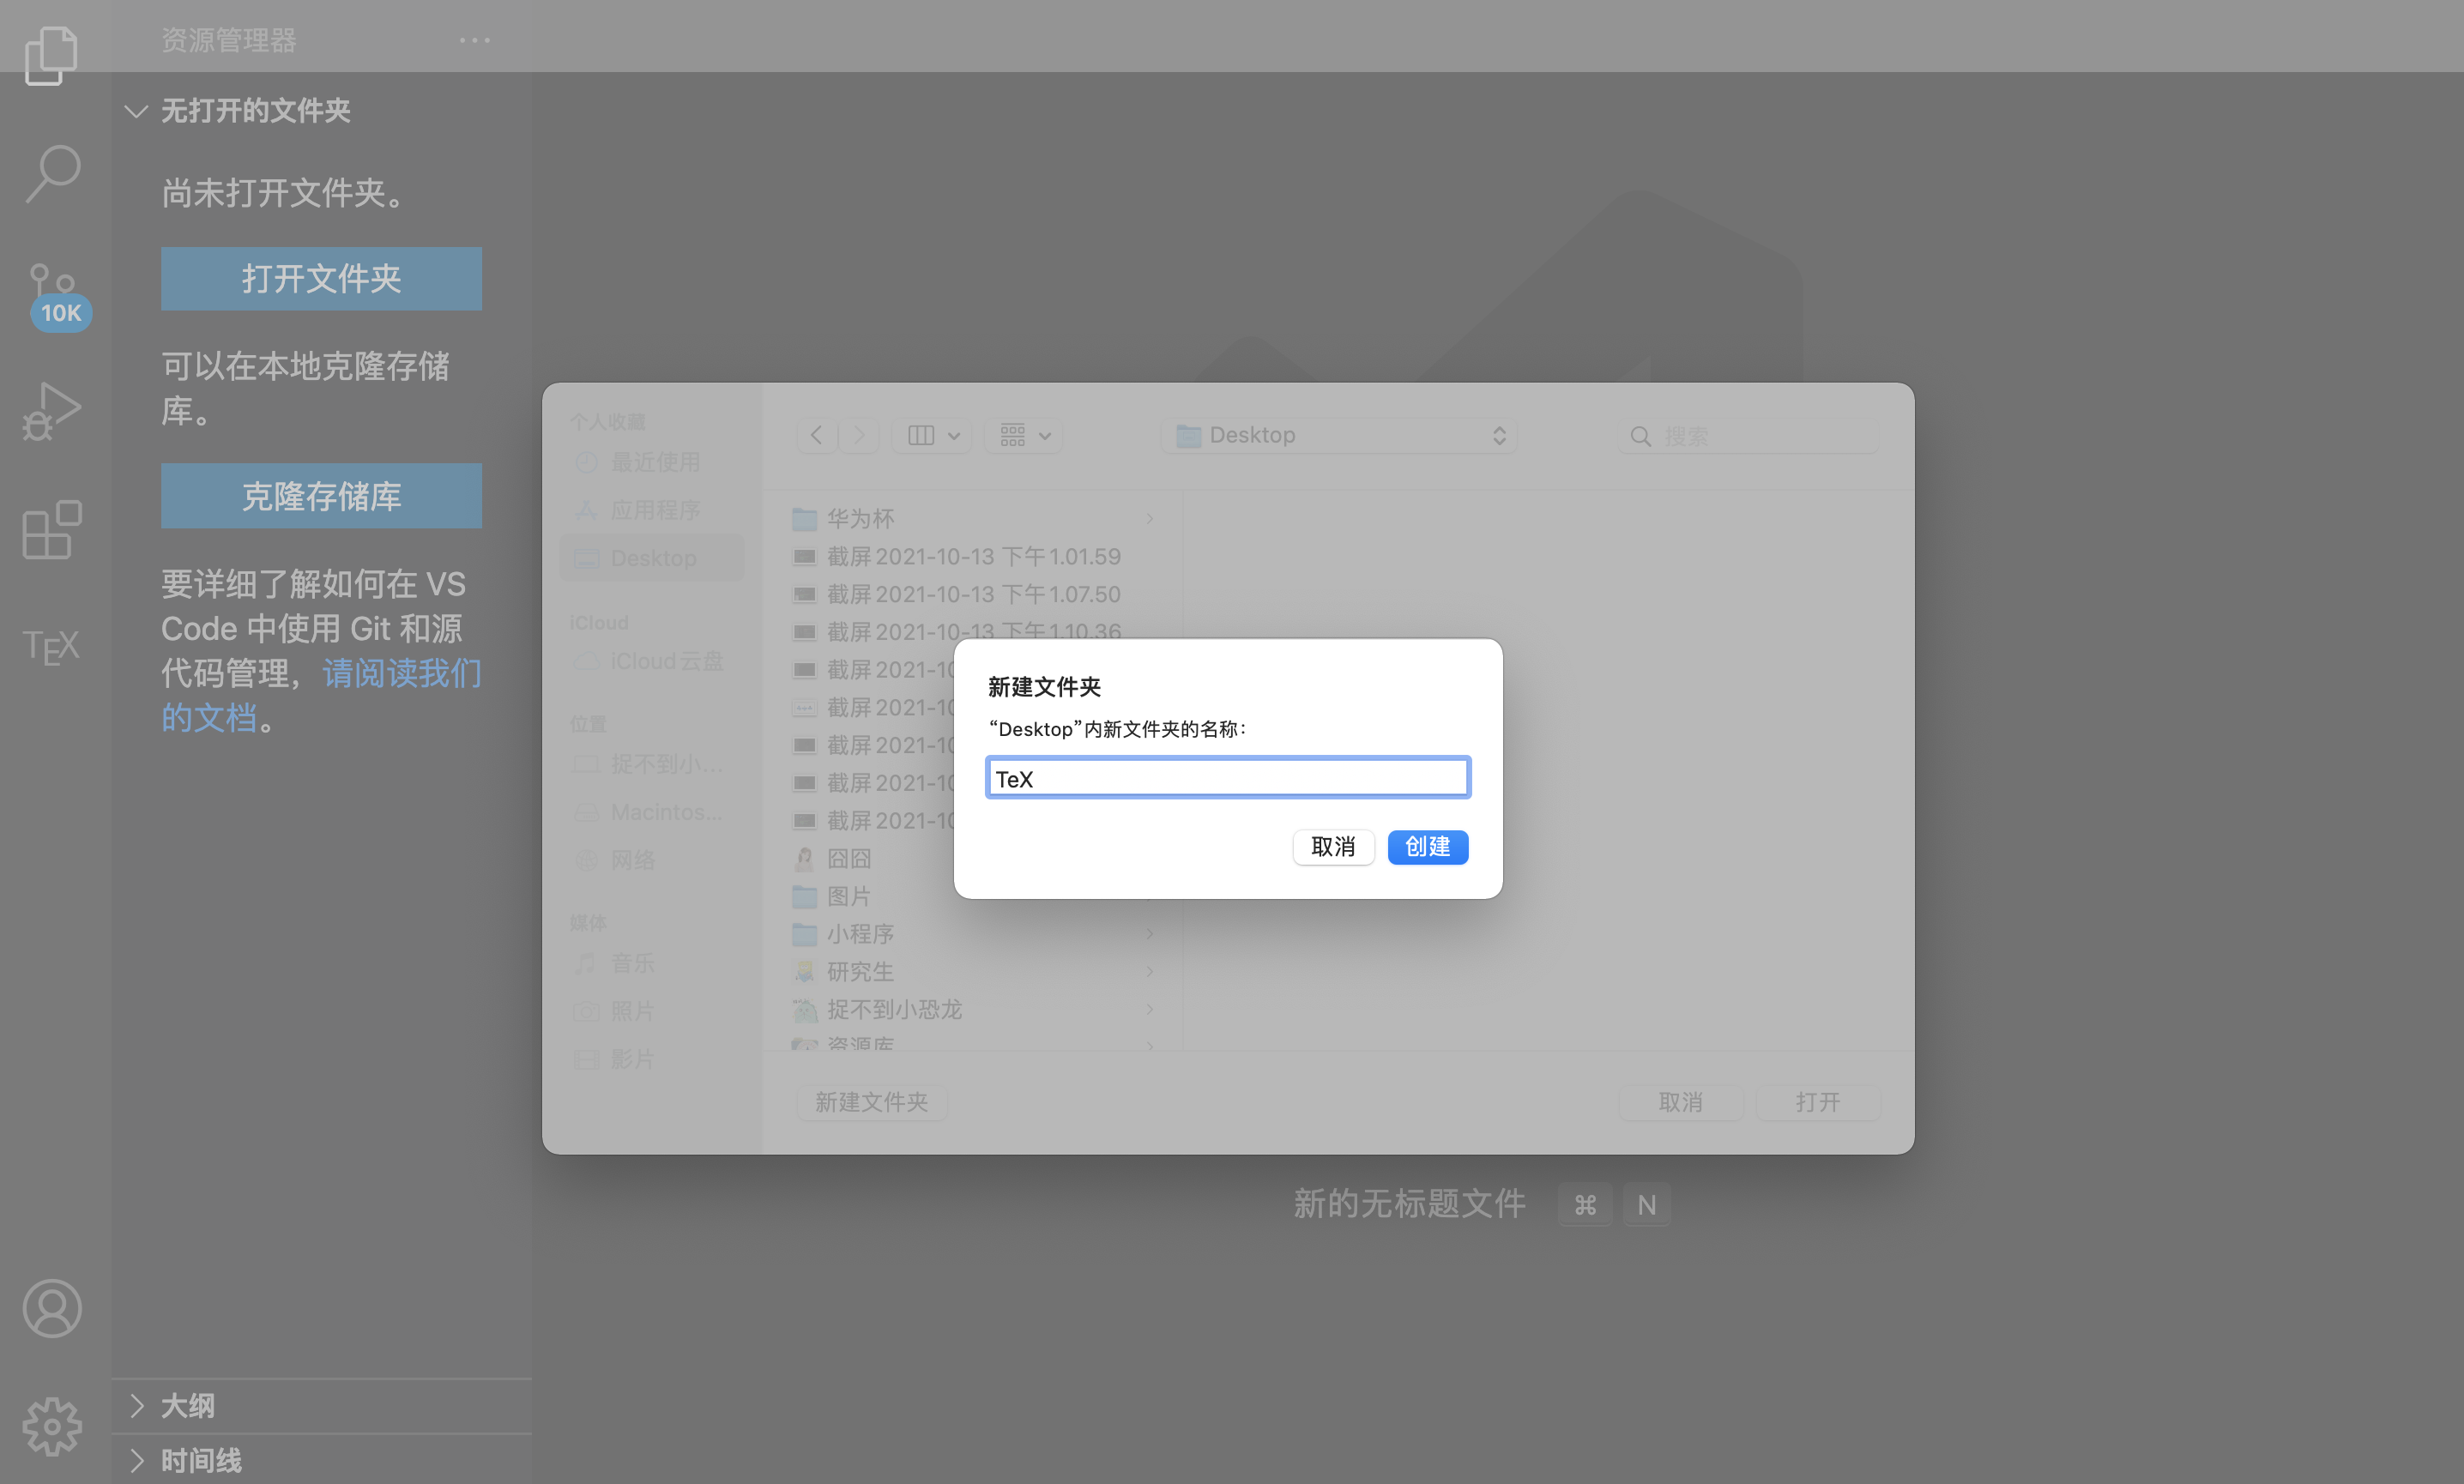
Create a new folder and open it. All generated files will be in this folder
-
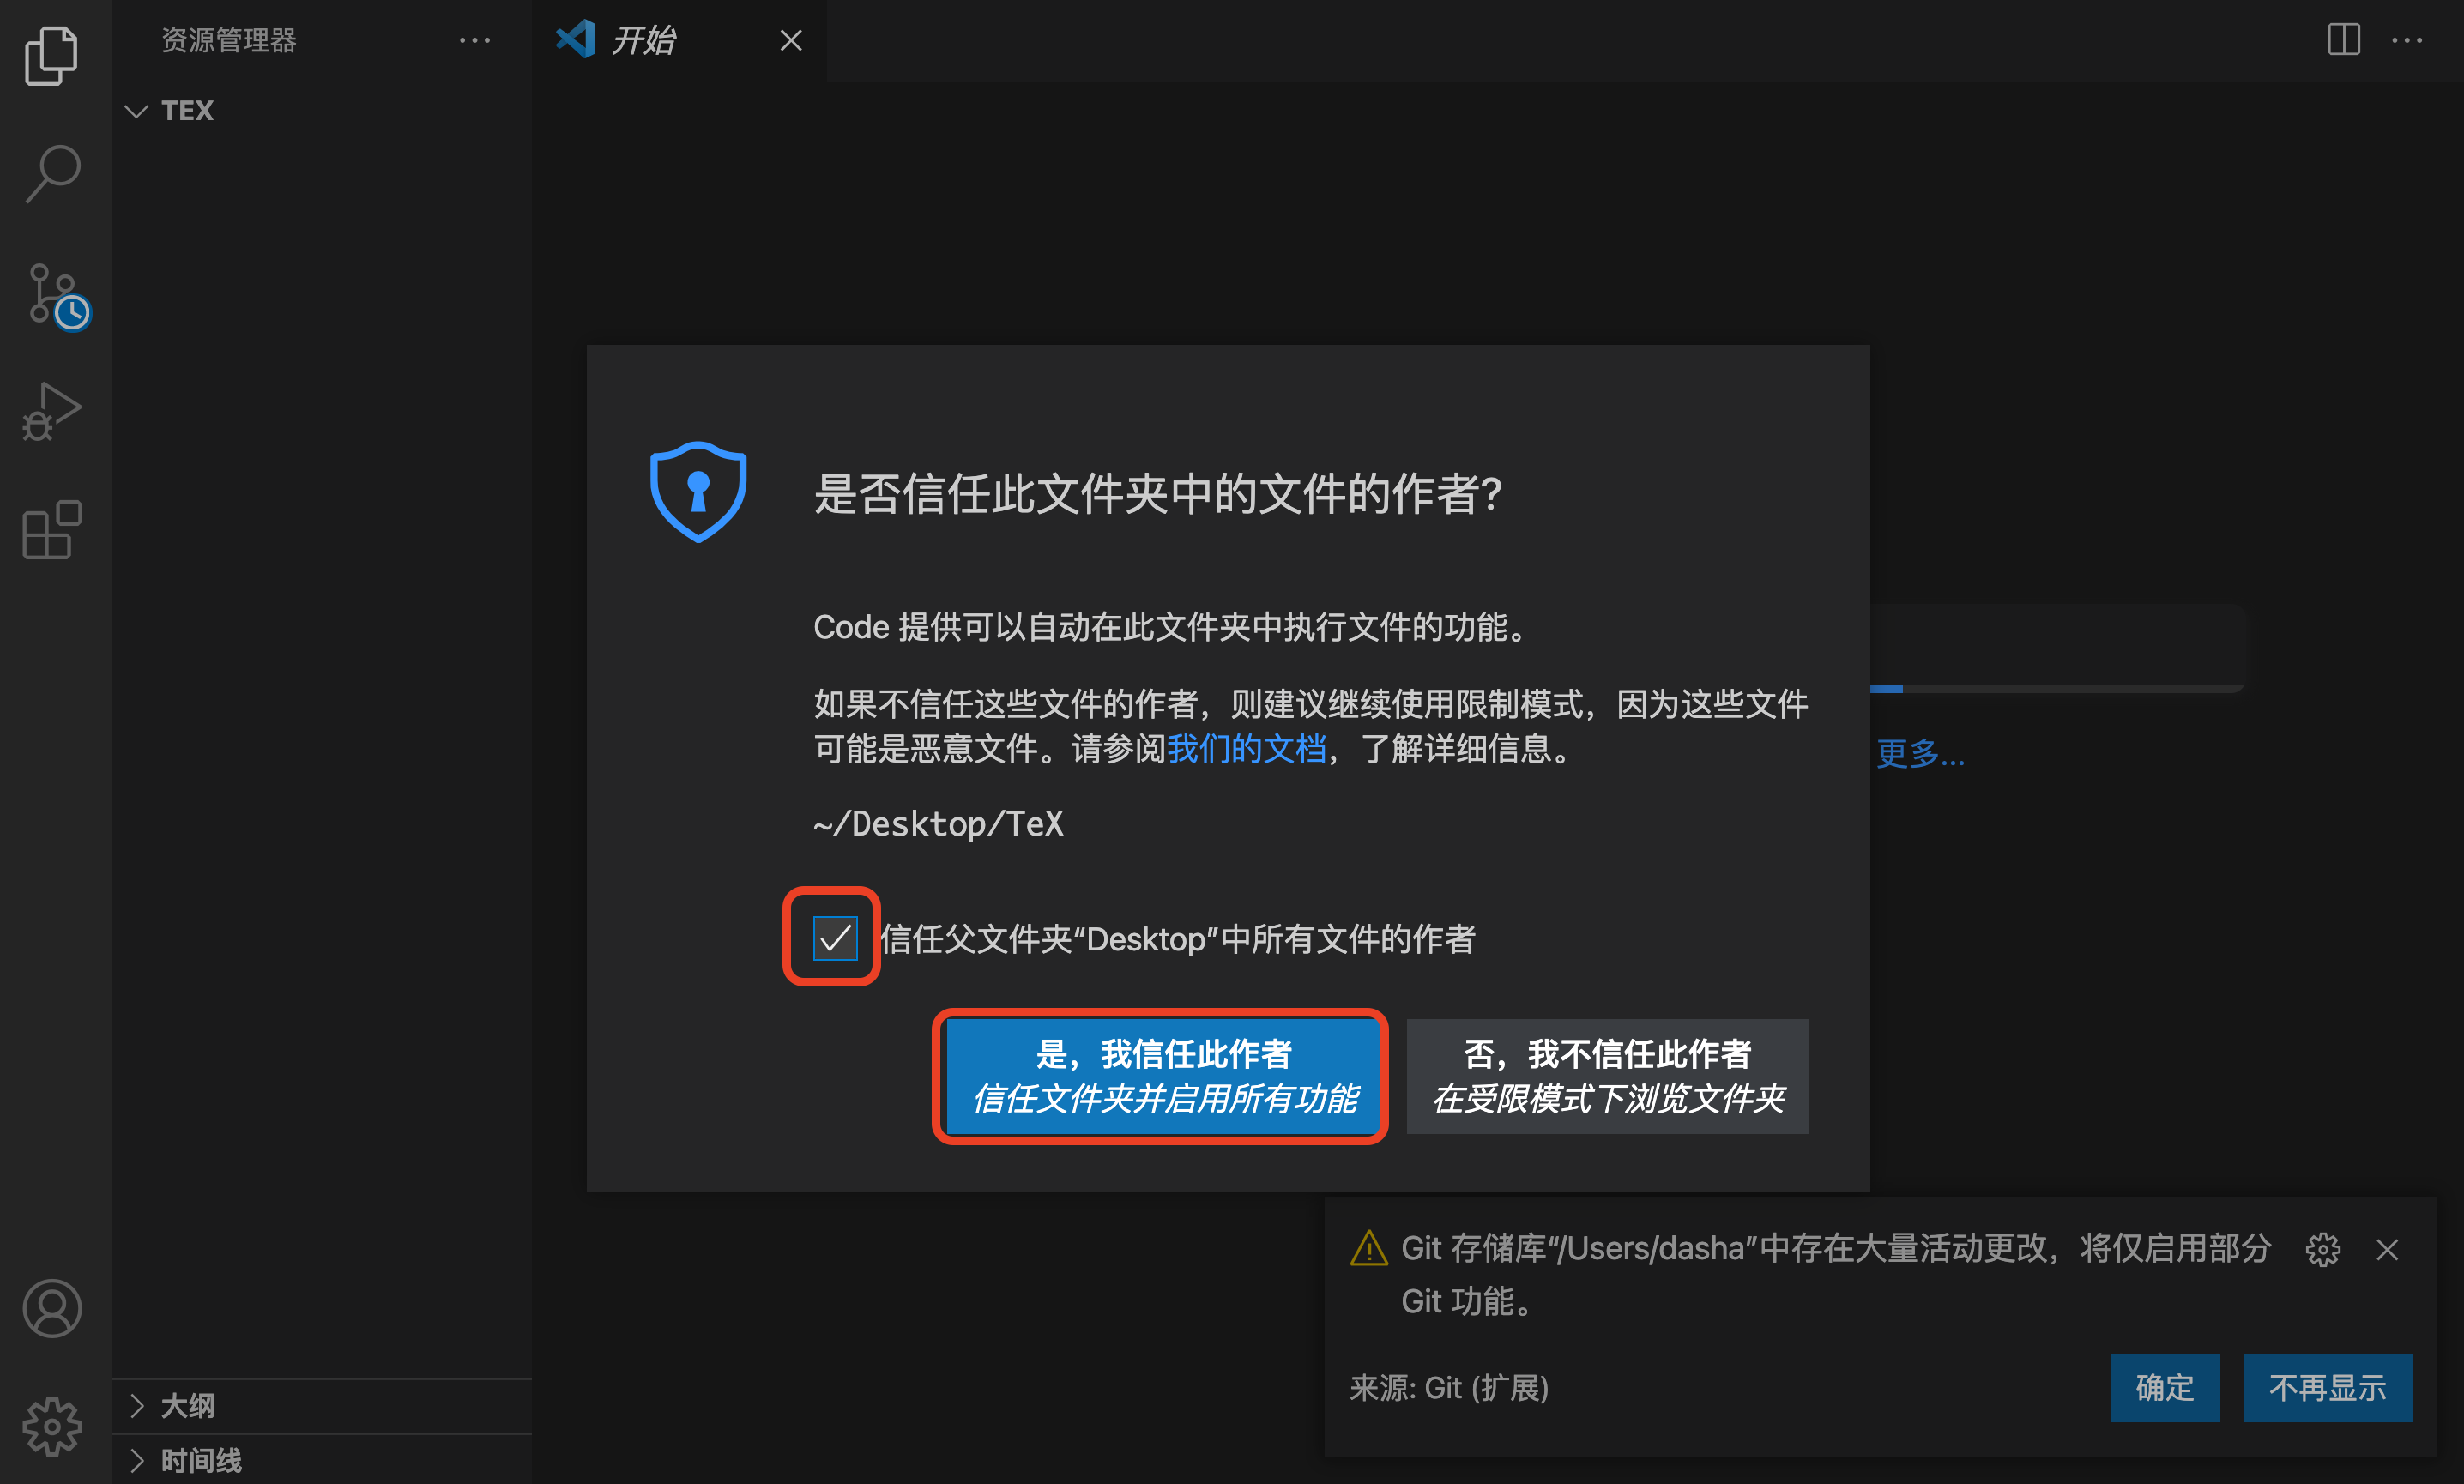
Choose to trust this author
-
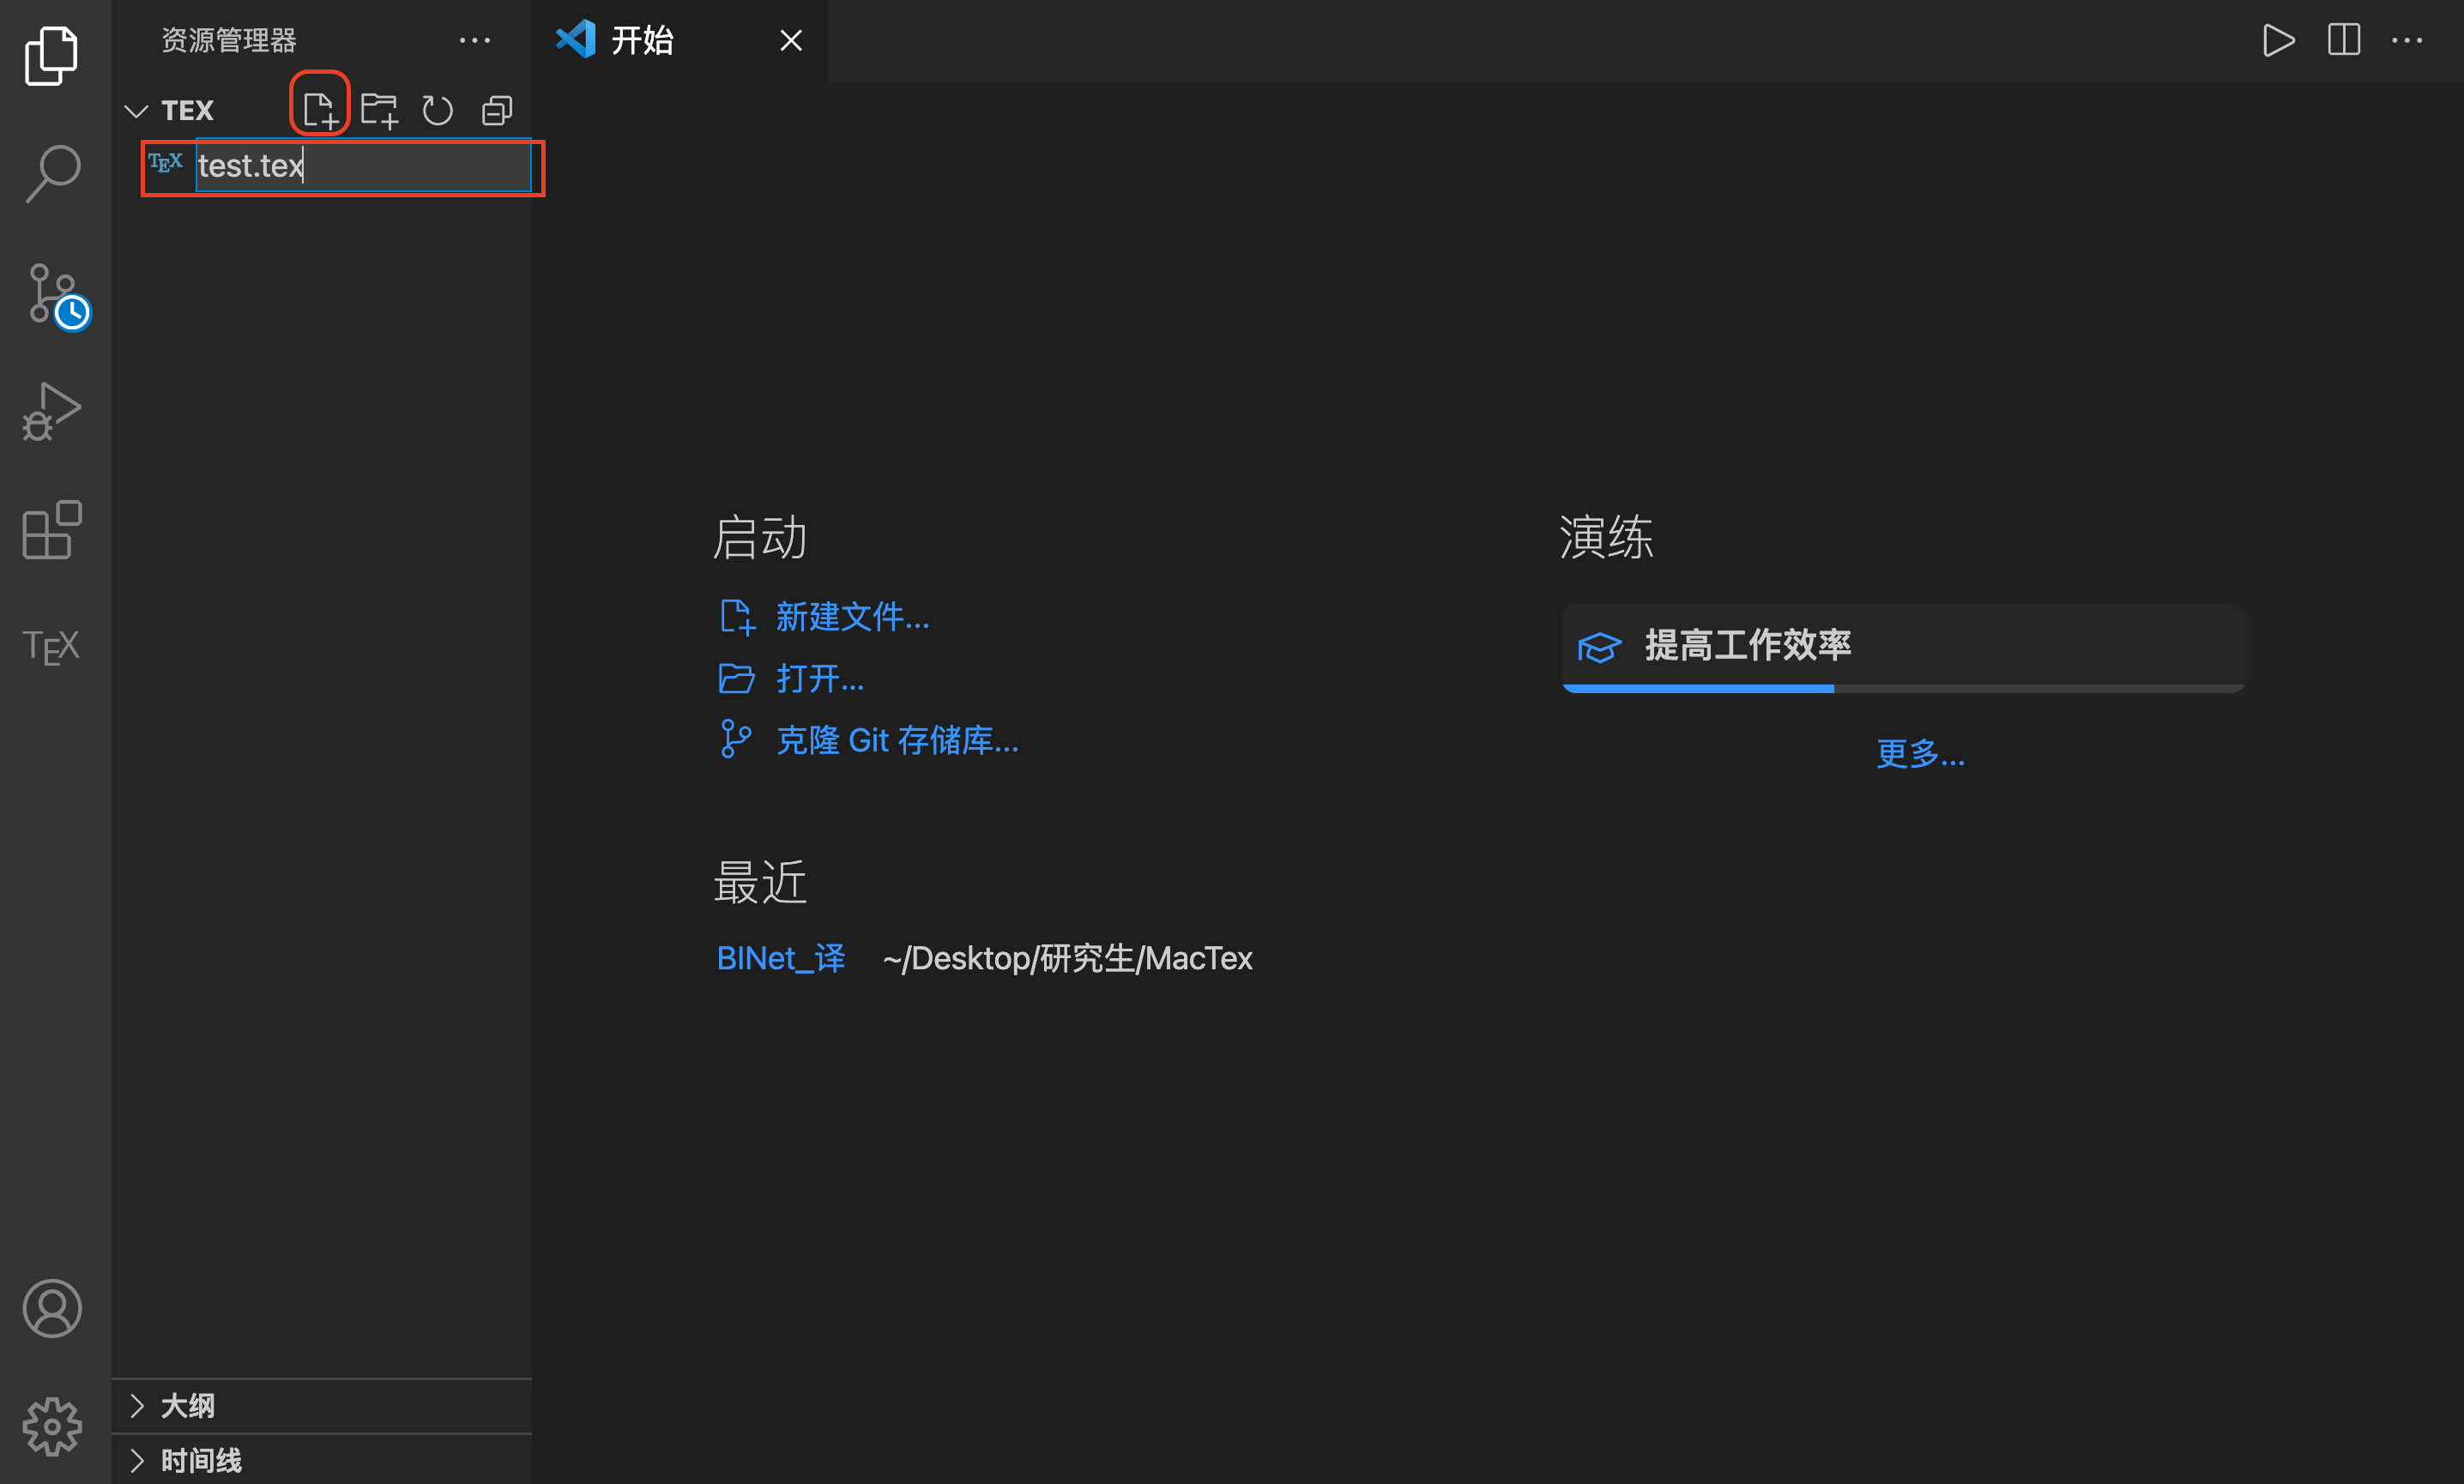
New TeX file (extension. tex)
-
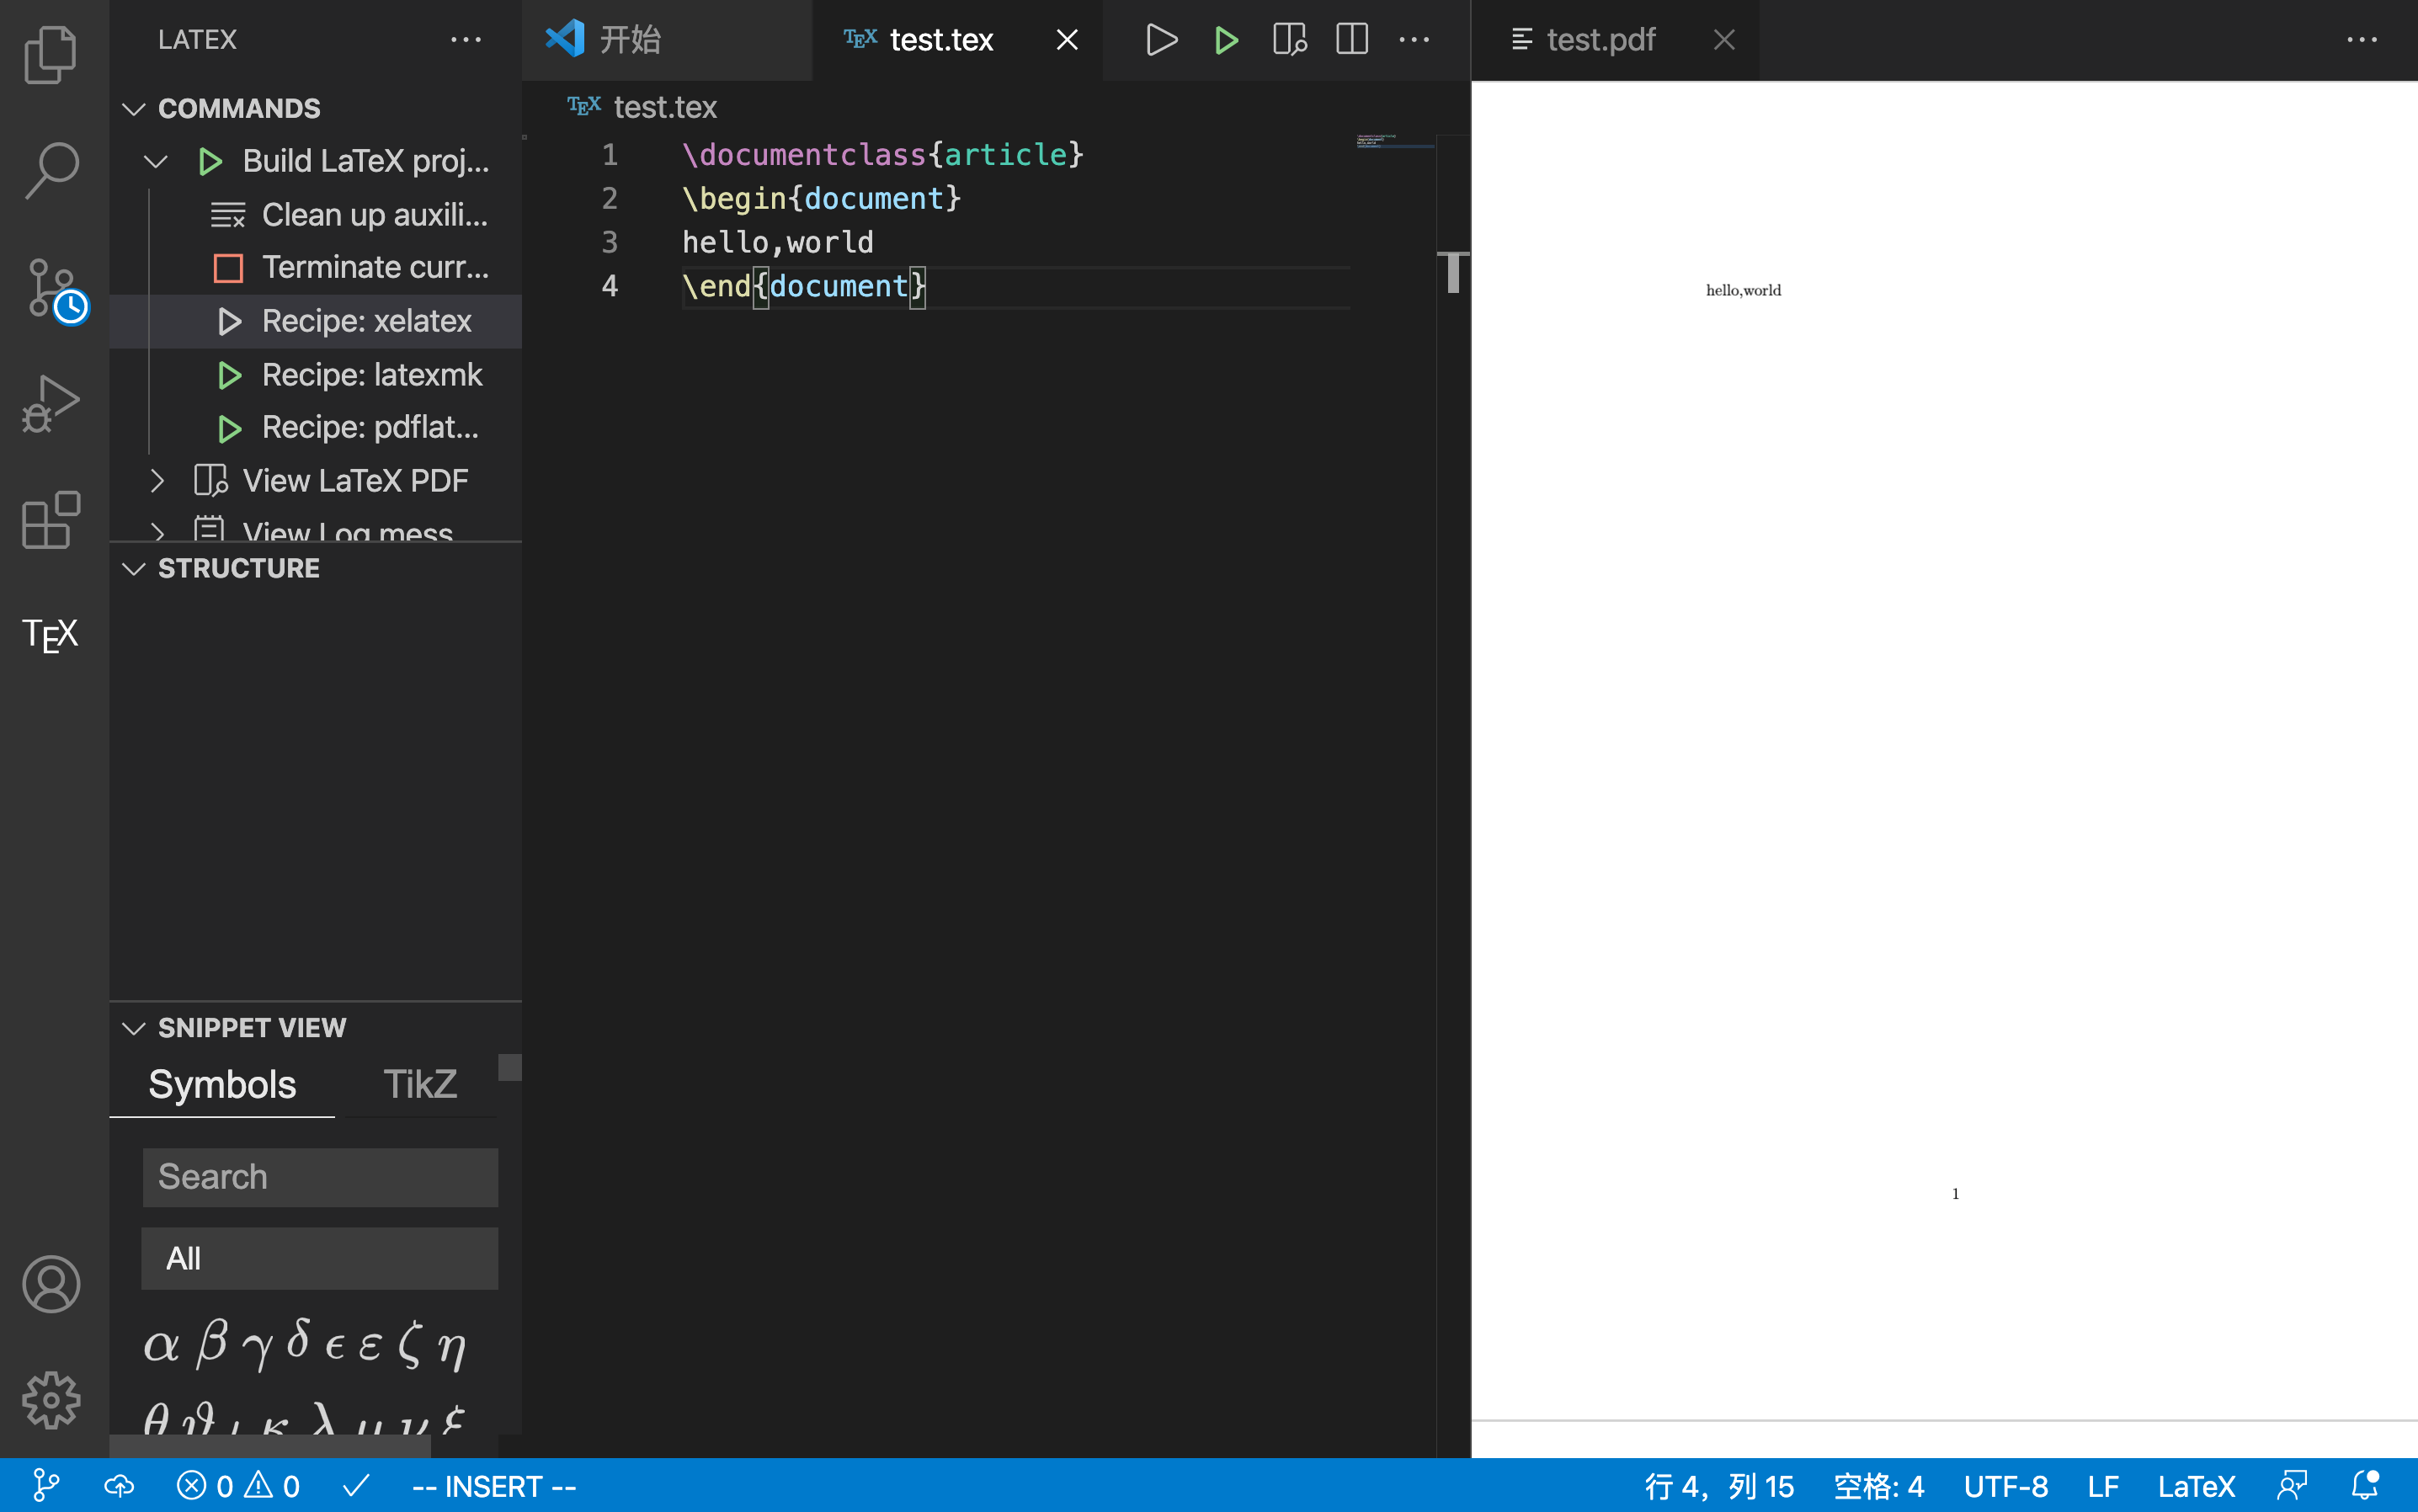
Write TeX test documents
Enter in test.tex:
\documentclass{article}
\begin{document}
hello,world
\end{document}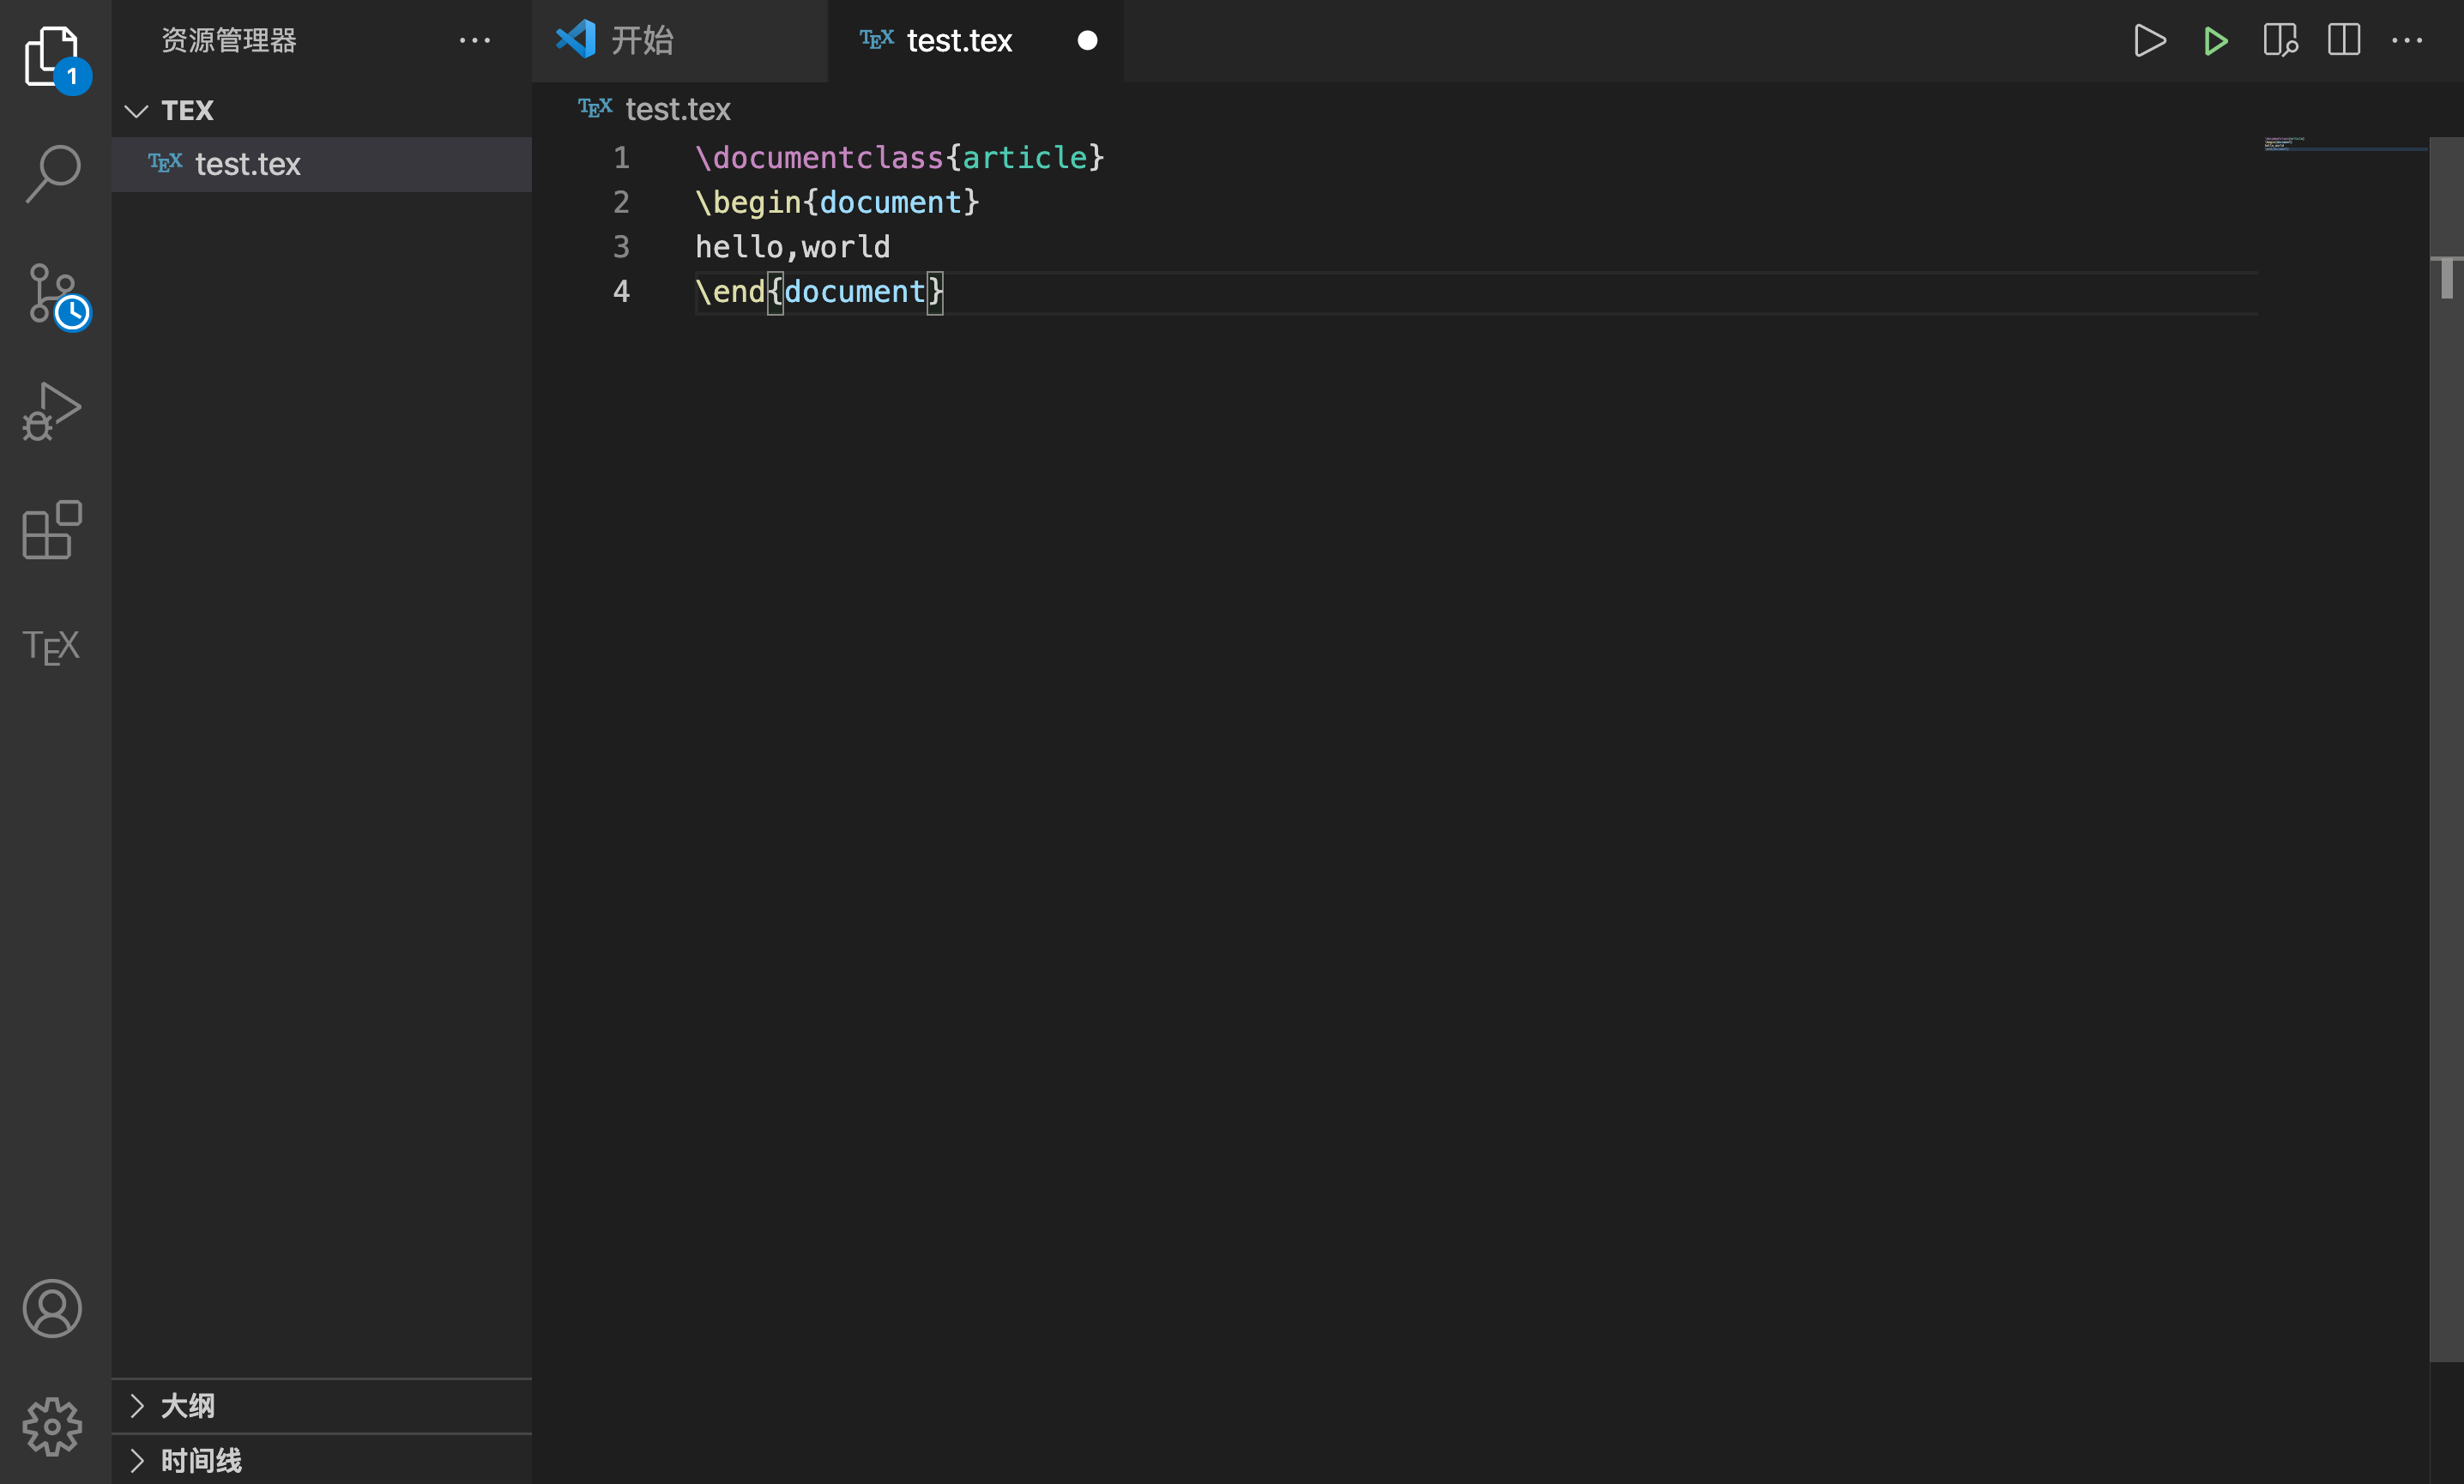
-
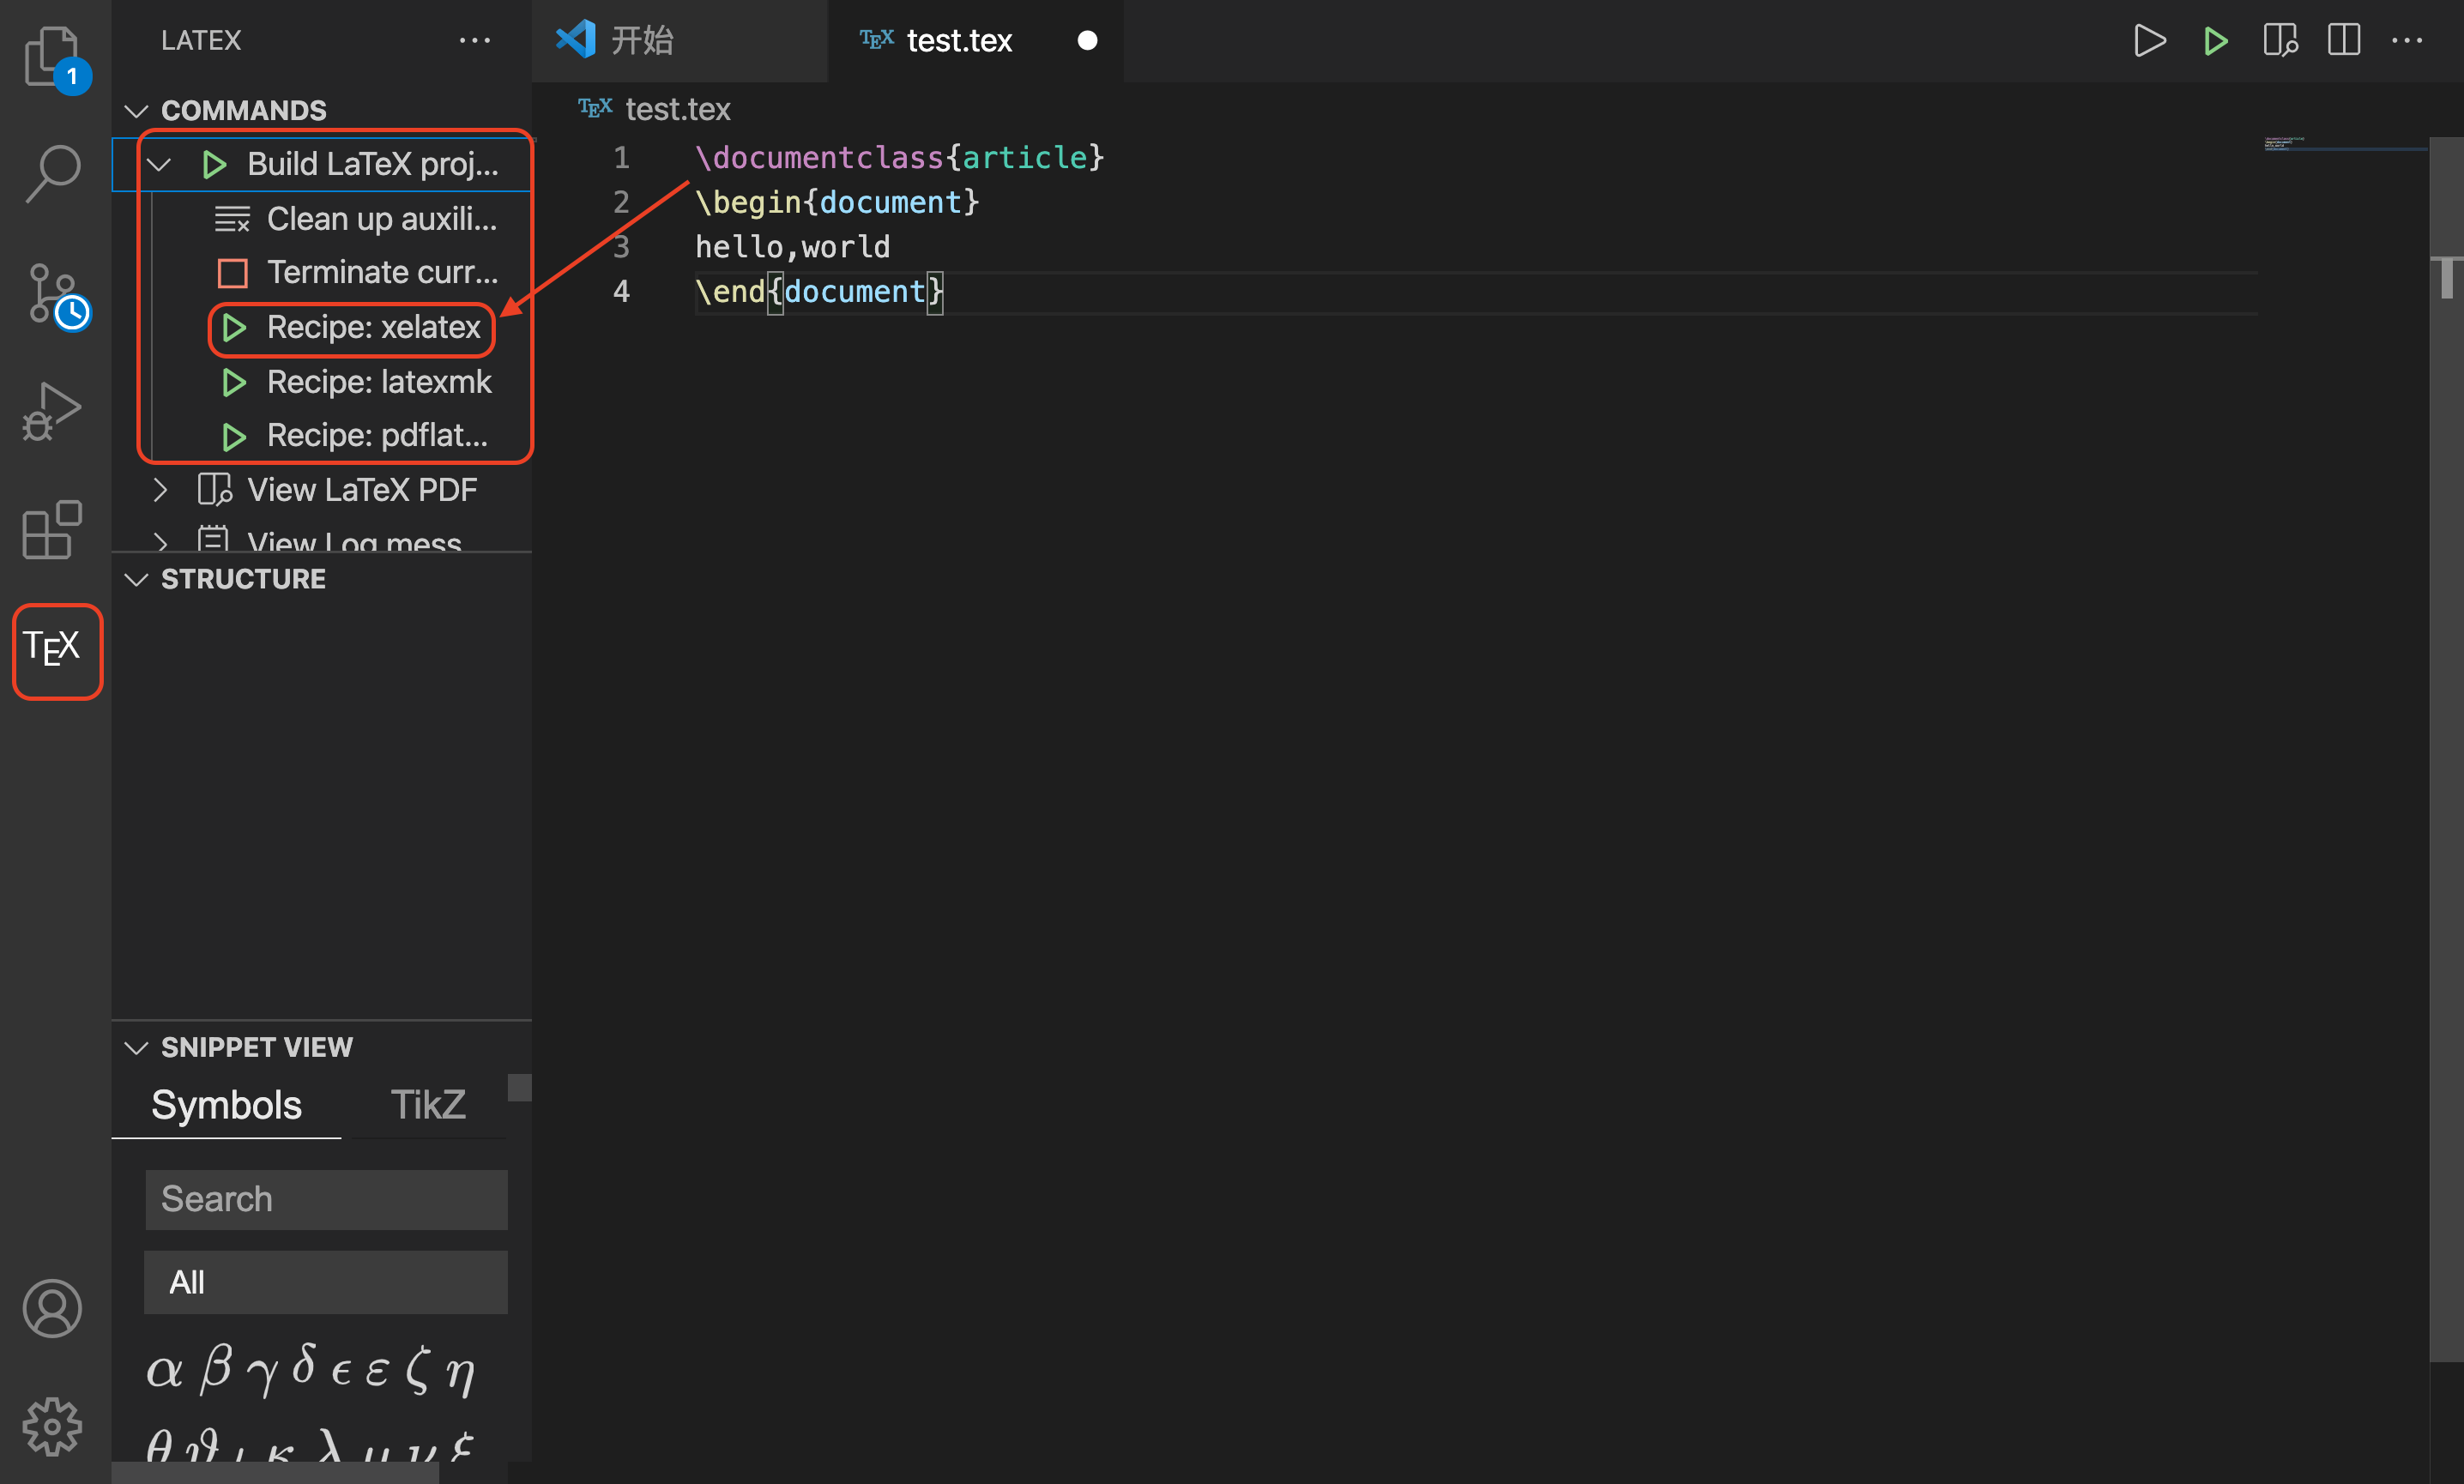
Click Recipe:xelatex to compile using xelatex
-
lower left quarter ✅ It means that the compilation is successful. At this time, you can click the preview button in the upper right corner to preview
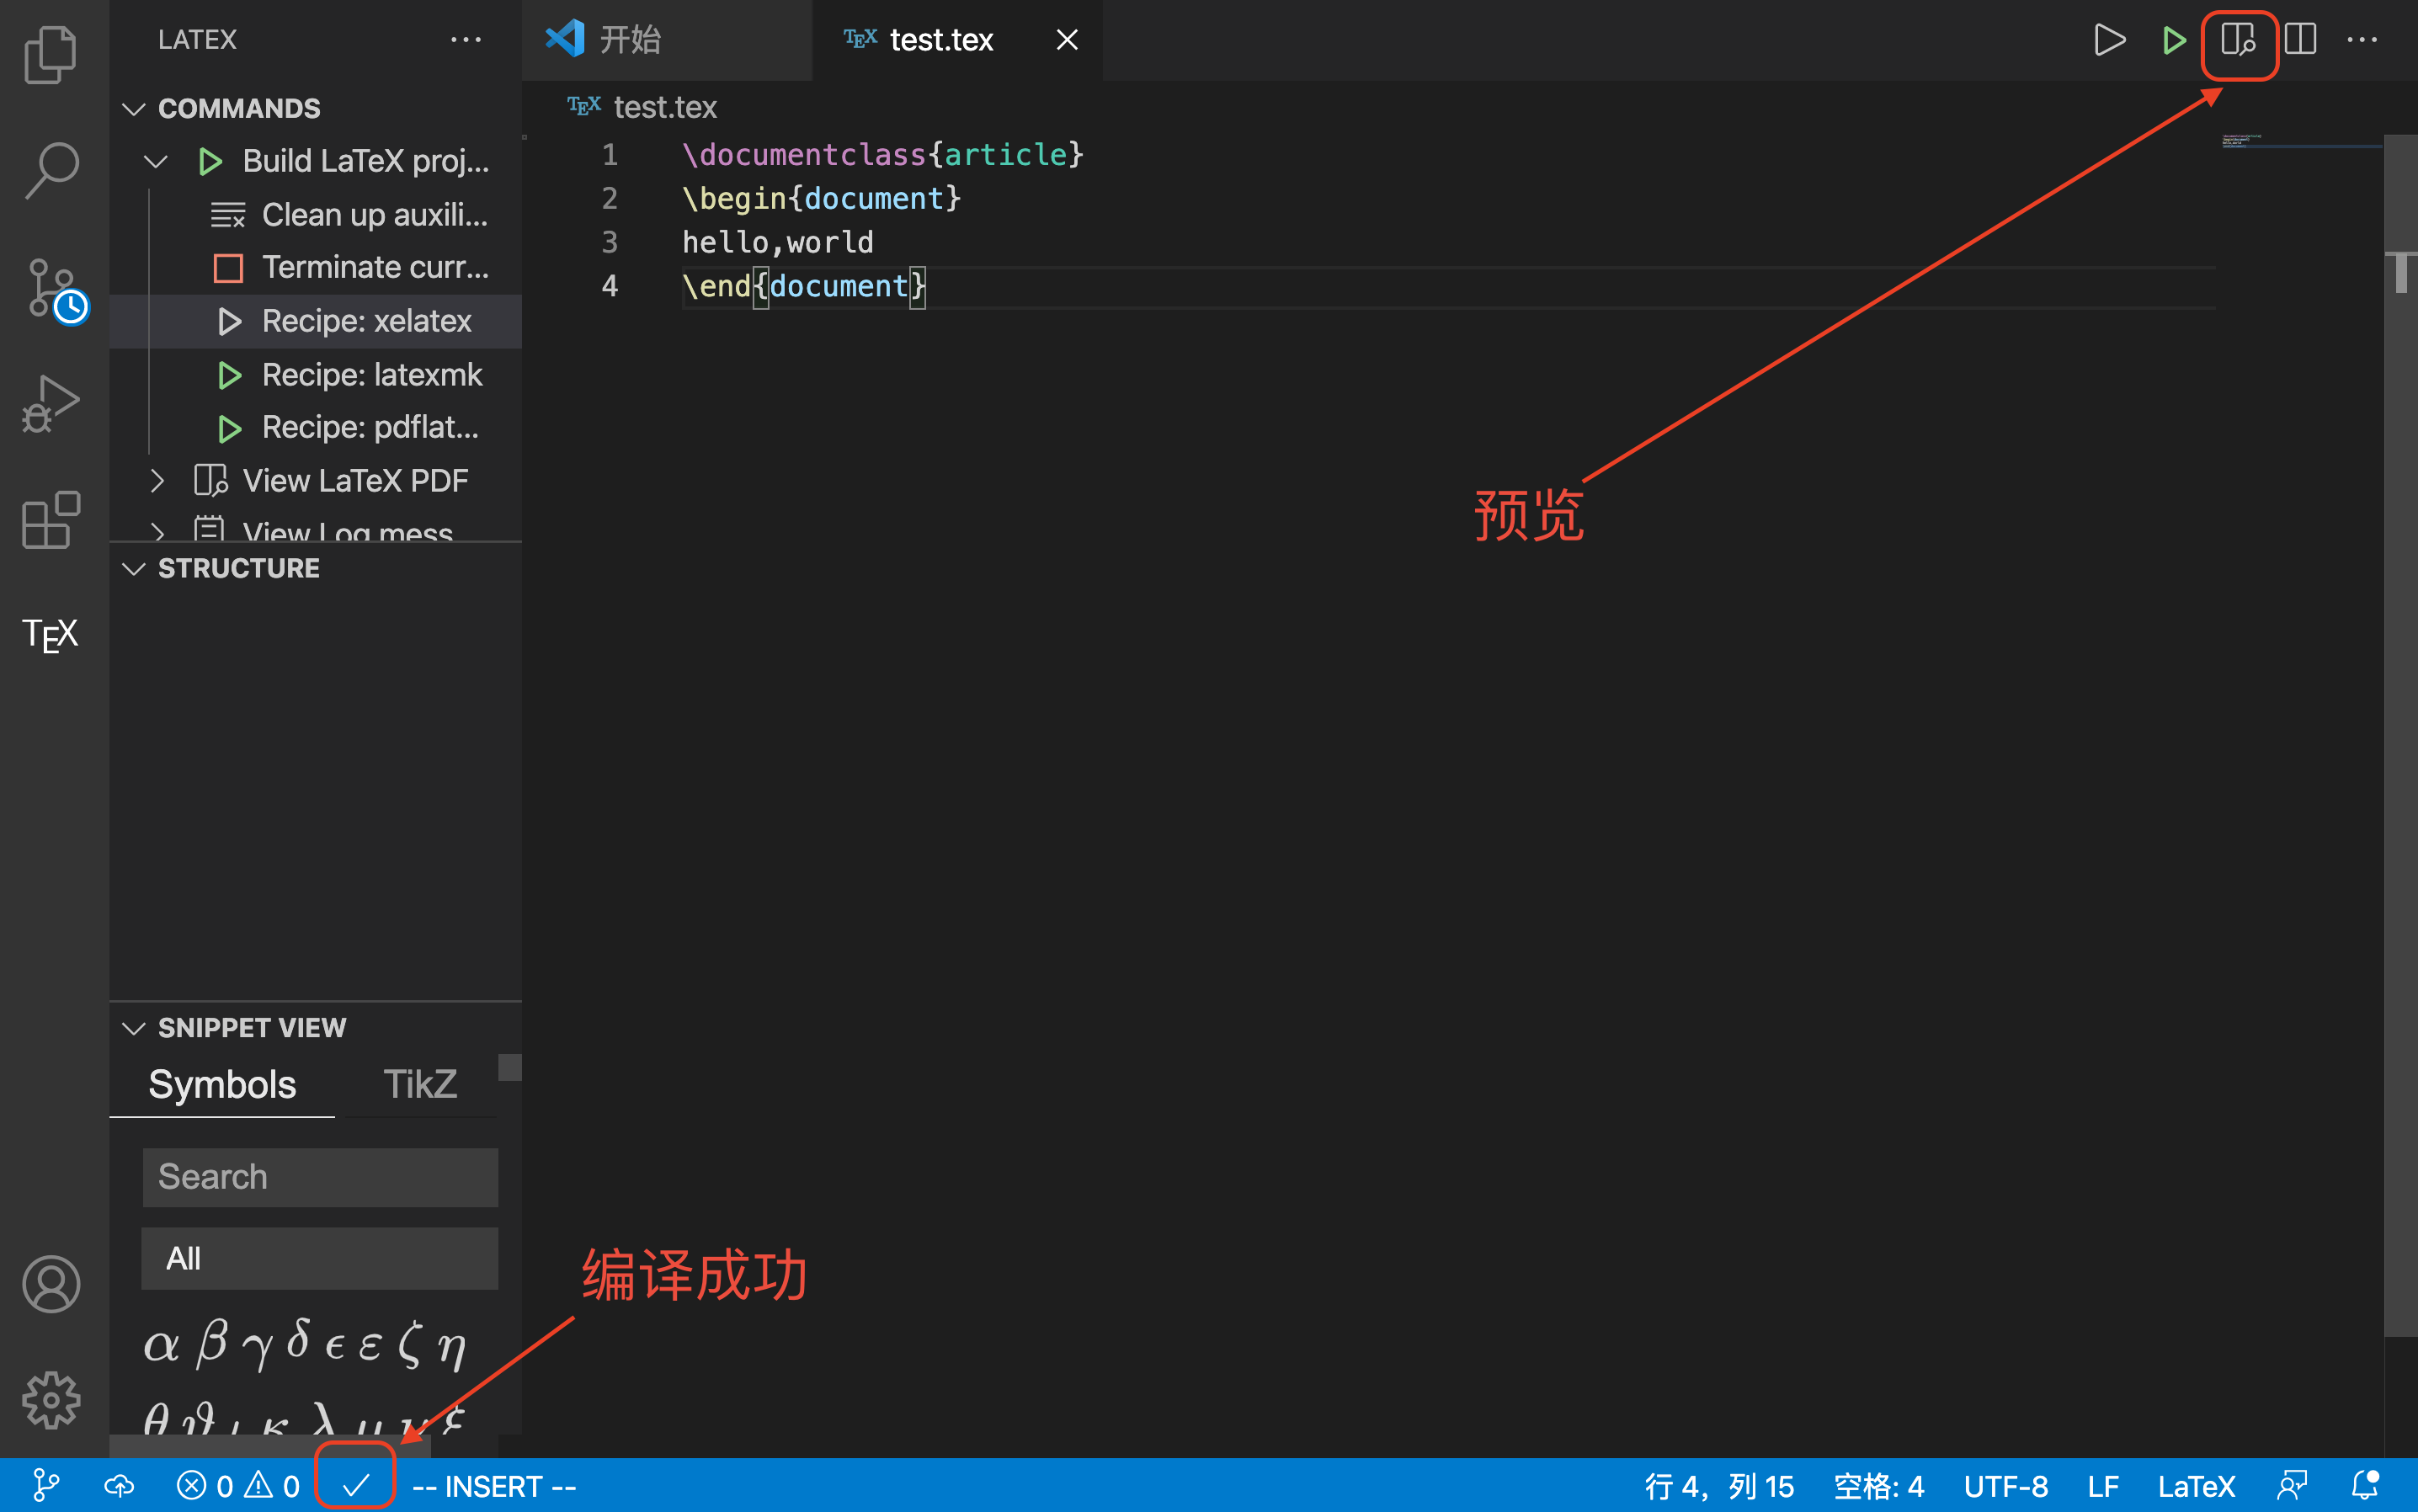
Note: when you change the TeX document, you need to compile it before previewing it. Otherwise, the content is still the content before modification
Preview effect in VSCode interface:
-
be accomplished!