Introduction to Podman
K8s has become the industry standard. If k8s is too complex, you can use Ranger 2.0 + to simplify the operation and maintenance of k8s.
In CentOS 8, the default container is podman, which is no longer a docker. You can quickly manage images (similar to Time Machine with system), quickly create container environment from images (similar to virtual machine, but not simulating hardware layer), or quickly create images from containers for saving or sharing.
Podman is a daemon free container engine for developing, managing and running OCI containers on Linux systems. Containers can run as root or rootless. In short: alias docker = podman
20 years k8s announced the abandonment of docker
The work originally undertaken by Docker is now basically taken over by the three tools released by red hat, namely Podman, Skopeo and Buildah. Neither of them requires a daemon or access to the root permission group
Podman (Pod Manager) is a fully functional container engine. It is a simple non Guardian tool. Podman provides a docker cli like command line that simplifies conversion from other container engines and allows management of pods, containers, and images.
Libpod is a tool and library for creating container pods. It contains the pod management tool Podman, which manages pods, containers, container images and container volumes.
Podman was CRI-O Part of the project was later separated into a separate project called libpod . The use experience of Podman is similar to that of Docker, except that Podman does not have the beauty of daemon[ ˈ di ː m ə n]
Therefore, podman is relatively simple and rough. Instead of using Daemon, it starts the container directly through OCI runtime (runc by default), so the process of the container is a child process of podman.
Why does podman appear?
The emergence of docker solves the following fundamental problems: it solves the complexity of manual matching between different environments;
However, Docker has a headache: "Docker daemon occupies 100% CPU resources on multiple cores and causes the host to be unable to use normally."
Podman does not require a daemon or access to the root permission group. Podman can replace most subcommands (run, push, pull, etc.). Since no daemon is required and the user namespace is used to simulate the root in the container, podman does not need to access the socket with root permission - which solves the long-standing problem faced by Docker.
Build podman
System environment
[root@xinsz08-20 ~]# uname -r
4.18.0-80.el8.x86_64

[root@xinsz08-20 ~]# cat /etc/redhat-release
CentOS Linux release 8.0.1905 (Core)
The system used by our company
Update dnf
Note: dnf is similar to yum. It is the built-in software manager in CentOS 8
[root@xinsz08-20 ~]# dnf update -y && dnf makecache
Install podman
[root@xinsz08-20 ~]# dnf install podman -y
[root@xinsz08-20 ~]# podman -v
podman version 2.2.1
Build wordpress initial container
After Podman is installed, we choose to build WordPress based on Centos 8 image.
You can also directly find the image of WordPress in the Docker Hub (Podman compatible Docker), which will be faster,
But, we say, operation and maintenance is a toss!
So let's take another step to understand the specific structure, such as adding https, or building multiple WordPress and other customized requirements.
First, you can try to search the image of centos 8 with podman to build WordPress later. Sometimes you can't find the official image directly through podman search centos:8.
Find the image of centos8
[root@xinsz08-20 ~]# podman search centos:8
INDEX      NAME                                         DESCRIPTION                                      STARS   OFFICIAL  AUTOMATED
docker.io  docker.io/yozhi/centos                       add some common tools to  image centos:8.2.2...  0
docker.io  docker.io/dongyupu/jira-software             tag 8.5.0 : centos:8(openjdk-1.8.0) tag 8.3....  0
docker.io  docker.io/vssware/gmssl                      Base On vssware/centos:8                         1
docker.io  docker.io/vssware/python                     be based on *vssware/centos:8* Mirror creation, make...                  0
docker.io  docker.io/images4dev/centos8                 Based off the official CentOS:8.1.1911 image...  0
docker.io  docker.io/mizux/ortools                      Simple python ortools inside a centos:8 dock...  0
docker.io  docker.io/jlkinsel/centos-polylinux-example  Example of a centos:8.1.1911 that's had pack...  0
docker.io  docker.io/thanasan/centos8-systemd           Linux CentOS:8 systemd                           0
docker.io  docker.io/mohitaga98/centos1                 centos:8 with additional internal commands(p...  0
docker.io  docker.io/meghna98/centos_with_httpd         Centos:8 images with httpd installed             0
Download CentOS 8
[root@xinsz08-20 ~]# podman pull centos:8
View images pulled locally
[root@xinsz08-20 ~]# podman  images
REPOSITORY                TAG     IMAGE ID      CREATED       SIZE
docker.io/library/centos  8       300e315adb2f  4 months ago  217 MB
[root@xinsz08-20 ~]# podman  image ls
REPOSITORY                TAG     IMAGE ID      CREATED       SIZE
docker.io/library/centos  8       300e315adb2f  4 months ago  217 MB
[root@xinsz08-20 ~]#
Create container based on image
Use podman run --help to view specific parameters
– name mywordpress name the container mywordpress
-dit is a combination of three options, which mainly ensures that it can run in the background
-p means mapping a server port to a container, for example, mapping port 80 to the default port for http
443 default port for https
/sbin/init gives the container the authority of systemctl and other commands to facilitate subsequent management
[root@xinsz08-20 ~]# podman run --name mywordpress -dit -p 80:80 -p 443:443 centos:8 /sbin/init
View the status of all current containers
[root@xinsz08-20 ~]# podman ps -a   ## View all containers
CONTAINER ID  IMAGE                       COMMAND     CREATED         STATUS             PORTS                                     NAMES
f42545980324  docker.io/library/centos:8  /sbin/init  25 seconds ago  Up 22 seconds ago  0.0.0.0:80->80/tcp, 0.0.0.0:443->443/tcp  mywordpress
[root@xinsz08-20 ~]# podman ps   ## View running containers
CONTAINER ID  IMAGE                       COMMAND     CREATED         STATUS             PORTS                                     NAMES
f42545980324  docker.io/library/centos:8  /sbin/init  30 seconds ago  Up 27 seconds ago  0.0.0.0:80->80/tcp, 0.0.0.0:443->443/tcp  mywordpress
[root@xinsz08-20 ~]#
Enter container
Use the command to enter the container
bash-comletition
[root@xinsz08-20 ~]# podman exec -it d7e62f7cf5c6 bash[root@f42545980324 /]#
You can see the host name change on the xshell

Check the hostname
[root@f42545980324 /]# hostnamef42545980324
Build wordpress
Note: dnf update is not recommended in the container, which will make the container much larger unnecessarily
First, we install the required software and services
- mariadb is a database, and other databases can also be used. It is used to store data information such as articles and users in wordpress
- httpd is an apache website service, and wordpress can choose to build on apache. Of course, you can also choose to use nigix.
- php is a wordpress based scripting language
- wget is a common download tool, which will be used to download wordpress packages later
[root@f42545980324 /]# dnf install mariadb mariadb-server httpd httpd-tools php php-cli php-json php-gd php-mbstring php-pdo php-xml php-mysqlnd php-pecl-zip wget -y
Start the installed Service
[root@f42545980324 /]# systemctl start httpd[root@f42545980324 /]# systemctl start mariadb[root@f42545980324 /]# systemctl enable httpdCreated symlink /etc/systemd/system/multi-user.target.wants/httpd.service → /usr/lib/systemd/system/httpd.service.[root@f42545980324 /]# systemctl enable mariadbCreated symlink /etc/systemd/system/mysql.service → /usr/lib/systemd/system/mariadb.service.Created symlink /etc/systemd/system/mysqld.service → /usr/lib/systemd/system/mariadb.service.Created symlink /etc/systemd/system/multi-user.target.wants/mariadb.service → /usr/lib/systemd/system/mariadb.service.[root@f42545980324 /]#
View status
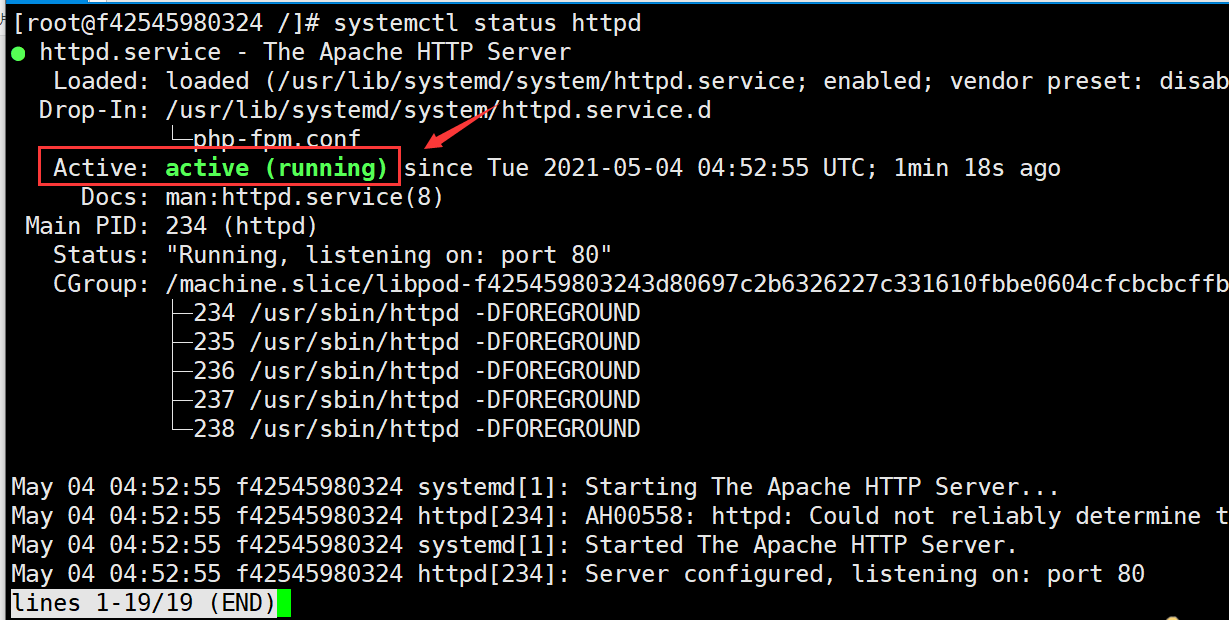
: q you can exit to the non viewing state;
If the status is in active, it means that there are some problems, which may be a configuration problem (but it has not been configured at present, but it may be encountered later. At that time, you can determine the problem by viewing the log with error prompt), or there may be insufficient memory. You can use top to check the memory status.
Configuration database
Enter the database:
[root@f42545980324 /]# mysql -uroot -pEnter password:
The name of the mywordpress database can be customized, but it should be remembered that the following is required for configuring wordpress:
MariaDB [(none)]> create database mywordpress;Query OK, 1 row affected (0.001 sec)MariaDB [(none)]> GRANT ALL ON mywordpress.* TO 'wordpressuser'@'localhost' IDENTIFIED BY 'mywordpresspassword';Query OK, 0 rows affected (0.000 sec)MariaDB [(none)]> flush privileges;Query OK, 0 rows affected (0.000 sec)
Download wordpress
WordPress is a page service written in php and runs on the web server (apache or nigx), so it does not need to be installed. Management is almost no different from managing a pile of web files.
Here, choose to install to / var/www
[root@f42545980324 /]# cd /var/www/[root@f42545980324 www]# wget https://wordpress.org/latest.tar.gz
[root@f42545980324 www]# lscgi-bin html latest.tar.gz[root@f42545980324 www]#
decompression
[root@f42545980324 www]# tar xf latest.tar.gz [root@f42545980324 www]# ls -l total 15388drwxr-xr-x. 2 root root 6 Nov 4 03:23 cgi-bindrwxr-xr-x. 2 root root 6 Nov 4 03:23 html-rw-r--r--. 1 root root 15750352 Apr 15 02:08 latest.tar.gzdrwxr-xr-x. 5 nobody nobody 4096 Apr 15 02:08 wordpress[root@f42545980324 www]#
At this time, the folder belongs to nobody. You need to modify it to apache and give permissions so that WordPress can modify its configuration or update it automatically.
First, change the owner to apache and the group to which you belong to to to apache- The R parameter indicates recursive modification, which will modify all files in the folder together, - f means no error message, and F can be omitted.
775 corresponds to apache and apache groups, which are readable, writable and executable, while other groups are readable, non writable and executable
[root@f42545980324 www]# chown -Rf apache:apache ./wordpress/[root@f42545980324 www]# chmod -Rf 775 ./wordpress/
Configuring apache
[root@f42545980324 www]# cd /etc/httpd/[root@f42545980324 httpd]# lsconf conf.d conf.modules.d logs modules run state[root@f42545980324 httpd]#
Conf is the main configuration folder. apacha will preferentially load the configuration file httpd.conf when running. You can view its configuration. Each official article has its own detailed remarks and instructions.
conf.d is an additional configuration folder. According to the configuration in httpd.conf, Apache will load all files ending in. Conf by default.
conf.modules.d is the module configuration folder. According to the configuration in httpd.conf, Apache will also load all files ending in. Conf by default. Some common module configurations such as ssl and webdav are located in this folder.
Our wordpress configuration can be placed in conf.d. first, go to conf.d and use vi to create and edit the configuration file:
[root@f42545980324 httpd]# cd /etc/httpd/conf.d/[root@f42545980324 conf.d]# vim mywordpress.conf #Not yet vimbash: vim: command not found[root@f42545980324 conf.d]# vi mywordpress.conf[root@f42545980324 conf.d]#
Stick into the lower configuration
Service listening port 80
The service root folder is / var/www/wordpress
Configure service permissions and jump methods for folders
[root@f42545980324 conf.d]# cat mywordpress.conf <VirtualHost *:80> ServerAdmin root@localhost DocumentRoot /var/www/wordpress <Directory "/var/www/wordpress"> Options Indexes FollowSymLinks AllowOverride all Require all granted </Directory> ErrorLog /var/log/httpd/wordpress_error.log CustomLog /var/log/httpd/wordpress_access.log common</VirtualHost>
When finished, Esc enters the normal mode of vi and types: wq save and exit.
Then restart the apache service
[root@f42545980324 conf.d]# systemctl restart httpd
Configure wordpress
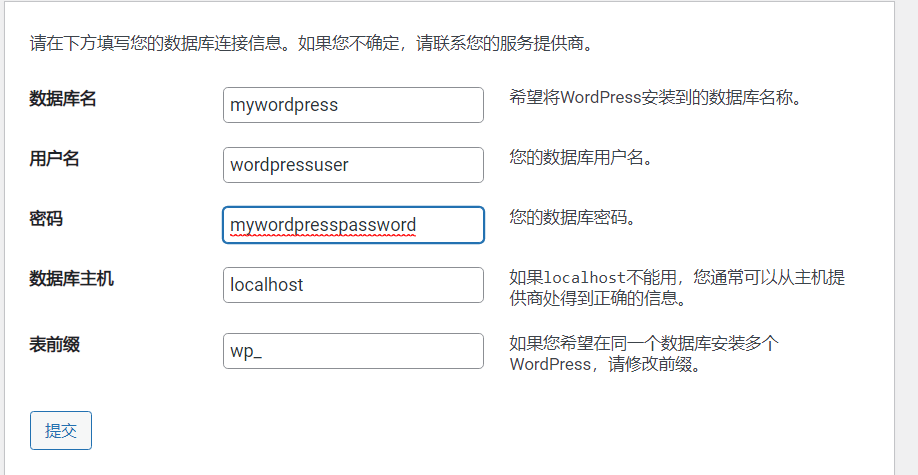
Required when configuring wordpress through page side access:
wordpressuser
mywordpresspassword
mywordpress
[root@d7e62f7cf5c6 wordpress]# vi wp-config-sample.php
vim define( 'DB_NAME', 'mywordpress' ); 24 25 /** MySQL database username */ 26 define( 'DB_USER', 'wordpressuser' ); 27 28 /** MySQL database password */ 29 define( 'DB_PASSWORD', 'mywordpresspassword' ); 30 31 /** MySQL hostname */ 32 define( 'DB_HOST', 'localhost' );
cp wp-config-sample.php wp-config.php
Enter the IP of the virtual machine for configuration
192.168.1.20

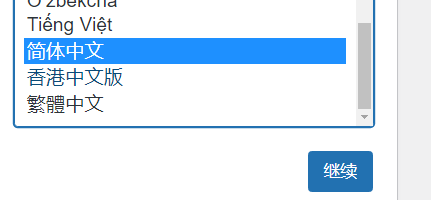
Select Chinese
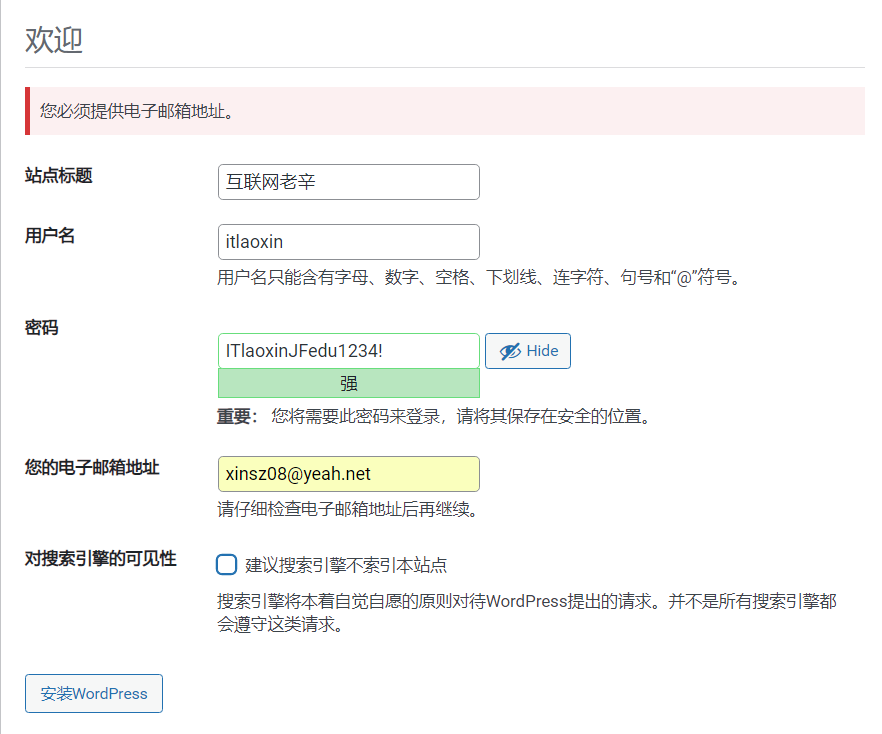
ITlaoxinJFedu1234!
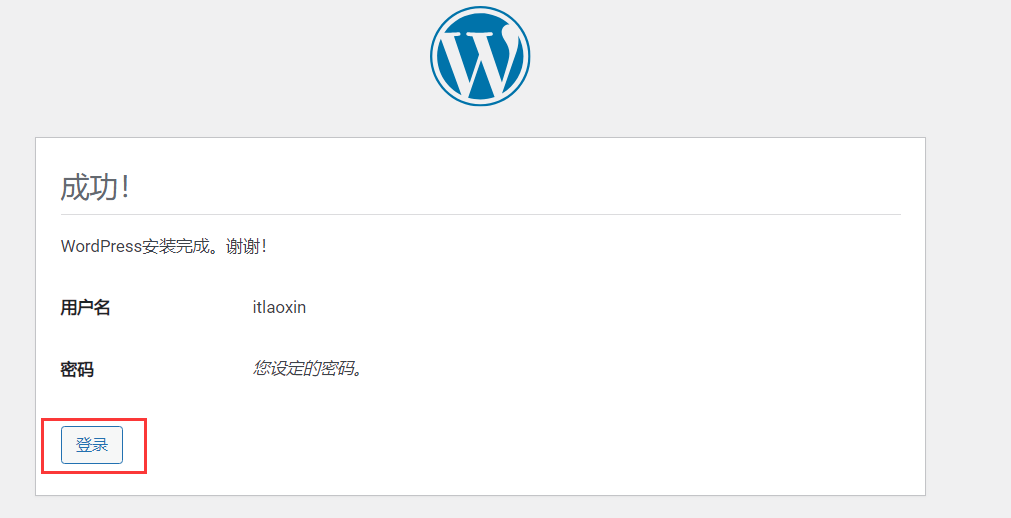
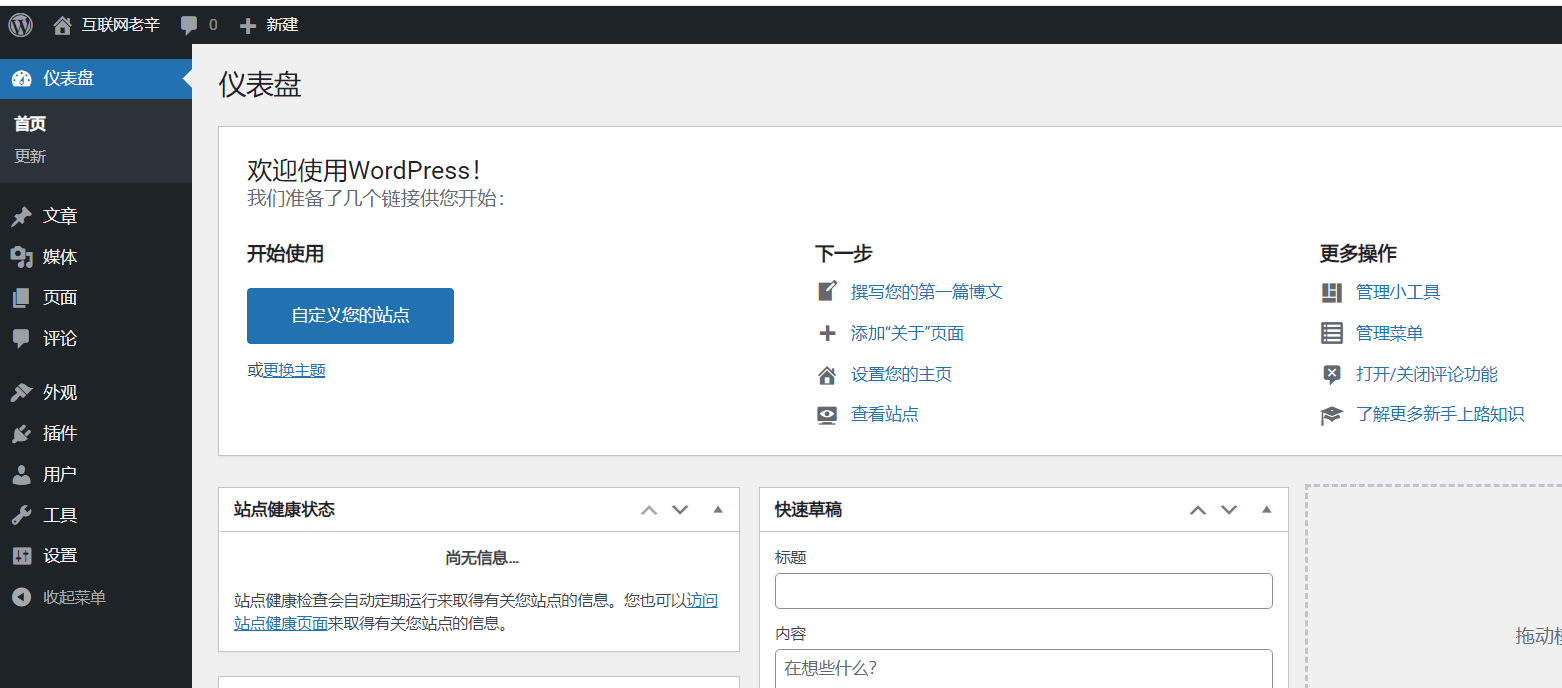
Enter the user name and password to enter the background.
Summary:
podman is the second half of the container. We must practice more