jprofile installation
-
Linux Server Installation
Official website address Choose: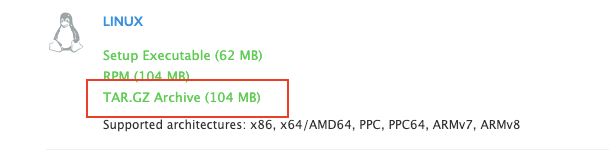
After downloading, upload to the server under test under / opt, decompress, renamed: jprofiler11 -
Local Installation Client
mac Cracked Edition Download Address
Download and install according to the tutorial on the web page.
Configuration and startup
- Server-side configuration
- Configure the / etc/profile file and add the following
export INSTALL4J_JAVA_HOME=/server/jdk1.8.0_151/jre  #jdk installation directory
export LD_LIBRARY_PATH=/opt/jprofiler11/bin/linux-x86  #jprofile installation directory
Then source it for immediate effect:
# source /etc/profile
- Enter the / opt/jprofiler11/bin directory and execute:
# sudo -u tomcat /opt/jprofiler11/bin/jpenable
If the following error occurs:
No suitable Java Virtual Machine could be found on your system.
The version of the JVM must be at least 1.6 and at most 11.
Please define INSTALL4J_JAVA_HOME to point to a suitable JVM.
You need to modify the jpenable file and execute: vim jpenable edits the file. The modification is as follows:
# Uncomment the following line to override the JVM search sequence
 INSTALL4J_JAVA_HOME_OVERRIDE=/server/jdk1.8.0_151/
# Uncomment the following line to add additional VM parameters
# INSTALL4J_ADD_VM_PARAMS=
Execution again, success. First select mode: 1, then enter the connection port number: 8849:
# sudo -u tomcat /opt/jprofiler11/bin/jpenable
Connecting to /server/application/xw-web/ef9c48.../jprofiler11/bin/agent.jar [20480] ...
Please select the profiling mode:
GUI mode (attach with JProfiler GUI) [1, Enter]
Offline mode (use config file to set profiling settings) [2]
1
Please enter a profiling port
[35634]
8849
You can now use the JProfiler GUI to connect on port 8849
- The configuration of jprofile needs to be added at service startup: - agent lib: jprofilerti = port = 8849 - Xboot classpath / a:/opt/jprofiler11/bin/agent.jar
//First query the project startup process and kill it
# ps -ef | grep /server/application/xw-web |grep -v grep|grep tomcat|awk '{print $2}'
19205
# kill -s 9 19205
//Enter the project package storage directory and execute the startup command
# su - tomcat -c 'nohup java -Dserver.port=8080 -server -Xms256M -Xmx512M -Xmn128M -XX:MetaspaceSize=128M -XX:MaxMetaspaceSize=256M -Xss512k -XX:+DisableExplicitGC -XX:SurvivorRatio=8 -XX:MaxTenuringThreshold=10 -XX:+UseConcMarkSweepGC -XX:+UseParNewGC -XX:+CMSParallelRemarkEnabled -XX:+CMSClassUnloadingEnabled -XX:LargePageSizeInBytes=128M-XX:+UseFastAccessorMethods -XX:CMSInitiatingOccupancyFraction=70 -XX:+HeapDumpOnOutOfMemoryError -XX:HeapDumpPath=/server/application/xw-web/logs/ -Djava.io.tmpdir=/server/application/xw-web/temp -Dspring.profiles.active=perf -jar /server/application/xw-web/ef9c483.jar>>/server/application/xw-web/logs/catalina.out -agentlib:jprofilerti=port=8849 -Xbootclasspath/a:/opt/jprofiler11/bin/agent.jar 2>&1 &'
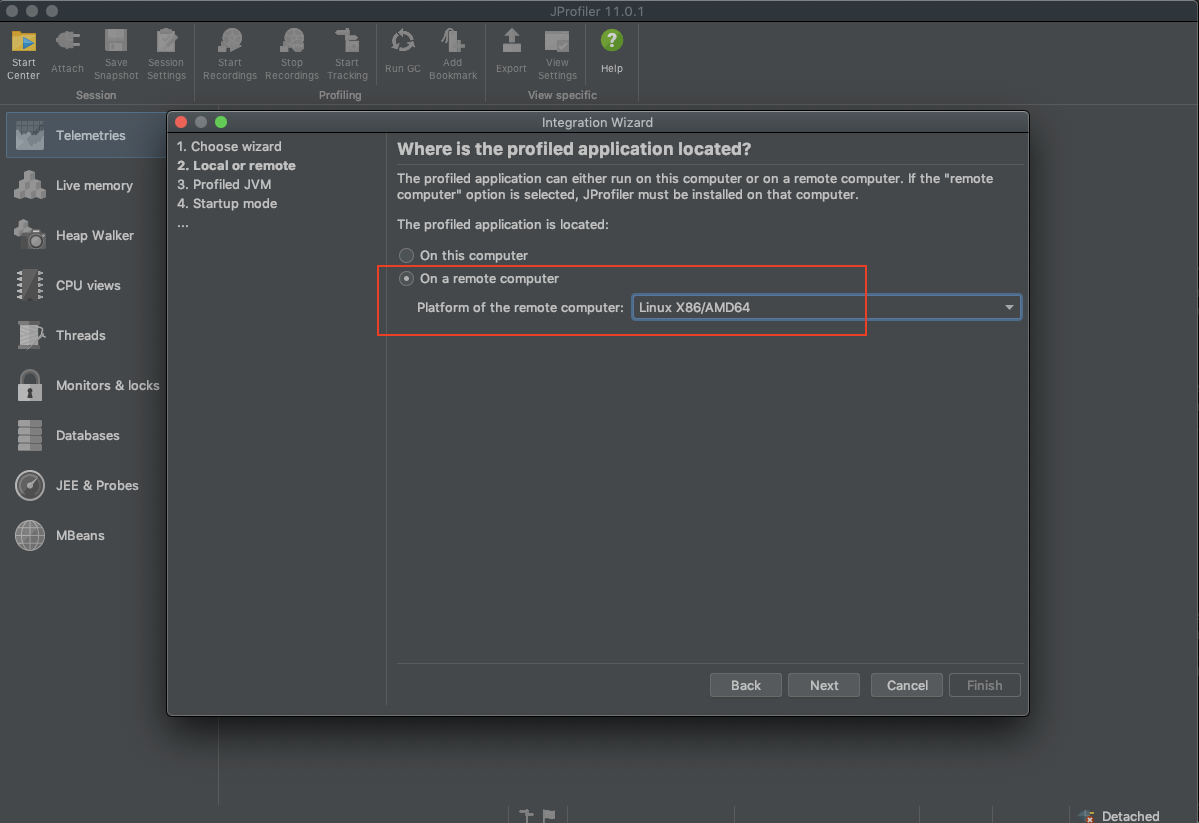
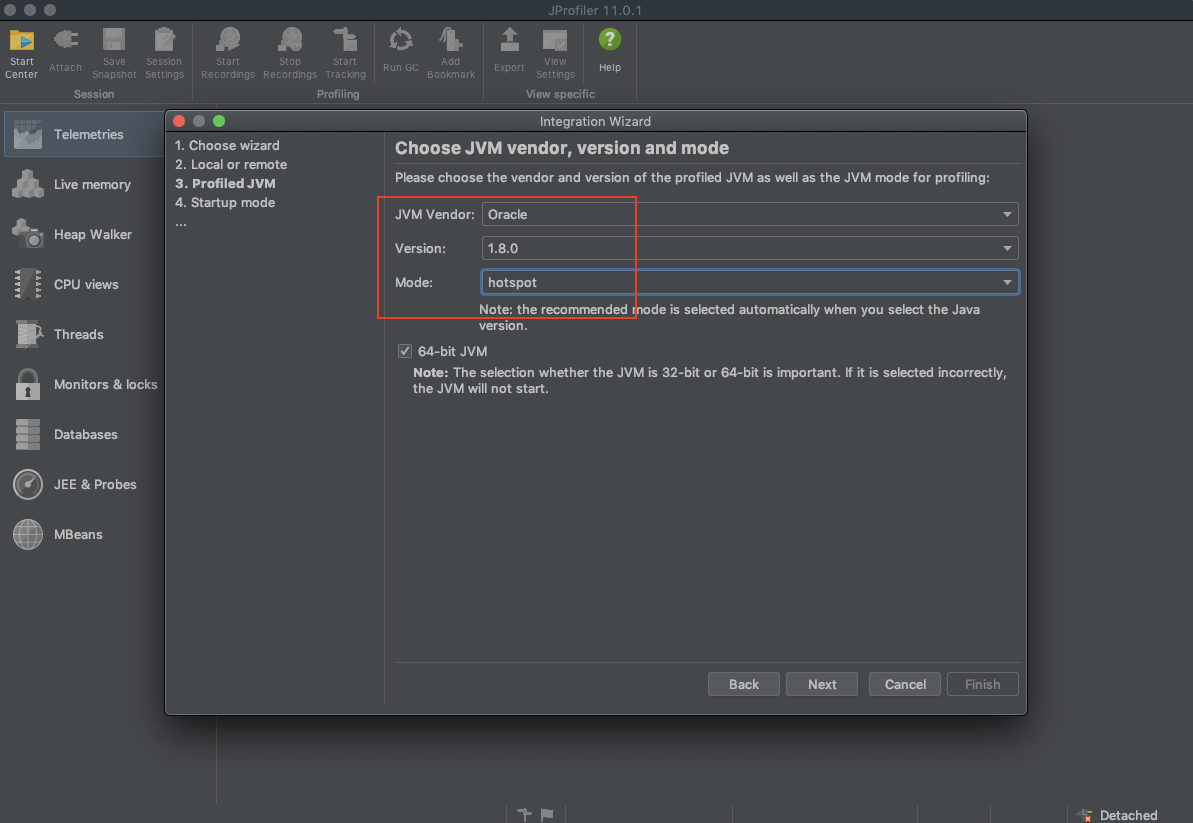
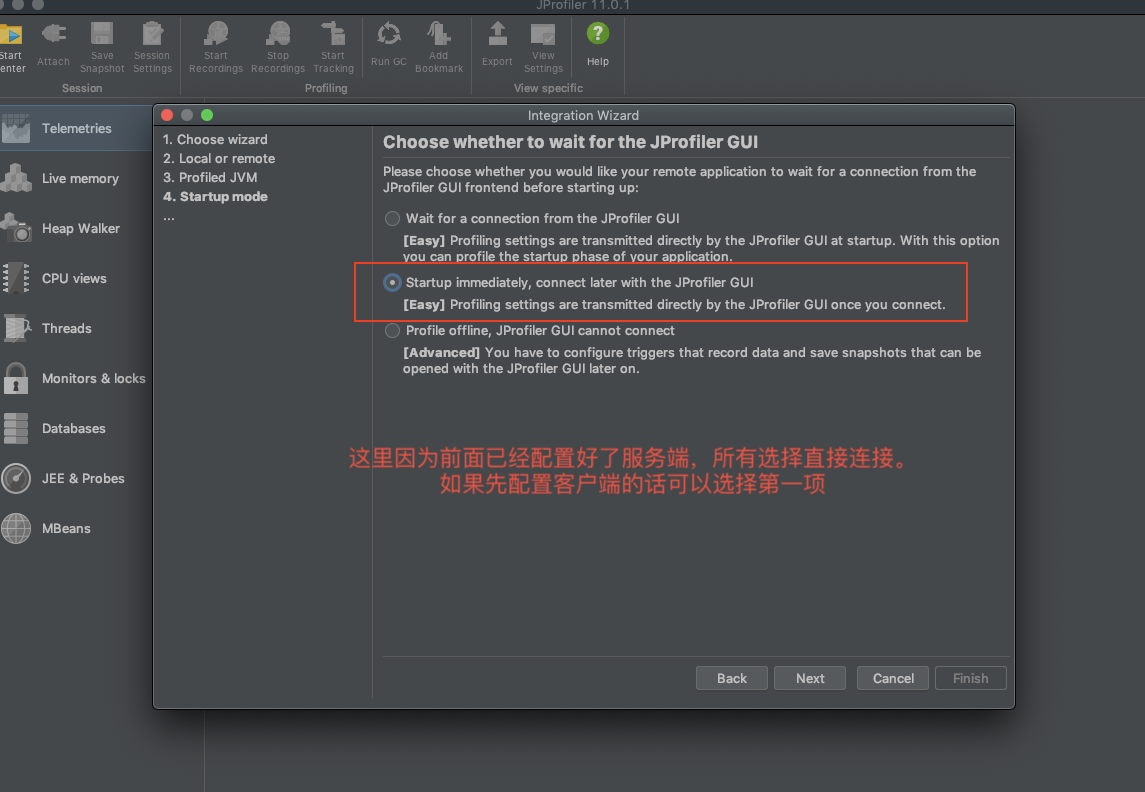
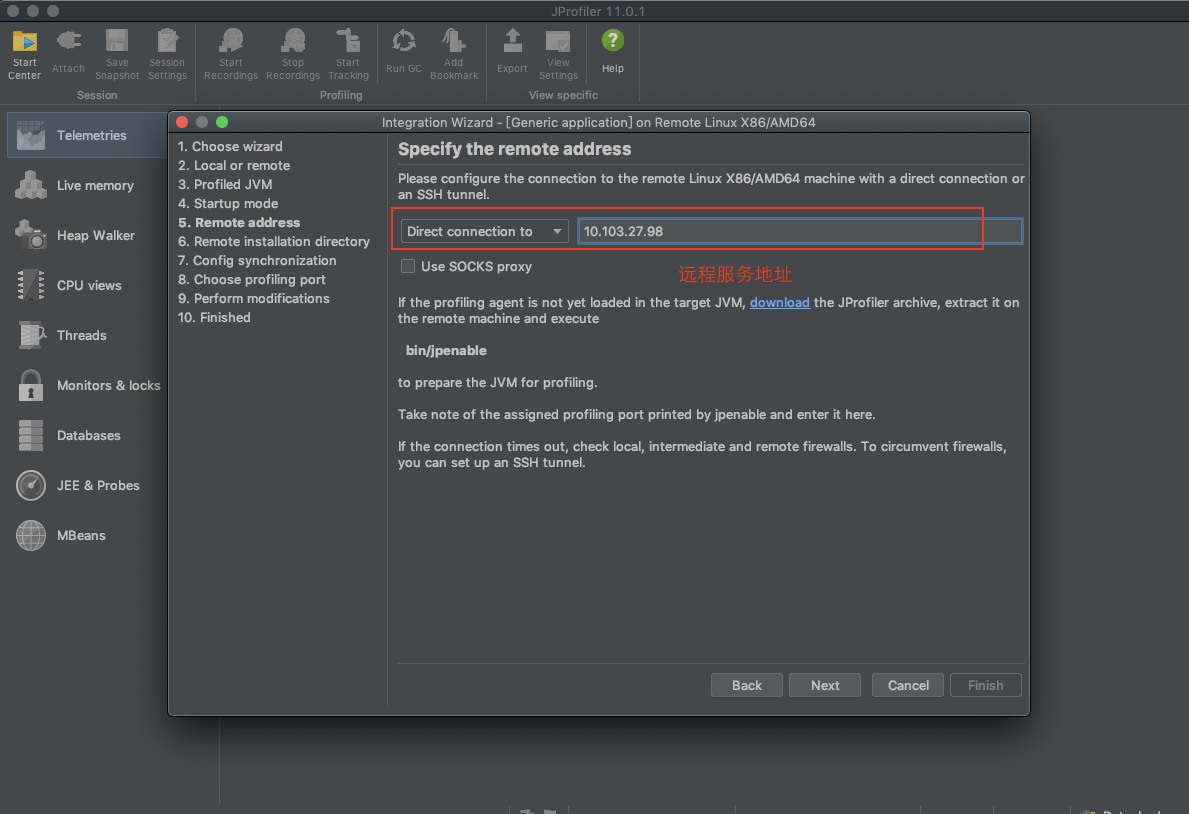
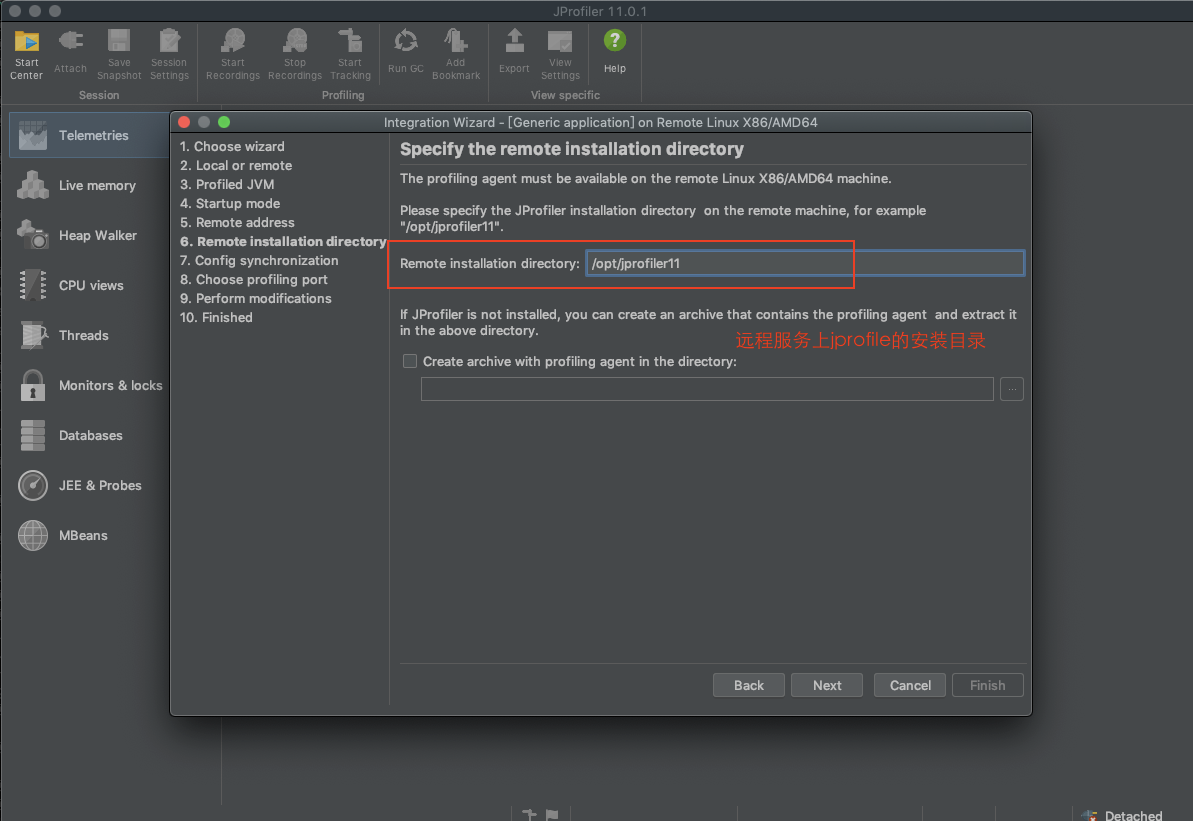
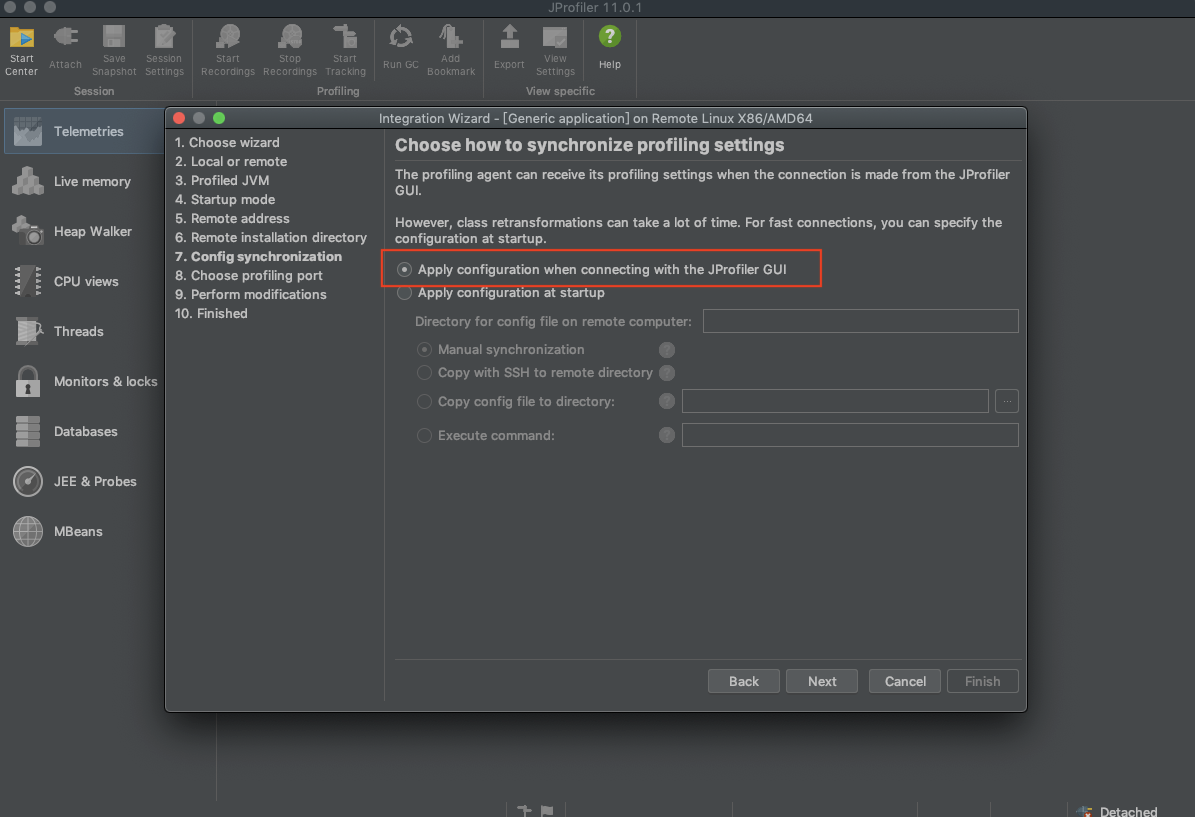
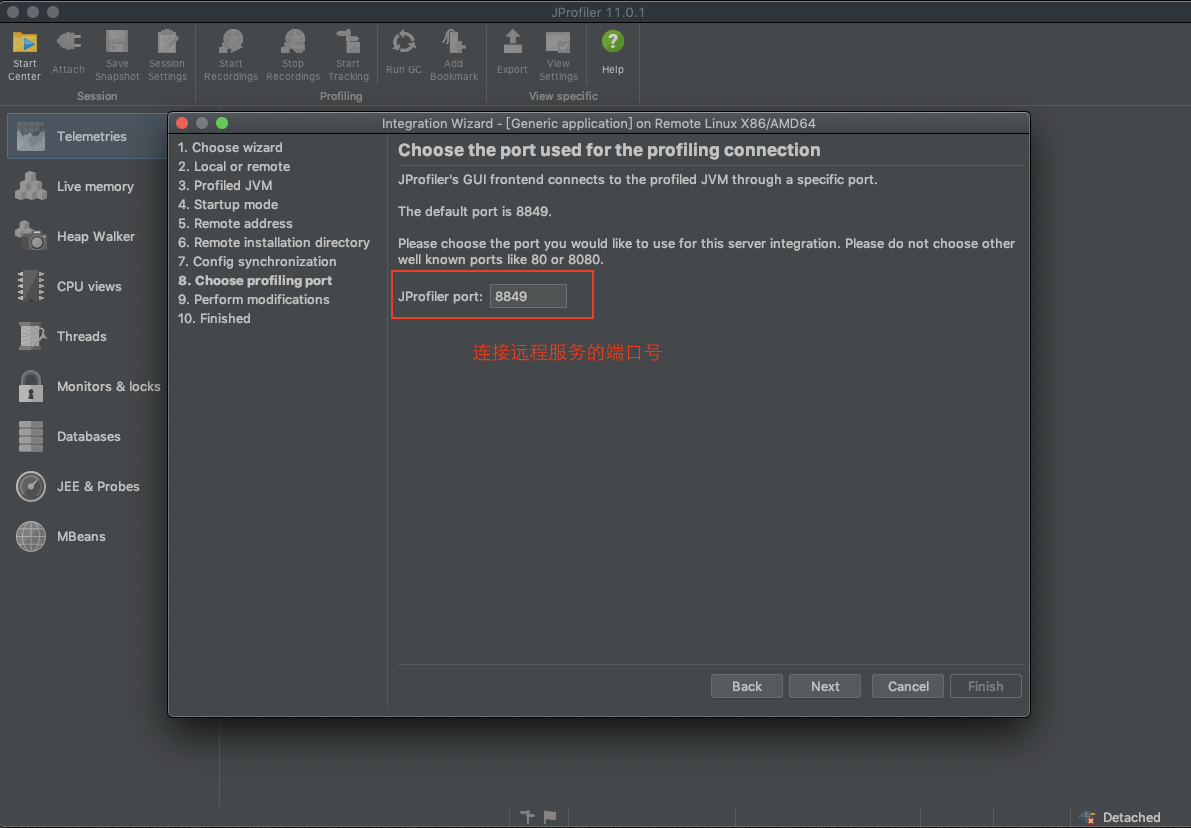
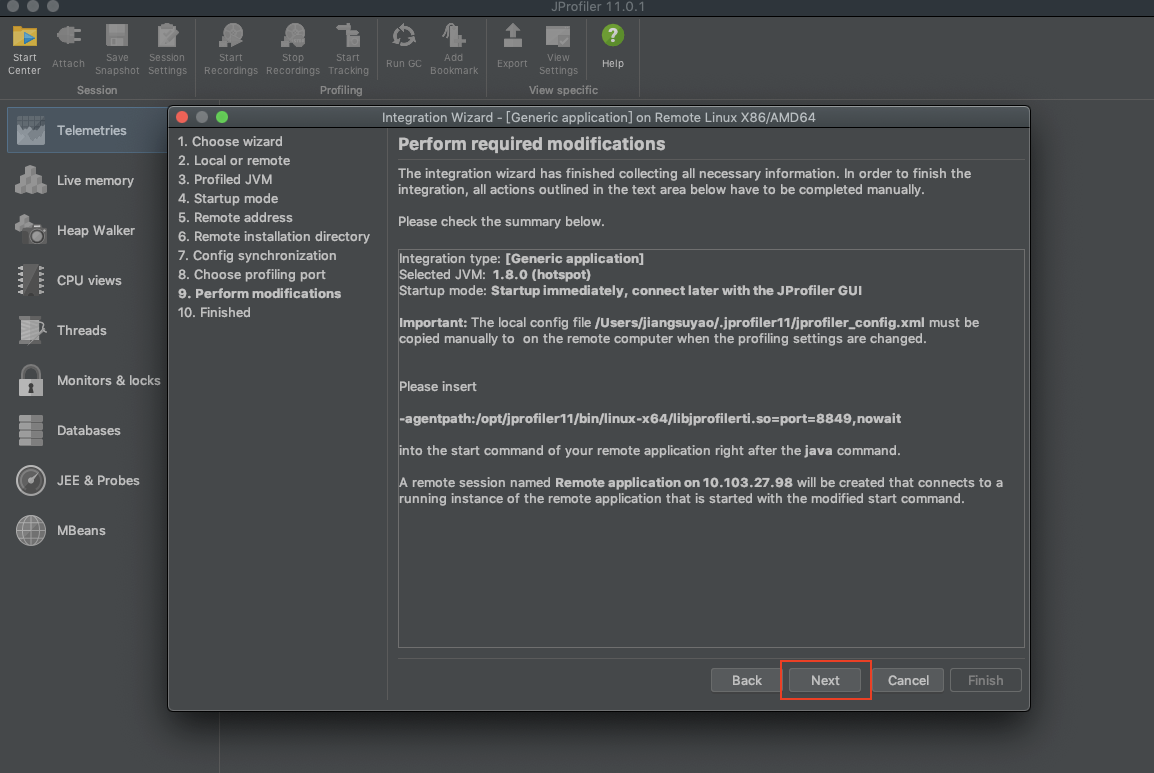
- Client Configuration
The specific operation is as follows: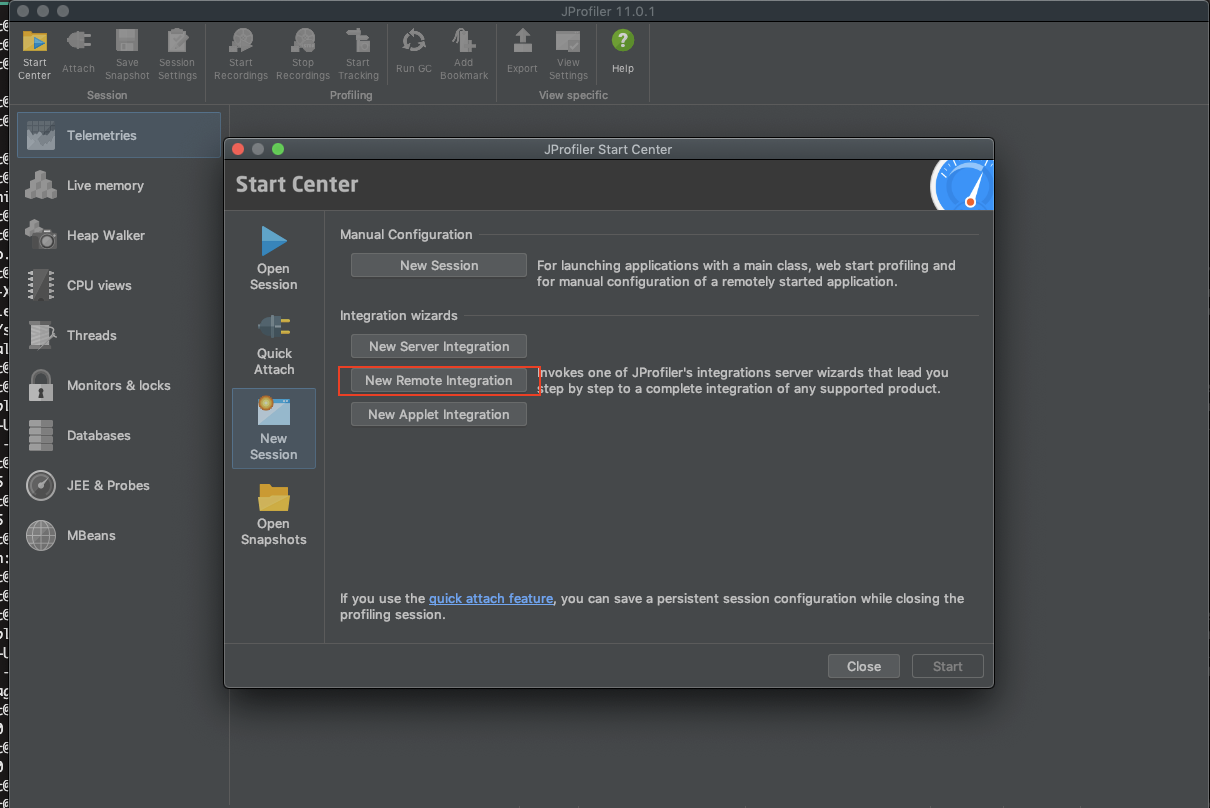
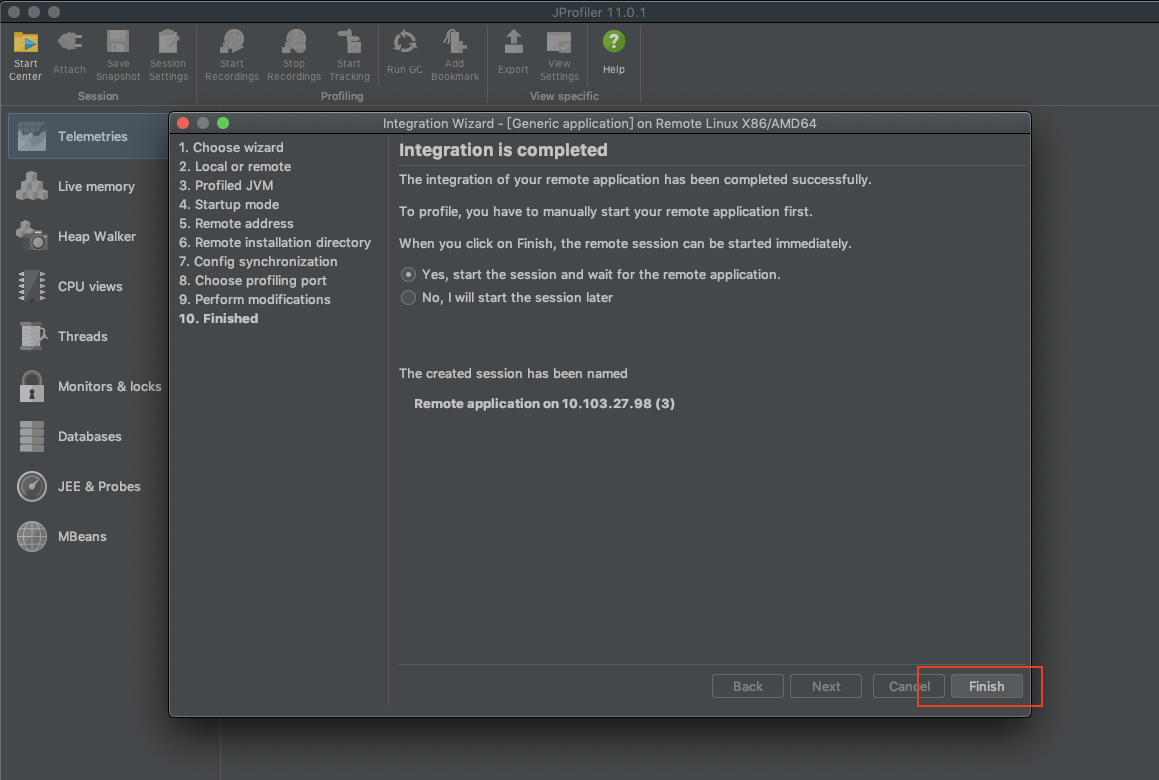
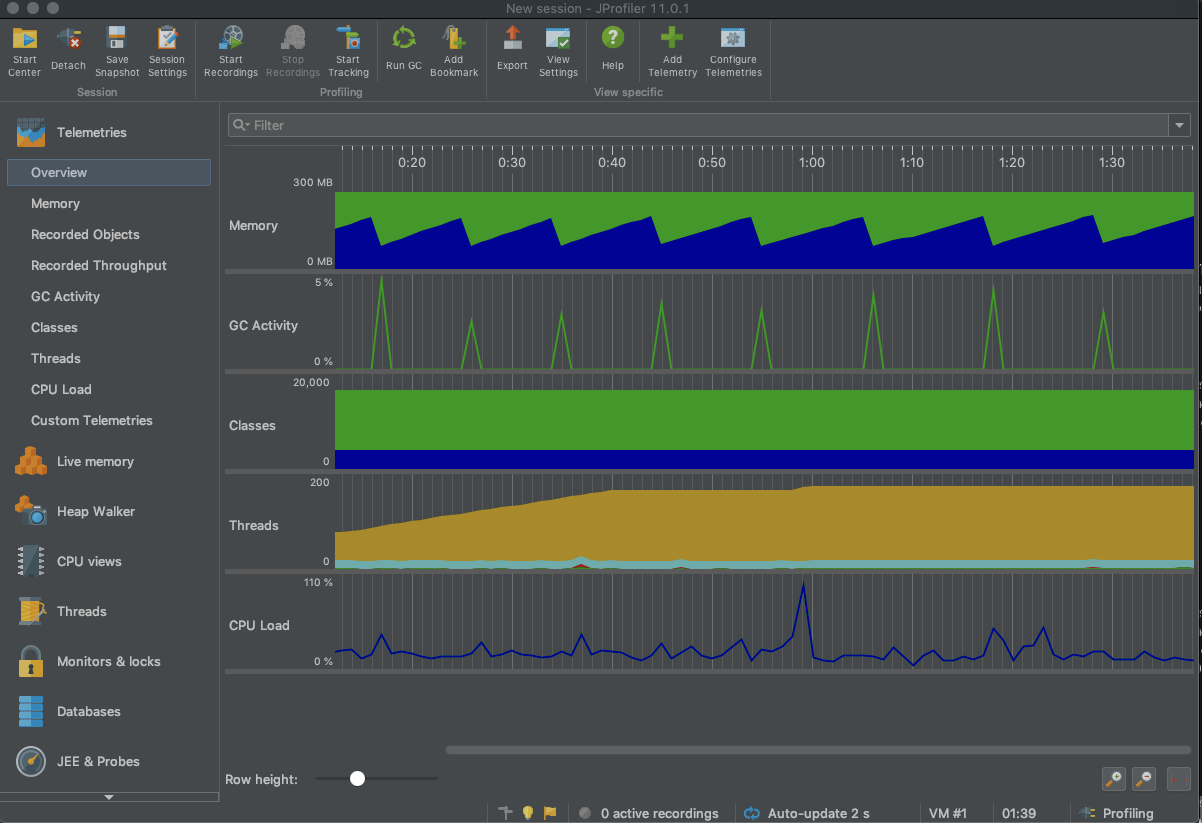
When the configuration is complete, you can see the monitoring data on the server: