Link to the original text: http://www.itbus.tech/detail.html?id=8739
Preparing knowledge
- Install Docker (version minimum 1.13).
- Read through Docker's Six Initials - Swarm And complete the content introduced in it.
- Copy a copy of docker-compose.yml.
- Make sure your virtual machines are available. Use docker-machines to view, execute docker-machine start myvm1 to start the management node, and execute docker-machine start myvm2 to start the working node.
introduce
stay Docker's Six Initials - Swarm We learned how to configure a swarm cluster and how to deploy applications on a swarm cluster.
Now we begin to understand stack, the highest level in the Docker hierarchy. A stack is a combination of related services that can be organized and managed together.
We are Docker's Six Initials - Swarm A single service is deployed. Now let's try to deploy multiple services.
Adding services to docker-compose.yml is simple. First, we add a visual service to monitor which containers are running in our swarm.
1. Edit docker-compose.yml and use your own username and mirror name instead of mine:
version: "3"
services:
  web:
    # replace username/repo:tag with your name and image details
    image: username/repo:tag
    deploy:
      replicas: 5
      restart_policy:
        condition: on-failure
      resources:
        limits:
          cpus: "0.1"
          memory: 50M
    ports:
      - "80:80"
    networks:
      - webnet
  visualizer:
    image: dockersamples/visualizer:stable
    ports:
      - "8080:8080"
    volumes:
      - "/var/run/docker.sock:/var/run/docker.sock"
    deploy:
      placement:
        constraints: [node.role == manager]
    networks:
      - webnet
networks:
  webnet:
We just did one thing, adding a service visualizer that is on the same level as web services. You can see something new: volumes, giving the visual service access to the host's socket files; placement, ensuring that the service runs only on swarm's management nodes. This visualization service is an open source project, and you can use a diagram to see the containers running on the entire swarm.
2. Copy this docker-compose.yml to the management node:
docker-machine scp docker-compose.yml myvm1:~3. Deploy using docker stack deploy ment:
$ docker-machine ssh myvm1 "docker stack deploy -c docker-compose.yml getstartedlab"
Updating service getstartedlab_web (id: angi1bf5e4to03qu9f93trnxm)
Updating service getstartedlab_visualizer (id: l9mnwkeq2jiononb5ihz9u7a4)
4. Visualization Services
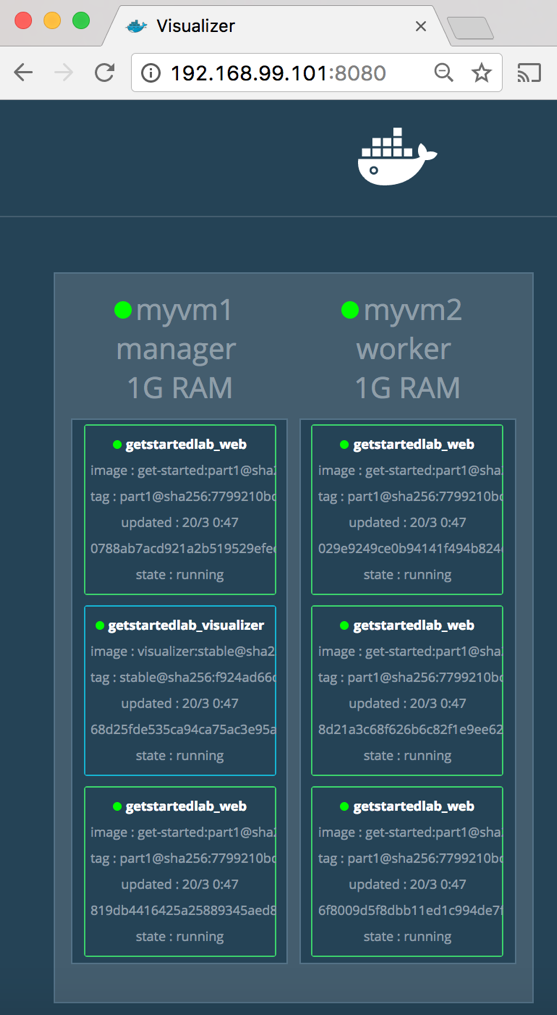
Use docker-machines to view the IP of the virtual machine, open the browser, and access ip:8080: 
Visizer runs normally on the management node, and you can see five web containers running. You can also use docker stacks ps < statck > to verify this:
docker-machine ssh myvm1 "docker stack ps getstartedlab"Persistent data
We continue to add a service to persist data.
1. Edit docker-compose.yml:
version: "3"
services:
  web:
    # replace username/repo:tag with your name and image details
    image: username/repo:tag
    deploy:
      replicas: 5
      restart_policy:
        condition: on-failure
      resources:
        limits:
          cpus: "0.1"
          memory: 50M
    ports:
      - "80:80"
    networks:
      - webnet
  visualizer:
    image: dockersamples/visualizer:stable
    ports:
      - "8080:8080"
    volumes:
      - "/var/run/docker.sock:/var/run/docker.sock"
    deploy:
      placement:
        constraints: [node.role == manager]
    networks:
      - webnet
  redis:
    image: redis
    ports:
      - "6379:6379"
    volumes:
      - ./data:/data
    deploy:
      placement:
        constraints: [node.role == manager]
    networks:
      - webnet
networks:
  webnet:
Redis has an official image, redis, without username/repo. Port 6379, which is pre-configured.
The most important thing is to persist redis data:
+ Make sure redis only runs on the management node, so that redis can run on the same file system.
+ The file path that redis accesses is the same, so that files can be read and stored from this path.
2. Create a redis data persistence path on the management node
$ docker-machine ssh myvm1 "mkdir ./data"3. Upload a new docker-compose.yml
$ docker-machine scp docker-compose.yml myvm1:~4. Redeploy
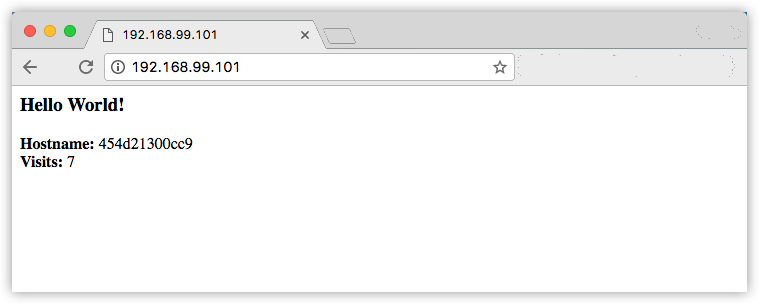
$ docker-machine ssh myvm1 "docker stack deploy -c docker-compose.yml getstartedlab"5. Open the browser and visit http://localhost

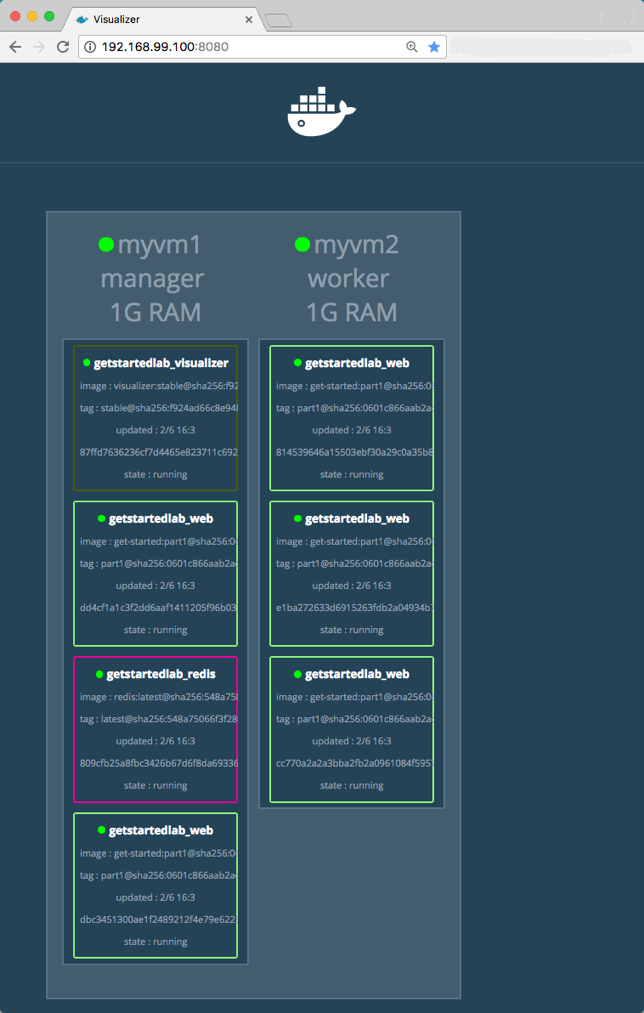
Then use visual izer to check it out. 