I. Docker Network Settings
By default, docker creates a bridge network card [docker 0]. docker has two mapping modes: random mapping and specified mapping.
Tip: Random mapping is not commonly used in production scenarios, but the advantage of random mapping is that it is allocated by docker and ports do not conflict.
Case 1: Start nginx random mapping configuration with docker
- [root@linux-node1 ~]# docker run -d -P nginx
- 63cbe30165c8fb2ce7789a8173db6f2060705028ce6c326d1f0cd467bdee583c
- [root@linux-node1 ~]# docker ps
- CONTAINER ID IMAGE COMMAND CREATED STATUS PORTS NAMES
- 63cbe30165c8 nginx "nginx -g 'daemon off" 8 seconds ago Up 7 seconds 0.0.0.0:32769->80/tcp, 0.0.0.0:32768->443/tcp drunk_bhabha
- [root@linux-node1 ~]#
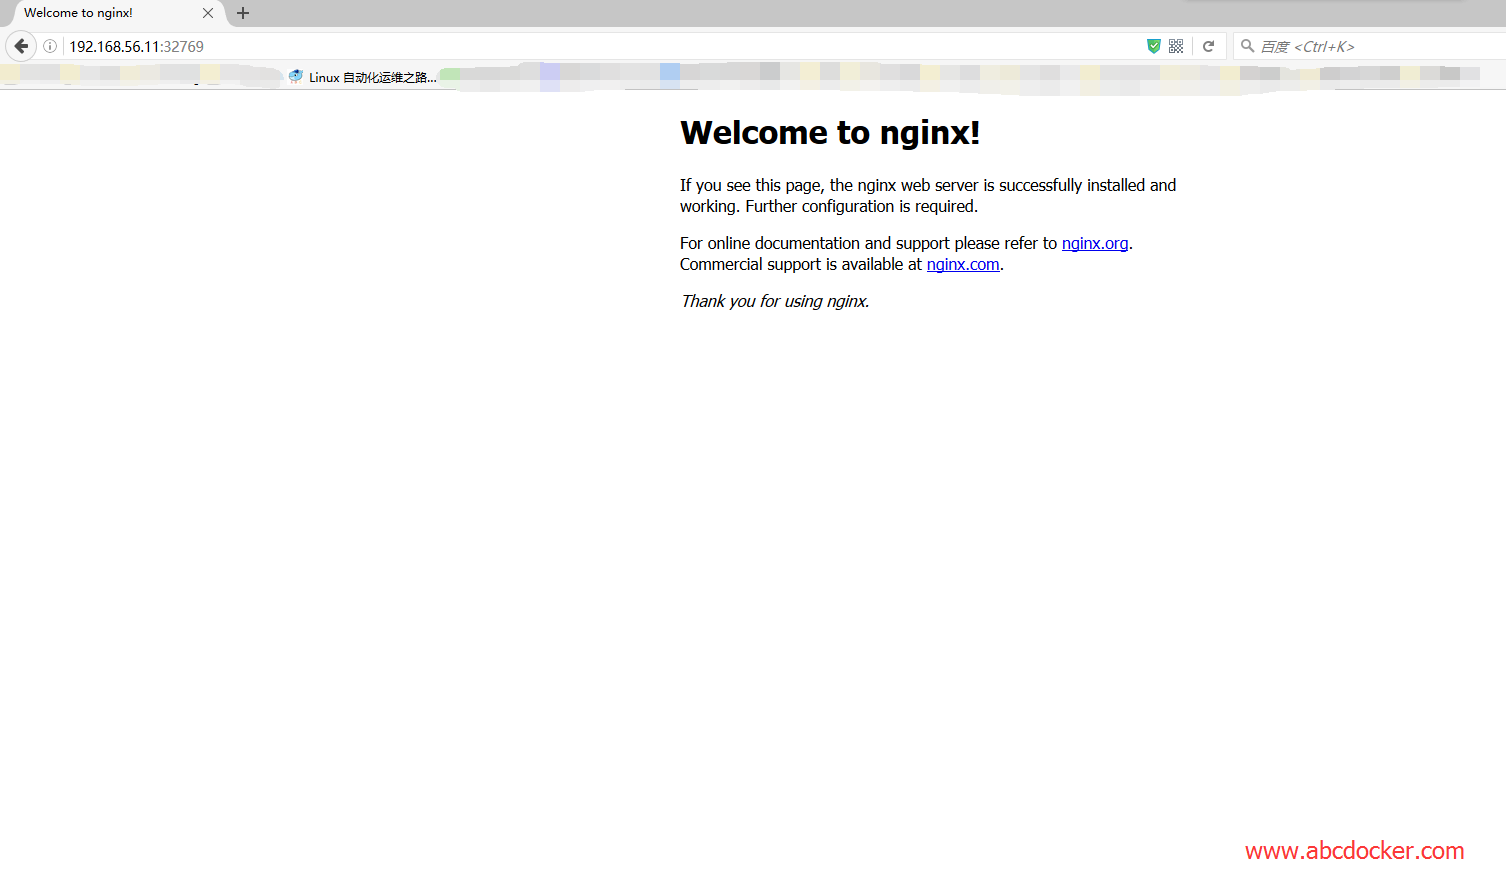
- Tip: 32769 of the physical machine is mapped to port 80
- - P Represents Random Mapping
Visit
We can view our ports.
- [root@linux-node1 ~]# netstat -lntup
- Active Internet connections (only servers)
- Proto Recv-Q Send-Q Local Address Foreign Address State PID/Program name
- tcp 0 0 0.0.0.0:3306 0.0.0.0:* LISTEN 19995/mysqld
- tcp 0 0 0.0.0.0:4369 0.0.0.0:* LISTEN 21574/epmd
- tcp 0 0 0.0.0.0:22 0.0.0.0:* LISTEN 1094/sshd
- tcp 0 0 0.0.0.0:15672 0.0.0.0:* LISTEN 21557/beam
- tcp 0 0 127.0.0.1:25 0.0.0.0:* LISTEN 1372/master
- tcp 0 0 0.0.0.0:25672 0.0.0.0:* LISTEN 21557/beam
- tcp6 0 0 :::4369 :::* LISTEN 21574/epmd
- tcp6 0 0 :::22 :::* LISTEN 1094/sshd
- tcp6 0 0 ::1:25 :::* LISTEN 1372/master
- tcp6 0 0 :::32768 :::* LISTEN 55956/docker-proxy
- tcp6 0 0 :::32769 :::* LISTEN 55963/docker-proxy
- tcp6 0 0 :::5672 :::* LISTEN 21557/beam
- udp 0 0 0.0.0.0:123 0.0.0.0:* 19389/chronyd
- udp 0 0 127.0.0.1:323 0.0.0.0:* 19389/chronyd
- udp6 0 0 ::1:323 :::* 19389/chronyd
Let's take a look at iptables to see the Nat table.
[root@linux-node1 ~]# iptables -t nat -vnLChain PREROUTING (policy ACCEPT 2 packets, 473 bytes)pkts bytes target prot opt in out source destination13 664 DOCKER all -- * * 0.0.0.0/0 0.0.0.0/0 ADDRTYPE match dst-type LOCALChain INPUT (policy ACCEPT 2 packets, 473 bytes)pkts bytes target prot opt in out source destinationChain OUTPUT (policy ACCEPT 1 packets, 76 bytes)pkts bytes target prot opt in out source destination0 0 DOCKER all -- * * 0.0.0.0/0 !127.0.0.0/8 ADDRTYPE match dst-type LOCALChain POSTROUTING (policy ACCEPT 11 packets, 584 bytes)pkts bytes target prot opt in out source destination0 0 MASQUERADE all -- * !docker0 172.17.0.0/16 0.0.0.0/00 0 MASQUERADE tcp -- * * 172.17.0.2 172.17.0.2 tcp dpt:4430 0 MASQUERADE tcp -- * * 172.17.0.2 172.17.0.2 tcp dpt:80Chain DOCKER (2 references)pkts bytes target prot opt in out source destination0 0 RETURN all -- docker0 * 0.0.0.0/0 0.0.0.0/09 456 DNAT tcp -- !docker0 * 0.0.0.0/0 0.0.0.0/0 tcp dpt:32768 to:172.17.0.2:4431 52 DNAT tcp -- !docker0 * 0.0.0.0/0 0.0.0.0/0 tcp dpt:32769 to:172.17.0.2:80Container entry
- [root@linux-node1 ~]# docker ps
- CONTAINER ID IMAGE COMMAND CREATED STATUS PORTS NAMES
- 63cbe30165c8 nginx "nginx -g 'daemon off" 6 minutes ago Up 6 minutes 0.0.0.0:32769->80/tcp, 0.0.0.0:32768->443/tcp drunk_bhabha
- [root@linux-node1 ~]# ./docker_in.sh 63cbe30165c8
- Tip: The script can view our basic introduction
Tip: Because we don't name the container, we need to use ID to enter it.
The pid of the first process that docker runs is 1
root@63cbe30165c8:/# ps auxUSER PID %CPU %MEM VSZ RSS TTY STAT START TIME COMMANDroot 1 0.0 0.1 31752 2872 ? Ss 22:53 0:00 nginx: master process nginx -g daemon off;nginx 6 0.0 0.1 32144 1908 ? S 22:53 0:00 nginx: worker processroot 7 0.0 0.1 20252 1916 ? S 23:01 0:00 -bashroot 11 0.0 0.0 17492 1156 ? R+ 23:01 0:00 ps auxdockerDefault will be used dhcp distribution IP Address, but we need to set it if we want to access it
iptables
- root@63cbe30165c8:/# ip a
- 1: lo: <LOOPBACK,UP,LOWER_UP> mtu 65536 qdisc noqueue state UNKNOWN group default
- link/loopback 00:00:00:00:00:00 brd 00:00:00:00:00:00
- inet 127.0.0.1/8 scope host lo
- valid_lft forever preferred_lft forever
- inet6 ::1/128 scope host
- valid_lft forever preferred_lft forever
- 22: eth0@if23: <BROADCAST,MULTICAST,UP,LOWER_UP> mtu 1500 qdisc noqueue state UP group default
- link/ether 02:42:ac:11:00:02 brd ff:ff:ff:ff:ff:ff
- inet 172.17.0.2/16 scope global eth0
- valid_lft forever preferred_lft forever
- inet6 fe80::42:acff:fe11:2/64 scope link
- valid_lft forever preferred_lft forever
We can use docker logs [ID/Name] to view logs
[root@linux-node1 ~]# docker logs 63cbe30165c8192.168.56.1 - - [19/Oct/2016:22:56:00 +0000] "GET / HTTP/1.1" 200 612 "-" "Mozilla/5.0 (Windows NT 10.0; WOW64; rv:49.0) Gecko/20100101 Firefox/49.0" "-"192.168.56.1 - - [19/Oct/2016:22:56:00 +0000] "GET /favicon.ico HTTP/1.1" 404 169 "-" "Mozilla/5.0 (Windows NT 10.0; WOW64; rv:49.0) Gecko/20100101 Firefox/49.0" "-"2016/10/19 22:56:00 [error] 6#6: *1 open() "/usr/share/nginx/html/favicon.ico" failed (2: No such file or directory), client: 192.168.56.1, server: localhost, request: "GET /favicon.ico HTTP/1.1", host: "192.168.56.11:32769"192.168.56.1 - - [19/Oct/2016:22:56:00 +0000] "GET /favicon.ico HTTP/1.1" 404 169 "-" "Mozilla/5.0 (Windows NT 10.0; WOW64; rv:49.0) Gecko/20100101 Firefox/49.0" "-"2016/10/19 22:56:00 [error] 6#6: *1 open() "/usr/share/nginx/html/favicon.ico" failed (2: No such file or directory), client: 192.168.56.1, server: localhost, request: "GET /favicon.ico HTTP/1.1", host: "192.168.56.11:32769"Case 2: Use docker Start a nginx,Appoint
81port
- [root@linux-node1 ~]# docker run -d -p 192.168.56.11:81:80 --name mynginx nginx
- 65439bce352e712597f5a74dcf6c9978458fd02e6ed0f243fe87cad8c690d855
- [root@linux-node1 ~]# docker ps -l
- CONTAINER ID IMAGE COMMAND CREATED STATUS PORTS NAMES
- 65439bce352e nginx "nginx -g 'daemon off" 10 seconds ago Up 9 seconds 443/tcp, 192.168.56.11:81->80/tcp mynginx
- Tip: - d represents the background run - p specified port - name specified name
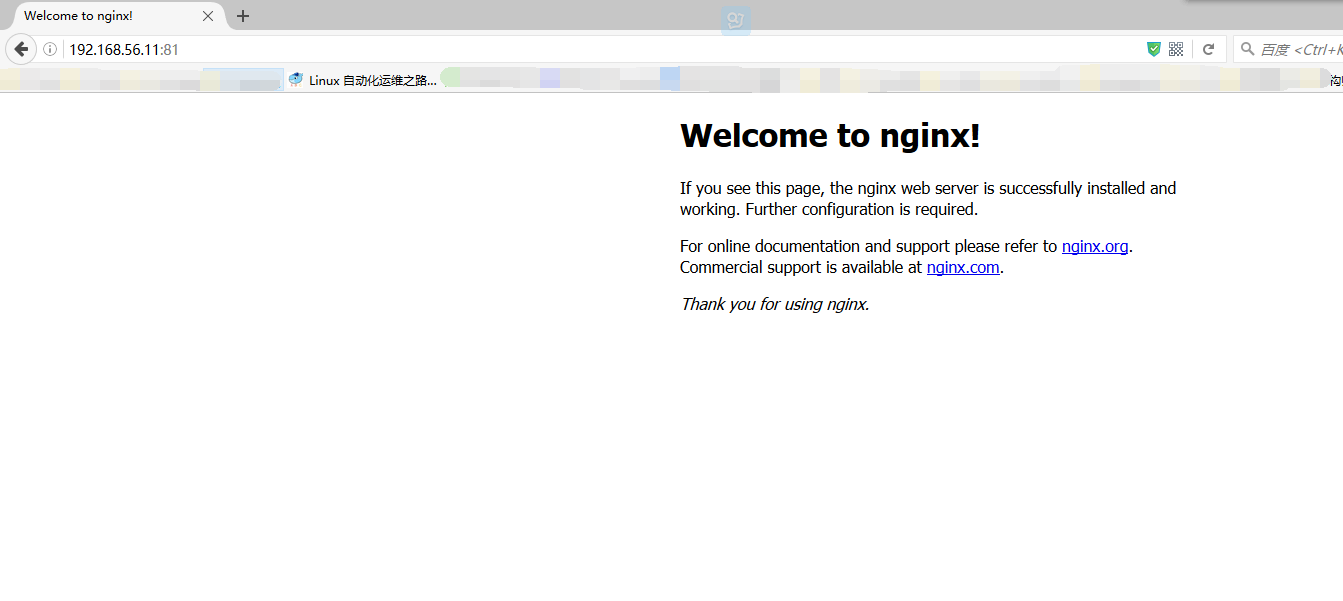
Visit
Through port mapping, we can easily access the service inside the container.
Case 3: docker Start Mapping Multiport
[root@linux-node1 ~]# docker run -d -p 443:443 -p 82:80 --name nginxv2 nginx865aed79c5ec875c5d7a033267c9d124324201f92d66382a152d1743533a586b[root@linux-node1 ~]# docker port nginxv2443/tcp -> 0.0.0.0:44380/tcp -> 0.0.0.0:82Two. Docker data management
Docker There are two types of data:
- Data Volume: -v/data
- -v src:dst
- Data Volume Container: -- volumes-from
Data volume can be understood as mounting, data can be mounted into the docker image, so that when I write data in the docker image, what I actually write is in the physical host. If there are too many containers, it is inconvenient to manage.
Data Volume Settings
Case: Let's create a container named nginx-volume-test and mount it in the / data directory of the container.
- root@linux-node1 ~]# docker run -d --name nginx-volume-time -v /data nginx
Enter the container. We already have our data directory under the directory.
- [root@linux-node1 ~]# ./docker_in.sh nginx-volume-time
- root@e3356d281a09:/# ls /
- bin boot data dev etc home lib lib64 media mnt opt proc root run sbin srv sys tmp usr var
We can view the current mount directory
root@e3356d281a09:/# mount/dev/mapper/docker-253:0-134820964-eacae32f571b8595b10bac6c082732e75497540886e8c3ac72baa62d493a973e on / type xfs (rw,relatime,nouuid,attr2,inode64,logbsize=64k,sunit=128,swidth=128,noquota)proc on /proc type proc (rw,nosuid,nodev,noexec,relatime)tmpfs on /dev type tmpfs (rw,nosuid,mode=755)devpts on /dev/pts type devpts (rw,nosuid,noexec,relatime,gid=5,mode=620,ptmxmode=666)mqueue on /dev/mqueue type mqueue (rw,nosuid,nodev,noexec,relatime)sysfs on /sys type sysfs (ro,nosuid,nodev,noexec,relatime)tmpfs on /sys/fs/cgroup type tmpfs (ro,nosuid,nodev,noexec,relatime,mode=755)cgroup on /sys/fs/cgroup/systemd type cgroup (ro,nosuid,nodev,noexec,relatime,xattr,release_agent=/usr/lib/systemd/systemd-cgroups-agent,name=systemd)cgroup on /sys/fs/cgroup/freezer type cgroup (ro,nosuid,nodev,noexec,relatime,freezer)cgroup on /sys/fs/cgroup/perf_event type cgroup (ro,nosuid,nodev,noexec,relatime,perf_event)cgroup on /sys/fs/cgroup/cpuacct,cpu type cgroup (ro,nosuid,nodev,noexec,relatime,cpuacct,cpu)cgroup on /sys/fs/cgroup/hugetlb type cgroup (ro,nosuid,nodev,noexec,relatime,hugetlb)cgroup on /sys/fs/cgroup/blkio type cgroup (ro,nosuid,nodev,noexec,relatime,blkio)cgroup on /sys/fs/cgroup/devices type cgroup (ro,nosuid,nodev,noexec,relatime,devices)cgroup on /sys/fs/cgroup/memory type cgroup (ro,nosuid,nodev,noexec,relatime,memory)cgroup on /sys/fs/cgroup/net_cls type cgroup (ro,nosuid,nodev,noexec,relatime,net_cls)cgroup on /sys/fs/cgroup/cpuset type cgroup (ro,nosuid,nodev,noexec,relatime,cpuset)/dev/mapper/centos-root on /data type xfs (rw,relatime,attr2,inode64,noquota)/dev/mapper/centos-root on /run/secrets type xfs (rw,relatime,attr2,inode64,noquota)/dev/mapper/centos-root on /etc/resolv.conf type xfs (rw,relatime,attr2,inode64,noquota)/dev/mapper/centos-root on /etc/hostname type xfs (rw,relatime,attr2,inode64,noquota)/dev/mapper/centos-root on /etc/hosts type xfs (rw,relatime,attr2,inode64,noquota)shm on /dev/shm type tmpfs (rw,nosuid,nodev,noexec,relatime,size=65536k)proc on /proc/asound type proc (ro,nosuid,nodev,noexec,relatime)proc on /proc/bus type proc (ro,nosuid,nodev,noexec,relatime)proc on /proc/fs type proc (ro,nosuid,nodev,noexec,relatime)proc on /proc/irq type proc (ro,nosuid,nodev,noexec,relatime)proc on /proc/sys type proc (ro,nosuid,nodev,noexec,relatime)proc on /proc/sysrq-trigger type proc (ro,nosuid,nodev,noexec,relatime)tmpfs on /proc/kcore type tmpfs (rw,nosuid,mode=755)tmpfs on /proc/timer_stats type tmpfs (rw,nosuid,mode=755)Tips:Although we don't know mount Where to go, but there are date Catalog
/dev/mapper/centos-root on /data type xfs (rw,relatime,attr2,inode64,noquota)
- root@e3356d281a09:/# ls
- bin boot data dev etc home lib lib64 media mnt opt proc root run sbin srv sys tmp usr var
We can view mount through docker inspect
[root@linux-node1 ~]# docker inspect -f {{.Mounts}} nginx-volume-time[{a6310b873c068834dd267a94c9a8173b8a6b21f2251066218ba3deb819705d36 /var/lib/docker/volumes/a6310b873c068834dd267a94c9a8173b8a6b21f2251066218ba3deb819705d36/_data /data local true }]mount The mount is what we have in the following path
- [root@linux-node1 _data]# pwd
- /var/lib/docker/volumes/a6310b873c068834dd267a94c9a8173b8a6b21f2251066218ba3deb819705d36/_data
We can create a file under this file and view it in the container.
- [root@linux-node1 _data]# touch abcdocker.txt
- [root@linux-node1 _data]#
- ------------------------------------- Container partition line---------------------------------------------------------------------------------------------------
- root@e3356d281a09:/# ls /data/
- abcdocker.txt
We can also use - v to specify a volume for storage.
We can create a directory to specify.
- [root@linux-node1 _data]# mkdir -p /data/docker-volume-nginx
- [root@linux-node1 _data]# docker run -d --name nginx-volume-test2 -v /data/docker-volume-nginx/:/data nginx
- b2bef96c8330583b555b576134e3f32db02050eb2bd3bb09defcfe89d4b72862
- Tip: - v/data/docker-volume-nginx storage file directory
- Directories in data containers
See
- [root@linux-node1 _data]# echo "123" >>/data/docker-volume-nginx/1.txt
- root@b2bef96c8330:/# cat /data/1.txt
- 123
Tip: This method will be more practical in production, but it is not supported in dockerfile because it is not portable.
We can add a few parameters
- [root@linux-node1 _data]# docker run -d --name nginx-volume-test2 -v /data/docker-volume-nginx/:/data:ro nginx
- # Adding ro represents read-only and can be mounted in a read-only manner
Containers can also mount files
For example, we mount a. bash_history, mount it and delete it.
- [root@linux-node1 ~]# docker run --rm -it -v /root/.bash_history:/.bash_history nginx /bin/bash
- root@63ed2c5eef1c:/# head .bash_history
- ifcon
- Now if we exit this container, it will close.

Synchronization case between container data:
- [root@linux-node1 ~]# docker run -d --name nfs -v /root/nfs-data:/data nginx
- 30c74a55685050027316347b6de20058af3665fb87b1fd7bca14e7316e8e900e
- [root@linux-node1 ~]# docker ps
- CONTAINER ID IMAGE COMMAND CREATED STATUS PORTS NAMES
- 30c74a556850 nginx "nginx -g 'daemon off" 4 seconds ago Up 4 seconds 80/tcp, 443/tcp nfs
- b2bef96c8330 nginx "nginx -g 'daemon off" 2 hours ago Up 2 hours 80/tcp, 443/tcp nginx-volume-test2
- e3356d281a09 nginx "nginx -g 'daemon off" 3 days ago Up 3 days 80/tcp, 443/tcp nginx-volume-time
- [root@linux-node1 ~]# docker run --rm -it --volumes-from nfs centos /bin/bash
- [root@1a29a9cdffdf /]# cd /data/
- [root@1a29a9cdffdf data]# ls
- [root@1a29a9cdffdf data]# touch 123456567
- Switch in to view
- [root@linux-node1 ~]# cd nfs-data/
- [root@linux-node1 nfs-data]# ls
- 123456567
Data Volume Container
A data volume container is a volume that allows one container to access another container, regardless of whether the container is running or not.
The simple explanation of a data volume container is that it allows this data to be shared in multiple containers.
- [root@linux-node1 ~]# docker run -it --rm --name volume-test3 --volumes-from nginx-volume-test2 centos /bin/bash
- --The name of another container--volume-from
At this point we can see that there is a data directory under the root directory, because by default there is no data directory.
- [root@f06ca39d6090 /]# ls /data/1.txt
- /data/1.txt
Now we can access the directory mounted under nginx-volume-test2, which implements nfs-like functions.
Tip: If we can access the data volume container now as we do when we stop test2, another advantage of the data volume container is that it will work regardless of whether the container is running or not. As long as there are containers in use, the data volume container can not be deleted.