catalogue
2, Installing Docker in LInux system (CentOS7)
1. Uninstall the previous version of docker
3, Three basic concepts of Docker
Tiered storage features of Image
5, Docker image resource installation
Next, let me show you how to install MySql database!
2. You can specify the pull Version (8.0.23)
1, Introduction
Official website( https://www.docker.com/ )This is how docker is introduced:
Docker is an open platform for developers and sysadmins to build, ship, and run distributed applications...
Docker is an open platform for developers and system administrators to build, publish and run distributed applications......
2, Installing Docker in LInux system (CentOS7)
1. Uninstall the previous version of docker
sudo yum remove docker-ce \
                docker-ce-client \
                docker-client-latest \
                docker-common \
                docker-latest \
                docker-latest-logrotate \
                docker-logrotate \
                docker-engine
2. Install Yum utils
sudo yum install -y yum-utils
3. Set the warehouse address
sudo yum-config-manager \
    --add-repo \
    https://download.docker.com/linux/centos/docker-ce.repo
Ali image stable warehouse
sudo yum-config-manager \
     --add-repo \
     http://mirrors.aliyun.com/docker-ce/linux/centos/docker-ce.repo
4. Update yum cache
sudo yum makecache fast
5. Install the new docker
sudo yum install -y docker-ce docker-ce-cli containerd.io
3, Three basic concepts of Docker
1. Image
Docker image is a special file system. In addition to providing the program, library, resource, configuration and other files required by the container runtime, it also contains some configuration parameters prepared for runtime (such as anonymous volume, environment variable, user, etc.). The image does not contain any dynamic data, and its content will not be changed after construction.
Tiered storage features of Image
When building an image, it will be built layer by layer. The former layer is the foundation of the latter layer. After each layer is built, it will not change,
Any change on the latter level occurs only on your own level. For example, the operation of deleting the file of the previous layer does not actually delete the file of the previous layer, but only marks the file as deleted in the current layer. When the final container runs, although you will not see this file, in fact, the file will always follow the image. Therefore, when building an image, you need to be extra careful. Each layer should only contain what needs to be added to the layer, and any additional things should be cleaned up before the end of the construction of the layer.
The characteristics of tiered storage also make it easier to reuse and customize images. You can even use the previously constructed image as the basic layer, and then further add a new layer to customize the content you need and build a new image.
2. Container
The relationship between Image and Container is like that of classes and instances in object-oriented programming,
A mirror is a static definition, and a container is an entity when the mirror is running. Containers can be created, started, stopped, deleted, paused, and so on.
When each container runs, it takes the image as the basic layer and creates a storage layer of the current container on it. We can call this storage layer prepared for reading and writing when the container runs as the container storage layer.
The life cycle of the container storage layer is the same as that of the container. When the container dies, the container storage layer also dies. Therefore, any information saved in the container storage layer will be lost when the container is deleted.
The life cycle of the data volume is independent of the container. If the container dies, the data volume will not die. Therefore, after using the data volume, the data will not be lost after the container is deleted or re run.
3. Repository
After the image is built, it can be easily run on the current host. However, if you need to use this image on other servers, we need a centralized service for storing and distributing images, such as Docker Registry. A Docker Registry can contain multiple repositories; Each warehouse can contain multiple tags; Each label corresponds to a mirror image.
4, Docker basic operation
1. Start command
sudo systemctl start docker
2. Set docker startup
sudo systemctl enable docker
3. Domestic image acceleration configuration:
First switch to the root role: su
cat <<EOF > /etc/docker/daemon.json
{
  "registry-mirrors": [
    "https://docker.mirrors.ustc.edu.cn",
    "http://hub-mirror.c.163.com"
  ],
  "max-concurrent-downloads": 10,
  "log-driver": "json-file",
  "log-level": "warn",
  "log-opts": {
    "max-size": "10m",
    "max-file": "3"
    },
  "data-root": "/var/lib/docker"
}
EOF
4. Reload the docker configuration
sudo systemctl daemon-reload
5. Restart the docker service
sudo systemctl restart docker
6. View the image configuration
docker info
7. Run the Hello world image
sudo docker run hello-world
8. List local images
docker images
9. View the running image
docker ps
10. View all images
Docker ps –all
11. Stop docker service
docker stop service id
12. Delete docker image
docker image rm hello-world
5, Docker image resource installation
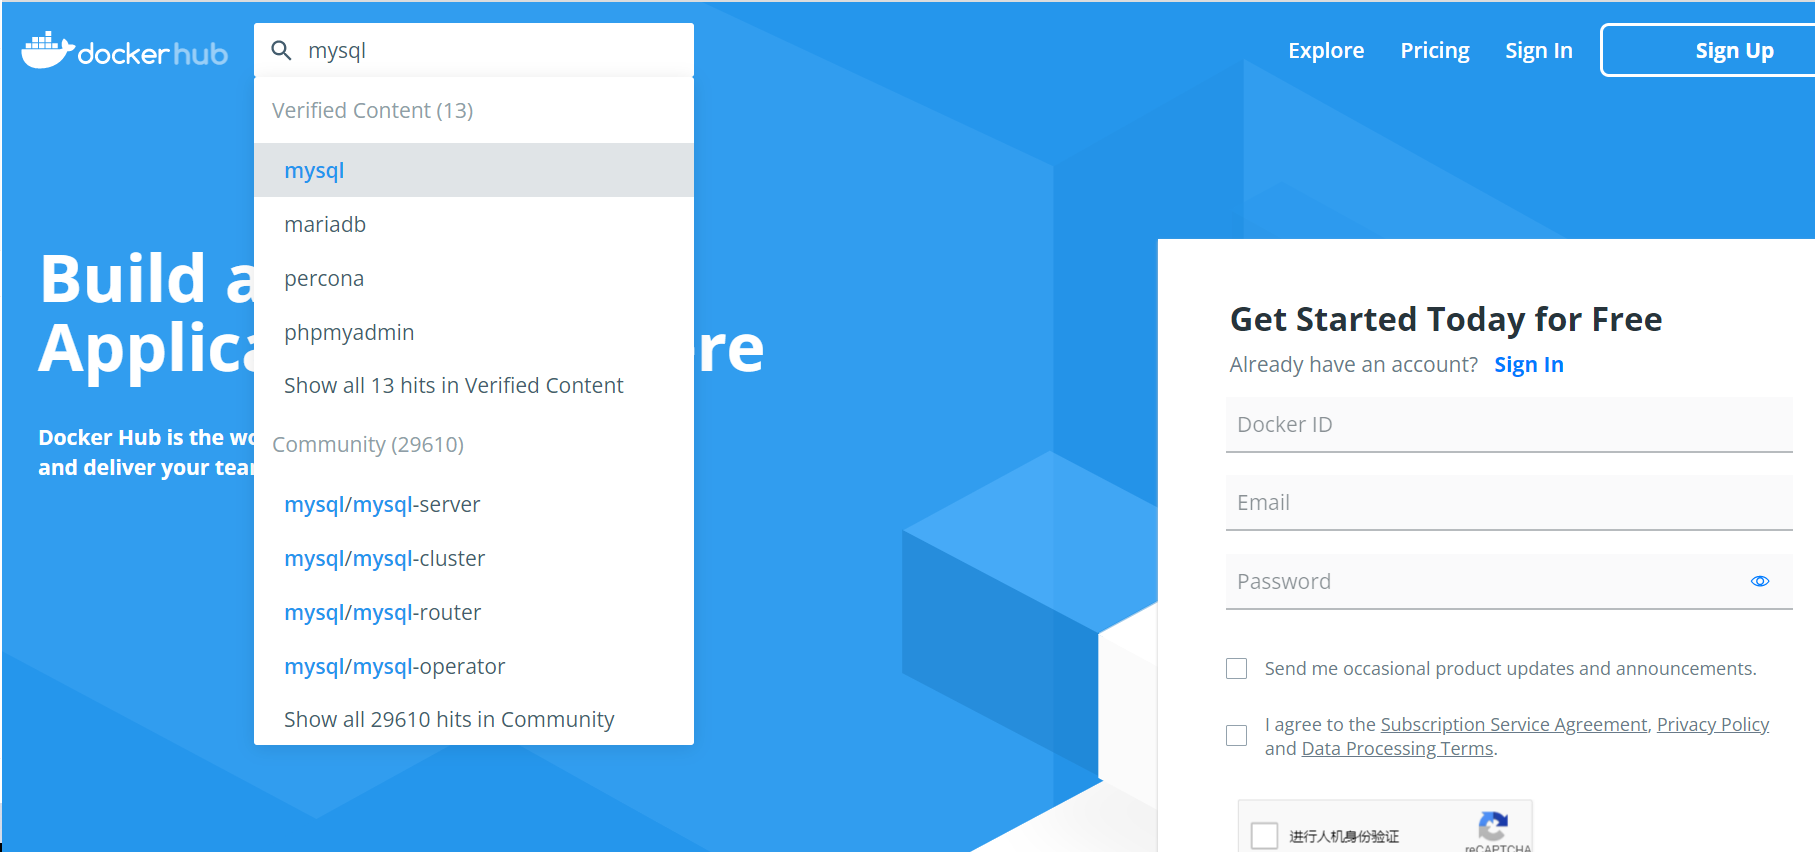
Next, let me show you how to install MySql database!
1.hub.docker.com search mysql
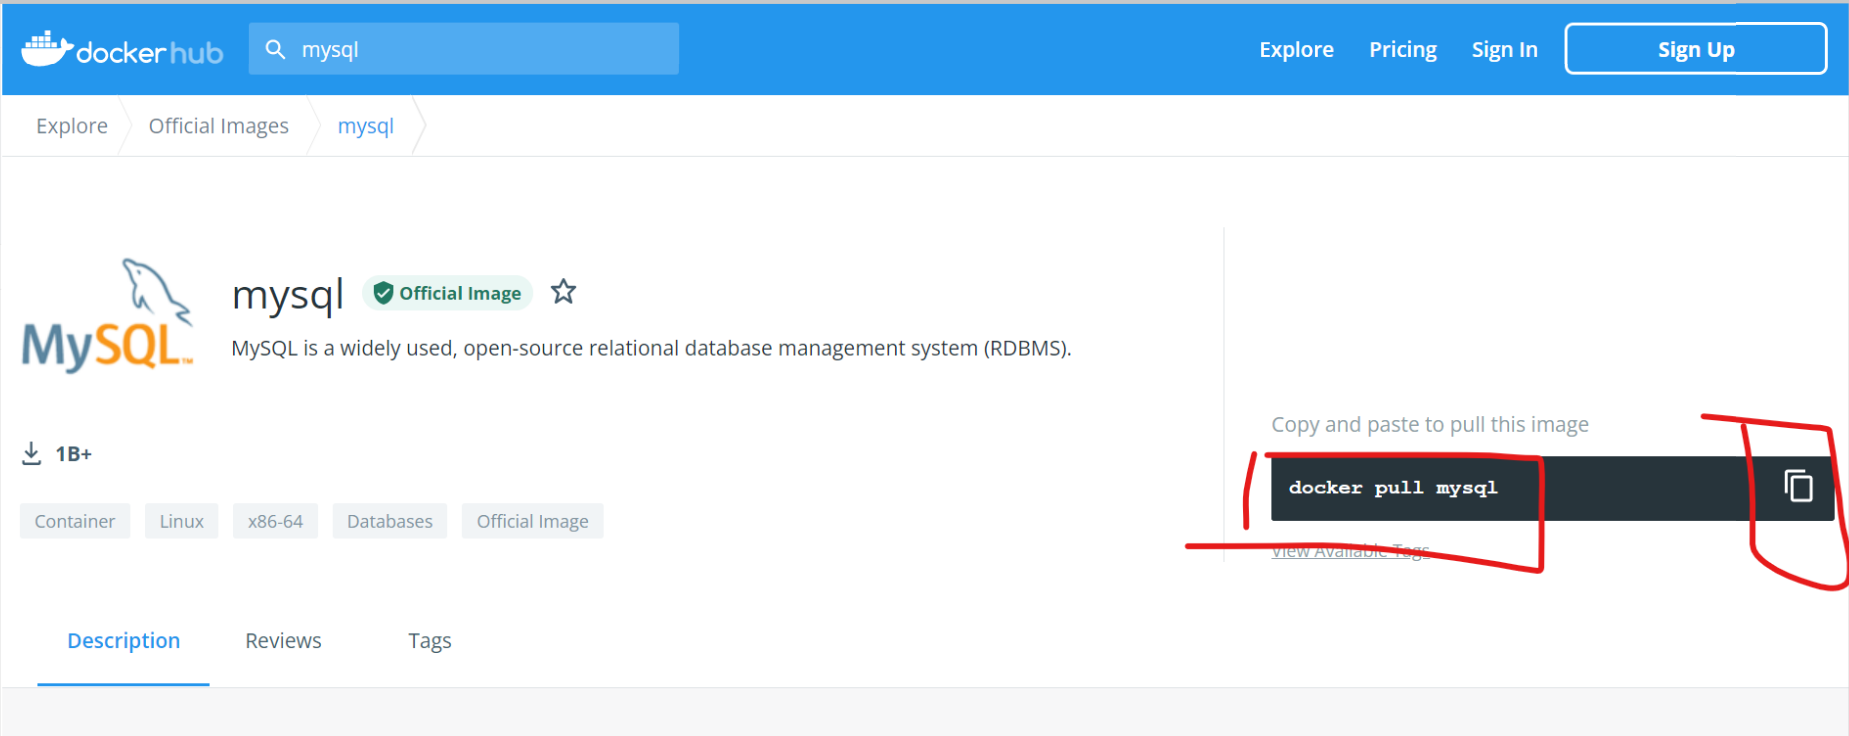
2. You can specify the pull Version (8.0.23)
sudo docker pull mysql:8.0.23
Inspection after pulling
sudo docker images
3. Start operation
sudo docker run -p 3306:3306 --name mysql \
-v /usr/local/docker/mysql/mysql-files:/var/lib/mysql-files \
-v /usr/local/docker/mysql/conf:/etc/mysql \
-v /usr/local/docker/mysql/logs:/var/log/mysql \
-v /usr/local/docker/mysql/data:/var/lib/mysql \
-e MYSQL_ROOT_PASSWORD=root \
-d mysql:8.0.23
(this command is a little long. Let me explain:
- p 3306:3306 Map the 3306 port inside the container to the 3306 port of the host, that is, the 3306 port of the container can be accessed through the 3306 port of the host
-- name mysql The container name is mysql
- e MYSQL_ROOT_PASSWORD=root Set the login password of root user to root
- d mysql:latest Run in the background MySQL version
- v host folder address: container folder address Mount the container's folder to the appropriate location on the host
)
4. Enter the container
sudo docker exec -it mysql bash
(docker exec: execute the command in the running container - i: keep STDIN open even if there is no attachment - t: assign a pseudo terminal)
5. Log in to mysql
mysql -uroot -proot