Blog Outline:
I. Introduction to Compose
II. Installation and use of Compose
III. preparation of. yml document
I. Introduction to Compose
Compose is a tool for defining and running multi container Docker applications. With compose, you can use YAML files to configure your application's services. Then, with one command, you can create and start all services from the configuration.
Docker compose is a container orchestration tool. Through a. yml or. yaml file, write the deployment method, file mapping, container port mapping of all containers in a configuration file. Executing the docker compose up command is like executing a script, one by one, installing and deploying containers.
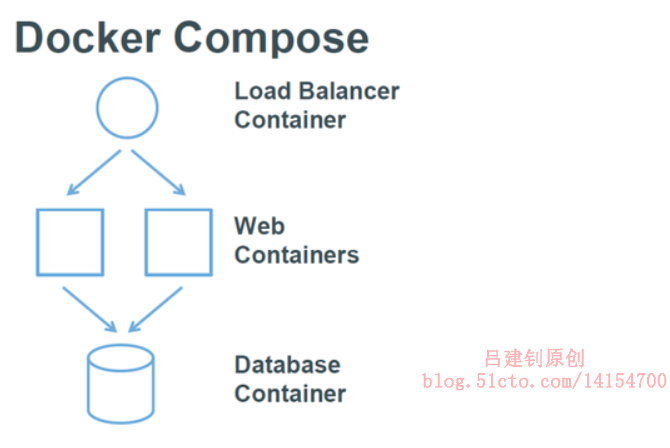
Dockerfile allows users to manage a single application container, while Compose allows users to define a set of associated application containers in a template (YAML format), such as a Web service container plus a database service container at the back end, as follows:
The term docker compose:
- service: an application container can actually run multiple instances of the same image.
- project: a complete business unit composed of a set of associated application containers.
It can be concluded that a project can be associated by multiple services (containers), while compose is project-oriented management.
II. Installation and use of Compose
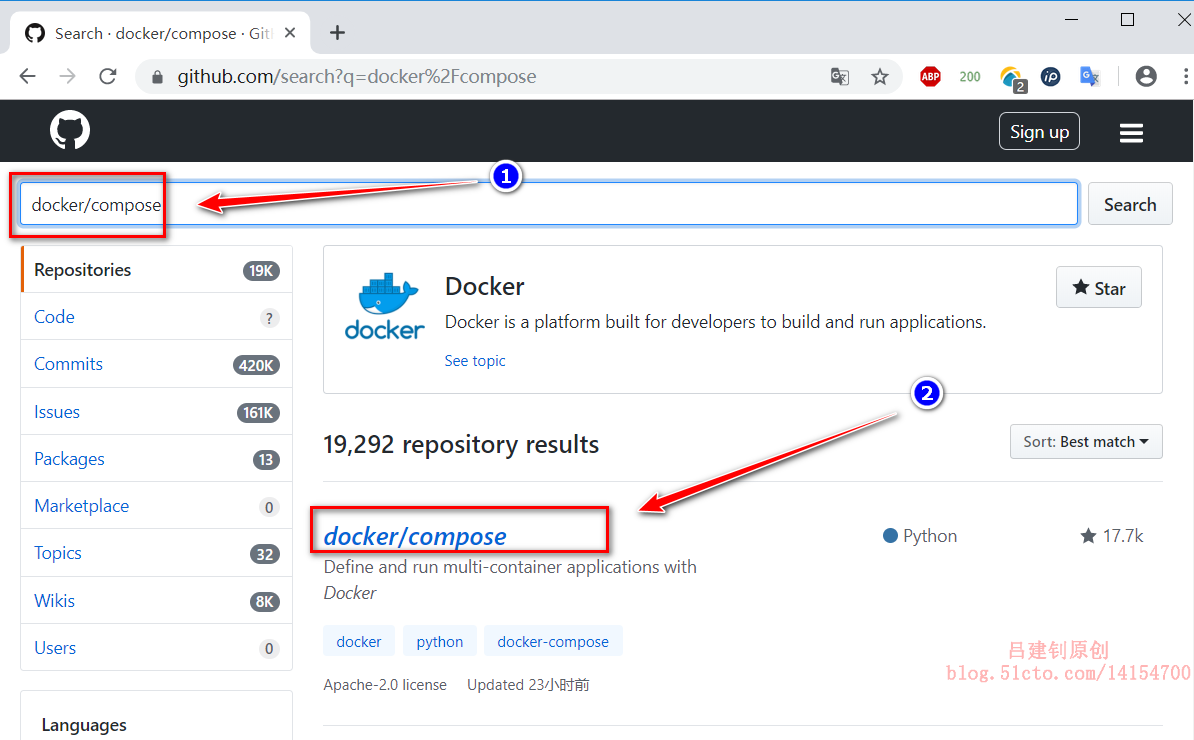
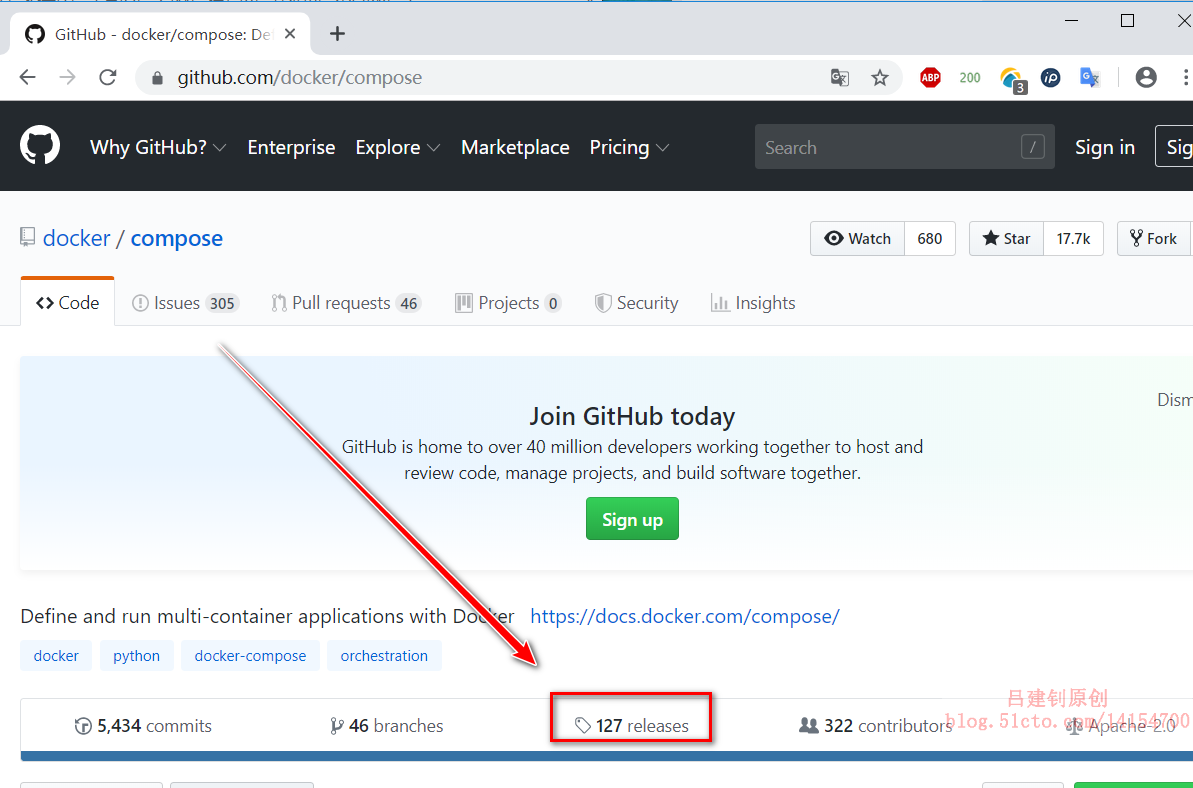
If you want to use the container orchestration tool of compose, it must be based on the docker service. If you need to install and deploy the docker server, please refer to the blog: Detailed configuration of Docker installation , and then download the docker compose command. We can go to github official website Search "docker/compose" as follows:
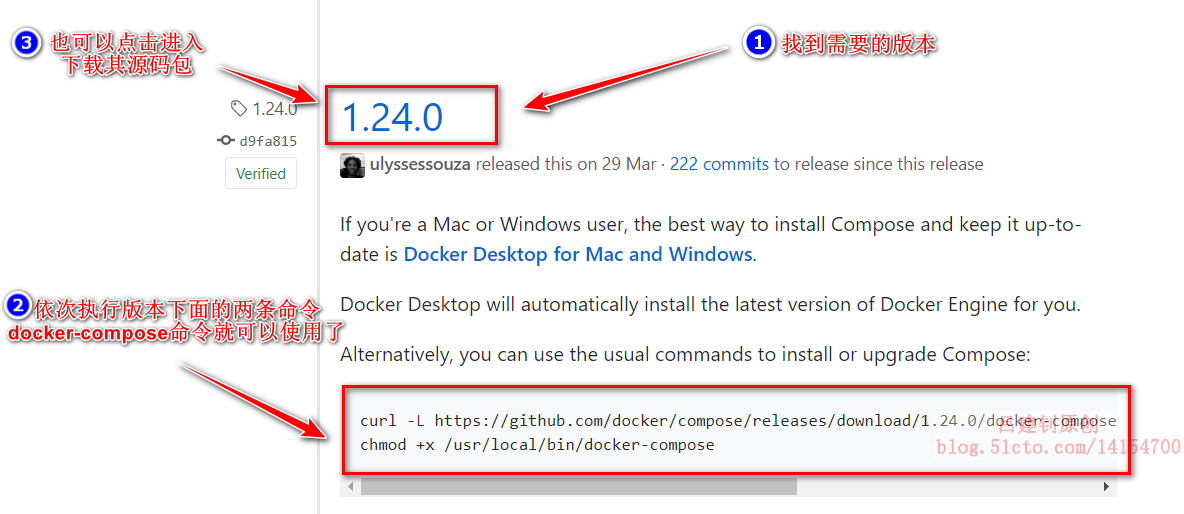
1. Execute the command on github on the docker host as follows:
[root@docker01 ~]# curl -L https://github.com/docker/compose/releases/download/1.24.0/docker-compose-`uname -s`-`uname -m` -o /usr/local/bin/docker-compose
[root@docker01 ~]# chmod +x /usr/local/bin/docker-compose
After executing the above two commands, we can use the docker compose choreographer.
Before writing. yml files, we need to know which docker versions are supported by each compose version? When we download the compose command, we have already given a reference list as follows:
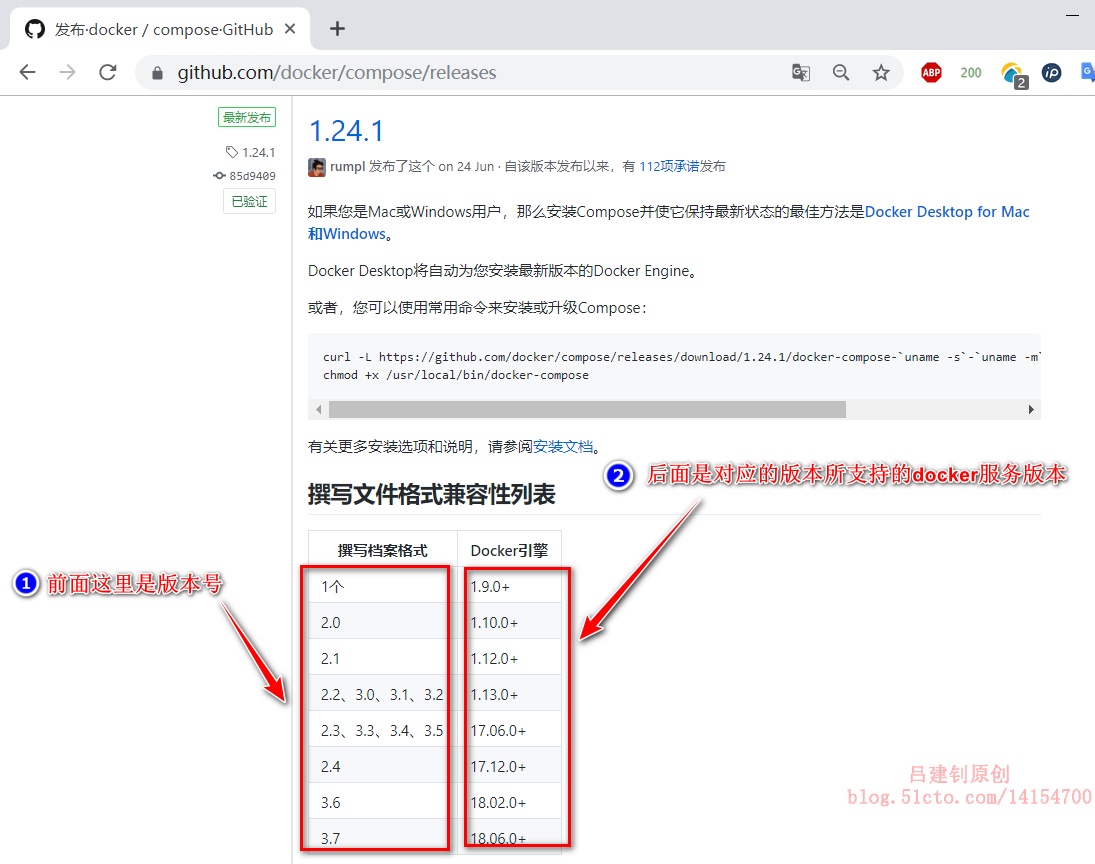
To view the version of docker:
[root@docker01 ~]# docker -v
Docker version 18.09.0, build 4d60db4
From the above operations, you can see that my current docker version is 18.09, so you can basically use all the compose versions, because they can be downward compatible, as long as they are higher than the docker version supported by the compose version.
III. preparation of. yml document
1. Build a simple Nginx service.yml file
[root@docker01 ~]# mkdir compose
[root@docker01 ~]# cd compose/
[root@docker01 compose]# vim docker-compose.yml   #Write the. yml file and write the following
version: "3"
services:
  nginx:
    container_name: web-nginx
    image: nginx:latest
    restart: always
    ports:
      - 80:80
    volumes:
      - /root/compose/webserver:/usr/share/nginx/html
[root@docker01 compose]# docker-compose up -d   #Execute this command to run the container
#After executing the above command, a web server directory will be automatically generated under the current directory, corresponding to the html directory in the container
[root@docker01 compose]# echo "hello world" > webserver/
index.html
[root@docker01 compose]# curl 127.0.0.1
hello world
After we build the image based on our own dockerfile file and run the container, we need to enter the container to manually start its running service. Through the above example, we can see that after the container is running, its service is also running. How can we do this? We can view the operation information of the container by executing the "docker ps" command, as follows:

The secret lies in the instruction "nginx -g daemon off" under the COMMAND column, which means to close the background and make Nginx the first process currently, so as to ensure that the services of the Nginx container are turned on.
[root@docker01 ~]# dc -f compose/docker-compose.yml up -d
#If the. yml file is not in the same directory at runtime, you can use the - f option to specify the path to the. yml file
2. compose+dockerfile to build image
[root@docker01 compose]# vim docker-compose.yml    #Modify. yml file
version: "3"
services:
  nginx:
    build: .       #The path of the dockerfile is specified here. You can write the relative path or the absolute path
    container_name: web-nginx
    image: mynginx:1.0
    restart: always
    ports:
      - 80:80
    volumes:
      - /root/compose/webserver:/usr/share/nginx/html

[root@docker01 compose]# vim Dockerfile    #Write the dockerfile file as follows
FROM nginx:latest
ADD html /usr/share/nginx/html
VOLUME /etc/nginx
[root@docker01 compose]# mkdir html    #Create the directory specified in the dockerfile
[root@docker01 compose]# docker-compose build    #Build a mirror using. yml
[root@docker01 compose]# docker run -itd --name test -p 80 mynginx:1.0
[root@docker01 compose]# docker ps     #View mapped ports
The client accesses the port mapped to the docker host, and the page is as follows (you can see that the ADD configuration line in the dockerfile does not take effect):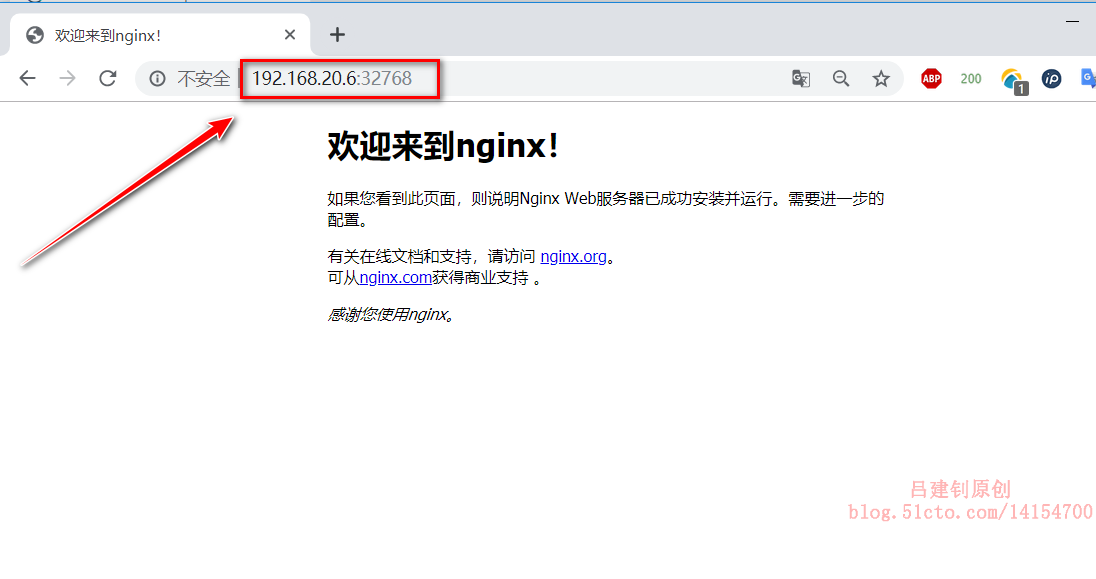
Check whether the / etc/nginx directory of the container is attached to the docker host:
[root@docker01 compose]# docker inspect test #View the details of the test container
Find the following fields in the returned information:
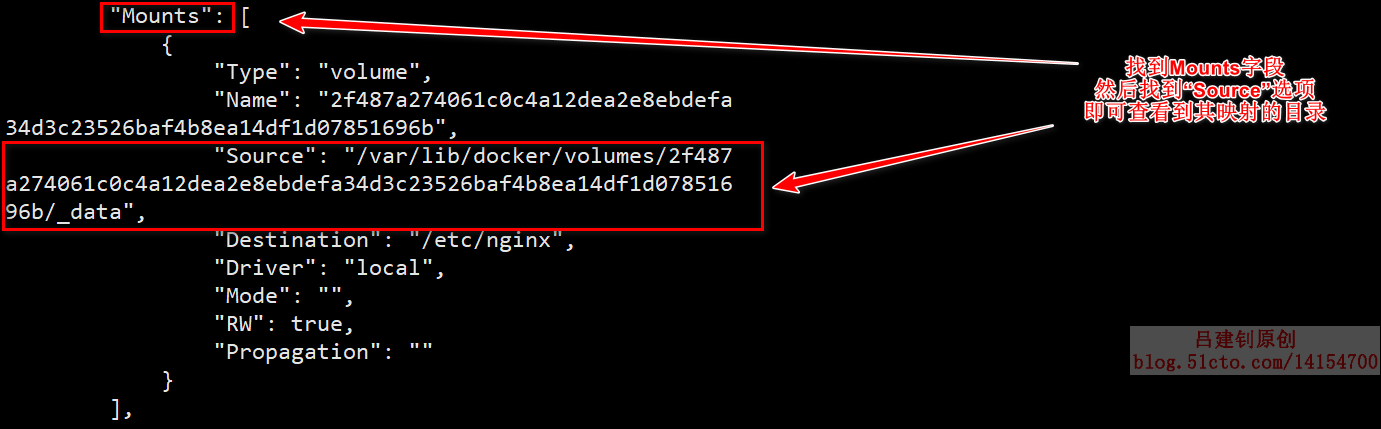
[root@docker01 compose]# cd /var/lib/docker/volumes/2f487a274061c0c4a12dea2e8ebdefa34d3c23526baf4b8ea14df1d07851696b/_data
#Switch to locally mapped directory
[root@docker01 _data]# ls    #Check the files in the directory and find that they are the configuration files in the / etc/nginx directory of the test container
conf.d          koi-win     nginx.conf    win-utf
fastcgi_params  mime.types  scgi_params
koi-utf         modules     uwsgi_params
3. Dockerfile & & compose update the service version in the container
[root@docker01 compose]# rm -rf *
[root@docker01 compose]# vim Dockerfile
FROM httpd
ADD testfile.txt /root
[root@docker01 compose]# echo "hello world." > testfile.txt
[root@docker01 compose]# vim docker-compose.yml
version: "3"
services:
  httpd:
    build: .
    container_name: myhttpd
    image: myhttpd:latest
    restart: always
    ports:
      - 80:80
    volumes:
      - ./webserver:/usr/local/apache2/htdocs
[root@docker01 compose]# docker ps -a -q | xargs docker rm -f
#To resolve the port conflict, I first delete all the containers that were previously running
[root@docker01 compose]# docker-compose up -d    #Run container based on. yml file
[root@docker01 compose]# echo "./webserver/index.html" > webserver/index.html
#Add homepage file
[root@docker01 compose]# curl 127.0.0.1    #Visit the test to see the content of the added homepage file
./webserver/index.html
[root@docker01 compose]# docker exec myhttpd cat /root/testfile.txt
#View the contents of testfile.txt in the root directory of the container
hello world.
#At this point, the simulated service version 1.0 is completed, then upgrade to version 2.0
#Change the contents of testfile.txt in the root directory of the container
[root@docker01 compose]# echo "hello world 2.0" > testfile.txt
#Modify the contents of the local testfile.txt file
[root@docker01 compose]# docker-compose build   #Update mirroring
[root@docker01 compose]# docker-compose up -d
#Update container content based on the updated image
[root@docker01 compose]# docker exec myhttpd cat /root/testfile.txt
#You can see that the contents of testfile.txt in the root directory of the container have been updated
hello world 2.0

#Here are some additional commands:
[root@docker01 wordpress]# docker-compose stop    #Stop the container where the current. yml file is running
[root@docker01 wordpress]# docker-compose rm      #Delete the container where the current. yml file is running
Going to remove wordpress_wordpress_1, wordpress_db_1
Are you sure? [yN] y      #Enter "y" to confirm
Through the above series of update operations, it is not difficult to find that as long as the. yml file detects that the content of the file associated with the dockerfile has changed, the image will be rebuilt, and then the. yml file will be started again, the original container content will be updated, and the microservice version update will be simulated.
4. Use. yml file to build blog platform
The blog platform here can be copied. We rent a cloud server and run the docker service on it. You can refer to the following configuration to build our own blog platform, which is very simple.
First need download Image package and. yml file provided by me
[root@docker01 wordpress]# ls         #Upload the file I provided
docker-compose.yml  mysql-5.7.tar  wordpress.tar
#Import mirroring
[root@docker01 wordpress]# docker load < mysql-5.7.tar
[root@docker01 wordpress]# docker load < wordpress.tar
#You can view the contents of the. yml file by yourself, including some user names, passwords and directory information of data mounting
[root@docker01 wordpress]# docker ps -a -q | xargs docker rm -f
#Remove the container I'm running here to prevent port conflicts
[root@docker01 wordpress]# docker-compose up -d    #Execute. yml file
#After executing the above command, the client can access port 80 of the docker host
IP address of the client accessing the docker host:
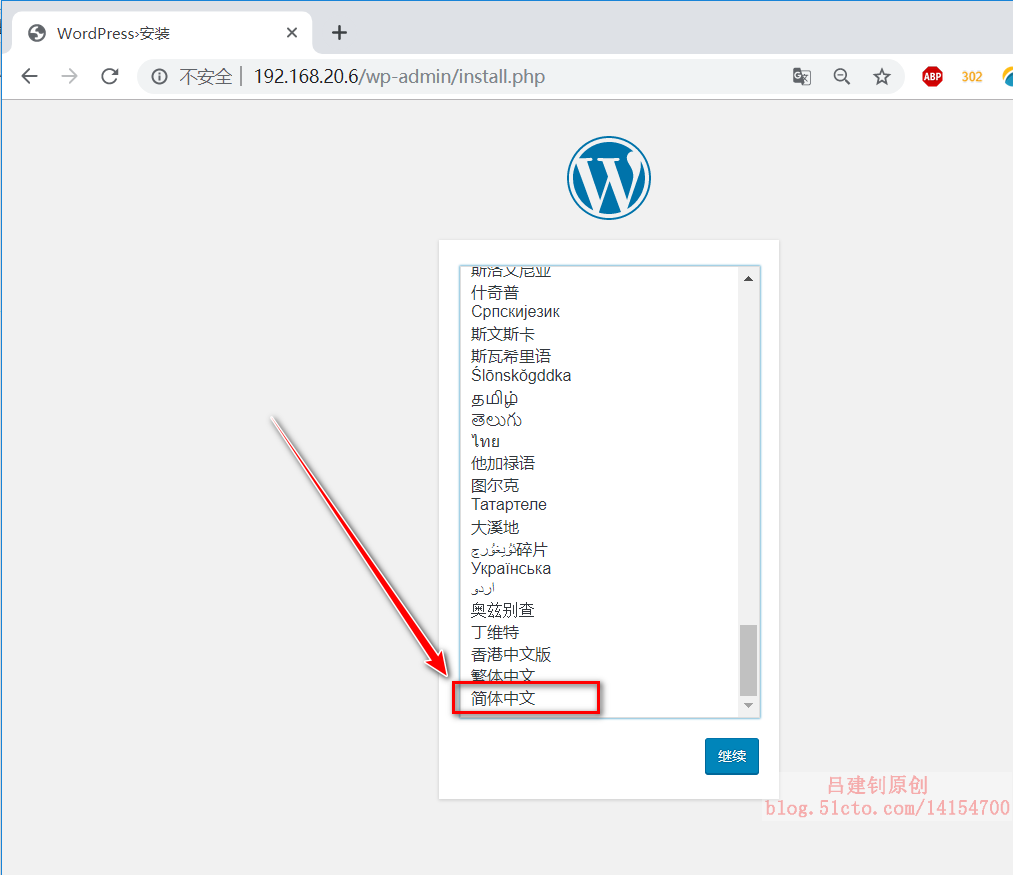
Fill in the relevant information: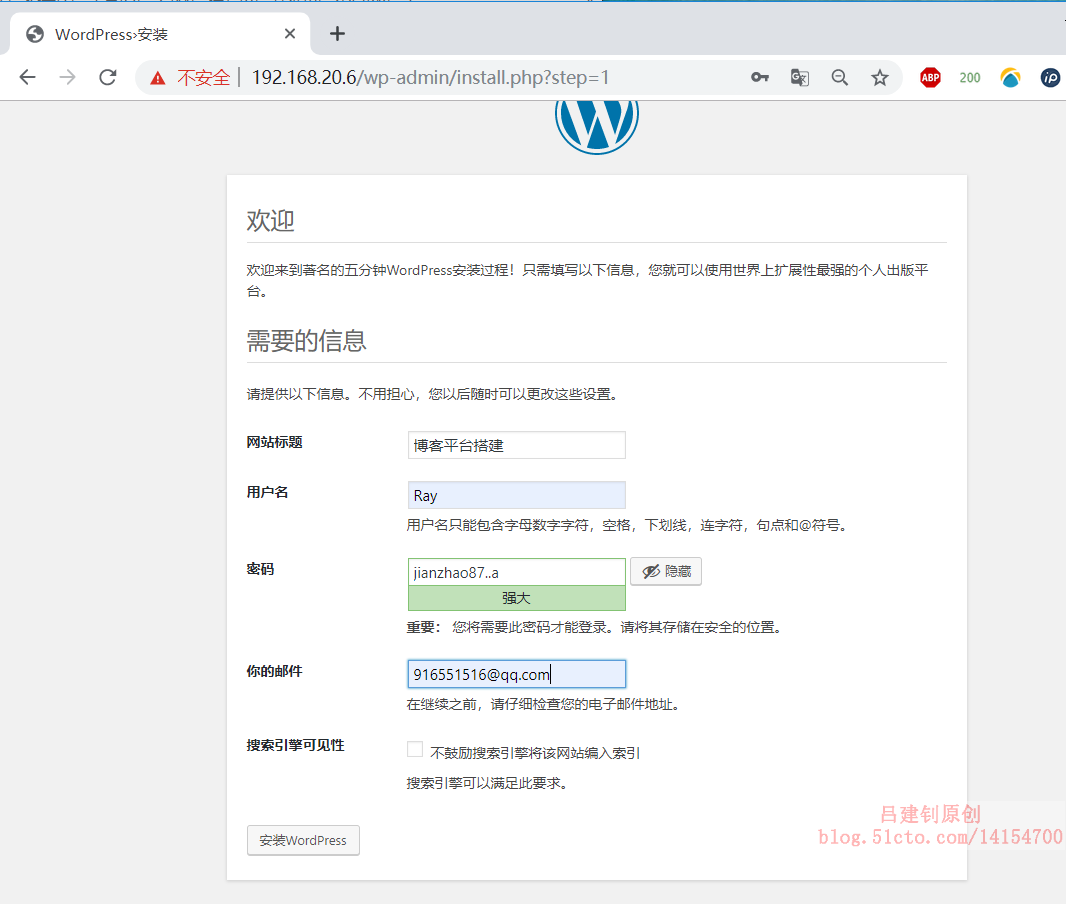
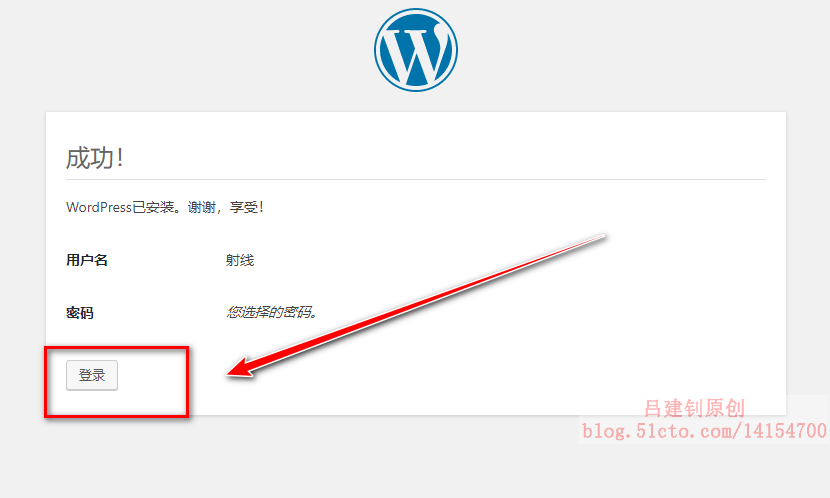
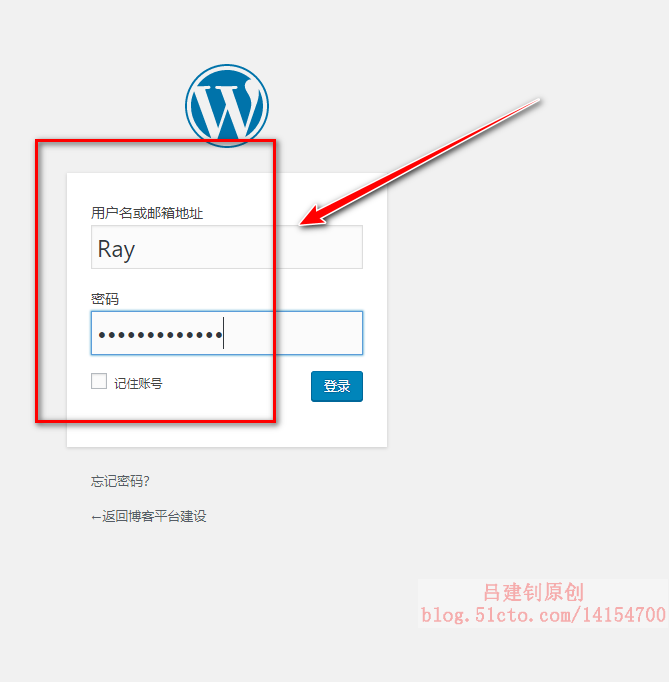
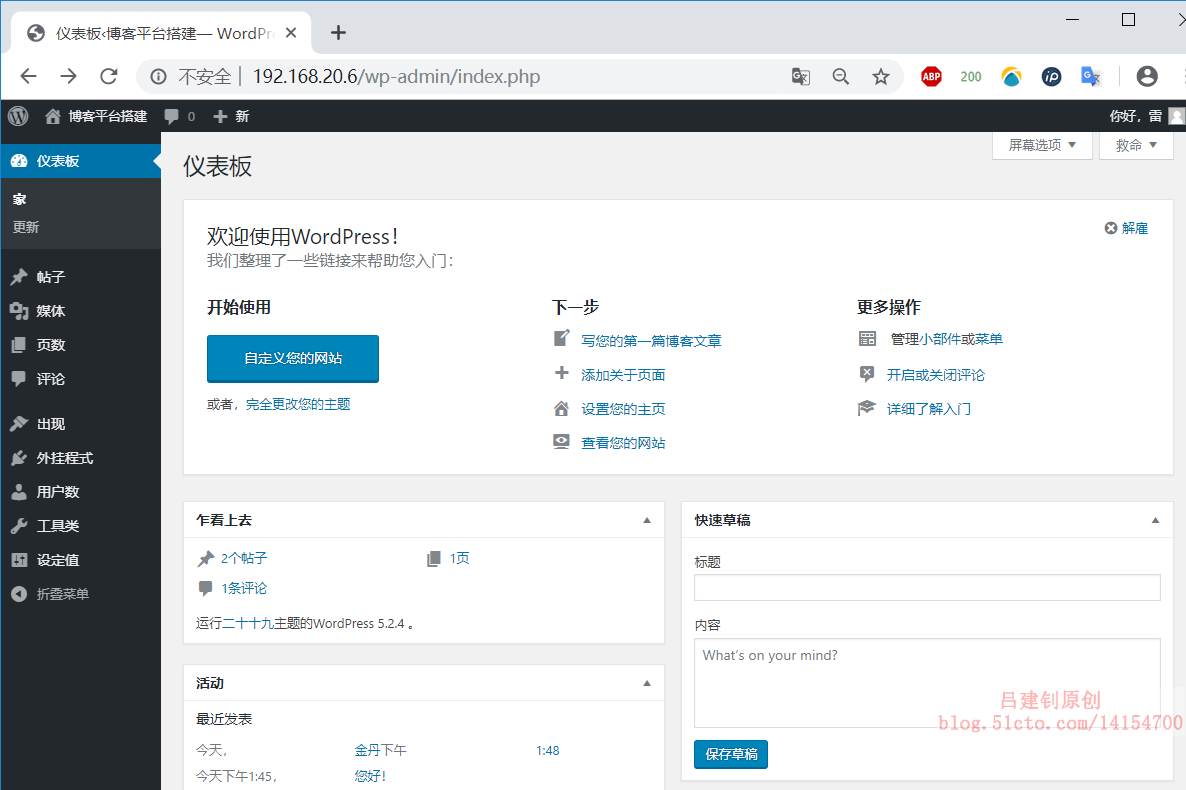
At this point, the blog platform has been built. As for its function page, do your own research!!!
————————Thank you for reading————————