1, Disposition
Linux: CentOS-7-x86_64-DVD-1810.iso
2, Installation
1. If you have previously installed an older version of Docker, you can uninstall it using the following command:
yum remove docker \
                  docker-client \
                  docker-client-latest \
                  docker-common \
                  docker-latest \
                  docker-latest-logrotate \
                  docker-logrotate \
                  docker-selinux \
                  docker-engine-selinux \
                  docker-engine \
                  docker-ce
2. First of all, we need to connect virtual machines and install yum tools
yum install -y yum-utils \
           device-mapper-persistent-data \
           lvm2 --skip-broken
3. Set yum source
sudo yum-config-manager --add-repo https://download.docker.com/linux/centos/docker-ce.repo
sed -i 's/download.docker.com/mirrors.aliyun.com\/docker-ce/g' /etc/yum.repos.d/docker-ce.repo
#Update yum cache
yum makecache fast
4. Install docker
yum install -y docker-ce
5. Before starting docker, be sure to close the firewall
# close
systemctl stop firewalld
# Disable boot firewall
systemctl disable firewalld
6. Start docker:
systemctl start docker  # Start docker service

systemctl stop docker  # Stop docker service

systemctl restart docker  # Restart docker service
7. View docker version
docker -v
3, Install image
1, Take nginx as an example
Visit the official website of dockerhub https://hub.docker.com Search nginx
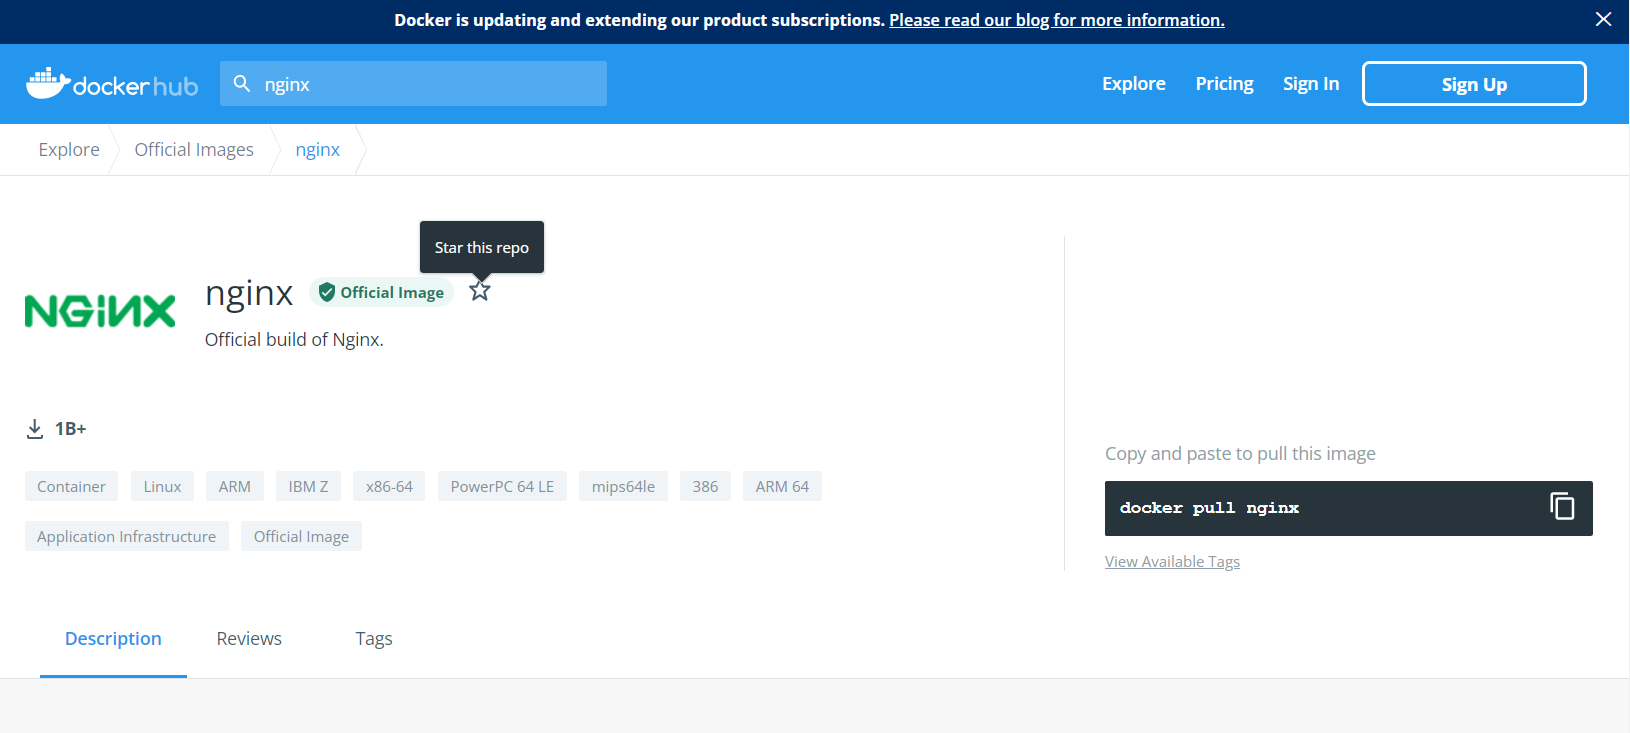
1. Pull the image you need and use the command:
docker pull nginx
2. View the pulled image docker images
docker images
3. Export image to disk
docker save -o nginx.tar nginx:latest
4. Delete the local nginx image first
docker rmi nginx:latest
5. Load local file:
docker load -i nginx.tar
2, Install mysql image
1. Find MySQL image:
docker search mysql
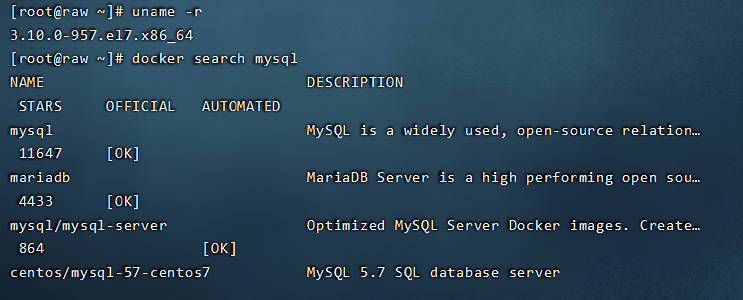
2. Pull MySQL version 5.7 image
docker pull mysql:5.7
3. Check the port first
netstat -anp |grep 3306
If occupied, close port 3306
#1. Kill the process
kill -9 PID

#2. Close the port
sendmail stop mysqld

#3. Stop mysqld service
service mysqld stop
4. Run mysql container
| command | explain |
|---|---|
| docker search mysql | Container name required for query |
| docker ps | View the docker container running |
| docker ps -a | View all docker containers |
| docker stop name | Stop the currently running docker container |
| docker start name | Start docker container |
| docker stop name | Stop the currently running docker container |
| docker restart name | Restart the docker container |
| docker rm name | Delete docker container |
| docker exec -it name bash | Enter container |
| exit | Exit docker container |
docker run -d -p 3306:3306 --privileged=true -v /docker/mysql/conf/my.cnf:/etc/my.cnf -v /docker/mysql/data:/var/lib/mysql -e MYSQL_ROOT_PASSWORD=123456 --name mysql mysql:5.7 --character-set-server=utf8mb4 --collation-server=utf8mb4_general_ci
| command | explain |
|---|---|
| run | run is running a container |
| -d | Indicates background operation |
| -p | Represents the container internal port and server port mapping Association |
| –privileged=true | Set the root user permission of MySQL. Otherwise, external users cannot log in using root |
| -v /docker/mysql/conf/my.cnf:/etc/my.cnf | Map the my.cnf configuration in the server to the / docker/mysql/conf/my.cnf configuration in docker |
| -v /docker/mysql/data:/var/lib/mysql | As above, map the data directory of the database to avoid data loss when the docker deletes and re runs the MySQL container in the future |
| -e MYSQL_ROOT_PASSWORD=123456 | Set the password of the root user of MySQL database |
| –name mysql | Set the value container name to mysql |
| mysql:5.7 | It means starting a container from the docker image mysql:5.7 |
| –character-set-server=utf8mb4 --collation-server=utf8mb4_general_ci | Default code of setting database |
4. Create a new MySQL user and enter the container first
docker exec -it mysql bash
5. Execute the MySQL command, enter the root password, and connect to MySQL
mysql -uroot -p
6. After entering the password, create a new user (user name: zhangsan, password: zs123)
GRANT ALL PRIVILEGES ON *.* TO 'zhangsan'@'%' IDENTIFIED BY 'zs123' WITH GRANT OPTION;
4, Installing DockerCompose
1, Introduction:
Docker Compose can help us quickly deploy distributed applications based on Compose files without manually creating and running containers one by one! Instructions define how each container in the cluster operates.
version: "3.8"
 services:
  mysql:
    image: mysql:5.7.25
    environment:
     MYSQL_ROOT_PASSWORD: 123
    volumes:
     - "/tmp/mysql/data:/var/lib/mysql"
     - "/tmp/mysql/conf/hmy.cnf:/etc/mysql/conf.d/hmy.cnf"
  web:
    build: .
    ports:
     - "8090:8090"
The above Compose file describes a project, which contains two containers:
- mysql: a container built based on mysql:5.7.25 image, and two directories are mounted
- web: a temporarily built image container based on docker build. When mapping ports, it is 8090
2, Installing DockerCompose
1. Modify the file permissions, otherwise it cannot be downloaded
# Modify permissions
chmod +x /usr/local/bin/docker-compose
2. Download
# install
curl -L https://github.com/docker/compose/releases/download/1.23.1/docker-compose-`uname -s`-`uname -m` > /usr/local/bin/docker-compose
3.Base automatic completion command:
# Completion command
curl -L https://raw.githubusercontent.com/docker/compose/1.29.1/contrib/completion/bash/docker-compose > /etc/bash_completion.d/docker-compose
If an error occurs here, you need to modify your hosts file:
echo "199.232.168.131 raw.githubusercontent.com" >> /etc/hosts
5, Build image warehouse
1, The private server uses the http protocol and is not trusted by Docker by default, so it needs to be configured:
# Open the file you want to modify
vi /etc/docker/daemon.json
# Add content:
"insecure-registries":["192.168.Local machine ip.32:8080"]

#final
vi /etc/docker/daemon.json

{
  "registry-mirrors": [
    "https://tnxkcso1.mirror.aliyuncs.com"
  ],
 "insecure-registries":["192.168.Local machine ip.32:8080"]
}


# Reload
systemctl daemon-reload
# Restart docker
systemctl restart docker
2, Use DockerCompose to deploy DockerRegistry with image interface. The command is as follows:
1. Create a directory
mkdir -p /tmp/register-ui
2. Create a docker-compose.yml file
#Enter the / TMP / register UI directory
cd /tmp/register-ui

#Create docker-compose.yml file
touch docker-compose.yml
2. Open the touch docker-compose.yml file and add the following configuration
version: '3.0'
services:
  registry:
    image: registry
    volumes:
      - ./registry-data:/var/lib/registry
  ui:
    image: joxit/docker-registry-ui:static
    ports:
      - 8080:80
    environment:
      - REGISTRY_TITLE=Mine Warehouse
      - REGISTRY_URL=http://registry:5000
    depends_on:
      - registry
3. Enter the docker-compose.yml directory and start the warehouse
docker-compose up -d
4. View log
docker-compose logs -f
3, Push and pull images
① Re tag the local image. The name prefix is the address of the private warehouse: 192.168.150.101:8080/
docker tag nginx:latest 192.168.150.101:8080/nginx:1.0
② Push image
docker push 192.168.150.101:8080/nginx:1.0
③ Pull image
docker pull 192.168.150.101:8080/nginx:1.0
Access warehouse: 192.168. Local ip:8080/