0. Environment:
- Tencent ECs, version CentOS 7.6. My version comes with docker and docker compose. If you don't have one, you can install it yourself
1. Install docker
#install
yum install docker
#Verify that the installation was successful
[root@VM-16-5-centos ~]# docker --version
Docker version 20.10.5, build 55c4c88
#Start docker
systemctl start docker
2. Install docker compose
Refer to: https://docs.docker.com/compose/install/
sudo curl -L "https://github.com/docker/compose/releases/download/1.27.4/docker-compose-$(uname -s)-$(uname -m)" -o /usr/local/bin/docker-compose
#
sudo chmod +x /usr/local/bin/docker-compose
# Check whether the installation is successful
docker-compose --version
3. Prepare Dockerfile file
Because our project needs to be a docker image, we must first write a Dockerfile file to build our project image, and then arrange it. The Dockerfile file can help us build it.
3.1 Dockerfile file
- List item
Create and write Dockerfile directly at / root
vim Dockerfile
- List item
Write the following to this file
FROM java:8
EXPOSE 8888
ADD ./blog_api.jar /app.jar
RUN bash -c 'touch /app.jar'
ENTRYPOINT ["java","-jar","/app.jar","--spring.profiles.active=prod"]
The above commands are actually very simple. First, rely on the jdk8 environment, expose 8888, and then copy the blog_api.jar into the docker container and name it app.jar. Finally, execute the command java -jar /app.jar - spring.profiles.active=prod, using an online environment configuration we have written. Note: your back-end project may be named blog after packaging_ Api-1.0.0-snapshot.jar, please name it blog after uploading to the server_ Api.jar, which will be discussed later, can be omitted at present
3.2 prepare docker-compose.yml file
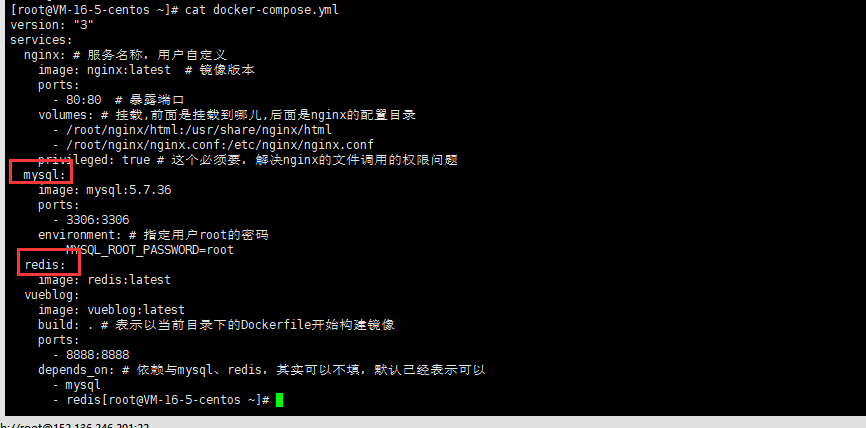
The software and services we need include nginx, mysql, redis and our springboot project, so we write the following:
- Create the docker-compose.yml file in the / root directory
vim docker-compose.yml
version: "3"
services:
  nginx: # Service name, user defined
    image: nginx:latest  # Mirror version
    ports:
      - 80:80  # Exposed port
    volumes: # Mount. The front is where to mount, and the back is the configuration directory of nginx
      - /root/nginx/html:/usr/share/nginx/html
      - /root/nginx/nginx.conf:/etc/nginx/nginx.conf
    privileged: true # This must solve the permission problem of file call of nginx
  mysql:
    image: mysql:5.7.36
    ports:
      - 3306:3306
    environment: # Specifies the password of the user root
      - MYSQL_ROOT_PASSWORD=root
  redis:
    image: redis:latest
  vueblog:
    image: vueblog:latest
    build: . # Indicates that the image is built from the Dockerfile in the current directory
    ports:
      - 8888:8888
    depends_on: # It depends on mysql and redis. In fact, it can not be filled in. By default, it indicates that it is OK
      - mysql
      - redis
I explained the above meaning with notes. I hope I can make it clear! It should be noted that in nginx, we have mounted the html folder of nginx where static resources are placed and the configuration file nginx.conf, so we can place the packaged files in the host / root/nginx/html file directory
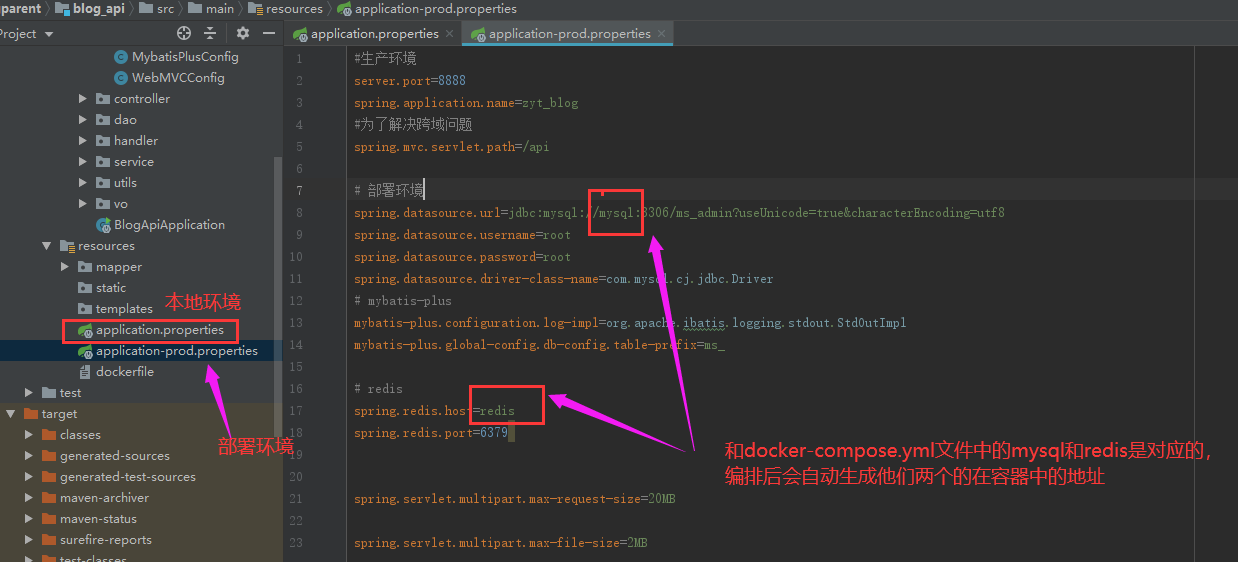
3.3 modify the application-prod.properties configuration file in SpringBoot
Note that I copied the application-prod.properties from application.properties. Please modify them according to my. This is the code God Road. It is recommended to see the video
Then let's look back at the application-prod.properties file. The link between MySQL and redis was still localhost before. Now we need to modify it into a call between containers. How do we know the link address of MySQL and redis? Docker compose helps us solve this problem. We can use the service name of the image container to represent the link. For example, the service name of MySQL in docker-compose.yml is called mysql, and redis is called redis.
3.4 prepare the mount directory and configuration of nginx
It has been mentioned in docker-compose.yml
- Mount directory of host machine: / root/nginx/html
- Mount configuration: / root/nginx/nginx.conf
So we create a new nginx directory under the root directory, and enter the nginx directory to create a new html directory and an nginx.conf configuration file
The following figure is what I have established

#Create files and edit
vim nginx.conf
Then write nginx.conf. The specific configuration is as follows
nginx.conf
#nginx.conf
#user  root;
worker_processes  1;
events {
  worker_connections  1024;
}
http {
  include       mime.types;
  default_type  application/octet-stream;
  sendfile        on;
  keepalive_timeout  65;
  server {
      listen       80;
      server_name  localhost;
      location / {
          root   /usr/share/nginx/html;
          try_files $uri $uri/ /index.html last; # Don't forget this
          index  index.html index.htm;
      }
      error_page   500 502 503 504  /50x.html;
      location = /50x.html {
          root   html;
      }
  }
}
3.5 upload front end
After the front end is packaged, modify the interface between the front end and the back end. The configuration is as follows:
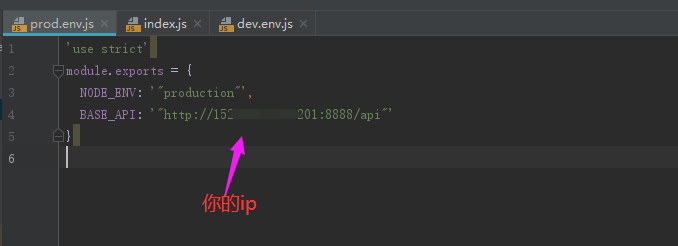
No changes have been made to index.js
After modification, run npm run build to package the dist file. You can upload all files under the dist file to the / root/nginx/html directory. As shown below:

3.6 deployment backend
When everything is ready, we begin to arrange and deploy. First, we package our blog_api project
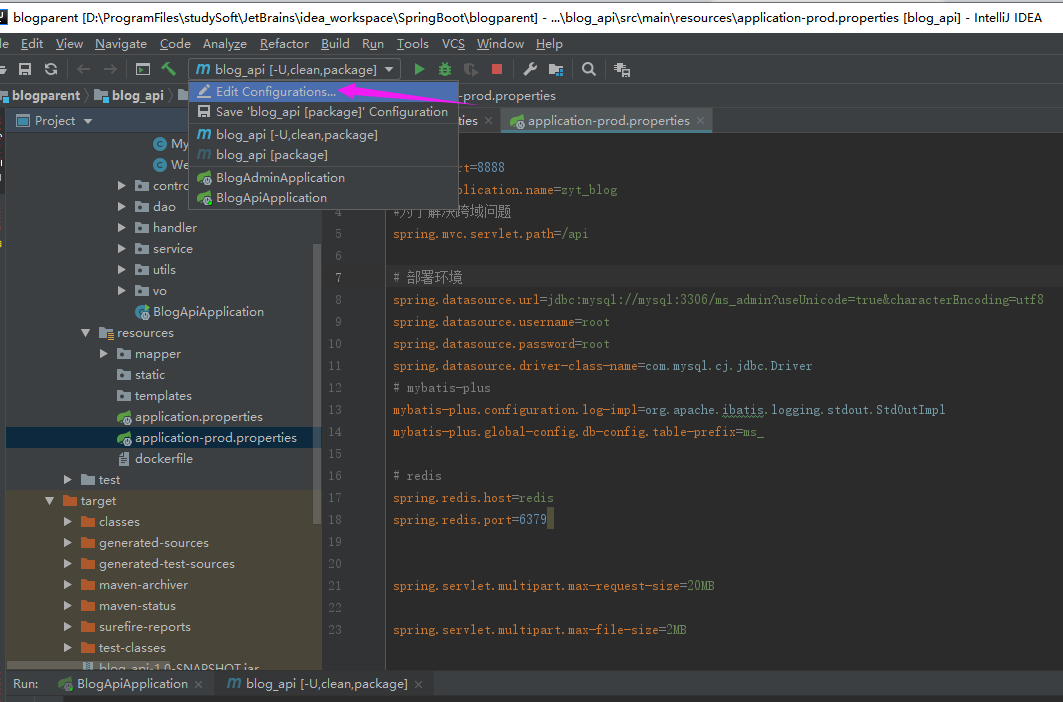
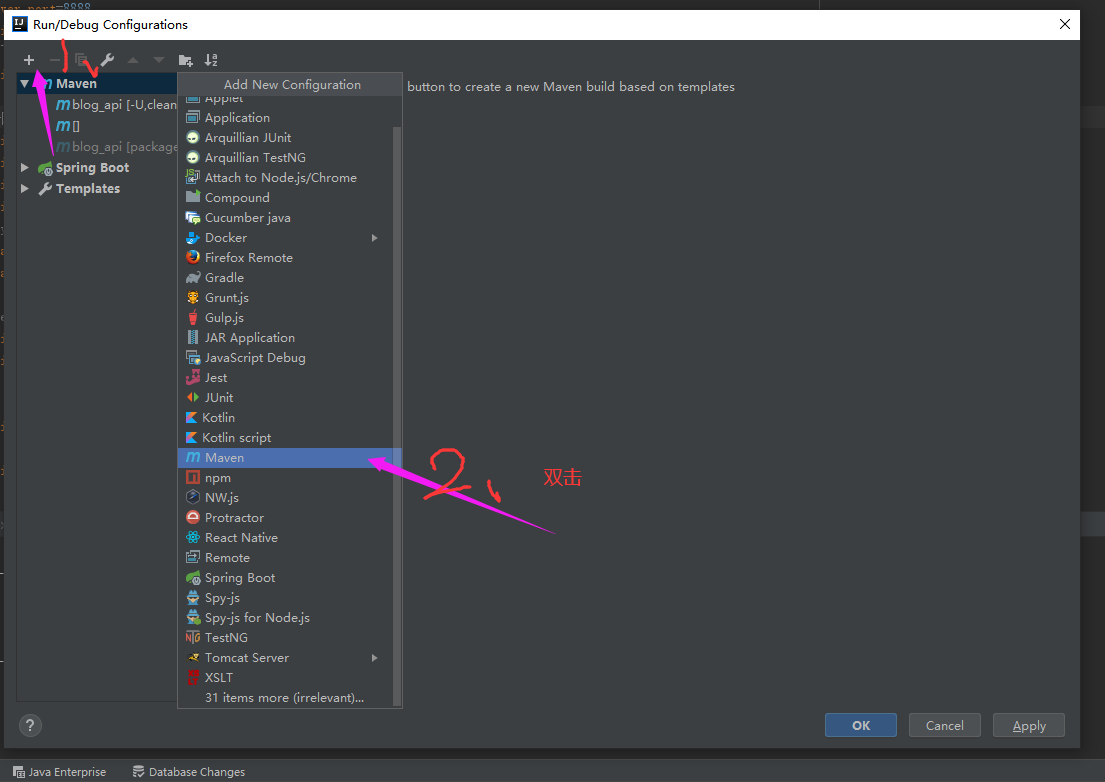
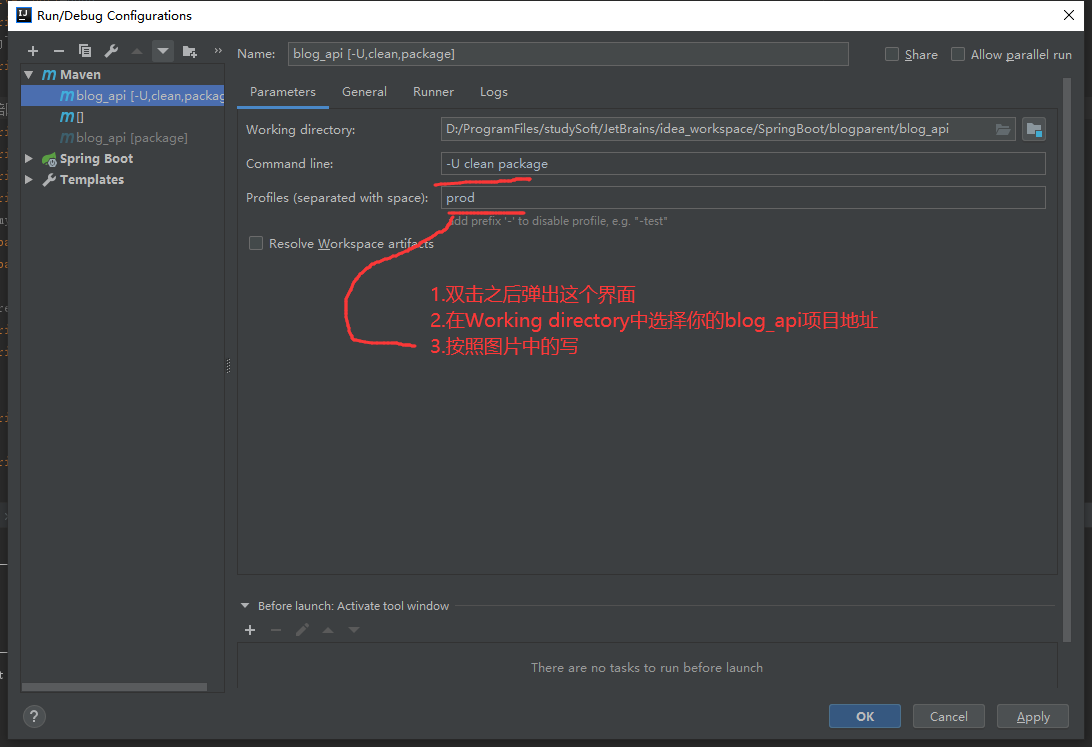
After that, click apply and click Run, as shown in the figure below
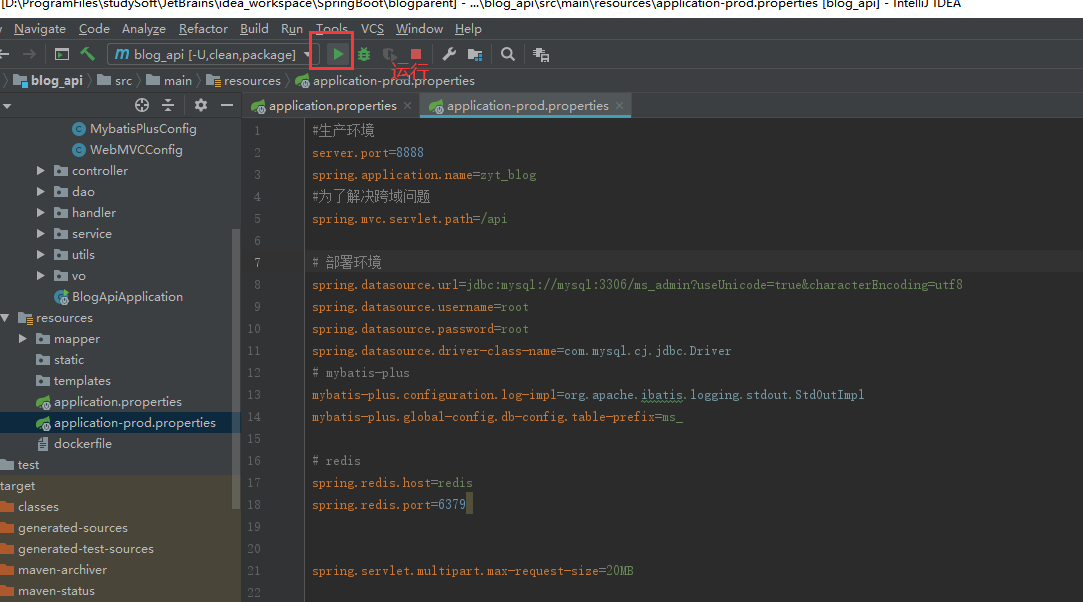
After running, the package is successful. You can see the packaged files in the target directory
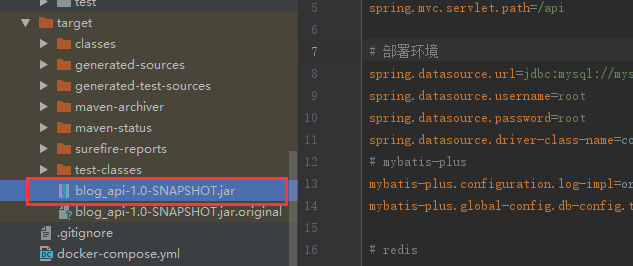
Upload the jar package to / root and rename it with mv command
mv blog_api-1.0-SNAPSHOT.jar blog_api.jar
The file directory after naming is shown in the figure below

Then execute the orchestration command:
#Start choreography
cd ~
docker-compose up -d
The editing time may be a little slow. After the editing is successful, the prompt is as follows:
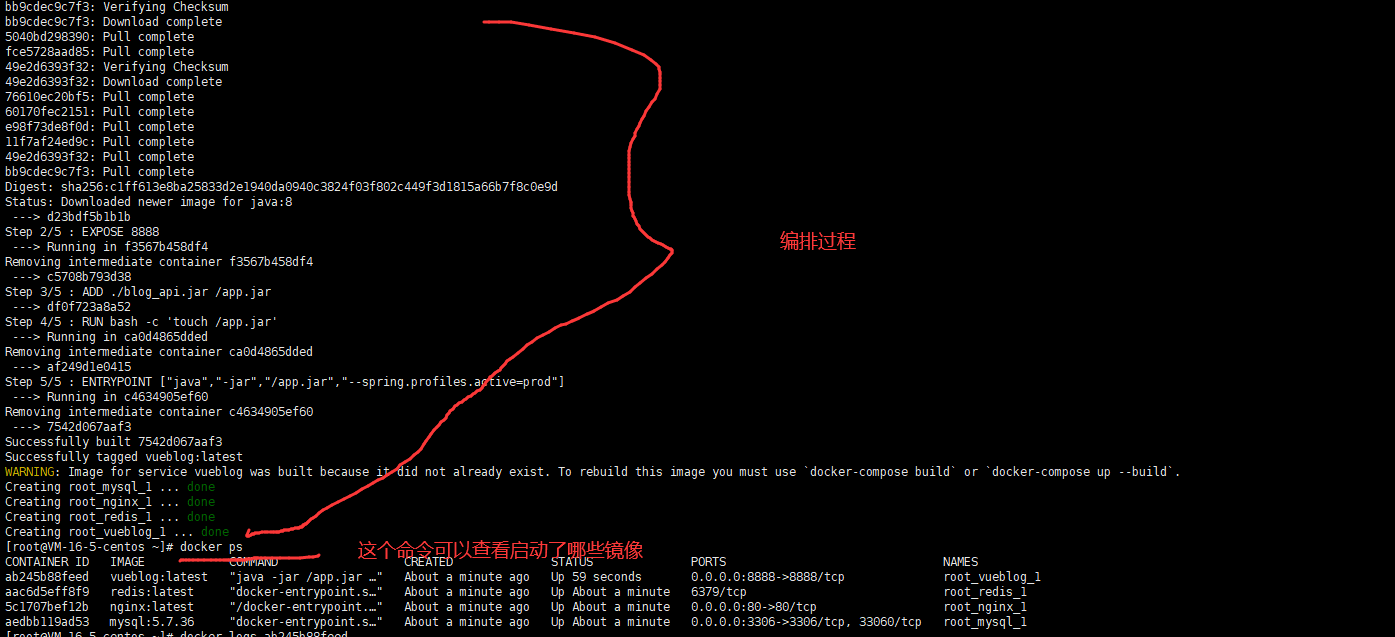
Use the command to monitor the logs of the vueblog image
#-t can be monitored all the time. You can see that the error message ab245b88feed represents the CONTAINER ID of vueblog, as shown in the above figure, which is queried using docker ps
docker logs -t ab245b88feed
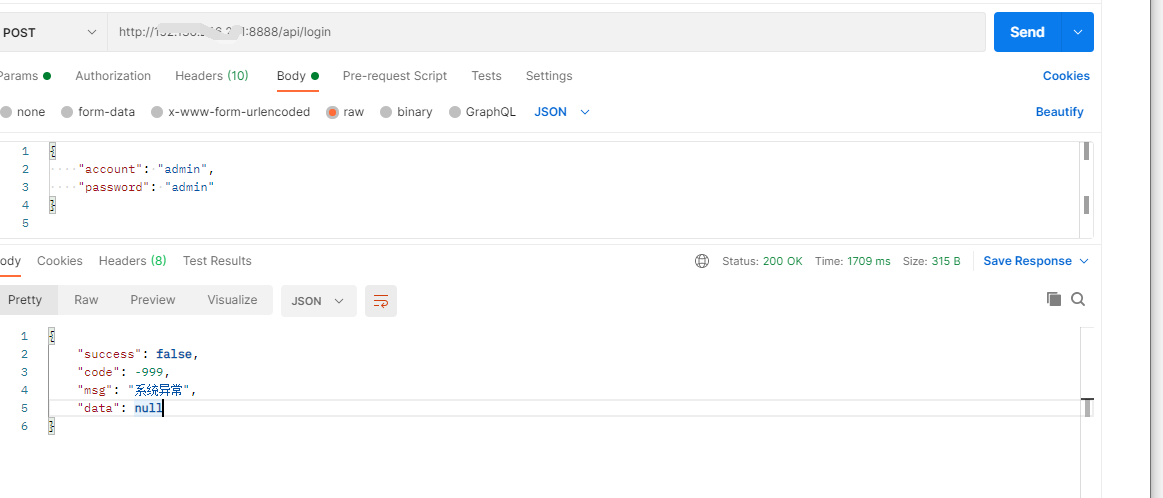
So far, the deployment has been successful. In fact, you can use postman to test the login. It is found that the return is a system exception,
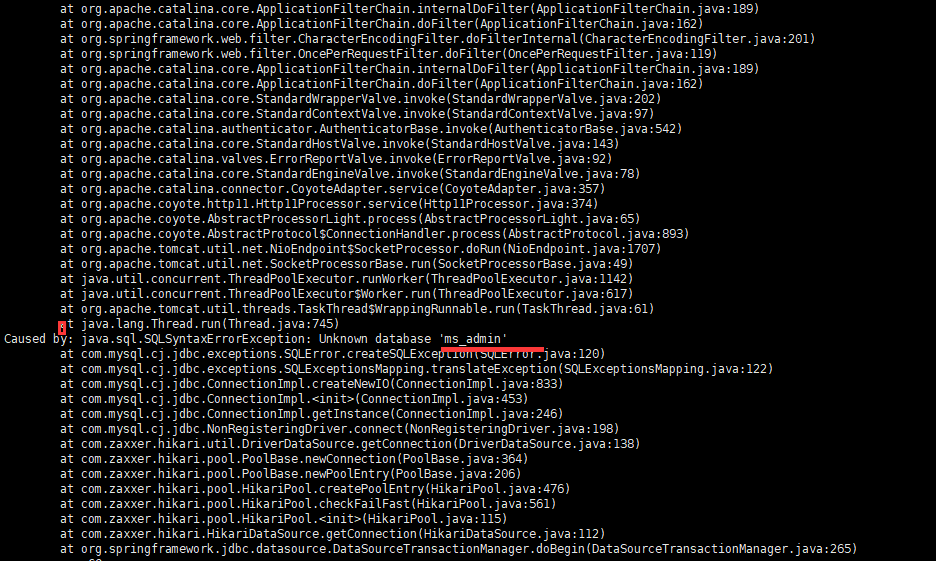
At this time, looking at the log information output by the server, it is found that the database is not found
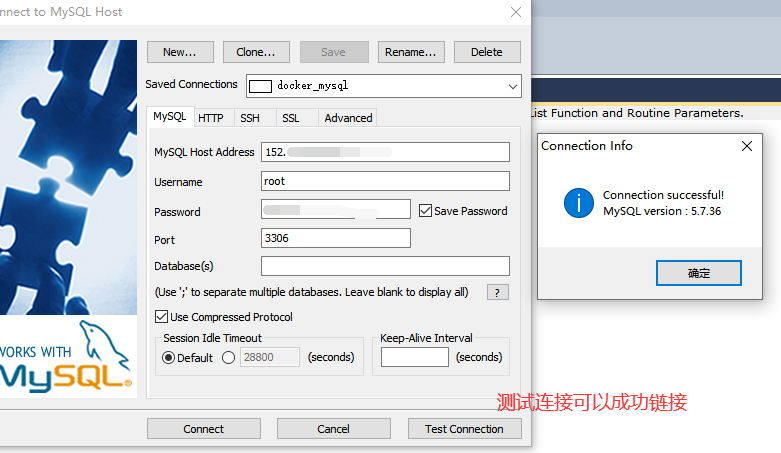
At this time, we can use sqkyog or other visual interfaces of our own computer to remotely connect to the database, but some configurations need to be made before remotely connecting to the database. The configurations are as follows:
docker exec -it mysql-test /bin/bash  # MySQL test is the name of the container created above
mysql -u root -p
# Set up your own computer to remotely connect to mysql on the server
ALTER USER 'root'@'%' IDENTIFIED WITH mysql_native_password BY 'xxxx';
# If successful, Query OK, 0 rows affected (0.00 sec) xxxx will be output as your mysql password
Then connect to the database remotely
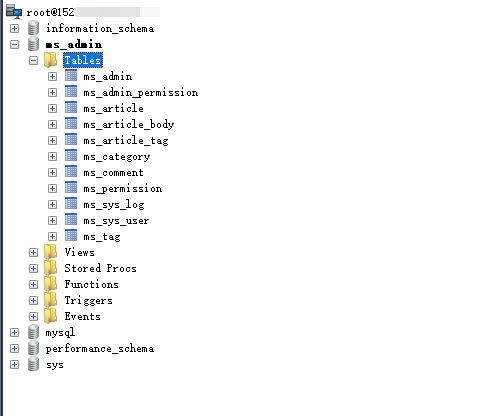
The sql file is imported into this database. After successful import, it is as follows:
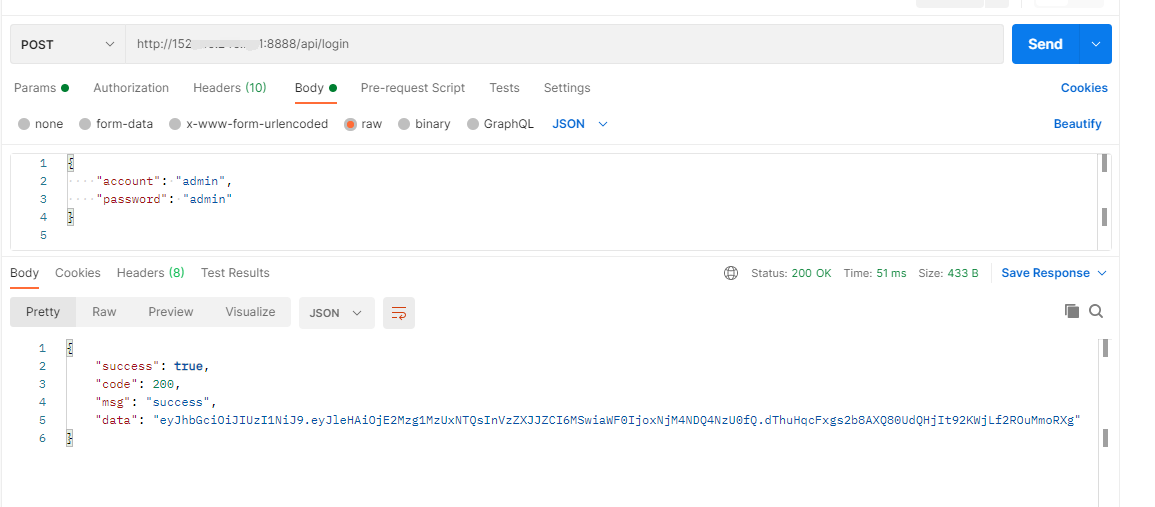
At this time, the postman test is being carried out, and the test results are shown in the figure:
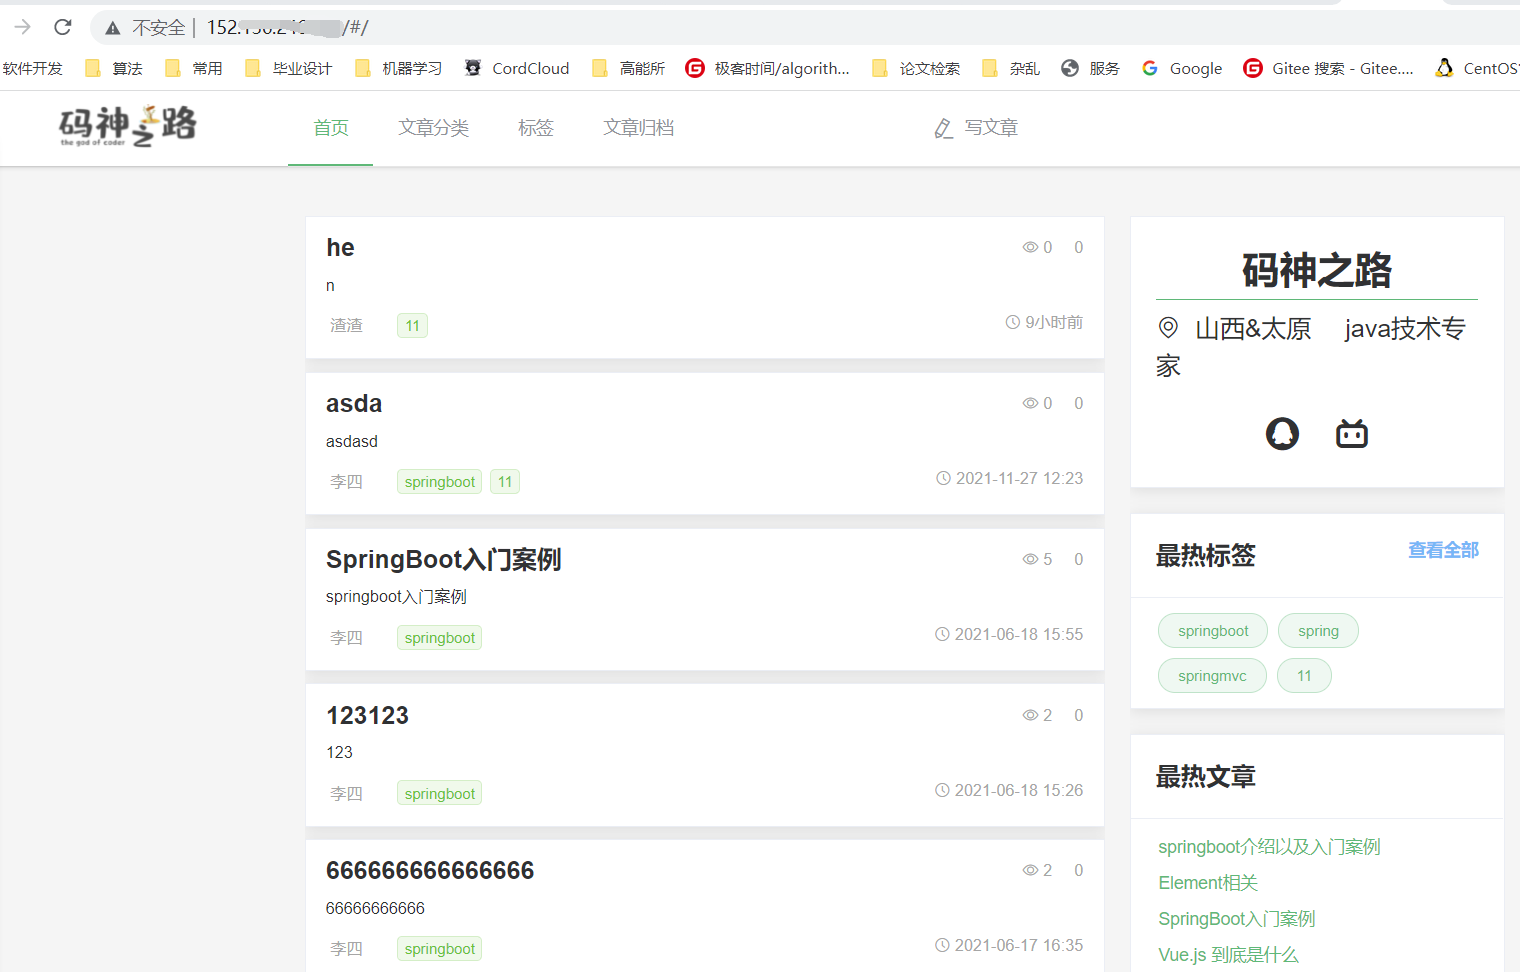
Enter on the browser http://ip My interface is as follows: