Installation of docker
First, let's look at what docker is.
Docker is a virtualization technology based on the Linux kernel, which encapsulates and isolates processes. Because the isolated processes are independent of the host and other isolated processes, they can also be called containers. Many people think of docker as a virtual machine, but it is not, because it does not require additional overhead such as hardware virtualization and running a complete operating system. The docker also appears to solve the problem that no modification is needed in various complex environments and to ensure the normal and stable operation of the program, that is, the environment is consistent. The problem of sex, of course, is that kubernets, referred to as k8s, automates the management and arrangement of docker containers. The next article will introduce k8s.
Next, get to the point and start installing docker
1. Unload the old version of docker
yum remove docker \
           docker-client \
           docker-client-latest \
           docker-common \
           docker-latest \
           docker-latest-logrotate \
           docker-logrotate \
           docker-selinux \
           docker-engine-selinux \
           docker-engine
2. Installing dependency packages
yum install -y yum-utils \
           device-mapper-persistent-data \
           lvm2
3. Replacement of yum source and domestic mirror for faster download
yum-config-manager \
    --add-repo \
    https://mirrors.ustc.edu.cn/docker-ce/linux/centos/docker-ce.repo
4. Install docker
yum-config-manager --enable docker-ce-nightly    #Getting Night Channel Storage
yum makecache fast   #Update yum cache
yum install -y docker-ce   #Install docker
5. Start docker, set up docker user group and add current user to user group
systemctl start docker
groupadd docker #Create user groups
usermod -aG docker $USER   #Add the current user to the user group
6. Add docker image accelerator and write the following in / etc/docker/daemon.json (create a file if it does not exist)
{
  "registry-mirrors": [
    "https://dockerhub.azk8s.cn",
    "https://reg-mirror.qiniu.com"
  ]
}
7. Restart services
systemctl daemon-reload
systemctl enable docker
systemctl restart docker
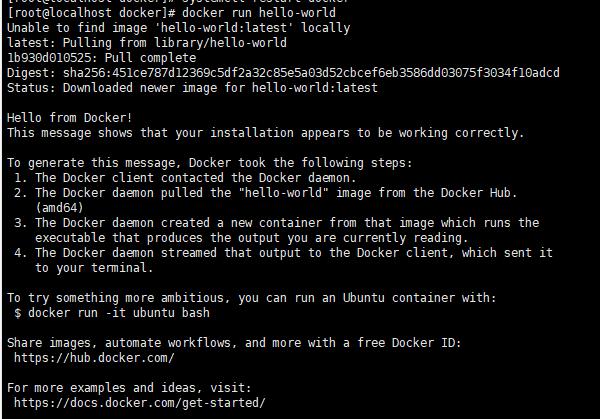
To test whether docker was installed successfully
docker run hello-world
When it appears as shown in the figure, it proves that the installation was successful.
2. Configuring php running environment with docker
First of all, to create a private network, you can configure the environment without creating it, but to leak the ports out of the network and connect the containers with the link parameter, which is not safe. To create a private network, you only need to expose 80 ports, which is more secure.
1. Creating Private Networks
docker network create lnmp
This creates a private network named lnmp
2. Configure mysql container
docker run --network lnmp --name mysql -v /home/lnmp/mysql/:/var/lib/mysql -e MYSQL_ROOT_PASSWORD=123456 -d --privileged=true mysql

### Instructions:
--network :take mysql Containers run in private networks
--name Assign an alias to the container
-v /home/lnmp/mysql/:/var/lib/mysql: Subject the host to the current user directory mysql Folder mounted to container/var/lib/mysql Next, in mysql The data generated in the container is stored locally mysql Directory
-e MYSQL_ROOT_PASSWORD=123456: Initialization root User's password
-d Background Operating Container
--privileged=true  You may encounter permission problems and need to add parameters
Running a container directly, docker automatically pull s the image file, and mysql is configured successfully
3. Configuring nginx containers
First run a nginx container
docker run --name mynginx -p 80:80 -d -v /home/lnmp/nginx/html:/usr/share/nginx/html -d nginx
Copy the nginx configuration file directory from cd to home/lnmp/nginx folder
cd /home/lnmp/nginx
docker cp mynginx:/etc/nginx/conf.d conf.d
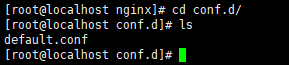
At this point, you will find that the nginx configuration folder and configuration file in the container have been copied down.
Now let's delete the innovative creation of the nginx container we created earlier
docker stop mynginx #Stop container
docker rm mynginx #Delete container
docker run --name mynginx -p 80:80 --network lnmp -v /home/lnmp/nginx/html:/usr/share/nginx/html -v  /home/lnmp/nginx/conf.d:/etc/nginx/conf.d/ -d nginx
This is our cd to / home/lnmp/nginx/html folder, create an index.html file to access the content casually
cd /home/lnmp/nginx/html
vim index.html
Access server ip address after writing
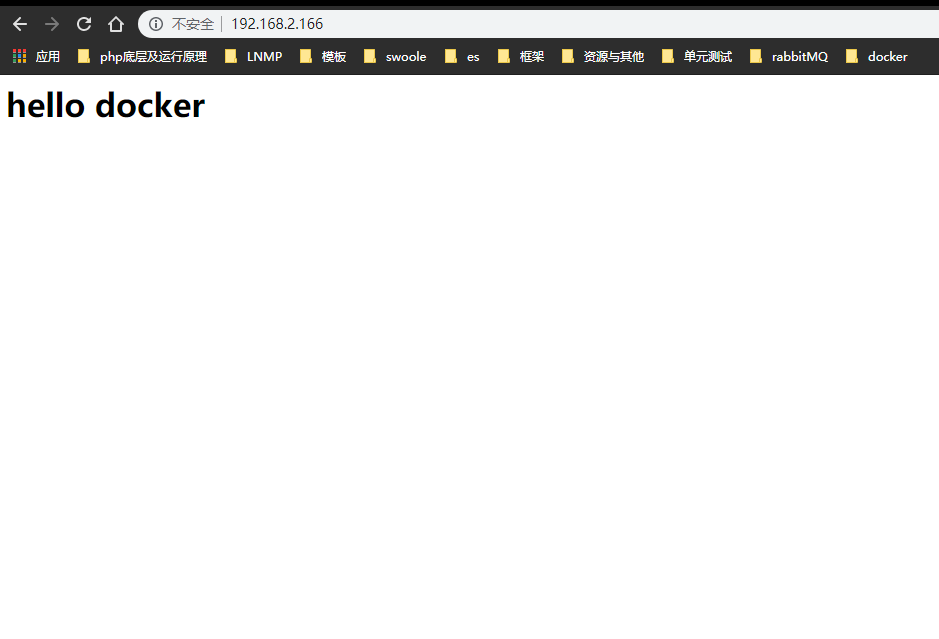
When you see this page, the nginx container runs successfully.
Here we introduce some simple commands for docker container operation
docker ps -a                       # View the running container
docker ps                          # View container
docker stop nginx                  # Stop running containers
docker start nginx                 # Start a container that has stopped
docker start nginx                 # Restart a container
docker rm nginx                    # Delete container
4. Configuring php containers
Like nginx, we first run a php container to copy the php configuration file
Note: Different versions of PHP need to be added after the final php: for example, the version of PHP 7.1 needs to be mirrored, and finally php:7.1-fpm should be written.
docker run --name myphp --network lnmp -d php:7.1-fpm
cd to / home/lnmp / create a php folder, enter the php folder to copy the configuration file
cd /home/lnmp/
mkdir php
cd php/
docker cp myphp:/usr/local/etc/php-fpm.d/www.conf www.conf
Next, copy the php.ini file, enter the container first, extract the file and copy it.
# Advanced Input Container
docker exec -it myphp bash
cd /usr/src/ # Enter folder
xz -d php.tar.xz #Unzip xz file
tar -xvf  php.tar #Unzip tar file
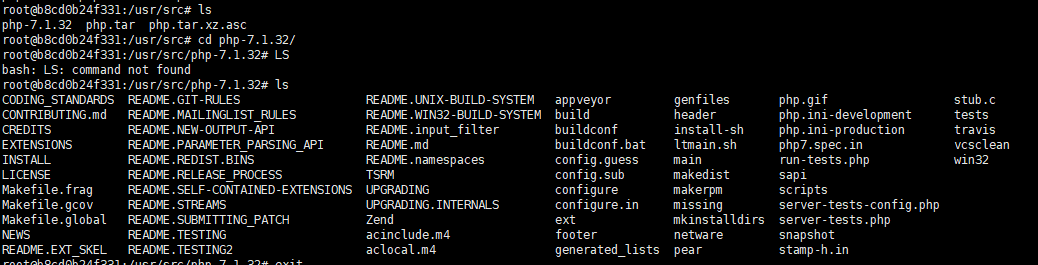
After decompression, php.ini-production is available. My path is / usr/src/php-7.1.32/php.ini-production. This path is to see the decompressed path.
Now let's copy the php.ini file
docker cp myphp:/usr/src/php-7.1.32/php.ini-production php.ini
After we succeed, we will see two configuration files under the php folder.
We delete the container to rerun it.
docker stop myphp
docker rm myphp
docker run --name myphp --network lnmp -v /home/lnmp/nginx/html:/var/www/html -v /home/lnmp/php/www.conf:/usr/local/etc/php-fpm.d/www.conf -v /home/lnmp/php/php.ini:/usr/local/etc/php/php.ini -d php:7.1-fpm
Let's verify that the php container is successful
5. Modify nginx configuration file
cd to / home/lnmp/nginx/conf.d folder to modify the configuration file, copy the content to the configuration file
server {
    listen       80;
    server_name  _;
    root /usr/share/nginx/html;
    index index.php index.html index.htm;

    #charset koi8-r;
    #access_log  /var/log/nginx/log/host.access.log  main;

    location / {
        #root   /usr/share/nginx/html;
        #index  index.php index.html index.htm;
        try_files $uri $uri/ =404;
    }

    error_page  404  /404.html;
    location = /40x.html {
        root    /user/share/nginx/html;
    }

    # redirect server error pages to the static page /50x.html
    #
    error_page   500 502 503 504  /50x.html;
    location = /50x.html {
        root   /usr/share/nginx/html;
    }

    # proxy the PHP scripts to Apache listening on 127.0.0.1:80
    #
    #location ~ \.php$ {
    #    proxy_pass   http://127.0.0.1;
    #}

    # pass the PHP scripts to FastCGI server listening on 127.0.0.1:9000
    #
    location ~ \.php$ {
        root           /var/www/html/;
        fastcgi_pass   myphp:9000;
        fastcgi_index  index.php;
#        fastcgi_param  SCRIPT_FILENAME  /scripts$fastcgi_script_name;
        include        fastcgi_params;
        fastcgi_param SCRIPT_FILENAME $document_root$fastcgi_script_name;

    }
  # deny access to .htaccess files, if Apache's document root
    # concurs with nginx's one
    #
    location ~ /\.ht {
        deny  all;
    }
}
Restart nginx container
docker restart mynginx
cd enters / home/lnmp/nginx/html folder to create index.php file to write content
<?php
    phpinfo();
?>
Open the browser and add index.php after the server ip address
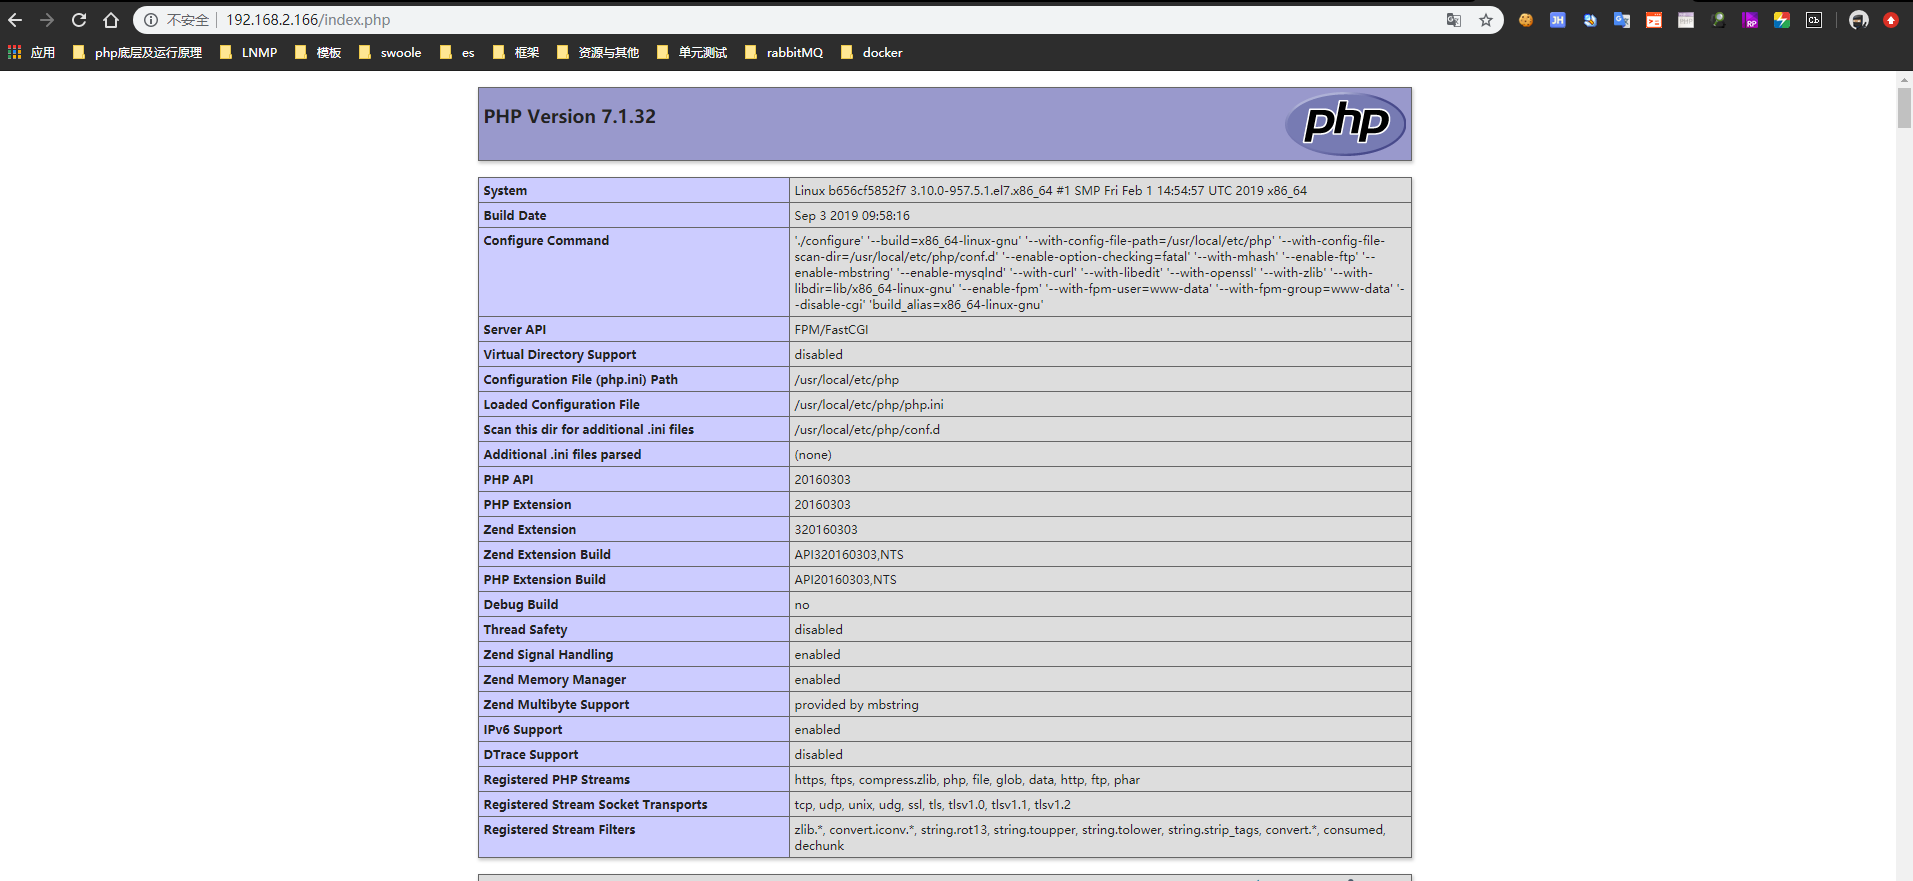
See the familiar phpinfo page configuration is successful.
I am also a novice to learn docker. The first step is to configure the environment. When I succeed in writing notes, the middle process can be omitted, such as using docker file, which is more convenient. When I learn k8s later, I will also record notes. I also hope that I can learn and make progress together with others.