Today, I found a mentor who gave a server to CentOS7 to install an environment in R language to run R scripts. But since I have not learned and tried it, I would like to record the installation process and provide some ideas for future installations.
After referring to some people's methods, we found that the R language version installed with the rpm package manager is only 3.6, which may result in many later packages not being installed, so change the method decisively and install version 4.1 of the R language.
1. Download R Package
Tsinghua Download Source: The Comprehensive R Archive Network (tsinghua.edu.cn)
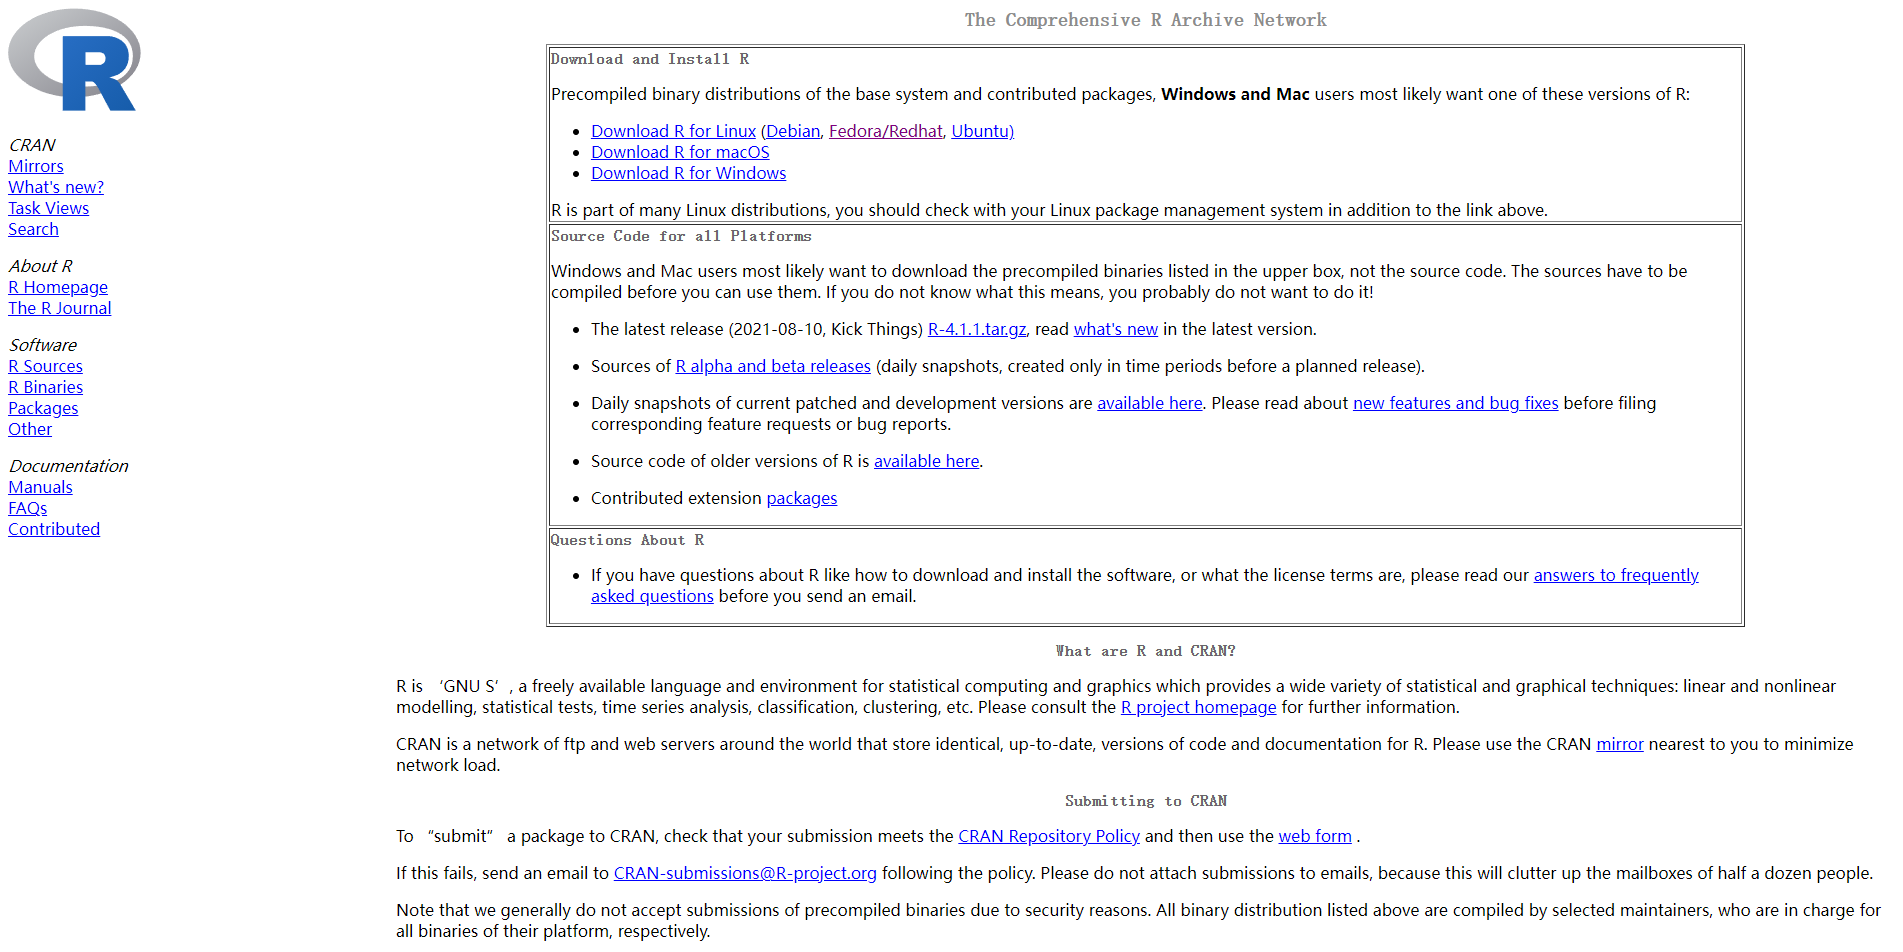
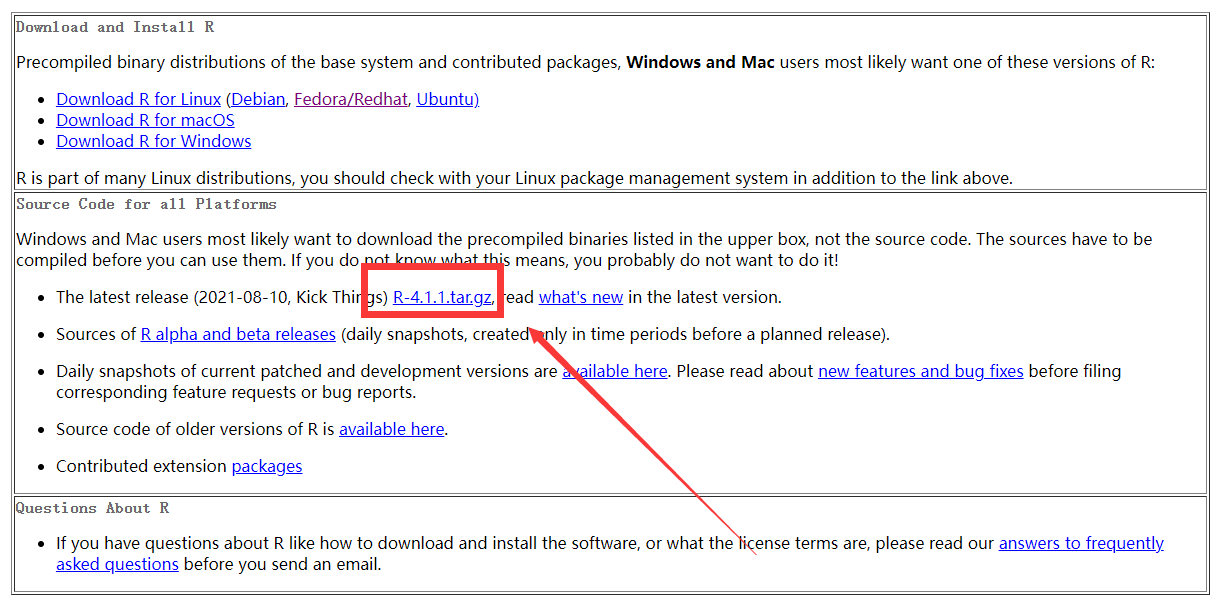
- Right-click the copy connection to get the download address as follows
https://cran.r-project.org/src/base/R-4/R-4.1.1.tar.gz
-
Then download at centos using wget
- Create a folder download, or download in / home, I choose to download in home so switch to home first
cd /home
- Download the file, make sure to install wget first, otherwise install wget first. Use the yum install command to install
wget https://cran.r-project.org/src/base/R-4/R-4.1.1.tar.gz
- decompression
tar -zxvf R-4.1.1.tar.gz
-
Next, enter the unzipped folder
cd R-4.1.1
Dependencies required to install R
Because it's a tutor's server, it doesn't have root privileges and can only temporarily get permissions to download. If you have root privileges, you can remove all sudo in the following text
sudo yum install -y gcc
sudo yum install -y gcc-gfortran
sudo yum install -y gcc-c++
sudo yum install -y glibc-headers
sudo yum install -y libreadline6-dev gfortran
sudo yum install -y readline-devel
sudo yum install -y wget libXt-devel
sudo yum install -y fonts-chinese tcl tcl-devel tclx tk tk-devel
sudo yum install -y mesa-libGLU mesa-libGLU-devel
sudo yum install -y install bzip2-devel
sudo yum install -y install xz-devel.x86_64
sudo yum install -y install pcre-devel
sudo yum install -y install libcurl
sudo yum install -y install libcurl-devel
sudo yum install -y  texinfo.x86_64
sudo yum install -y texlive-pdftex-doc.noarch
sudo yum install -y texlive
sudo yum install -y xorg-x11-server-Xvfb
sudo yum install -y xorg-x11-fonts-75dpi
sudo yum install -y xorg-x11-fonts-100dpi
sudo yum install -y libXtst-devel
sudo yum install -y libssh2-devel
sudo yum install -y libgit2-devel
sudo yum install -y mysql-devel
sudo yum install pcre2-devel
./configure --enable-R-shlib=yes --with-tcltk --prefix=/usr/local/R
make
make install
Then we need to add an environment variable so that I can open R anywhere
- Open Profile
vi /etc/profile
- Add the following
export R_HOME=/usr/local/R
PATH=$PATH:$R_HOME/bin
problem
During installation, it was found that the jni.h file was missing, it seemed that the installation environment and dependencies were not installed after consulting. After reinstalling, the same error was found again. After updating the source address and updating all packages, try running again.

Looking at it again, it seems that because the native jdk did not find the file jni.h, the decisive solution is to reinstall jdk1.8
Remove old jdk
First look at the packages that have those java installed
rpm -qa |grep java
You don't need to delete anything with the end of norch, all else needs to be deleted
Then delete the packages
rpm -e --nodeps java-1.8.0-openjdk-1.8.0.131-11.b12.el7.x86_64
rpm -e --nodeps java-1.7.0-openjdk-1.7.0.141-2.6.10.5.el7.x86_64
rpm -e --nodeps java-1.8.0-openjdk-headless-1.8.0.131-11.b12.el7.x86_64
rpm -e --nodeps java-1.7.0-openjdk-headless-1.8.0.131-11.b12.el7.x86_64
After deleting, you can also see if there are any residues, also using the rpm-qa | grep Java command
Install jdk
Find out which versions are available
yum search java|grep jdk
Repository updates is listed more than once in the configuration
Repository centosplus is listed more than once in the configuration
Repository cr is listed more than once in the configuration
Repository extras is listed more than once in the configuration
Repository fasttrack is listed more than once in the configuration
ldapjdk-javadoc.noarch : Javadoc for ldapjdk
java-1.6.0-openjdk.x86_64 : OpenJDK Runtime Environment
java-1.6.0-openjdk-demo.x86_64 : OpenJDK Demos
java-1.6.0-openjdk-devel.x86_64 : OpenJDK Development Environment
java-1.6.0-openjdk-javadoc.x86_64 : OpenJDK API Documentation
java-1.6.0-openjdk-src.x86_64 : OpenJDK Source Bundle
java-1.7.0-openjdk.x86_64 : OpenJDK Runtime Environment
java-1.7.0-openjdk-accessibility.x86_64 : OpenJDK accessibility connector
java-1.7.0-openjdk-demo.x86_64 : OpenJDK Demos
java-1.7.0-openjdk-devel.x86_64 : OpenJDK Development Environment
java-1.7.0-openjdk-headless.x86_64 : The OpenJDK runtime environment without
java-1.7.0-openjdk-javadoc.noarch : OpenJDK API Documentation
java-1.7.0-openjdk-src.x86_64 : OpenJDK Source Bundle
java-1.8.0-openjdk.i686 : OpenJDK Runtime Environment 8
java-1.8.0-openjdk.x86_64 : OpenJDK 8 Runtime Environment
java-1.8.0-openjdk-accessibility.i686 : OpenJDK accessibility connector
java-1.8.0-openjdk-accessibility.x86_64 : OpenJDK accessibility connector
java-1.8.0-openjdk-demo.i686 : OpenJDK Demos 8
java-1.8.0-openjdk-demo.x86_64 : OpenJDK 8 Demos
java-1.8.0-openjdk-devel.i686 : OpenJDK Development Environment 8
java-1.8.0-openjdk-devel.x86_64 : OpenJDK 8 Development Environment
java-1.8.0-openjdk-headless.i686 : OpenJDK Headless Runtime Environment 8
java-1.8.0-openjdk-headless.x86_64 : OpenJDK 8 Headless Runtime Environment
java-1.8.0-openjdk-javadoc.noarch : OpenJDK 8 API documentation
java-1.8.0-openjdk-javadoc-zip.noarch : OpenJDK 8 API documentation compressed
java-1.8.0-openjdk-src.i686 : OpenJDK Source Bundle 8
java-1.8.0-openjdk-src.x86_64 : OpenJDK 8 Source Bundle
java-11-openjdk.i686 : OpenJDK Runtime Environment 11
java-11-openjdk.x86_64 : OpenJDK 11 Runtime Environment
java-11-openjdk-demo.i686 : OpenJDK Demos 11
java-11-openjdk-demo.x86_64 : OpenJDK 11 Demos
java-11-openjdk-devel.i686 : OpenJDK Development Environment 11
java-11-openjdk-devel.x86_64 : OpenJDK 11 Development Environment
java-11-openjdk-headless.i686 : OpenJDK Headless Runtime Environment 11
java-11-openjdk-headless.x86_64 : OpenJDK 11 Headless Runtime Environment
java-11-openjdk-javadoc.i686 : OpenJDK 11 API documentation
java-11-openjdk-javadoc.x86_64 : OpenJDK 11 API documentation
java-11-openjdk-javadoc-zip.i686 : OpenJDK 11 API documentation compressed in a
java-11-openjdk-javadoc-zip.x86_64 : OpenJDK 11 API documentation compressed in
java-11-openjdk-jmods.i686 : JMods for OpenJDK 11
java-11-openjdk-jmods.x86_64 : JMods for OpenJDK 11
java-11-openjdk-src.i686 : OpenJDK Source Bundle 11
java-11-openjdk-src.x86_64 : OpenJDK 11 Source Bundle
java-11-openjdk-static-libs.i686 : OpenJDK libraries for static linking 11
java-11-openjdk-static-libs.x86_64 : OpenJDK 11 libraries for static linking
ldapjdk.noarch : The Mozilla LDAP Java SD
java-1.8.0-openjdk-devel.x86_64 : OpenJDK 8 Development Environment
java-1.8.0-openjdk-src.x86_64 : OpenJDK 8 Source Bundle
Install both versions
So run
yum install java-1.8.0-openjdk-devel.x86_64
yum install java-1.8.0-openjdk-src.x86_64
Execute the java-version command after installation to view the current version. A version proves the installation is complete
After installation, you can see folders such as bin, lib appear in the java installation directory.
Re-enter the javac instructions that the installation was successful:
Configuring environment variables such as JAVA_HOME
Installing jdk through yum install does not automatically configure the JAVA_HOME environment variable. If some services depend on this environment variable, it will fail to start. The following demonstrates how to manually configure the JAVA_HOME environment variable.
Find JDK installation path
(1) First, we execute the following commands in turn to find the correct JAVA_HOME location step by step:
which java``
Output:/usr/bin/java

ls -lrt usr/bin/java
 Output:/usr/bin/java -> /etc/alternatives/java

ls -lrt /etc/alternatives/java

Output:/etc/alternatives/java -> /usr/lib/jvm/java-1.8.0-openjdk-1.8.0.242.b08-0.el7_7.x86_64/jre/bin/java(2)Final locations can be found as follows:
/usr/lib/jvm/java-1.8.0-openjdk-1.8.0.242.b08-0.el7_7.x86_64
Configure JAVA_HOME
(1) Execute the following command to open the file for configuring environment variables:
vi /etc/profile
(2) Add the following configuration to it (the JAVA_HOME parameter is set according to the directory path found earlier):
export JAVA_HOME=/usr/lib/jvm/java-1.8.0-openjdk-1.8.0.242.b08-0.el7_7.x86_64
export JRE_HOME=$JAVA_HOME/jre
export CLASSPATH=$JAVA_HOME/lib:$JRE_HOME/lib:$CLASSPATH
export PATH=$JAVA_HOME/bin:$JRE_HOME/bin:$PATH
(3) Finally, execute the following commands for the configuration to take effect:
source /etc/profile
3, Test
Executing echo $JAVA_HOME if the correct output path indicates that the configuration was successful:
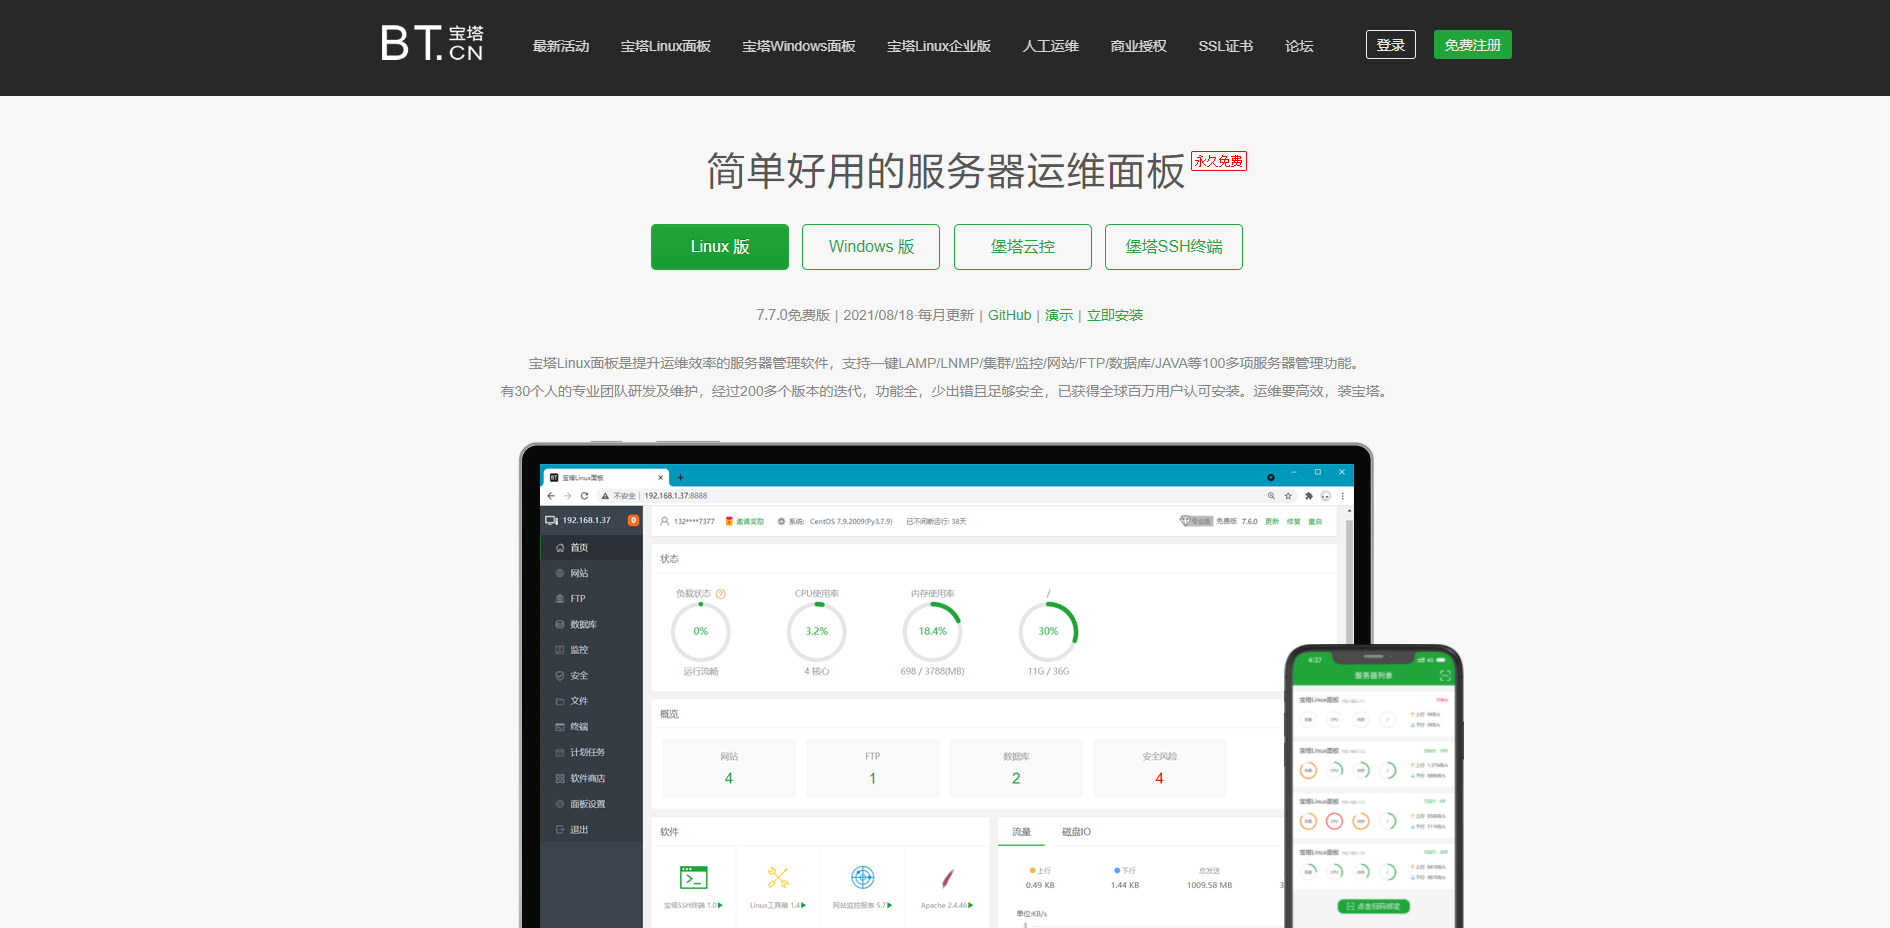
Install Pagoda
We could not see the exact usage correctly when running the R script because it is remote.So when we install the pagoda on port 8080, we can see how the whole machine works in the browser
Installing the pagoda is easy, we just need to open the official website Pagoda Panel - Easy to use Linux/Windows Server Operations Management Panel (bt.cn)
Click Install Now to find the corresponding version of the installation code
yum install -y wget && wget -O install.sh http://download.bt.cn/install/install_6.0.sh && sh install.sh
This is centos7 install version code, runtime found insufficient permissions. So I download it before upgrading
wget http://download.bt.cn/install/install_6.0.sh
chmod 777 install_6.0.sh
sudo ./install_6.0.sh
You can install it successfully
Install RstudioServe
wget https://download2.rstudio.org/server/centos6/x86_64/rstudio-server-rhel-1.2.1335-x86_64.rpm
sudo yum install rstudio-server-rhel-1.2.1335-x86_64.rpm
After installing RStudio Server, it will be deployed by default, but finally IP:8787 (for example, 222.116.86.11:8787).
Logon verification.Next, you can log in using the server's original account password. Note here that you cannot log in using the root account and the corresponding password. You must create a new account.
Problems encountered in the process
If we restart the service, re-login using 222.116.86.11:8787 may encounter a login jam, at which point we need to re-login using 222.116.86.11:8787/auth-sign-in.
Configure Related Files
$HIVE_HOME/conf/If there is no hive-site.xml file, touch directly to create a new one, edit:
<configuration>
<property>
<name>javax.jdo.option.ConnectionURL</name>
<value>jdbc:mysql://master:3306/hive?createDatabaseIfNotExist=true&useSSL=false</value>
</property>
<property>
<name>javax.jdo.option.ConnectionDriverName</name>
<value>com.mysql.jdbc.Driver</value>
</property>
<property>
<name>javax.jdo.option.ConnectionUserName</name>
<value>root</value>
</property>
<property>
<name>javax.jdo.option.ConnectionPassword</name>
<value>Zhuqian#1992</value>
</property>
<property>
<name>hive.metastore.warehouse.dir</name>
<value>/usr/local/src/hive/hive-1.2.2/warehouse</value>
</property>
<property>
<name>hive.exec.scratchdir</name>
<value>/usr/local/src/hive/hive-1.2.2/tmp</value>
</property>
<property>
<name>hive.querylog.location</name>
<value>/usr/local/src/hive/hive-1.2.2/log</value>
</property>
<property>
<name>hive.metastore.schema.verification</name>
<value>false</value>
</property>
<property>
<name>hive.cli.print.current.db</name>
<value>true</value>
</property>
<property>
<name>hive.cli.print.header</name>
<value>true</value>
</property>
<property>
<name>hive.groupby.skewindata</name>
<value>true</value>
</property>
<!-- This is hiveserver2 -->
<property>
<name>hive.server2.thrift.port</name>
<value>10000</value>
</property>
<property>
<name>hive.server2.thrift.bind.host</name>
<value>192.168.44.10</value>
</property>
</configuration>
Under the $HADOOP_HOME/etc/hadoop file:
core-site.xml Edit as follows:
<?xml version="1.0" encoding="UTF-8"?>
<?xml-stylesheet type="text/xsl" href="configuration.xsl"?>
<!--
  Licensed under the Apache License, Version 2.0 (the "License");
  you may not use this file except in compliance with the License.
  You may obtain a copy of the License at

    http://www.apache.org/licenses/LICENSE-2.0

  Unless required by applicable law or agreed to in writing, software
  distributed under the License is distributed on an "AS IS" BASIS,
  WITHOUT WARRANTIES OR CONDITIONS OF ANY KIND, either express or implied.
  See the License for the specific language governing permissions and
  limitations under the License. See accompanying LICENSE file.
-->
<!-- Put site-specific property overrides in this file. -->

<configuration>
    <property>
        <name>fs.defaultFS</name>
        <value>hdfs://192.168.44.10:9000</value>
    </property>
    <property>
        <name>hadoop.tmp.dir</name>
        <value>file:/usr/local/src/hadoop/hadoop-2.6.1/tmp/</value>
    </property>

	<!-- If 10000 is not connected -->
		<property>
			<name>hadoop.proxyuser.root.hosts</name>
			<value>*</value>
		 </property>
		<property>
			<name>hadoop.proxyuser.root.groups</name>
			<value>*</value>
		</property>
		<property>
			<name>hadoop.proxyuser.zhaoshb.hosts</name>
			<value>*</value>
		</property>
		<property>
			<name>hadoop.proxyuser.zhaoshb.groups</name>
			<value>*</value>
		</property>
</configuration>
Edit hdfs-site.xml as follows:
<?xml version="1.0" encoding="UTF-8"?>
<?xml-stylesheet type="text/xsl" href="configuration.xsl"?>
<!--
  Licensed under the Apache License, Version 2.0 (the "License");
  you may not use this file except in compliance with the License.
  You may obtain a copy of the License at

    http://www.apache.org/licenses/LICENSE-2.0

  Unless required by applicable law or agreed to in writing, software
  distributed under the License is distributed on an "AS IS" BASIS,
  WITHOUT WARRANTIES OR CONDITIONS OF ANY KIND, either express or implied.
  See the License for the specific language governing permissions and
  limitations under the License. See accompanying LICENSE file.
-->

<!-- Put site-specific property overrides in this file. -->

<configuration>
    <property>
        <name>dfs.namenode.secondary.http-address</name>
        <value>master:9001</value>
    </property>
    <property>
        <name>dfs.namenode.name.dir</name>
        <value>file:/usr/local/src/hadoop/hadoop-2.6.1/dfs/name</value>
    </property>
    <property>
        <name>dfs.datanode.data.dir</name>
        <value>file:/usr/local/src/hadoop/hadoop-2.6.1/dfs/data</value>
    </property>
    <property>
        <name>dfs.replication</name>
        <value>1</value>
    </property>

	<property>
		 <name>dfs.webhdfs.enabled</name>
		 <value>true</value>
    </property>
</configuration>
Test Connection
Execute statement:
hiveserver2
Execute jps to see if there is a Runjar process
Execute beeline to start the beeline client
!connect jdbc:hive2://master:10000
Start hiveserver2 before you can connect:
hive --service hiveserver2
This concludes the tutorial. You are welcome to correct errors in the comments section. Let's talk to each other.