I. Installation of Canal
Docker Installation Stand-alone Canal
Installation of RocketMQ
Docker Installation Stand-alone RocketMQ
3. Configuring MQ of Canal
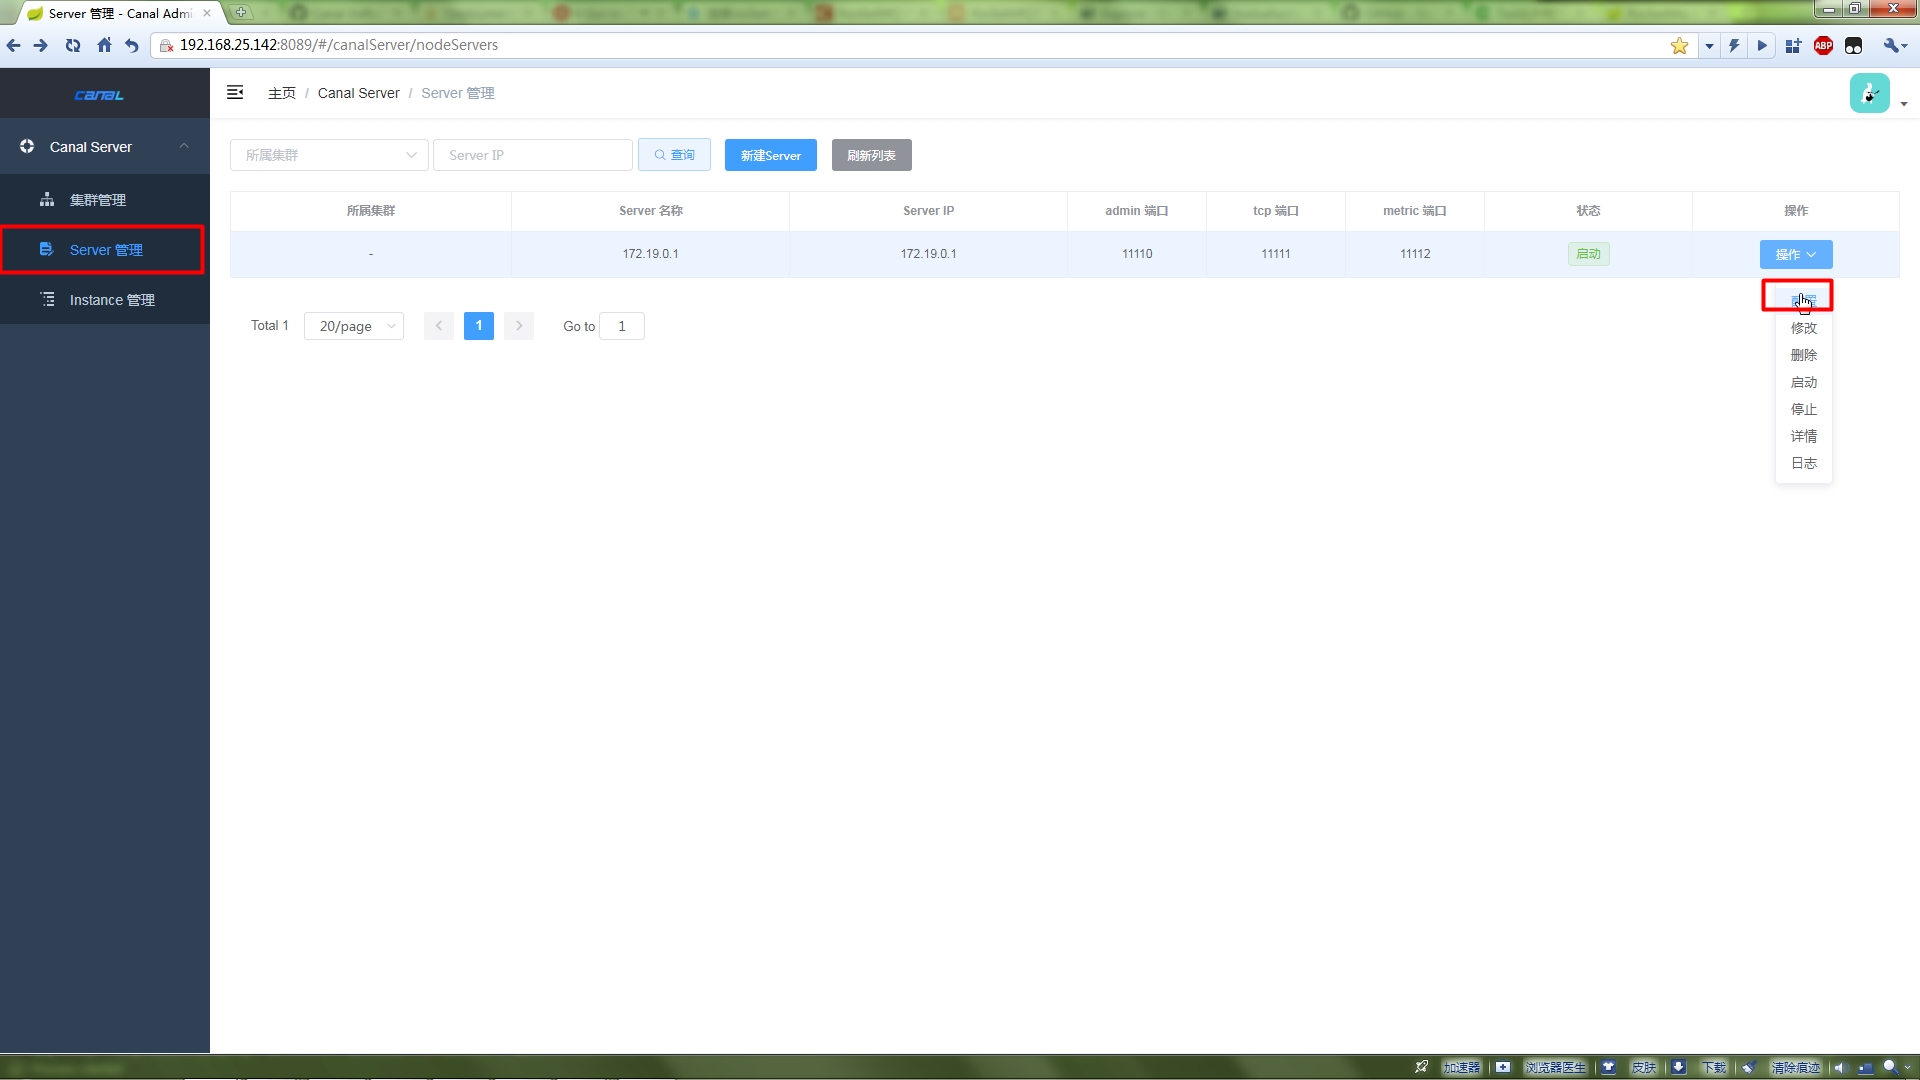
3.1 Modify the Canal Server configuration
#################################################
######### 		common argument		#############
#################################################

# canal admin config
canal.admin.manager = 192.168.25.142:8089
canal.admin.port = 11110
canal.admin.user = admin
canal.admin.passwd = 4ACFE3202A5FF5CF467898FC58AAB1D615029441

canal.serverMode = RocketMQ

##################################################
######### 		     MQ 		     #############
##################################################
canal.mq.servers = 192.168.25.142:9876
canal.mq.retries = 0
canal.mq.batchSize = 16384
canal.mq.maxRequestSize = 1048576
canal.mq.lingerMs = 100
canal.mq.bufferMemory = 33554432
canal.mq.canalBatchSize = 50
canal.mq.canalGetTimeout = 100
canal.mq.flatMessage = true
canal.mq.compressionType = none
canal.mq.acks = all
#canal.mq.properties. =
canal.mq.producerGroup = test
# Set this value to "cloud", if you want open message trace feature in aliyun.
canal.mq.accessChannel = local
# aliyun mq namespace
#canal.mq.namespace =

##################################################
#########     Kafka Kerberos Info    #############
##################################################
canal.mq.kafka.kerberos.enable = false
canal.mq.kafka.kerberos.krb5FilePath = "../conf/kerberos/krb5.conf"
canal.mq.kafka.kerberos.jaasFilePath = "../conf/kerberos/jaas.conf"
After modification, click Save
3.2 Check instance configuration
There is no need to modify intance.properties. Here are the configurations for you to avoid pits.
#################################################
## mysql serverId , v1.0.26+ will autoGen
# canal.instance.mysql.slaveId=0

# enable gtid use true/false
canal.instance.gtidon=false

# position info
canal.instance.master.address=192.168.25.1:3306
canal.instance.master.journal.name=
canal.instance.master.position=
canal.instance.master.timestamp=
canal.instance.master.gtid=

# rds oss binlog
canal.instance.rds.accesskey=
canal.instance.rds.secretkey=
canal.instance.rds.instanceId=

# table meta tsdb info
canal.instance.tsdb.enable=true
#canal.instance.tsdb.url=jdbc:mysql://127.0.0.1:3306/canal_tsdb
#canal.instance.tsdb.dbUsername=canal
#canal.instance.tsdb.dbPassword=canal

#canal.instance.standby.address =
#canal.instance.standby.journal.name =
#canal.instance.standby.position =
#canal.instance.standby.timestamp =
#canal.instance.standby.gtid=

# username/password
canal.instance.dbUsername=canal
canal.instance.dbPassword=canal
canal.instance.connectionCharset = UTF-8
# enable druid Decrypt database password
canal.instance.enableDruid=false
#canal.instance.pwdPublicKey=MFwwDQYJKoZIhvcNAQEBBQADSwAwSAJBALK4BUxdDltRRE5/zXpVEVPUgunvscYFtEip3pmLlhrWpacX7y7GCMo2/JM6LeHmiiNdH1FWgGCpUfircSwlWKUCAwEAAQ==

# table regex
canal.instance.filter.regex=.*\\..*
# table black regex
canal.instance.filter.black.regex=
# table field filter(format: schema1.tableName1:field1/field2,schema2.tableName2:field1/field2)
#canal.instance.filter.field=test1.t_product:id/subject/keywords,test2.t_company:id/name/contact/ch
# table field black filter(format: schema1.tableName1:field1/field2,schema2.tableName2:field1/field2)
#canal.instance.filter.black.field=test1.t_product:subject/product_image,test2.t_company:id/name/contact/ch

# mq config
canal.mq.topic=example
# dynamic topic route by schema or table regex
canal.mq.dynamicTopic=test.user,student\\..*,.*\\..*
canal.mq.partition=0
# hash partition config
canal.mq.partitionsNum=3
canal.mq.partitionHash=test.users:uid,.*\\..*
#################################################
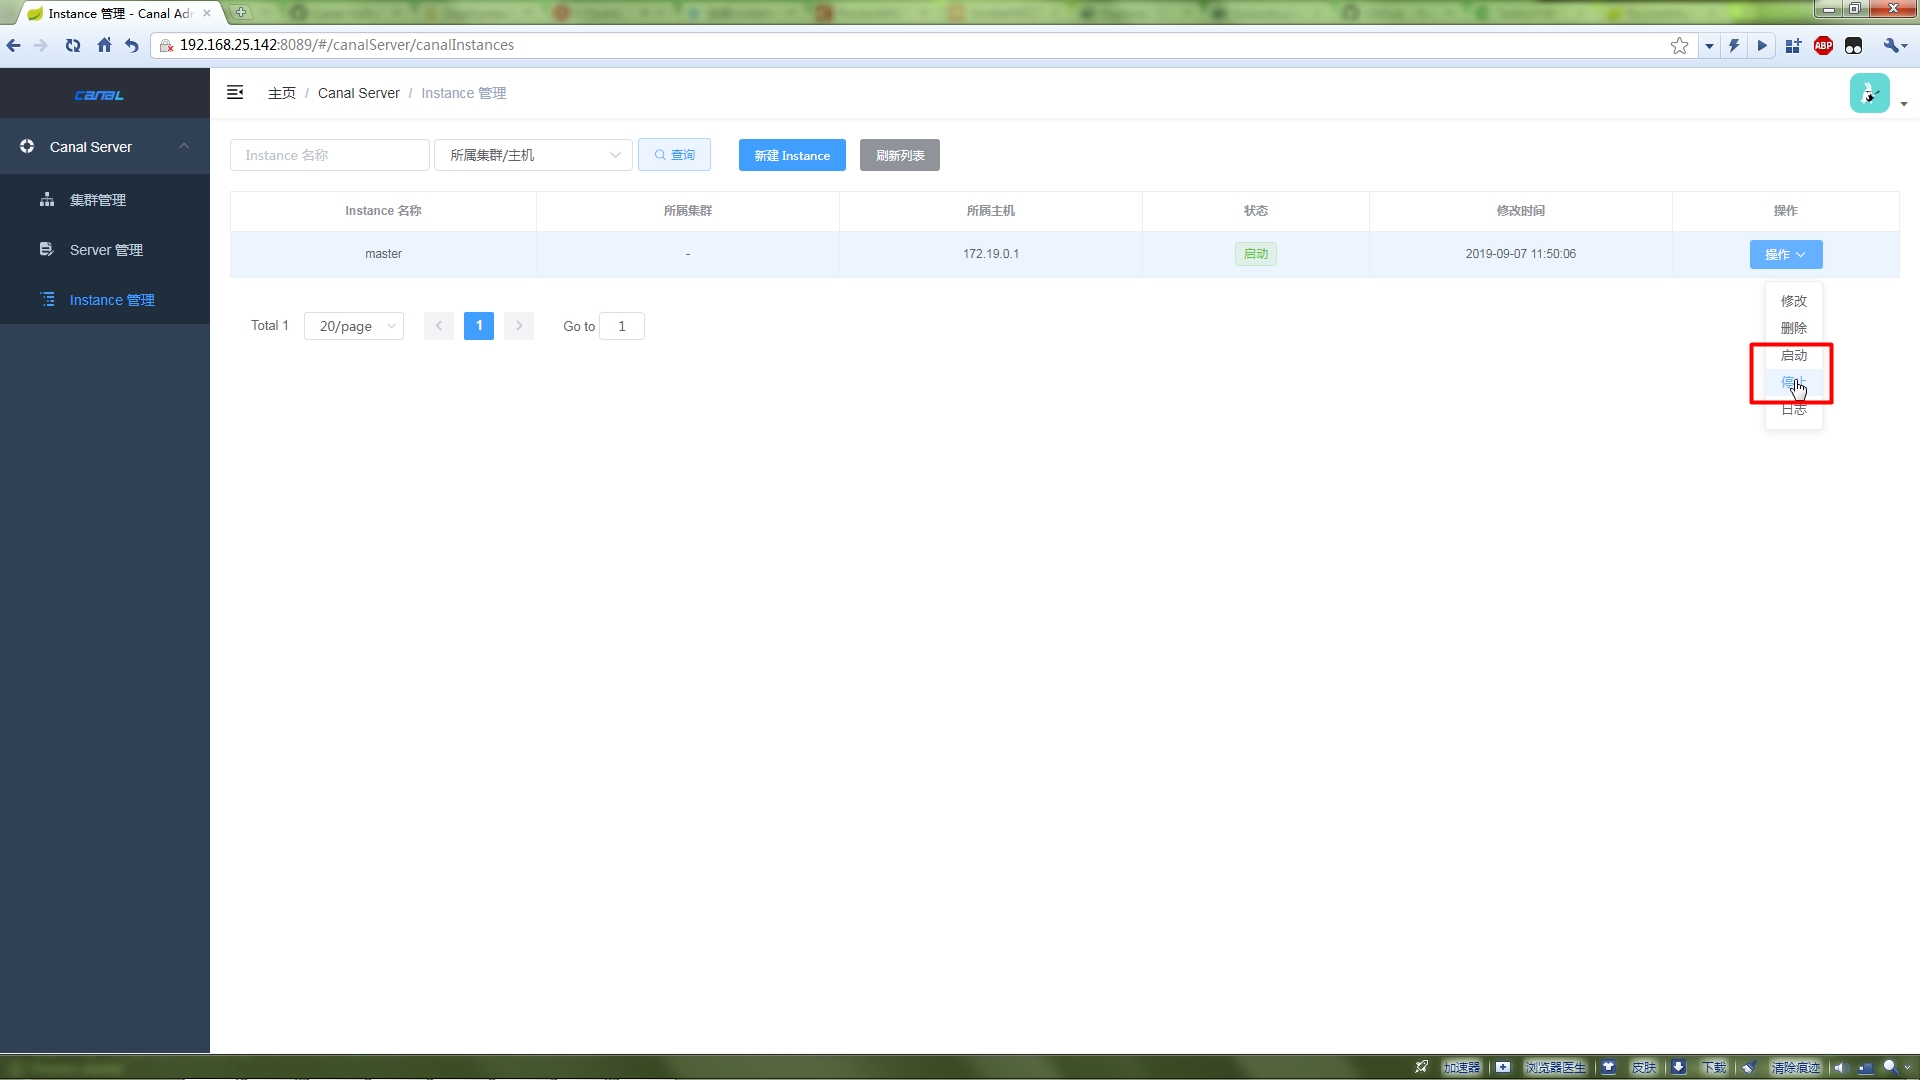
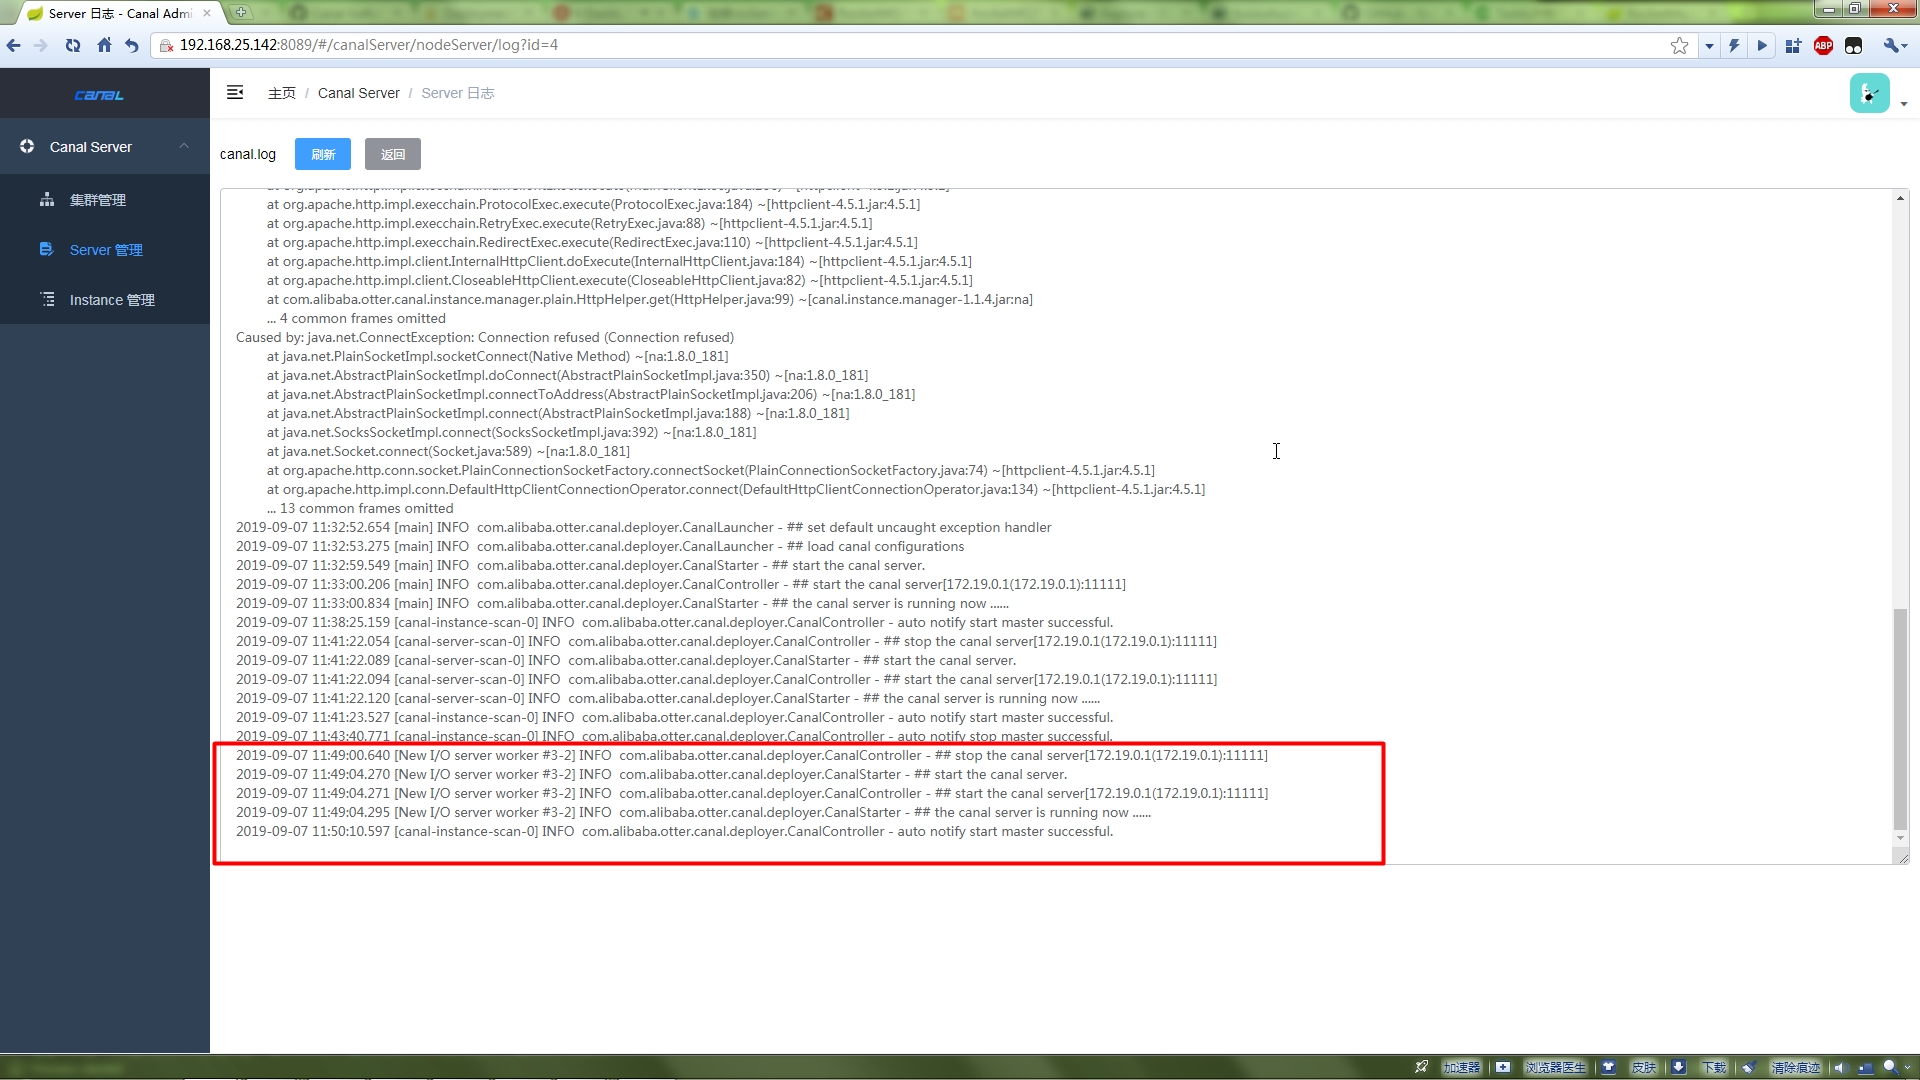
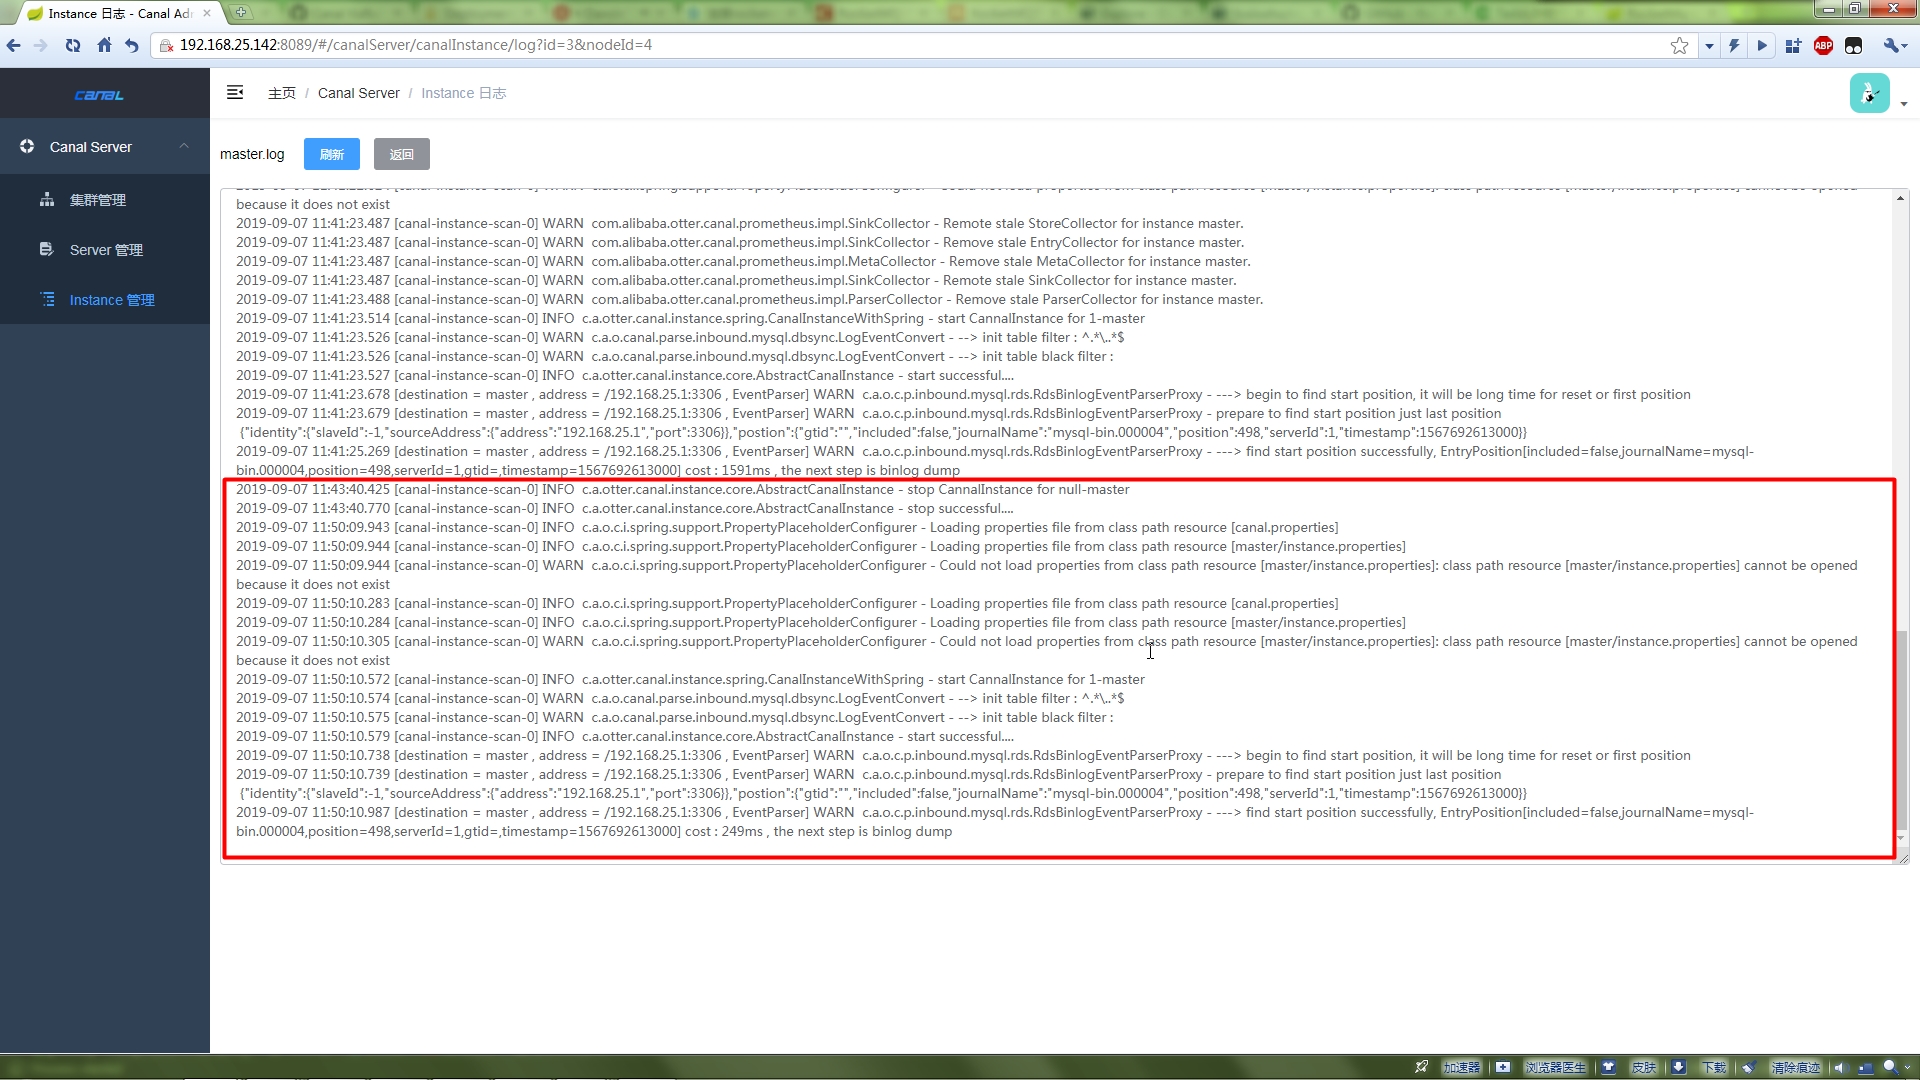
4. Restart Canal Server and Canal Instance
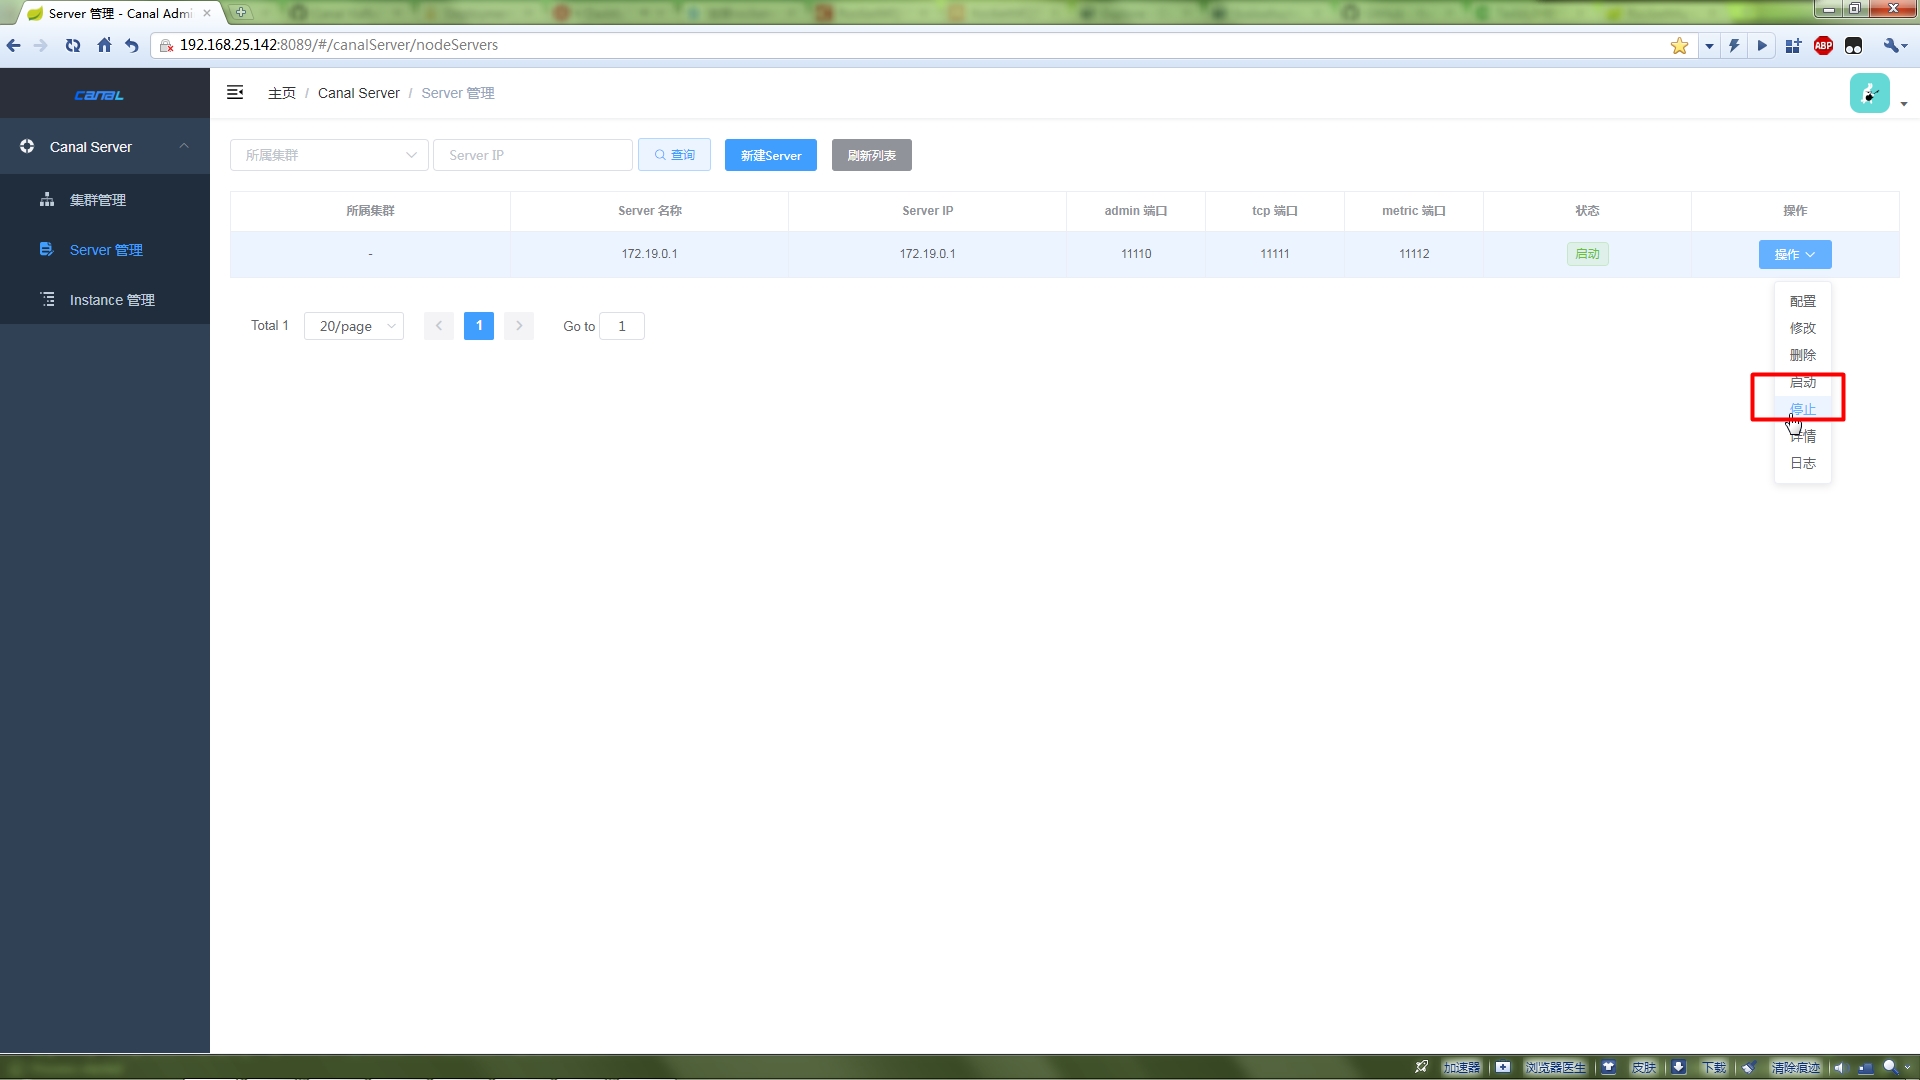
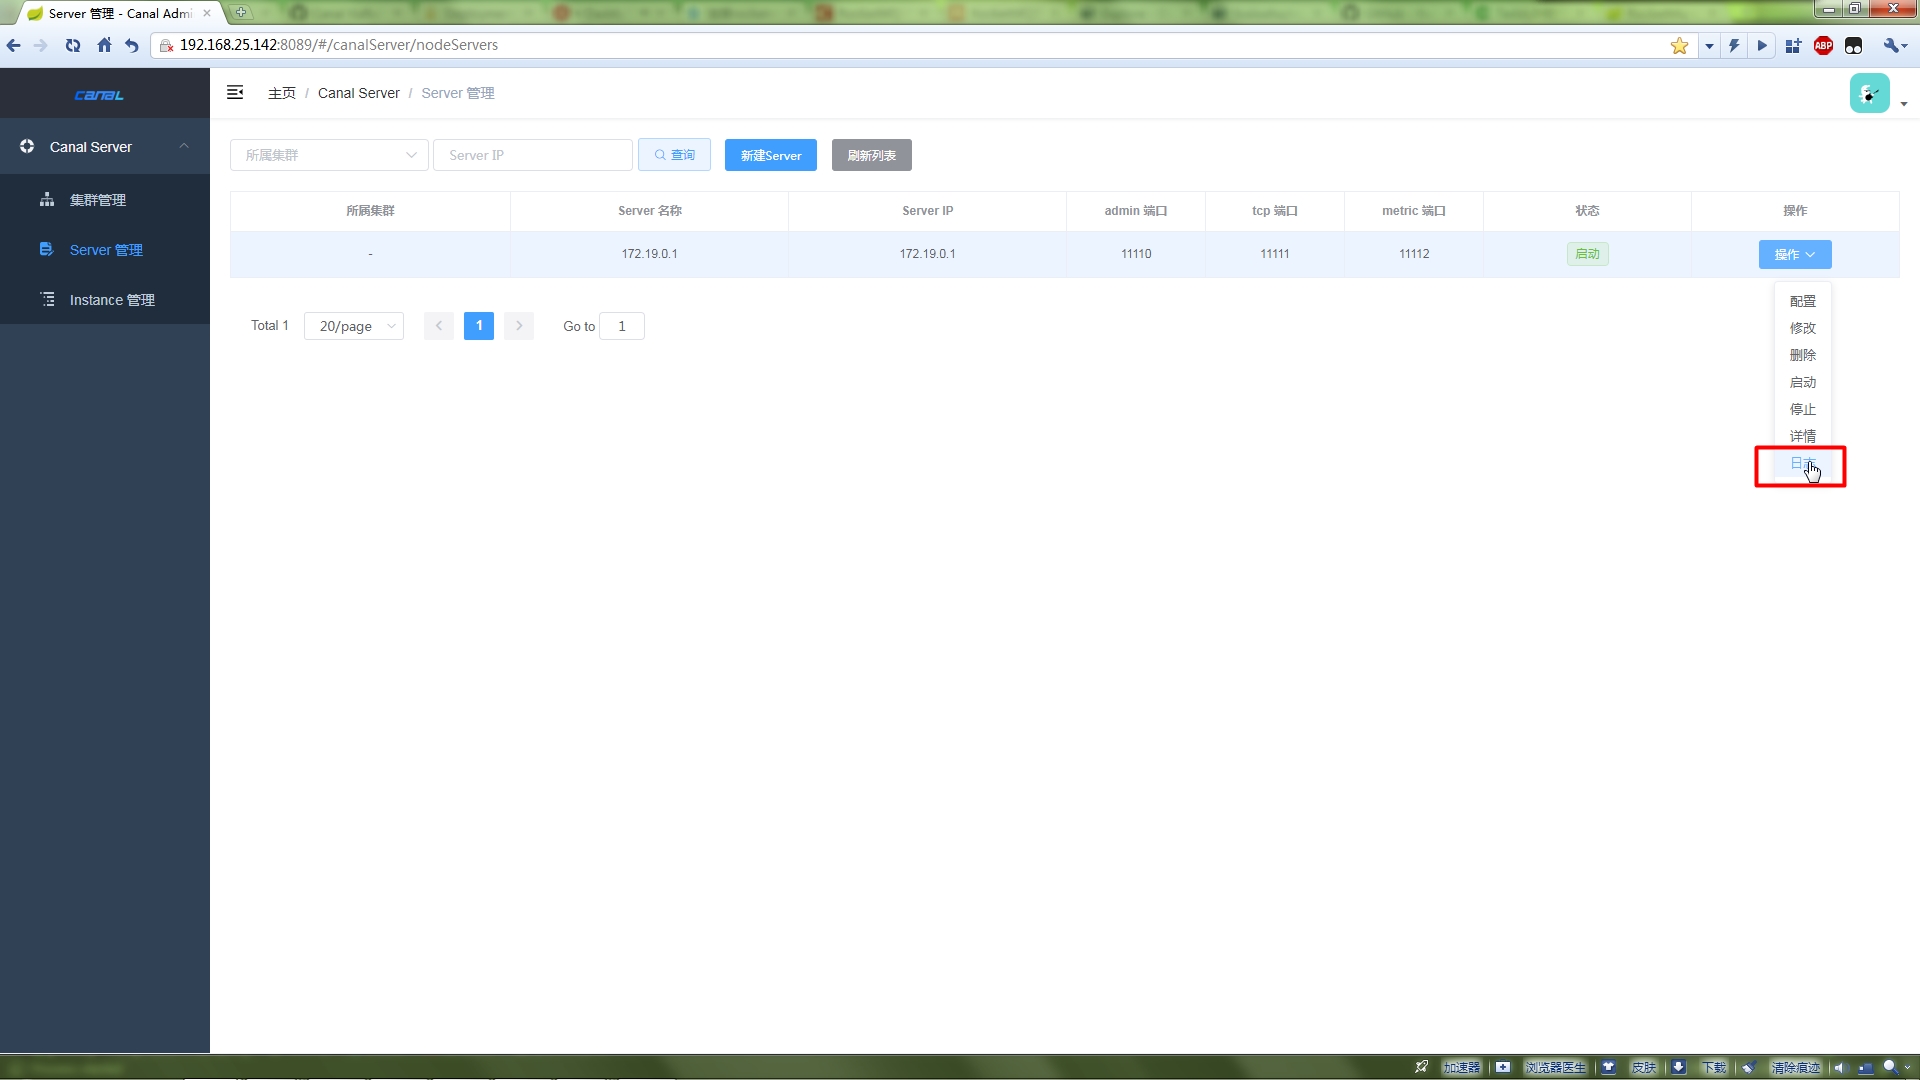
View the Canal Server log
View the Canal Instance log
5. Start Canal Test RocketExample
5.1 Pull Substitution Code
$ git clone https://github.com/alibaba/canal.git
5.2 Start Test Code
Modify RocketMQ configuration
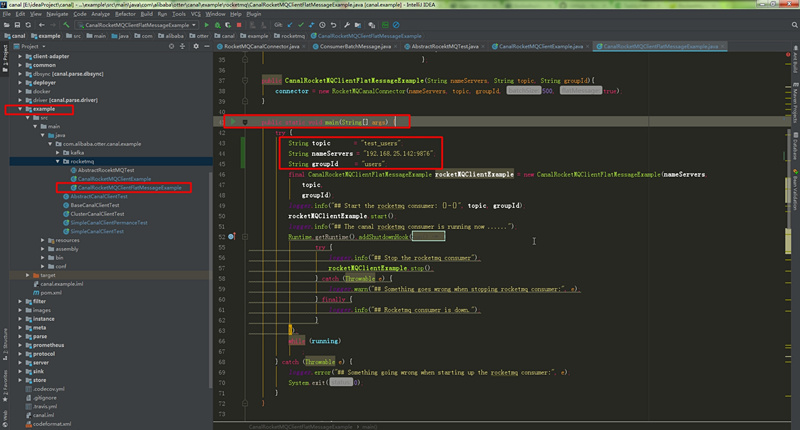
Start the Main method and view the console

Note: running now... does not mean that the connection to Broker is successful. It's been pitted here for a long time.
VI. Test Sending
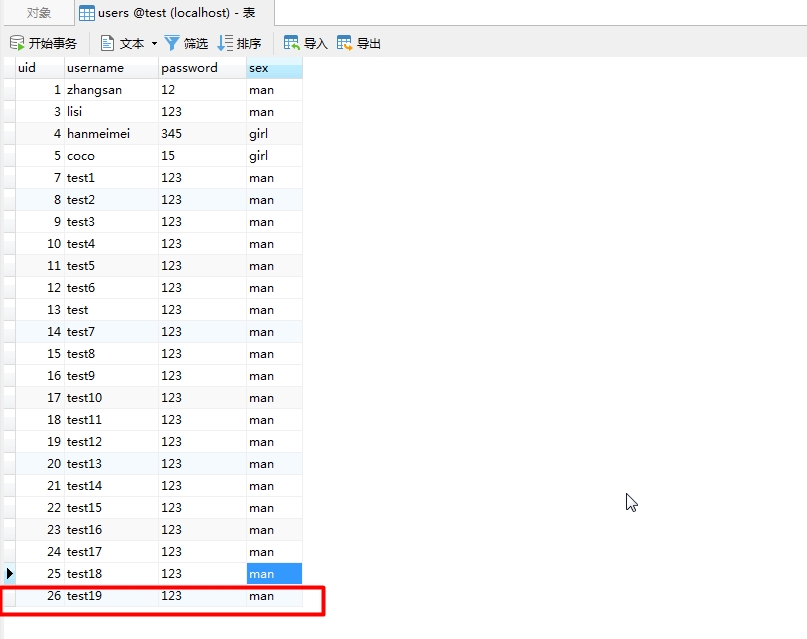
6.1 MySQL insert data
6.2 View the RocketMQ Operations and Maintenance Console
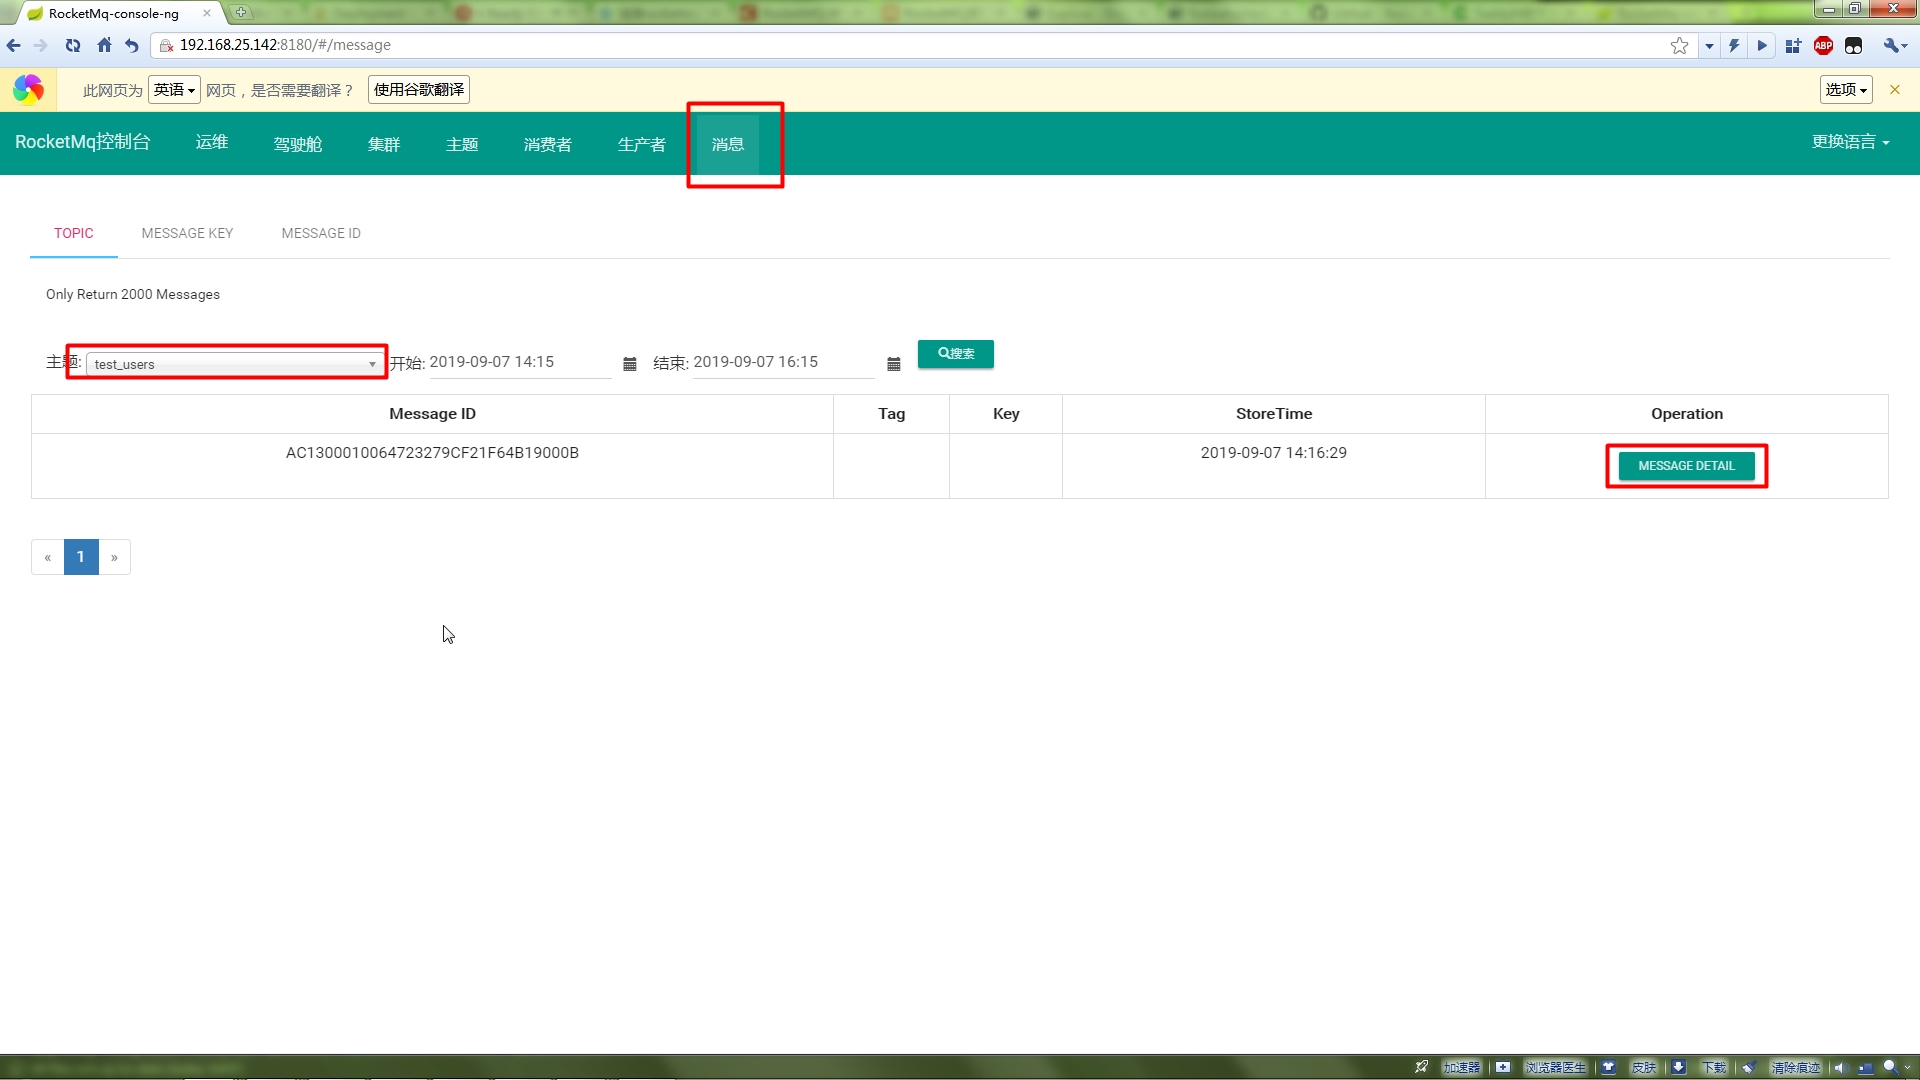
Click Message Detail
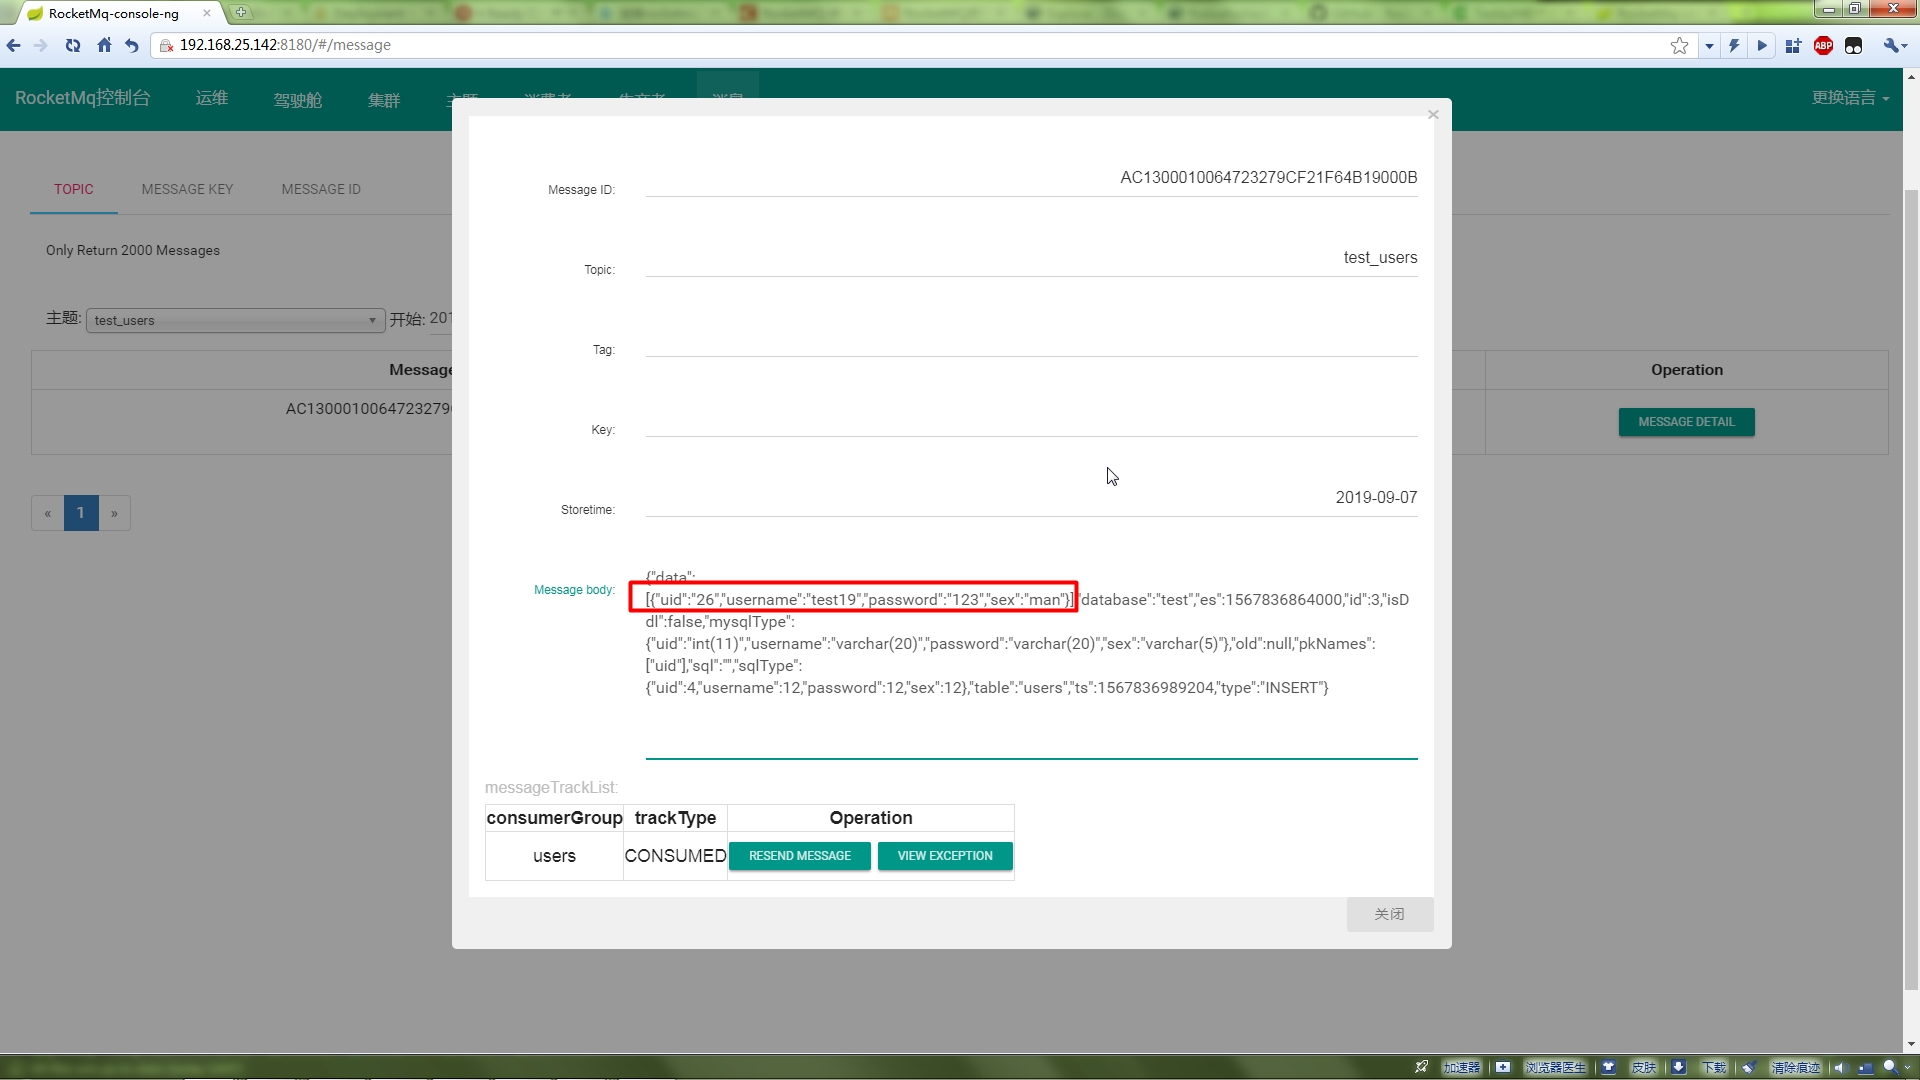
6.3 View the RocketMQ Consume console

Seventh, customize according to demand
slightly