Write before
-
I always want to learn K8s, but without environment, K8s is a bit heavy.Before going to school, I rented an ESC from Aliyun, with a single core of 2G and a single machine version of K8s, which can be installed barely. It can't be done with multiple nodes, nor can Demo in the book.Since you need more than one node, because it involves more than one machine, you'll stop by and review ansible.
-
This is a tutorial on setting up a learning environment from scratch on Win10. The optional time reason section is in the next update to the blog and sharing with small partners, which includes:
- Install four linux system virtual machines, one Master management node, and three Node computing nodes through Vmware Workstation.
- Bridge mode allows access to the external network and remote access via ssh on win10 physical machines.
- Any Node Machine can be logged on confidentially through the Master Node Machine ssh.
- Configure Ansible, Master node as controller node [optional].
- Docker,K8s related package installation [optional]
-
For Vmware Workstation and Linux ios packages, the default little partner already has them.The default companion for Vmware Workstation is already installed, and none of them can be downloaded online.
Come on, you must live well ^^
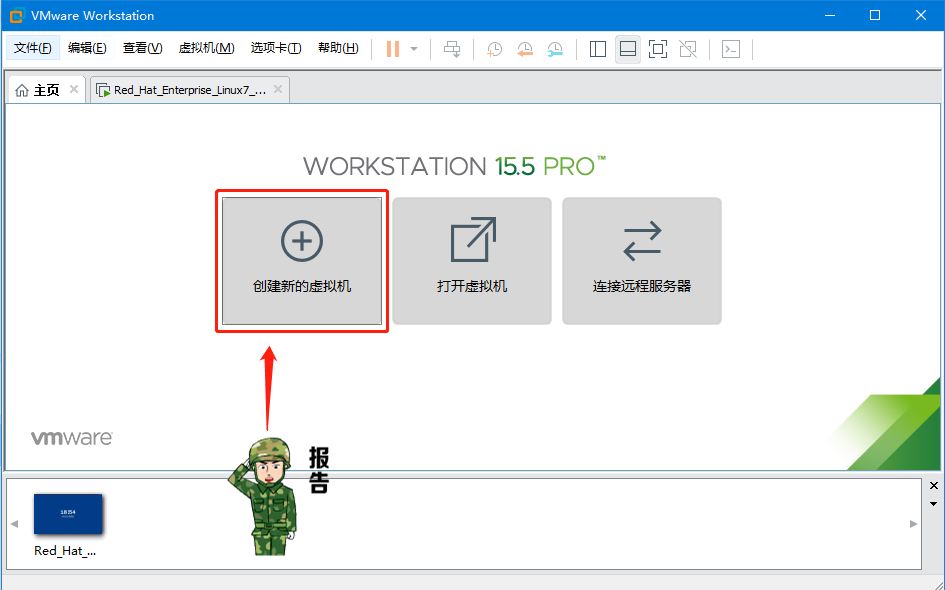
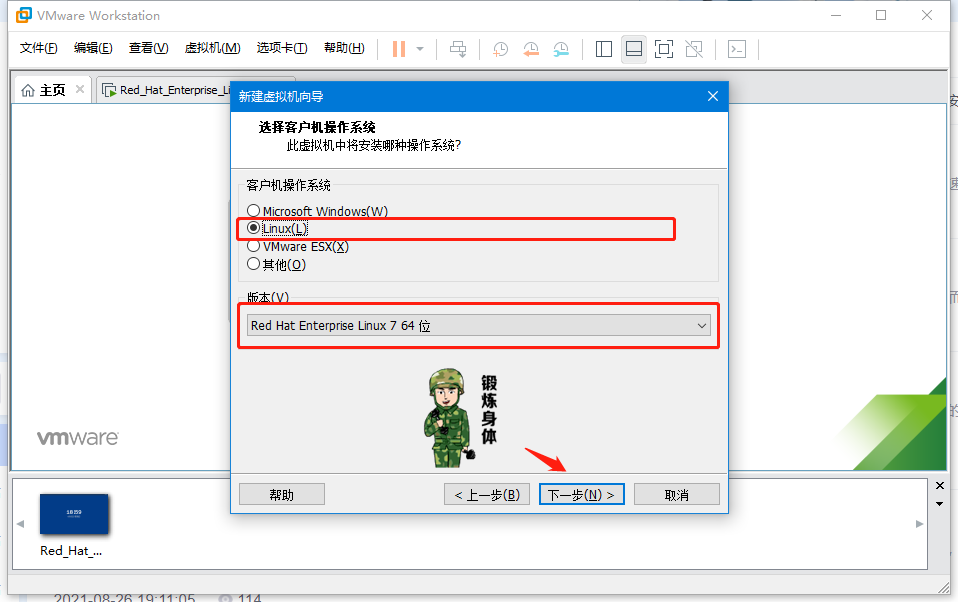
1. Linux System Installation
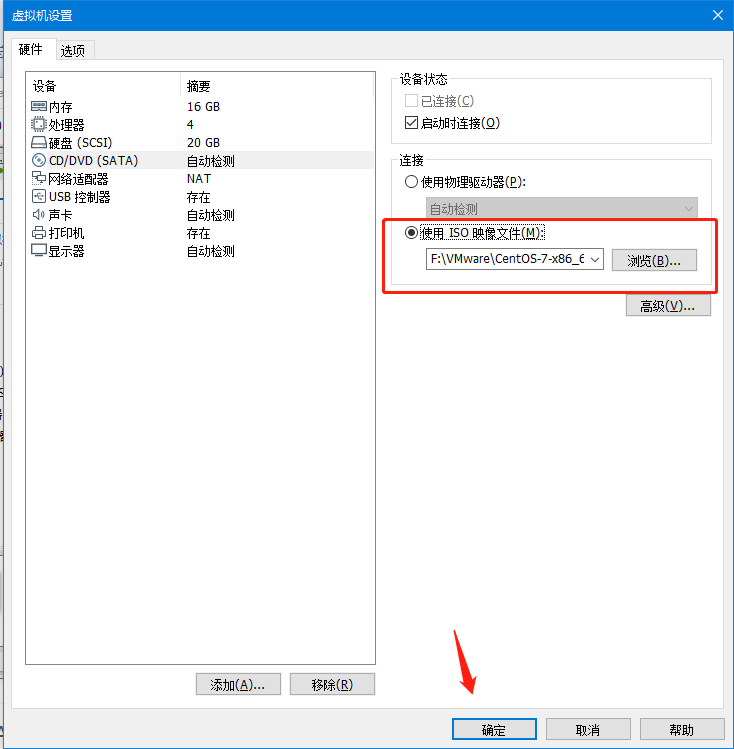
The default companion here has installed Vmware Workstation (VMware-workstation-full-15.5.6-16341506.exe) and has prepared the linux system installation disc (CentOS-7-x86_64-DVD-1810.iso).In parentheses is the version I use, our way:
First install a Node Node Machine, then clone to get the remaining two Node Machines and one Master Machine
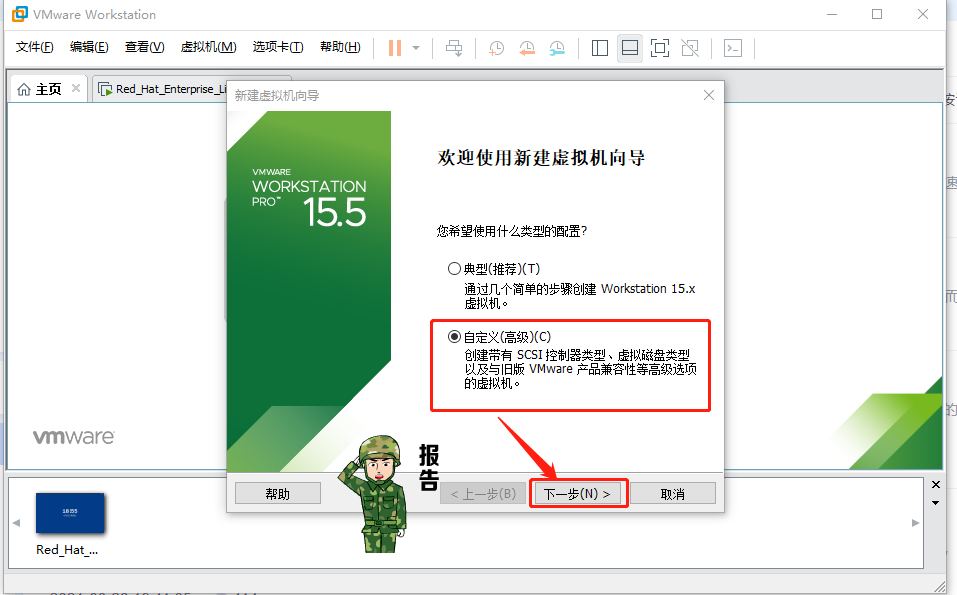
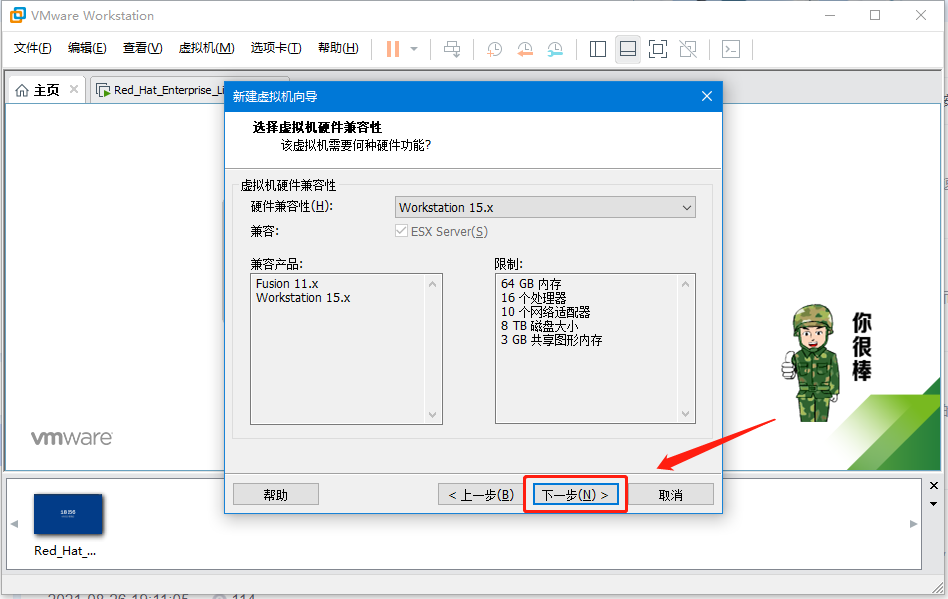
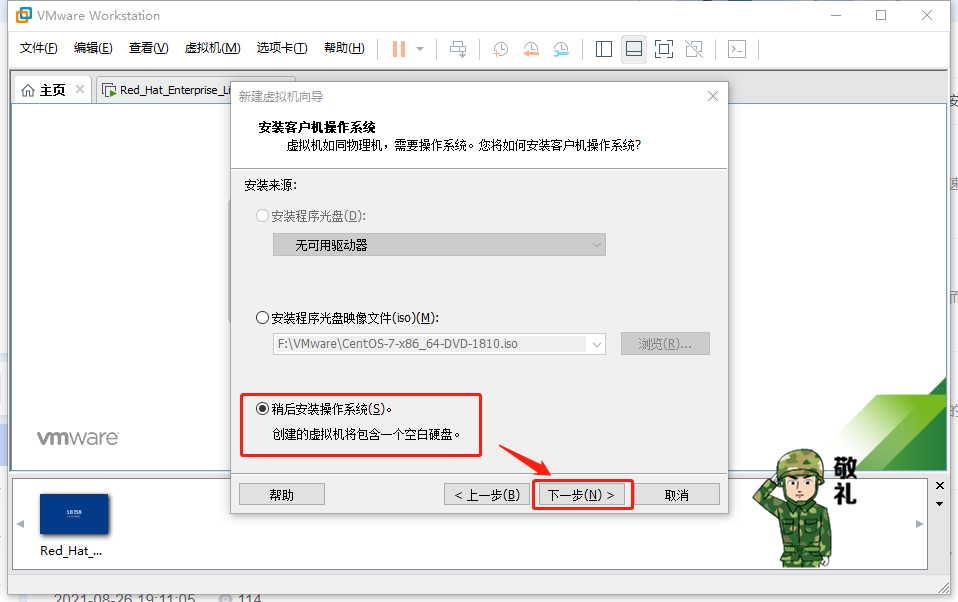
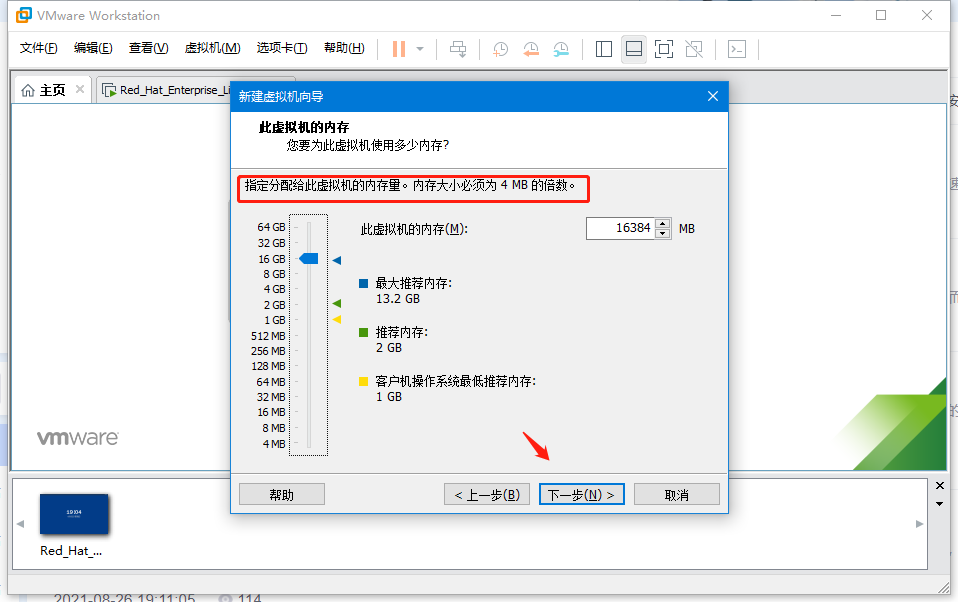
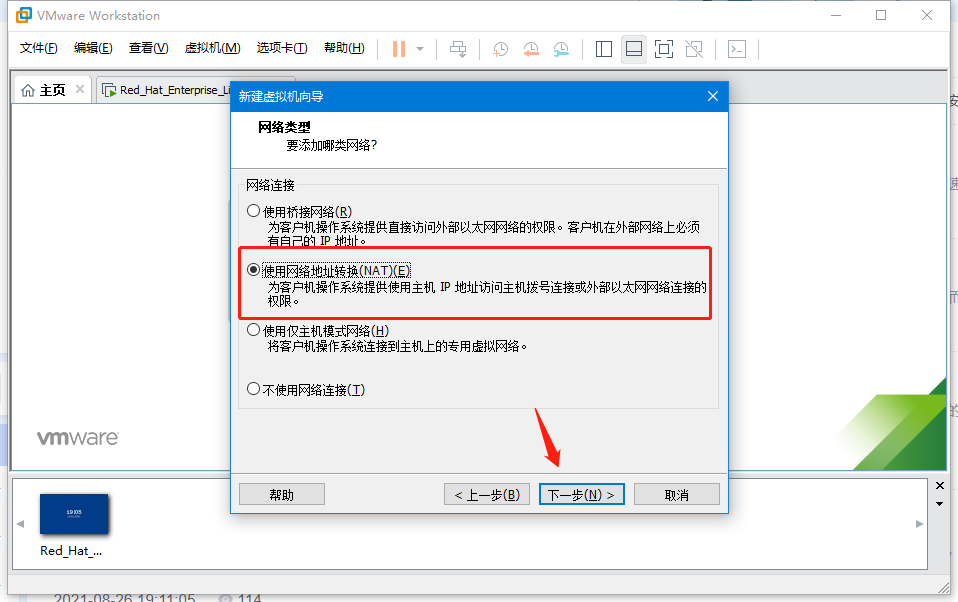
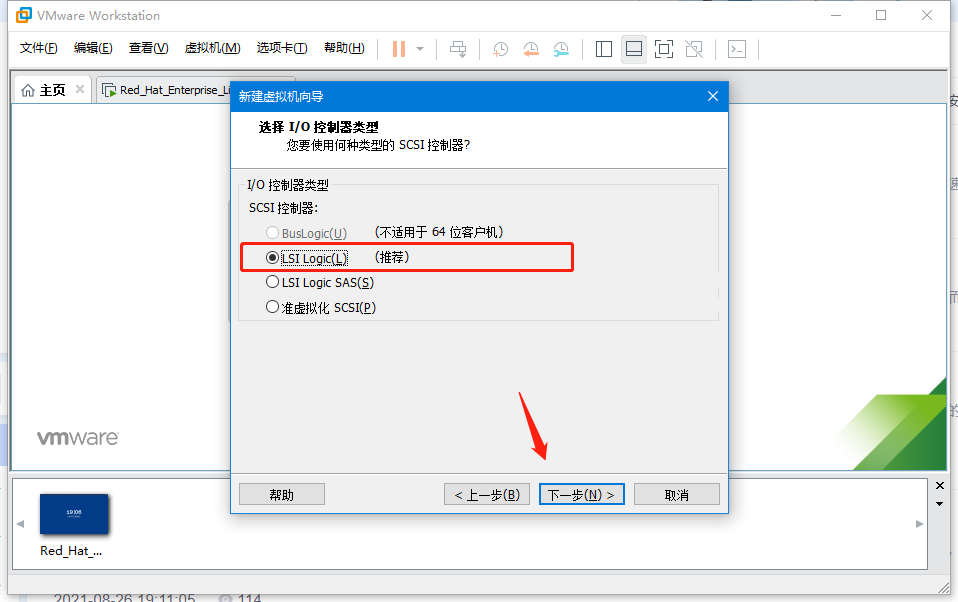
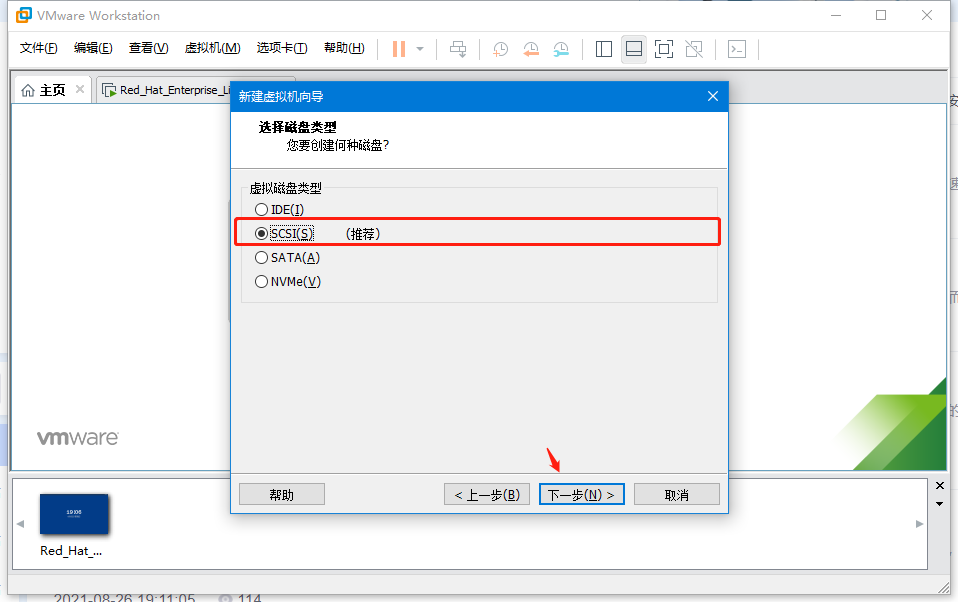
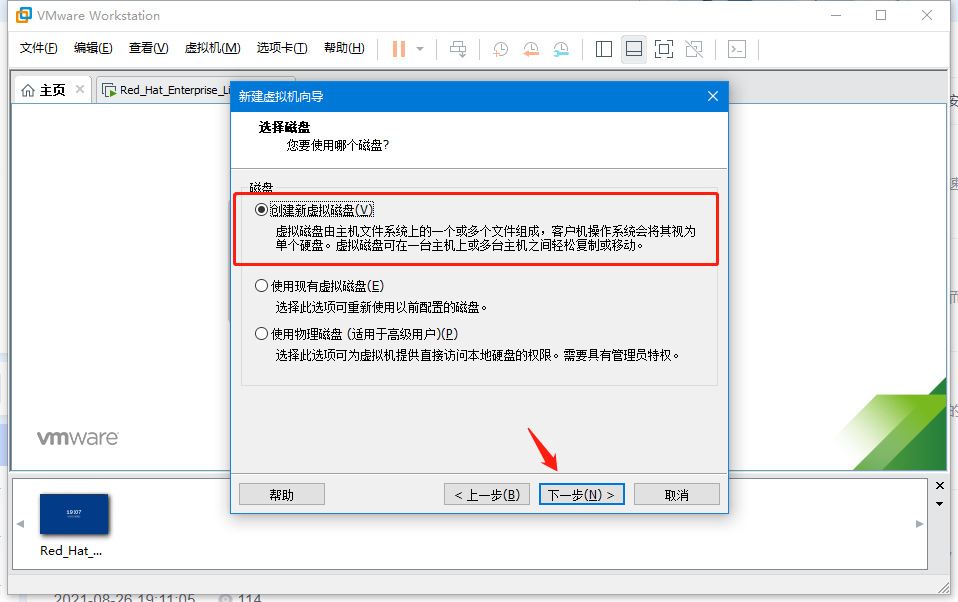
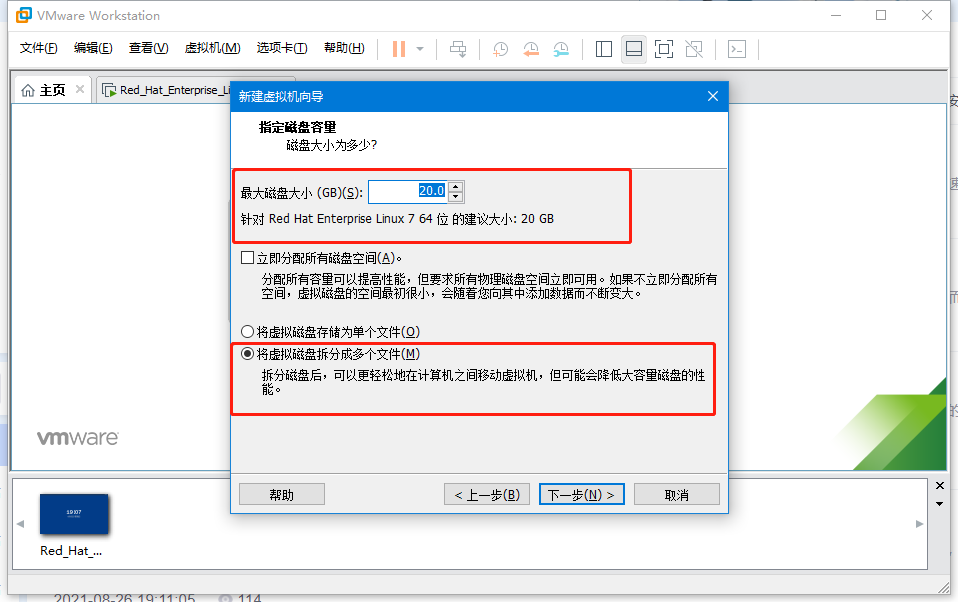
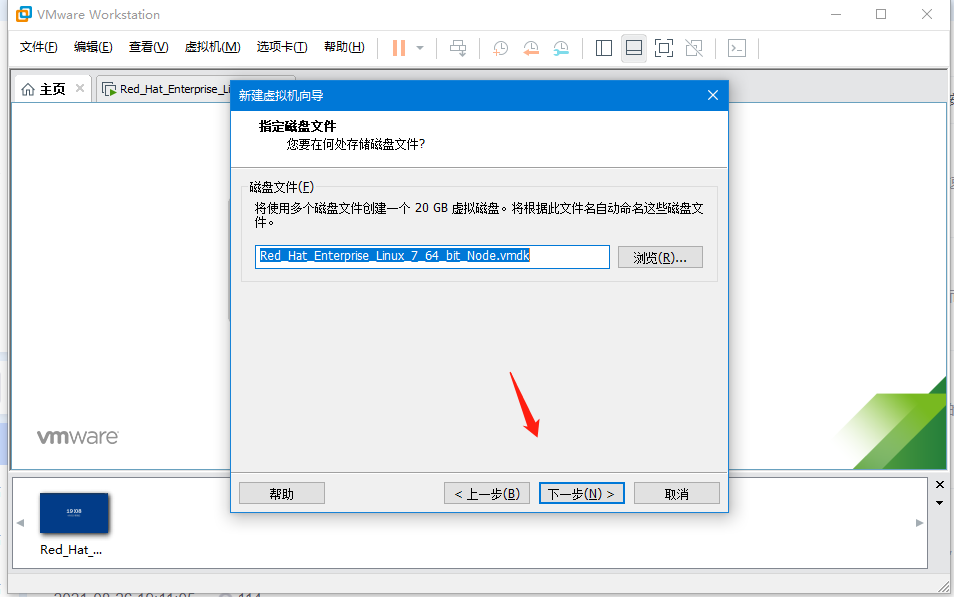
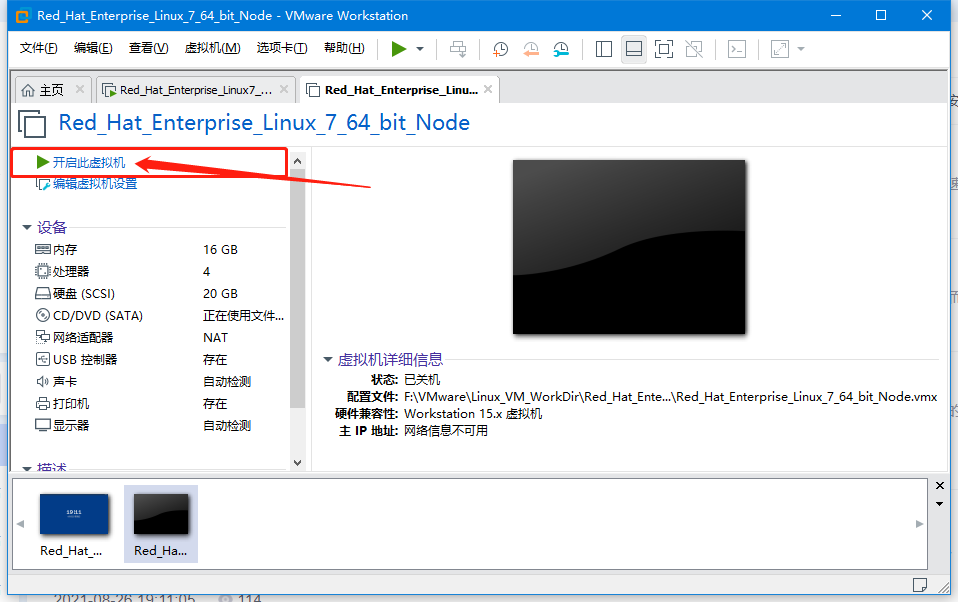
1. System Installation
| &&&&&&&&&&&&&&&&&&Installation Steps &&&&&&&&&&&& |
|---|
 |
 |
 |
 |
 |
| Give the virtual machine a name and specify where it will be stored. |
 |
 |
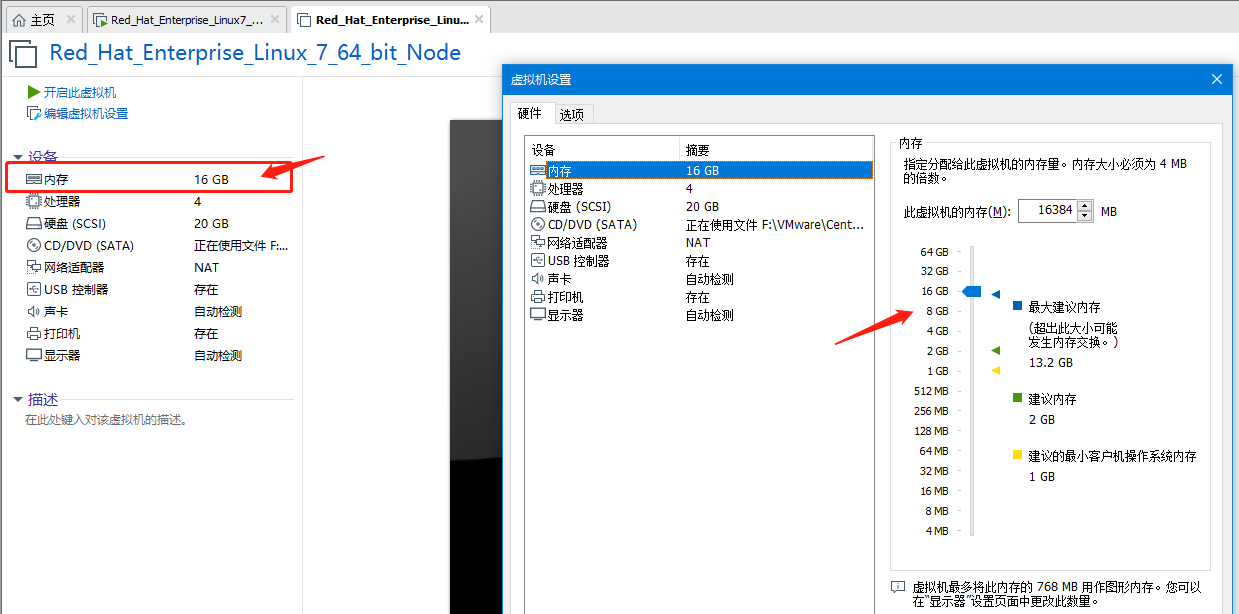
| Memory settings here should be combined with your machine. For 8G memory, it is recommended to be 2G. For 16G, it is recommended to be 4G. For 32G, it is recommended to be 8G. |
 |
 |
 |
 |
 |
 |
 |
 |
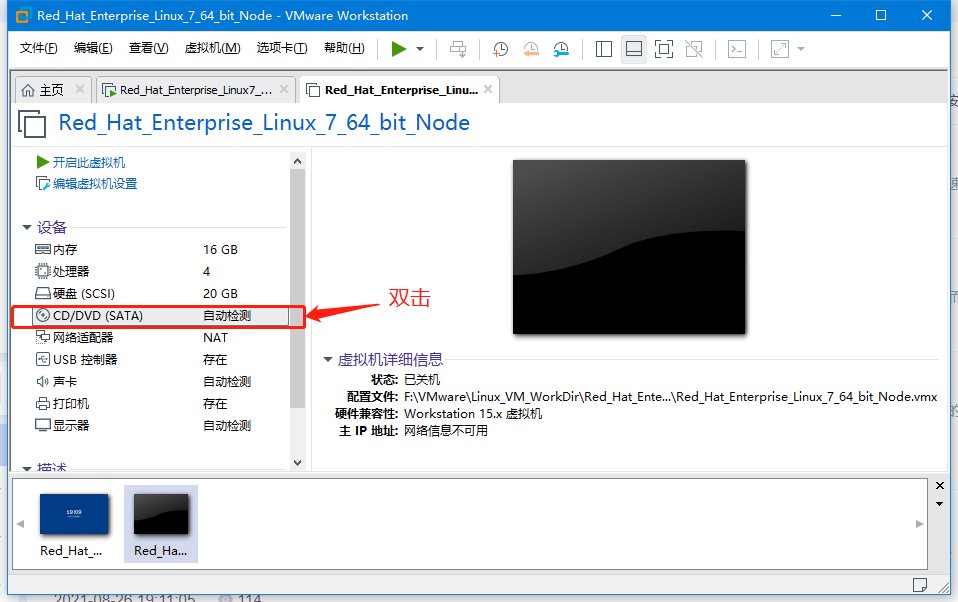 |
| Place the disc image stored in the system in the drive.Browse to find it) |
 |
 |
| If the display memory is too large to power on, you can reduce the memory appropriately. |
 |
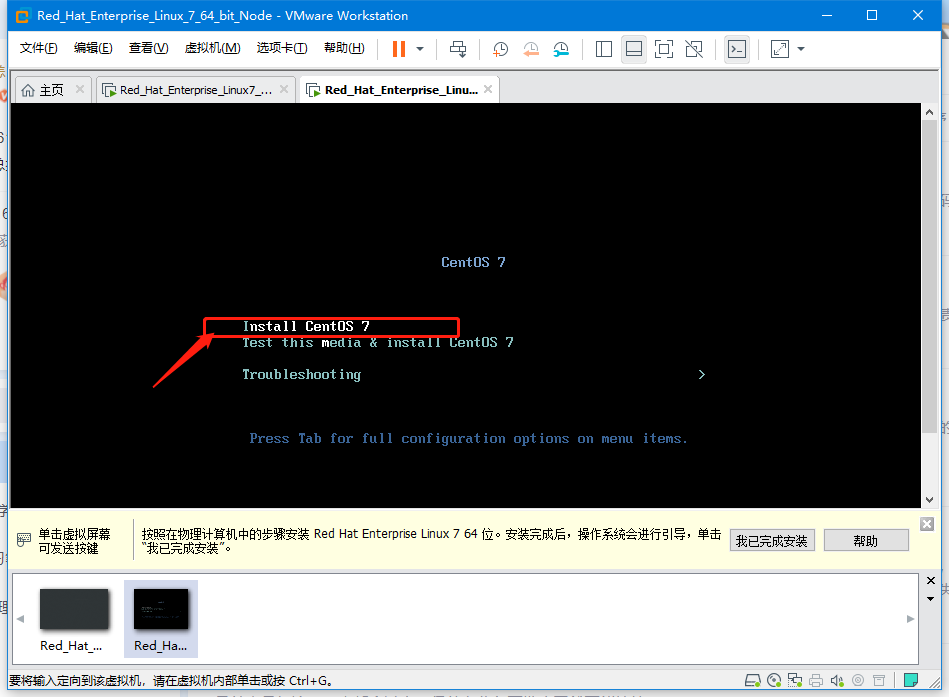
| Click on the screen, the cursor enters the system, and the up and down keys select the first one. |
 |
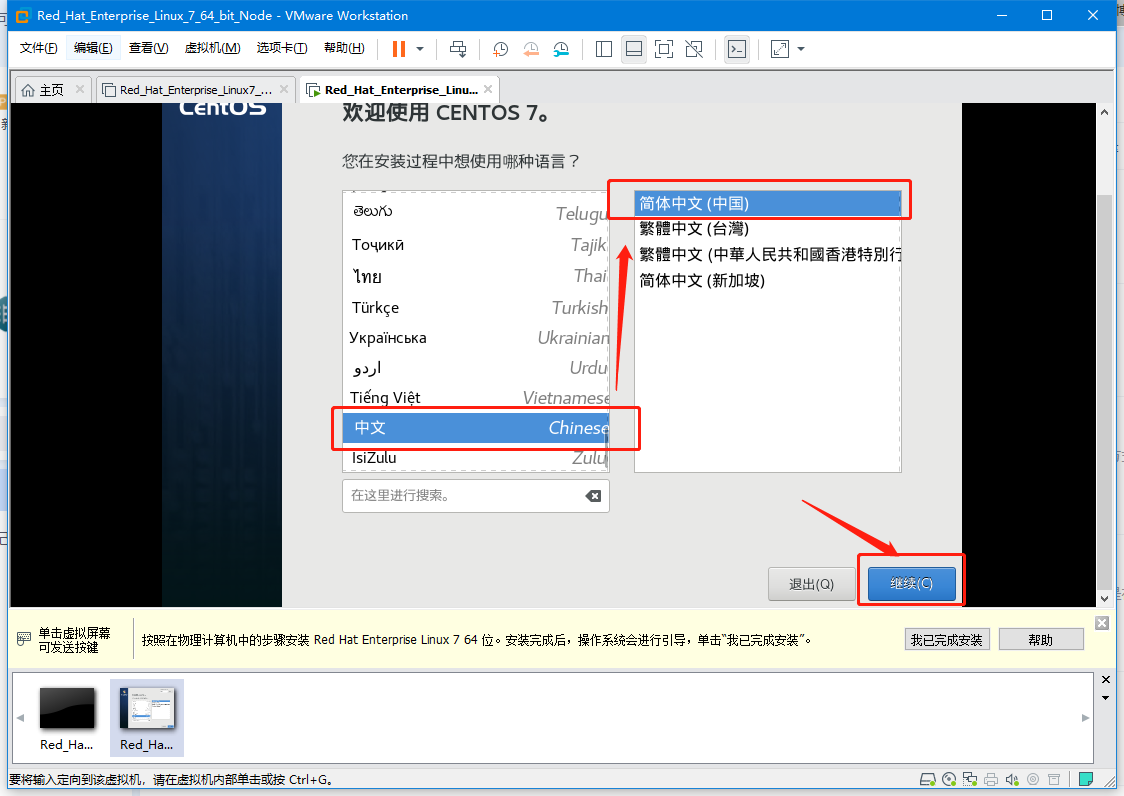
| Suggest that beginners choose Simplified Chinese (China) and click Continue. |
 |
 |
 |
 |
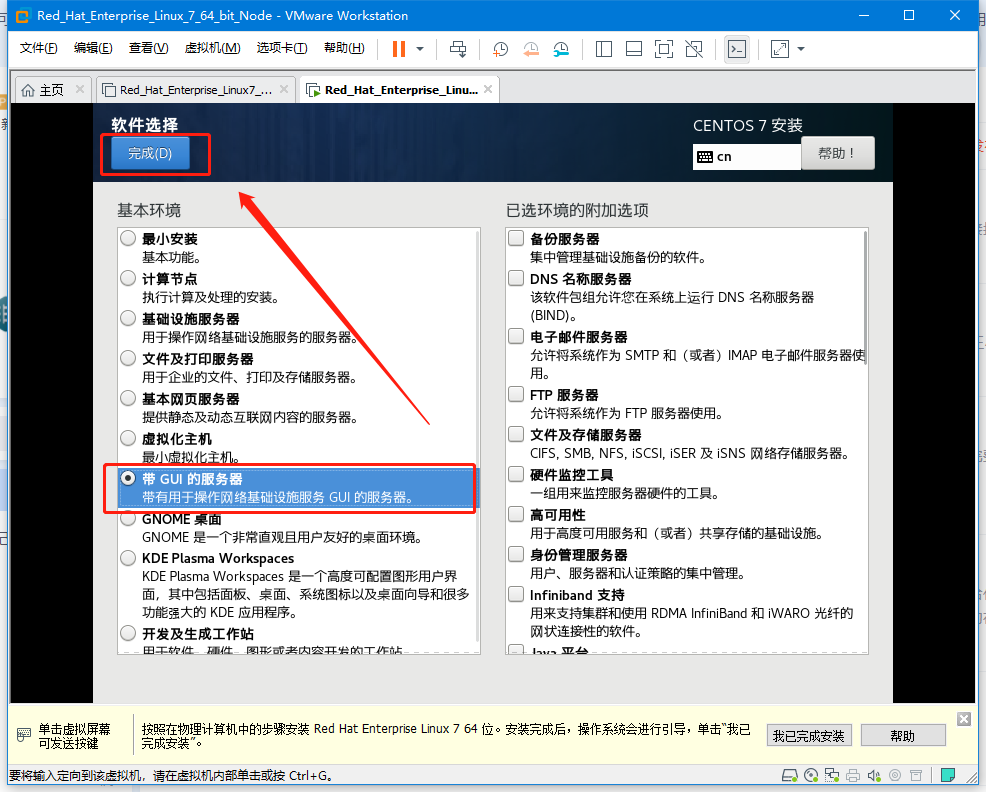 |
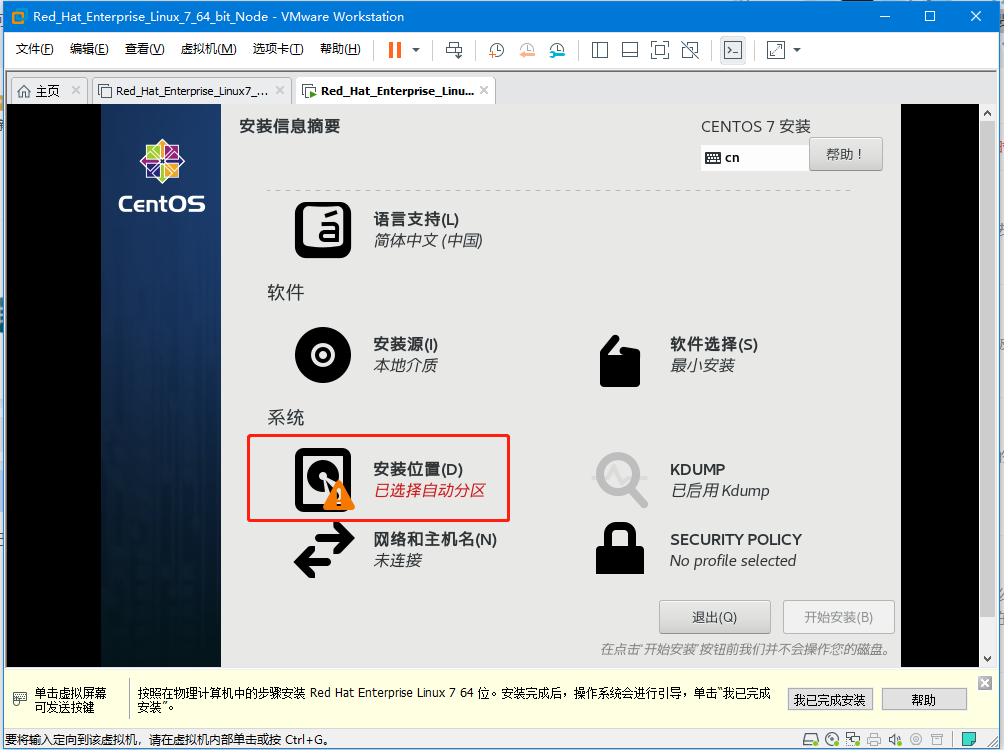
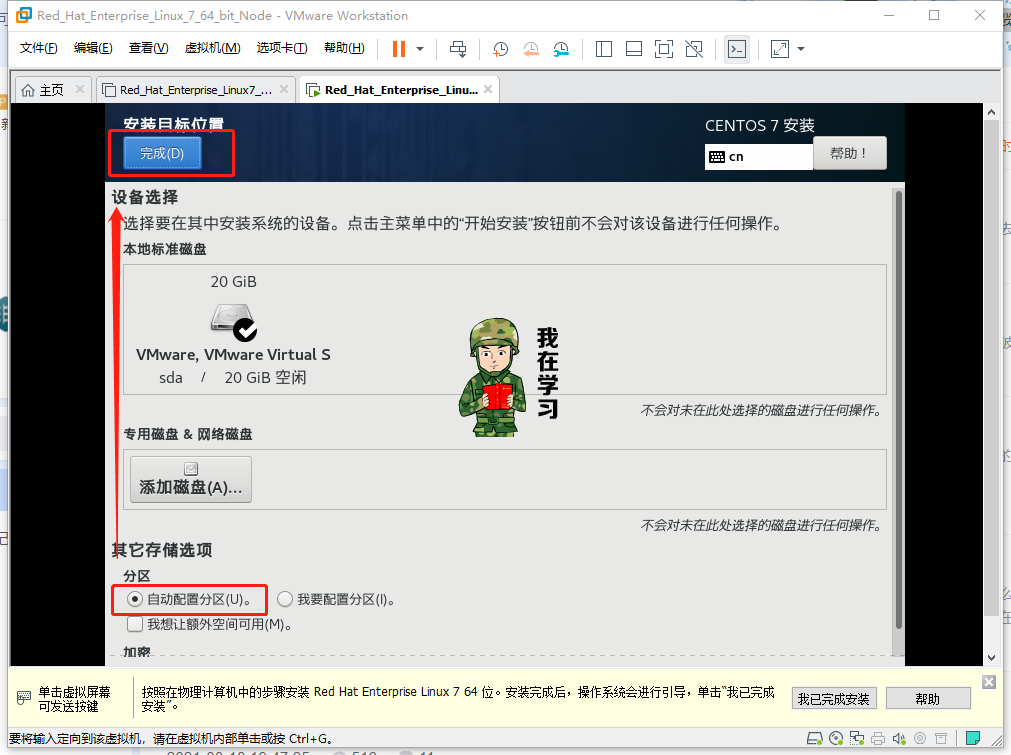
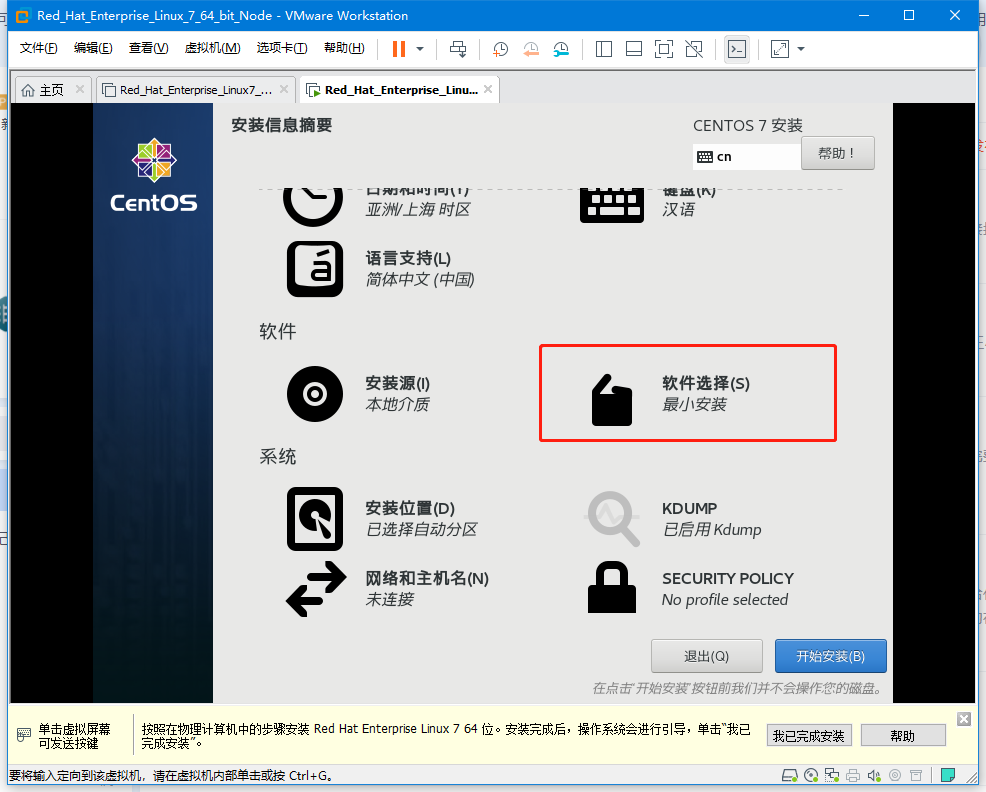
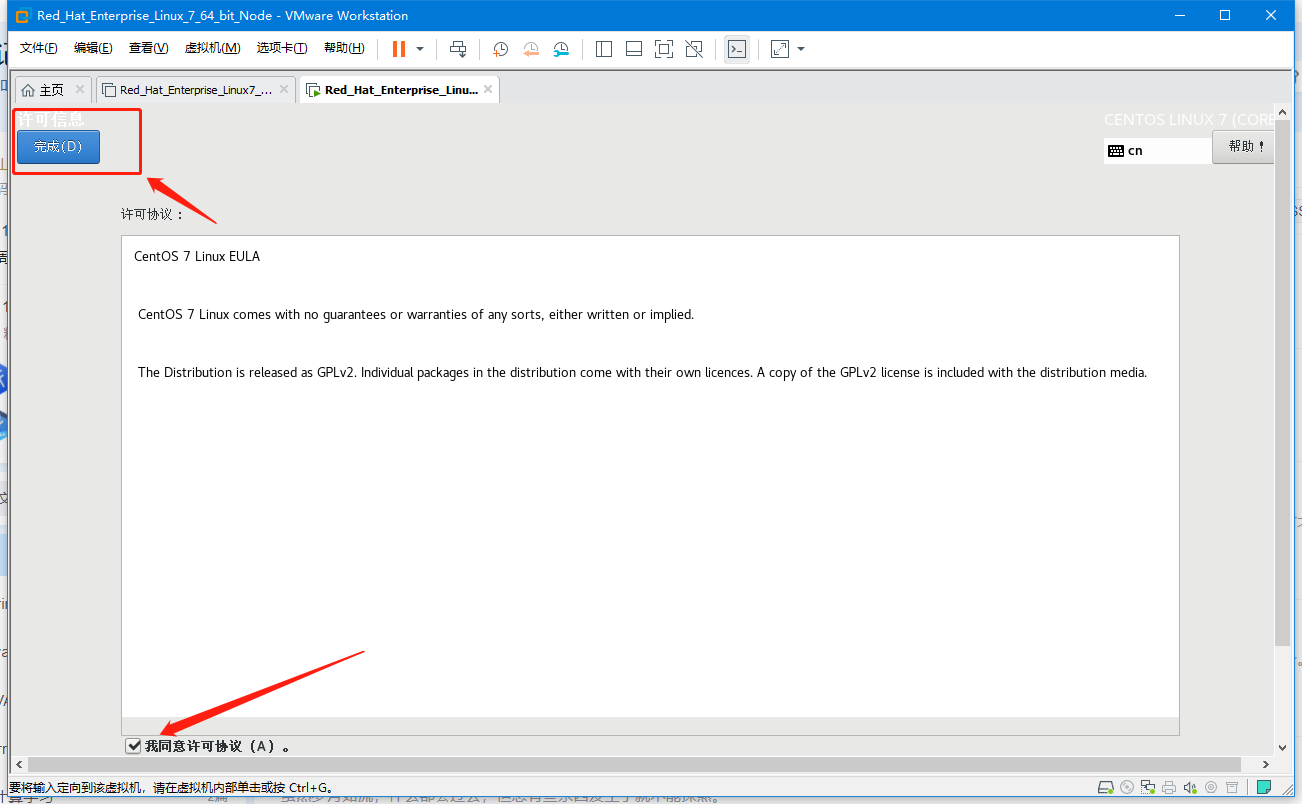
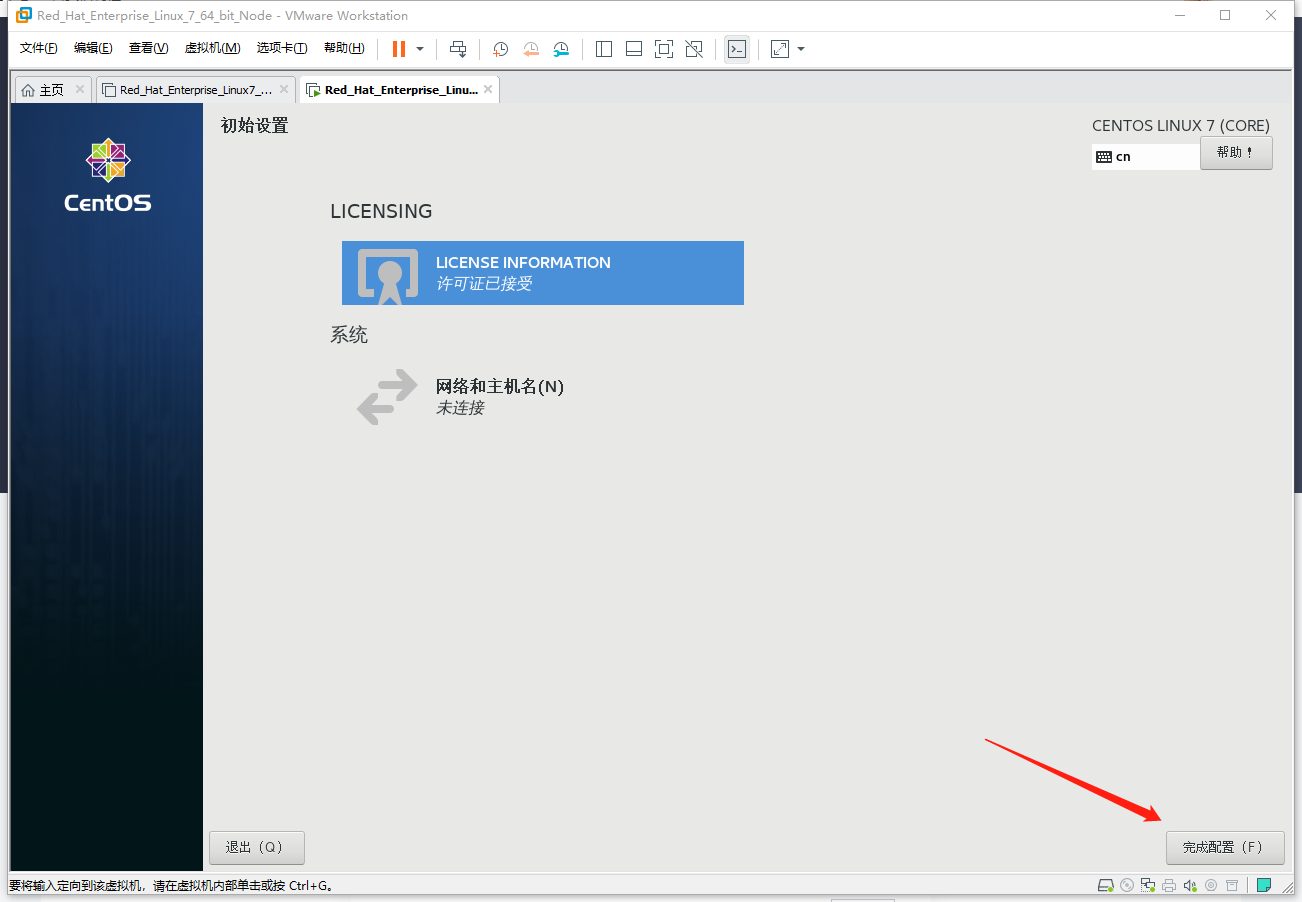
| Check the Installation Information Summary Interface to ensure that all exclamation points are complete, and then click the Start Installation button at the bottom right to perform the formal installation. |
 |
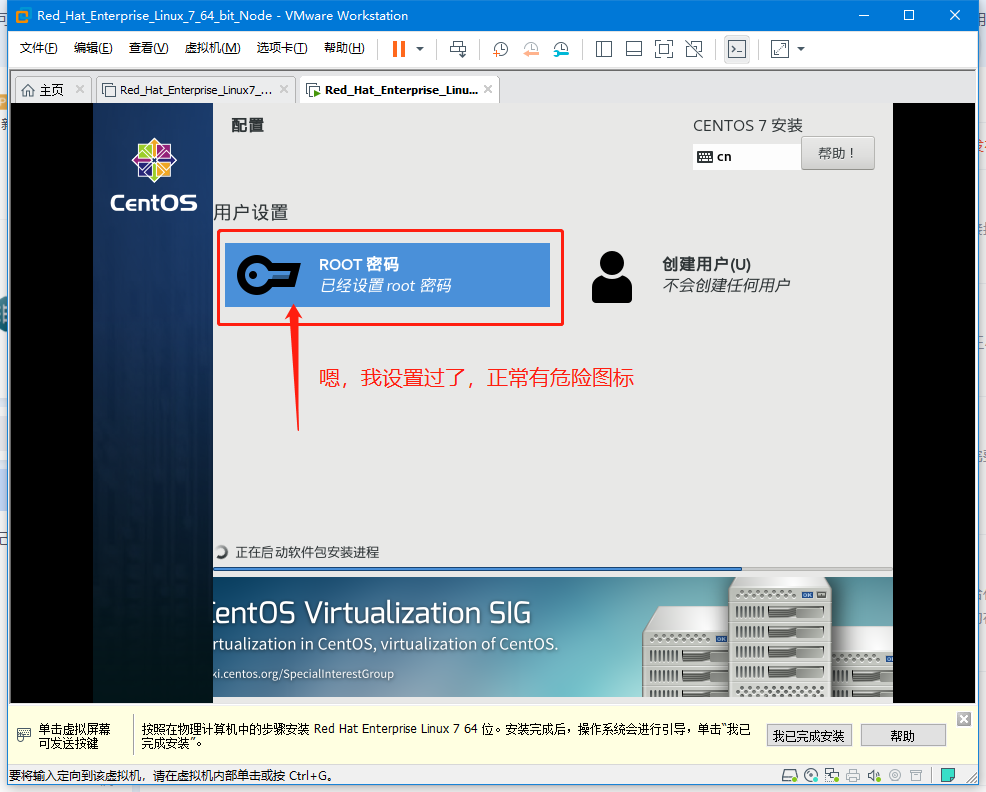 |
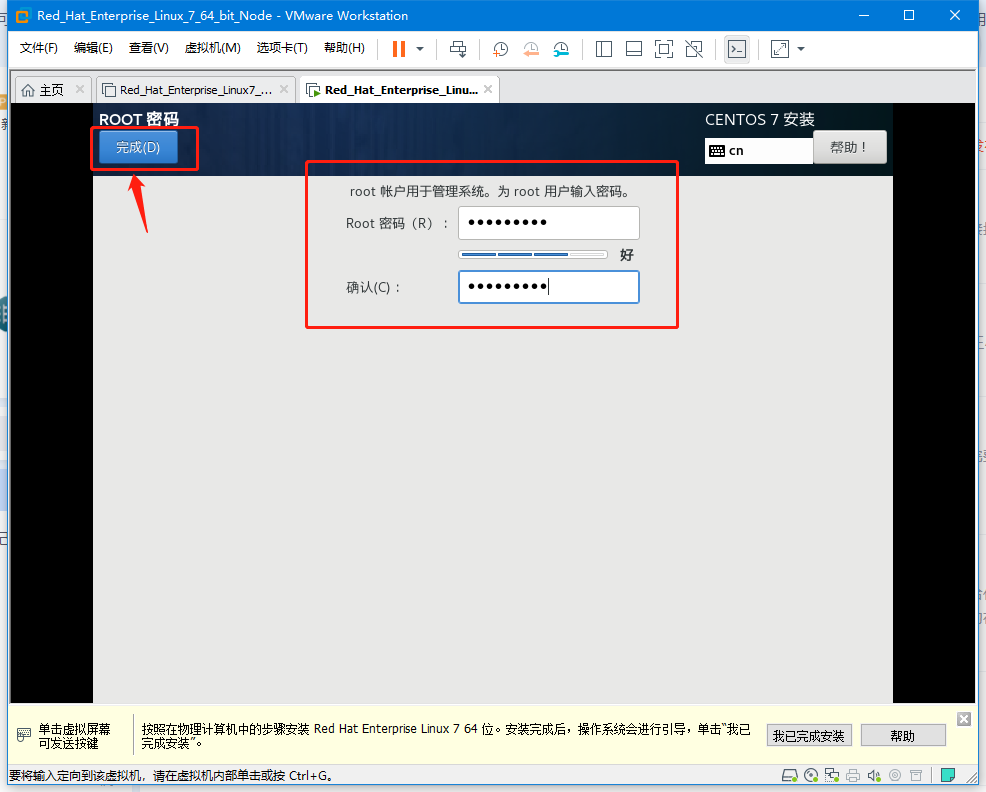
| If the password is too simple, you need to press the Finish button twice! |
 |
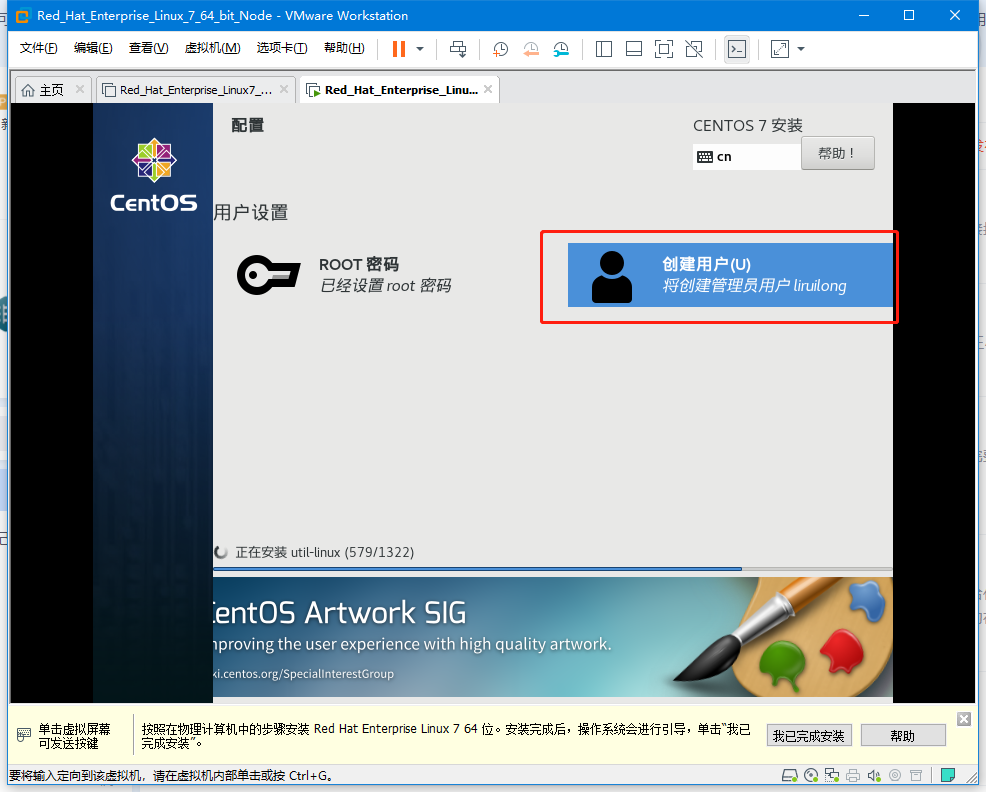 |
| Create users. (User name and password customization), when completed, click Finish twice. |
 |
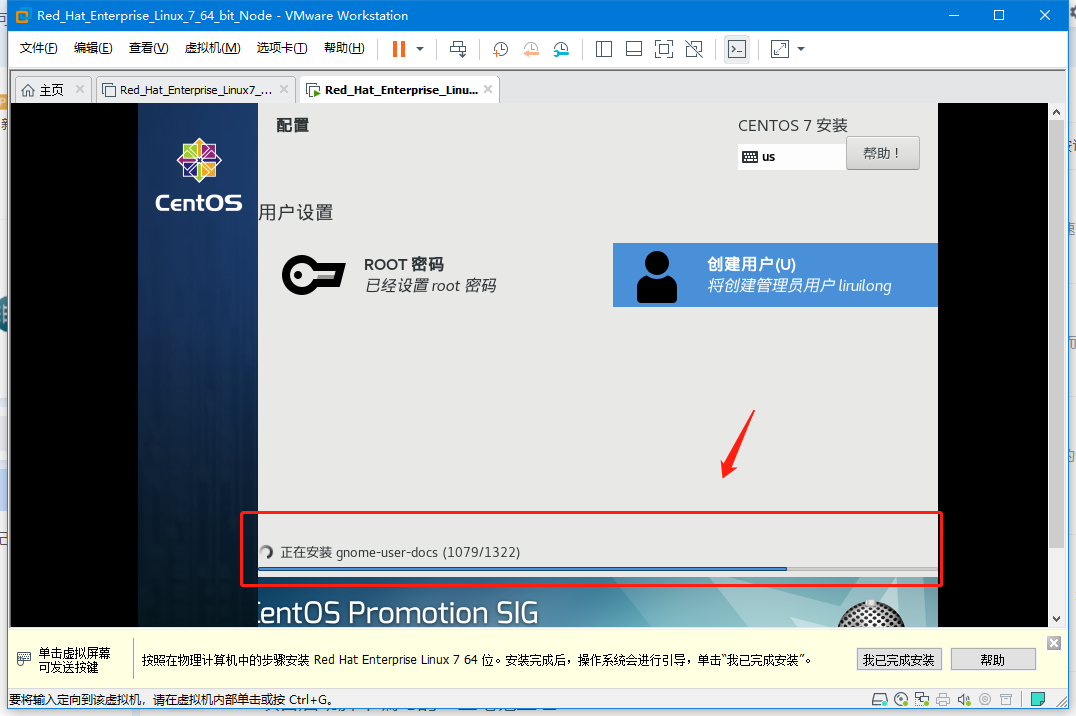 |
| This takes time, you can do something else... After installation, there will be a restart button, just restart it |
 |
 |
 |
| Start the system, this takes some time, wait patiently |
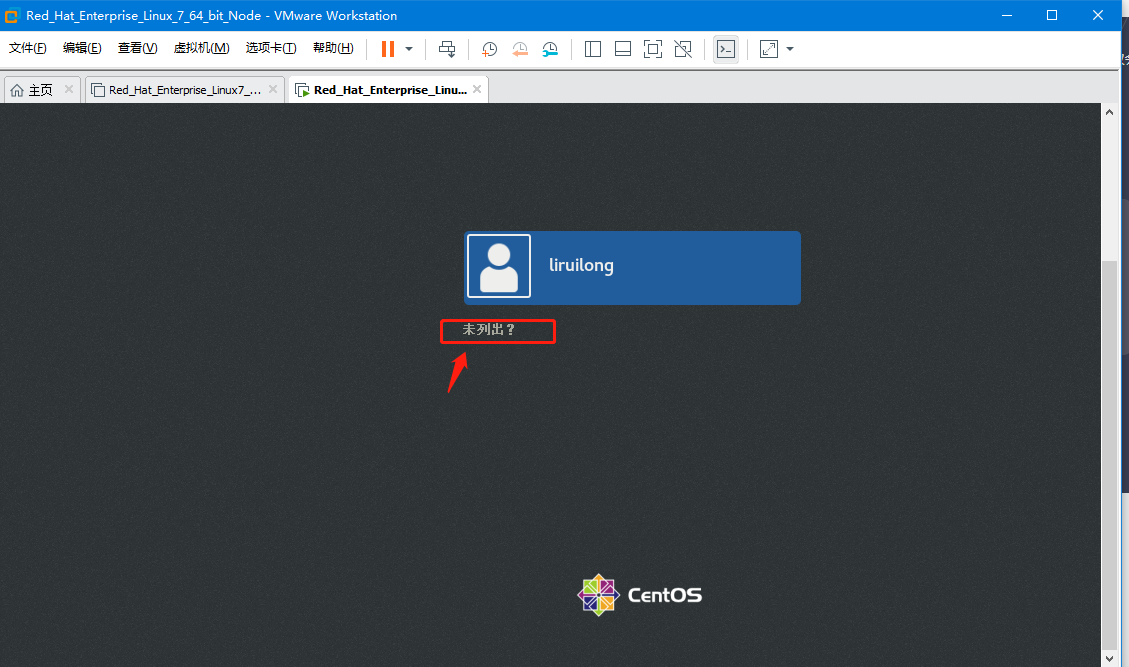 |
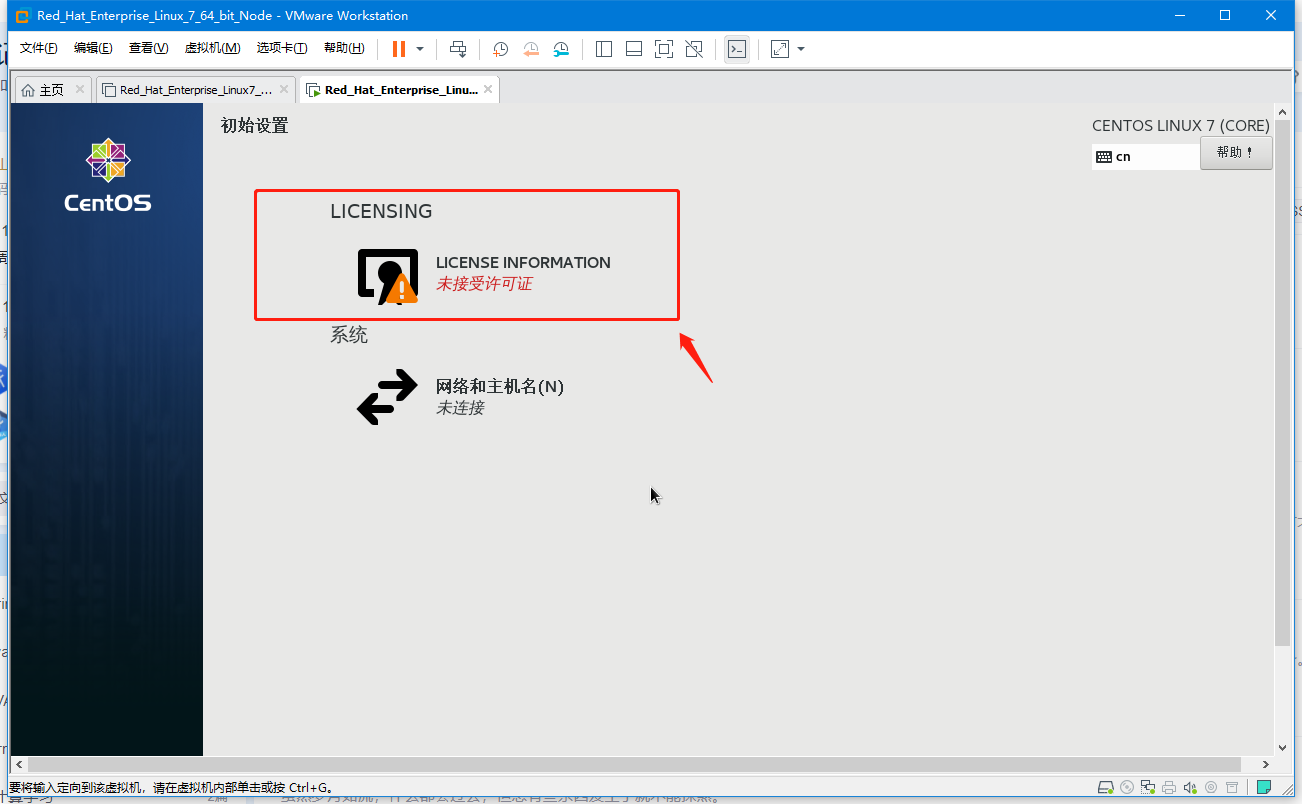
| Log in as root is not listed, followed by some guide pages, and proceed directly to the next step |
 |
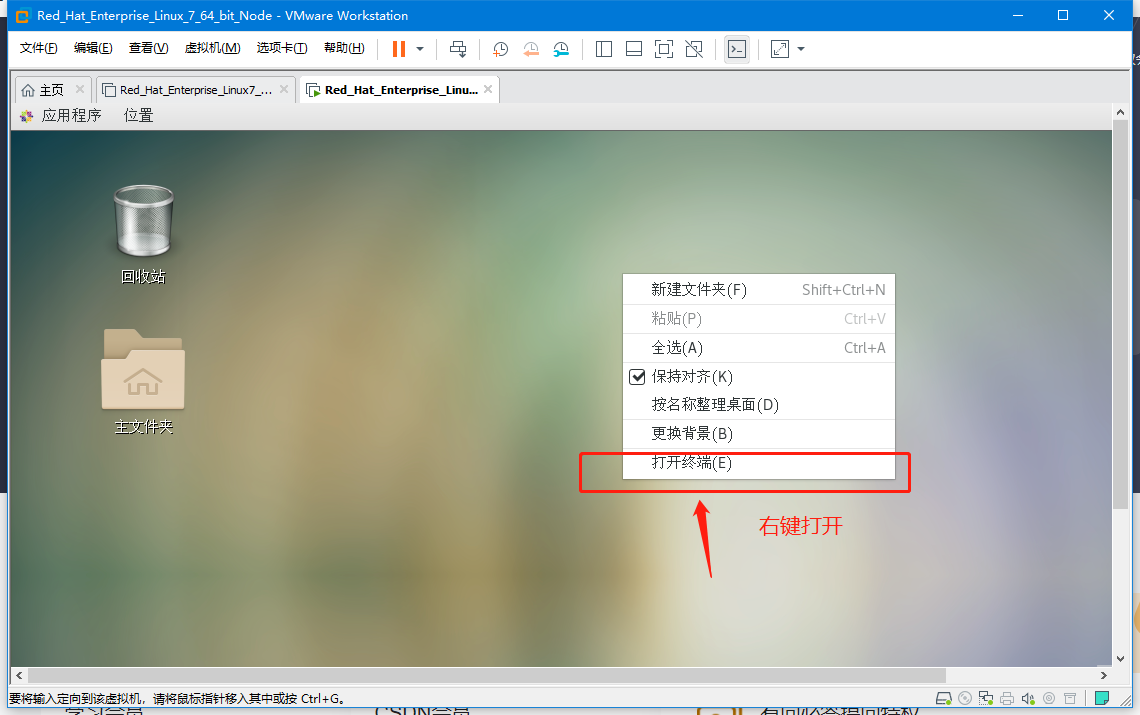 |
| Well, change it here, command prompt.Get a good look and want to learn, enter directly: PS1="\[033[1;32m\] --[\[033[1;34m ] u@ H [033[1;32m\]-[\[033[0;1m]w[033[1;32m] n[033[1;32m\] \ [033[1;34m] $[033 [0m] "or write to.baserch |
 |
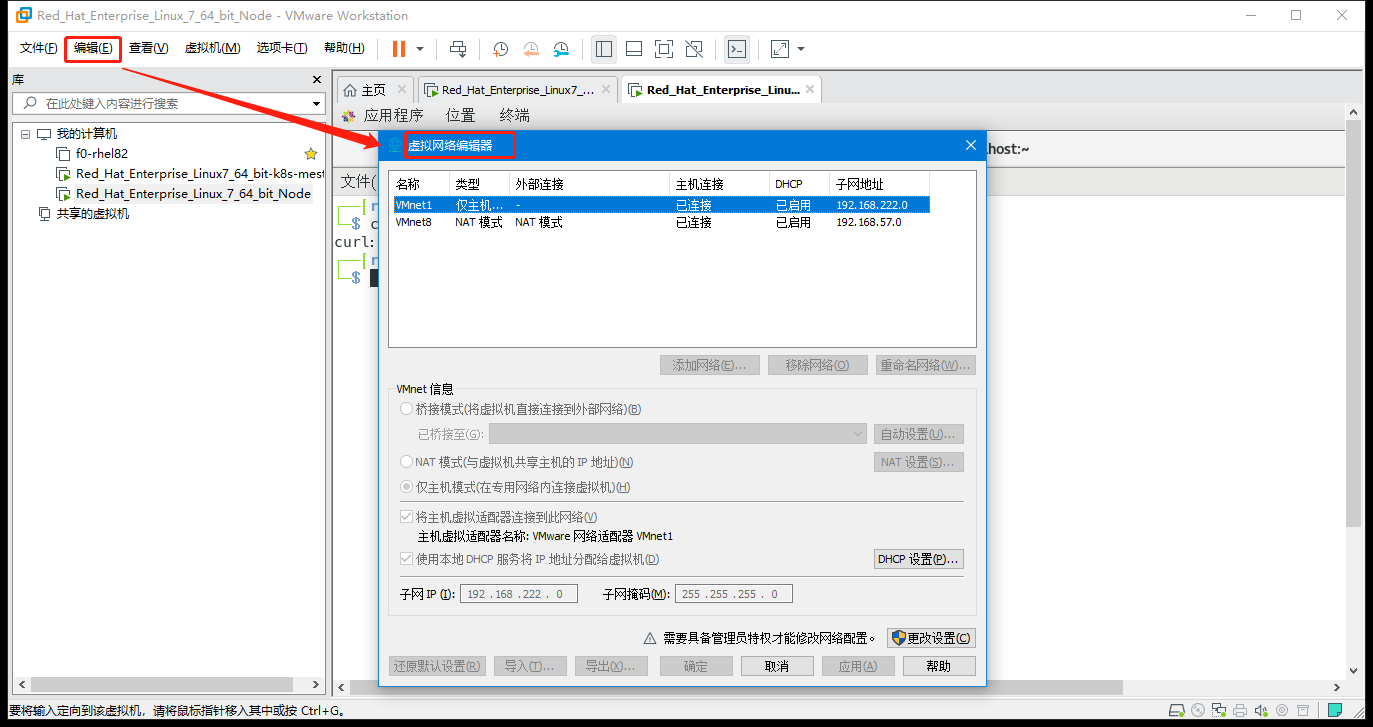
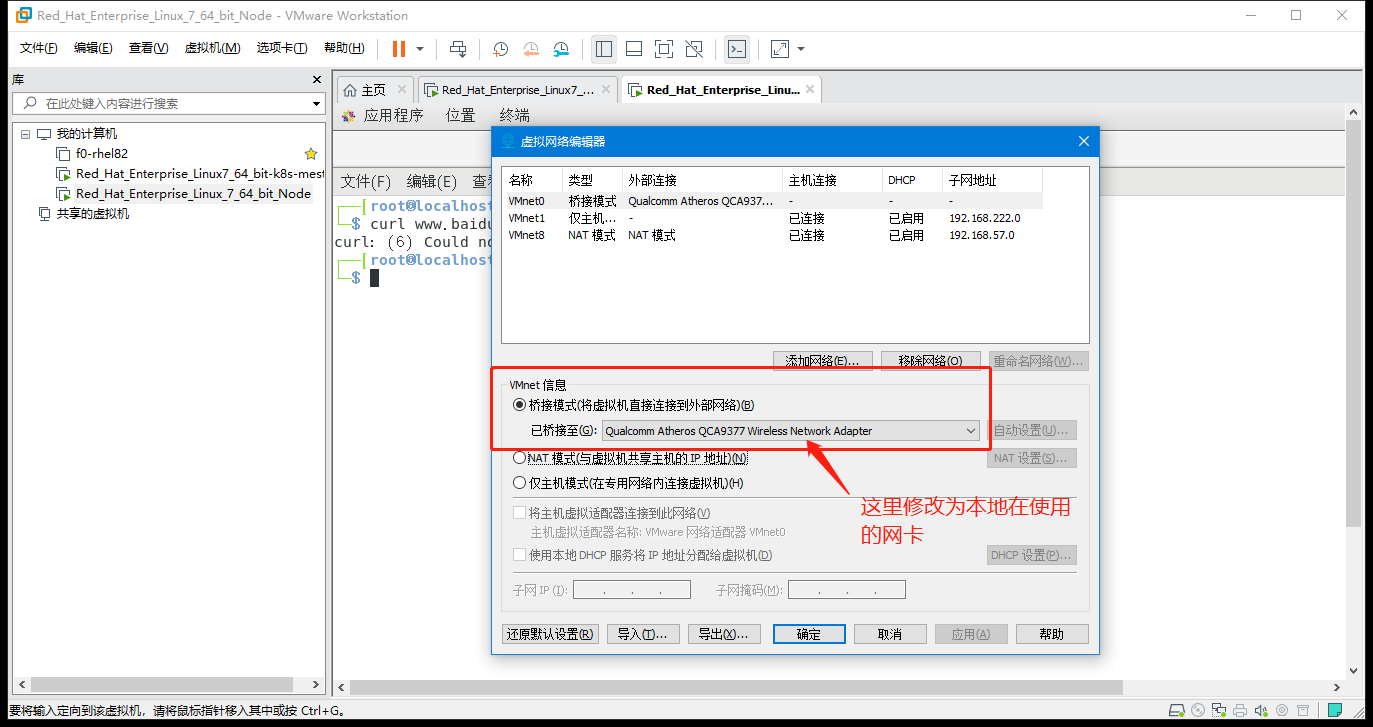
2. Configure the network
| &&&&&&&&&&&&&&&&&&&Configure Network Steps &&&&&&&&&&& |
|---|
 |
 |
 |
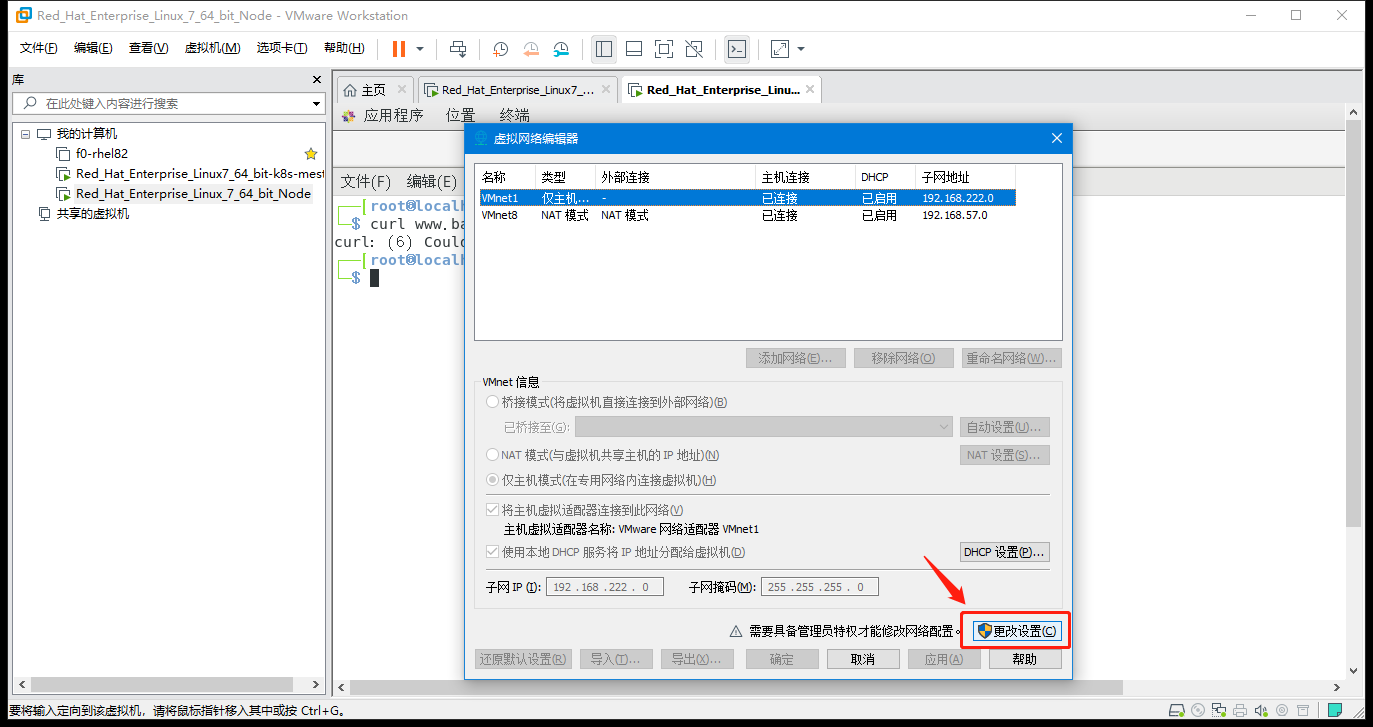 |
| In bridging mode, select which network card to bridge to (the one used for the actual network), and then confirm |
 |
| Configure the network card to DHCP mode (automatically assigning IP addresses): Execution is shown at the end of the table |
| Nmcli connection modify'ens33'ipv4.method auto connection.autoconnect yes #Change network card to DHCP mode (dynamic IP assignment), nmcli connection up'ens33' |
 |
 |
Configure network card to DHCP mode (automatic IP address assignment)
┌──[root@localhost.localdomain]-[~]
└─$ nmcli connection modify 'ens33' ipv4.method auto connection.autoconnect yes
┌──[root@localhost.localdomain]-[~]
└─$ nmcli connection up 'ens33'
The connection was successfully activated ( D-Bus Active Path:/org/freedesktop/NetworkManager/ActiveConnection/4)
┌──[root@localhost.localdomain]-[~]
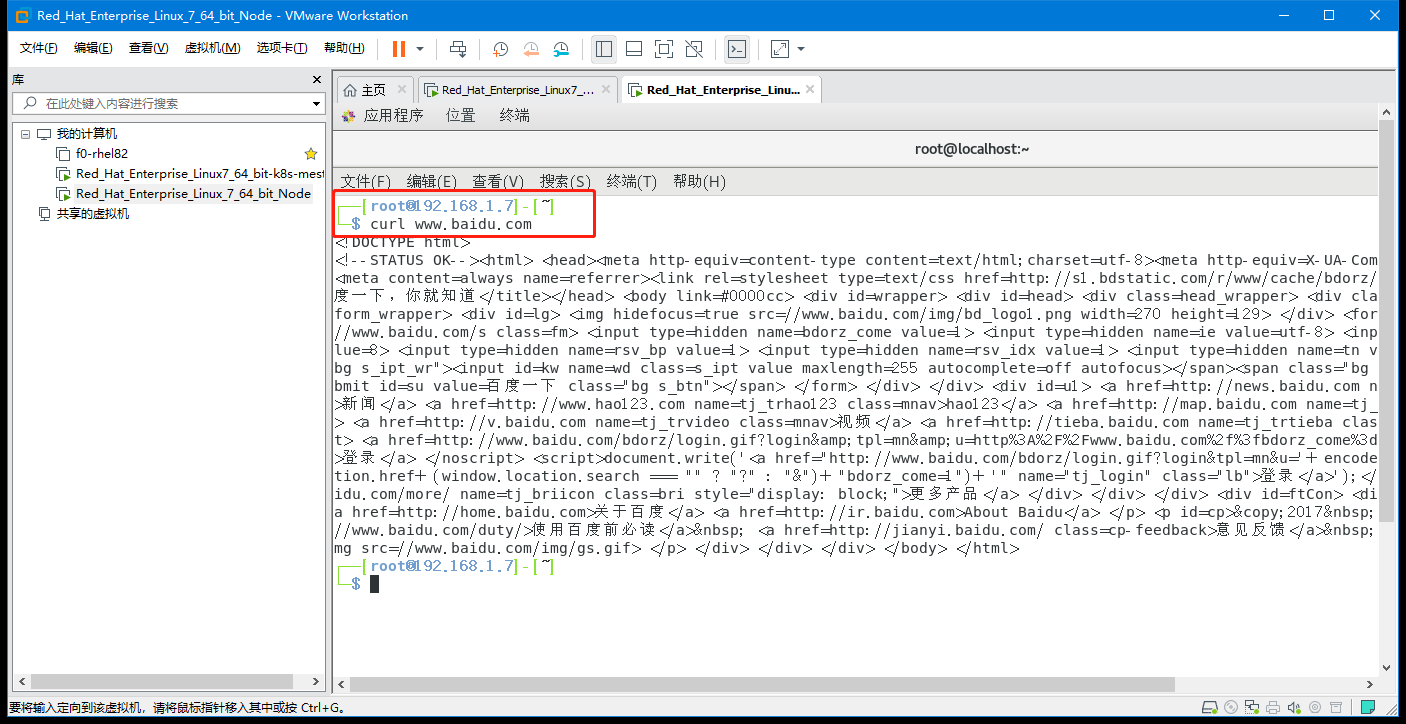
└─$ ifconfig | head -2
ens33: flags=4163<UP,BROADCAST,RUNNING,MULTICAST> mtu 1500
inet 192.168.1.7 netmask 255.255.255.0 broadcast 192.168.1.255
┌──[root@localhost.localdomain]-[~]
└─$
┌──[root@192.168.1.7]-[~]
└─$ ifconfig
ens33: flags=4163<UP,BROADCAST,RUNNING,MULTICAST>  mtu 1500
        inet 192.168.1.7  netmask 255.255.255.0  broadcast 192.168.1.255
        inet6 fe80::8899:b0c7:4b50:73e0  prefixlen 64  scopeid 0x20<link>
        inet6 240e:319:707:b800:2929:3ab2:f378:715a  prefixlen 64  scopeid 0x0<global>
        ether 00:0c:29:b6:a6:52  txqueuelen 1000  (Ethernet)
        RX packets 535119  bytes 797946990 (760.9 MiB)
        RX errors 0  dropped 96  overruns 0  frame 0
        TX packets 59958  bytes 4119314 (3.9 MiB)
        TX errors 0  dropped 0 overruns 0  carrier 0  collisions 0

lo: flags=73<UP,LOOPBACK,RUNNING>  mtu 65536
        inet 127.0.0.1  netmask 255.0.0.0
        inet6 ::1  prefixlen 128  scopeid 0x10<host>
        loop  txqueuelen 1000  (Local Loopback)
        RX packets 616  bytes 53248 (52.0 KiB)
        RX errors 0  dropped 0  overruns 0  frame 0
        TX packets 616  bytes 53248 (52.0 KiB)
        TX errors 0  dropped 0 overruns 0  carrier 0  collisions 0

virbr0: flags=4099<UP,BROADCAST,MULTICAST>  mtu 1500
        inet 192.168.122.1  netmask 255.255.255.0  broadcast 192.168.122.255
        ether 52:54:00:2e:66:6d  txqueuelen 1000  (Ethernet)
        RX packets 0  bytes 0 (0.0 B)
        RX errors 0  dropped 0  overruns 0  frame 0
        TX packets 0  bytes 0 (0.0 B)
        TX errors 0  dropped 0 overruns 0  carrier 0  collisions 0

┌──[root@192.168.1.7]-[~]
└─$
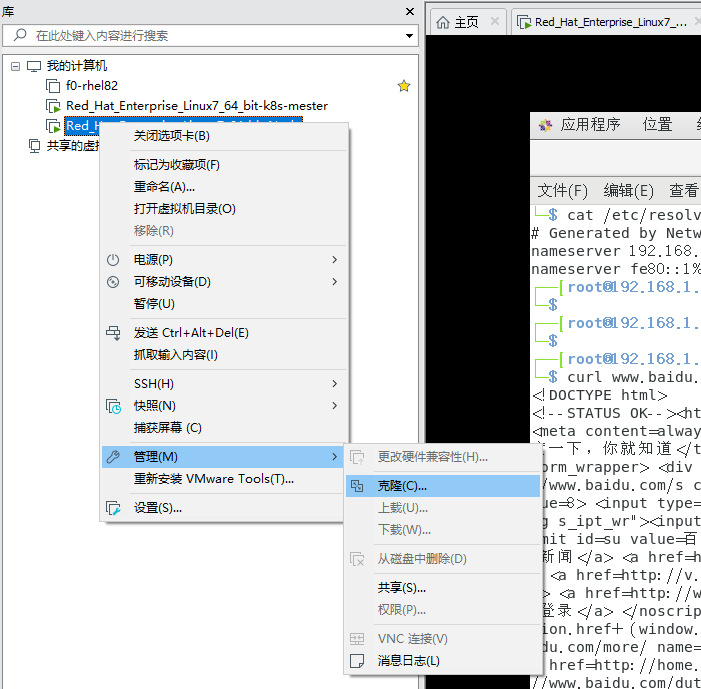
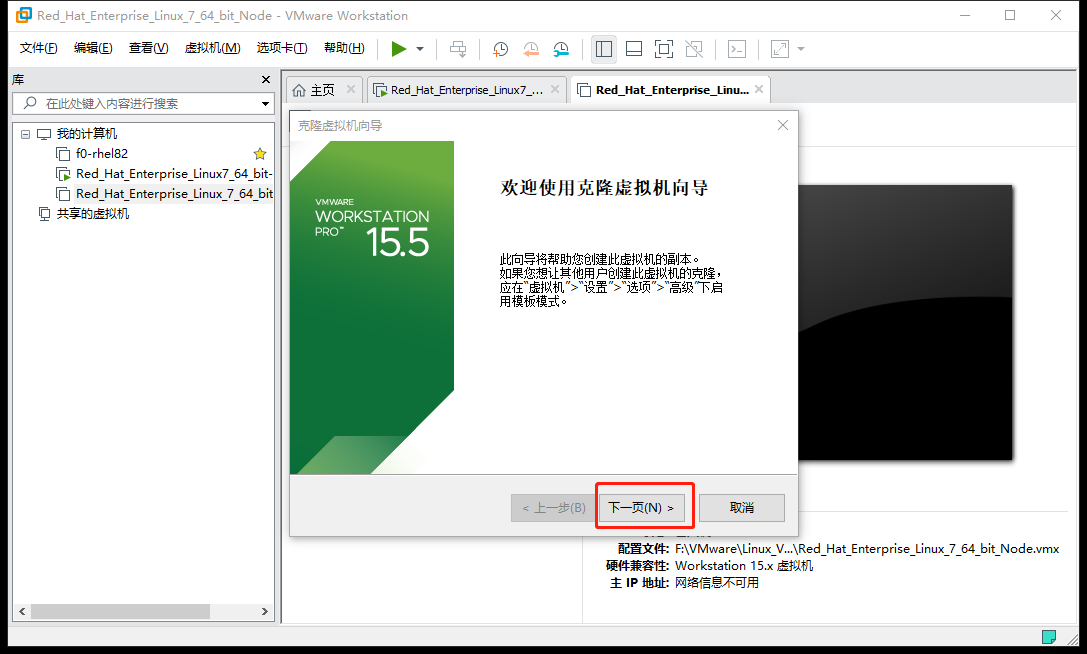
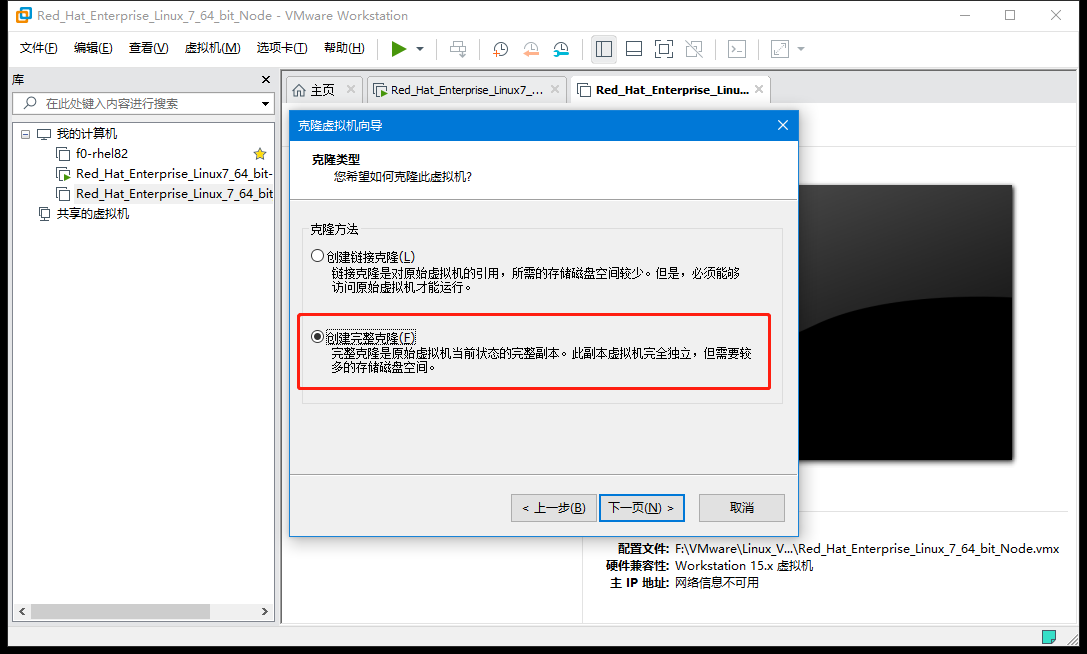
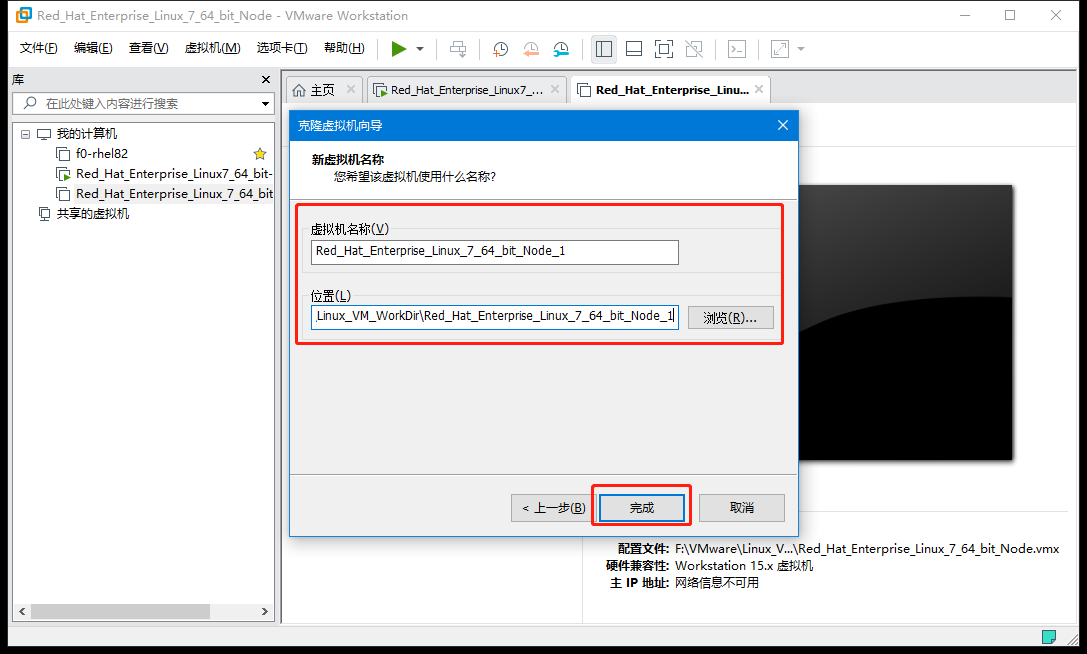
3. Machine cloning
| &&&&&&&&&&&&&&&&&&&Machine Cloning Step &&&&&&&&&&&&& |
|---|
| Turn off the virtual machine to be cloned |
 |
 |
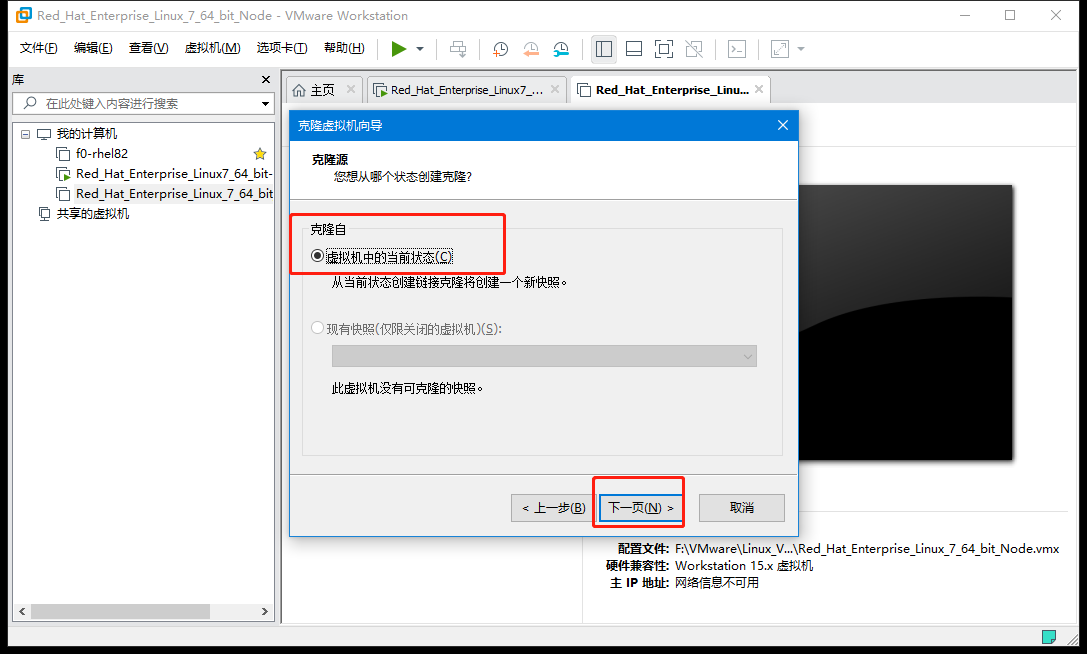 |
| The difference between a linked clone and a full clone: |
| Creating a linked clone #The cloned virtual machine takes little disk space, but the cloned virtual machine must be able to function properly, otherwise it will not function properly; |
| Create Full Clone#There is no association between the newly cloned virtual machine and the cloned virtual machine, and deletion of the cloned virtual machine does not affect the use of the newly cloned virtual machine. |
 |
 |
 |
 |
 |
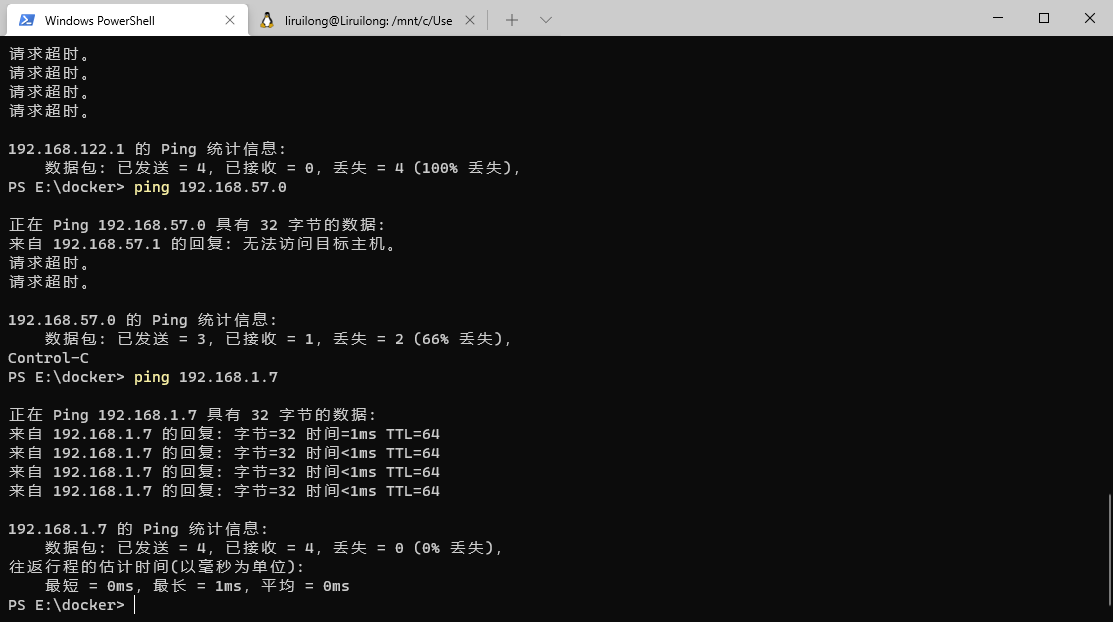
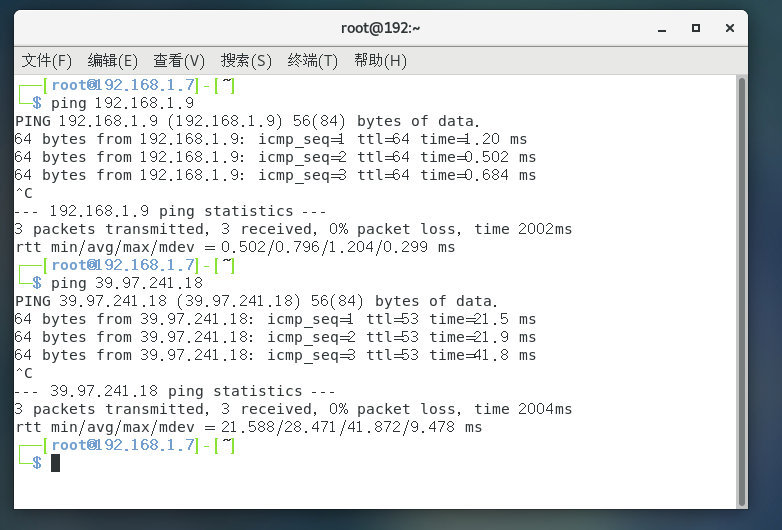
| Test it out, you can access the external network (39.97.241 is my Aliyun public network IP), you can also communicate with the physical machine, and you can also communicate with node |
 |
 |
 |
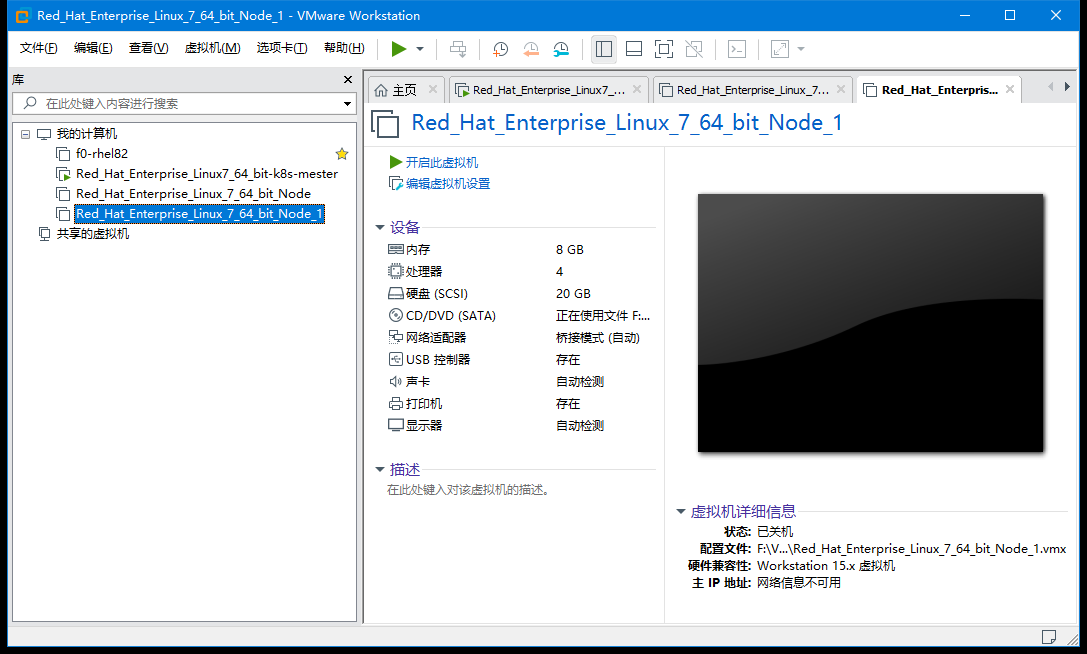
| In the same way, we clone one remaining node machine and one Master node machine. |
In the same way, we clone one remaining node machine and one Master node machine.No show here
| Clone the remaining memory, and if there is not enough memory at startup, turn off the virtual machine and adjust the memory accordingly |
|---|
 |
4. Manage Control Node to Compute Node DNS Configuration
| Master Node DNS Configuration |
|---|
| Master nodes are configured with DNS and can be accessed by hostname. For convenience, you can modify the hostname/etc/hosts of each node's machine. |
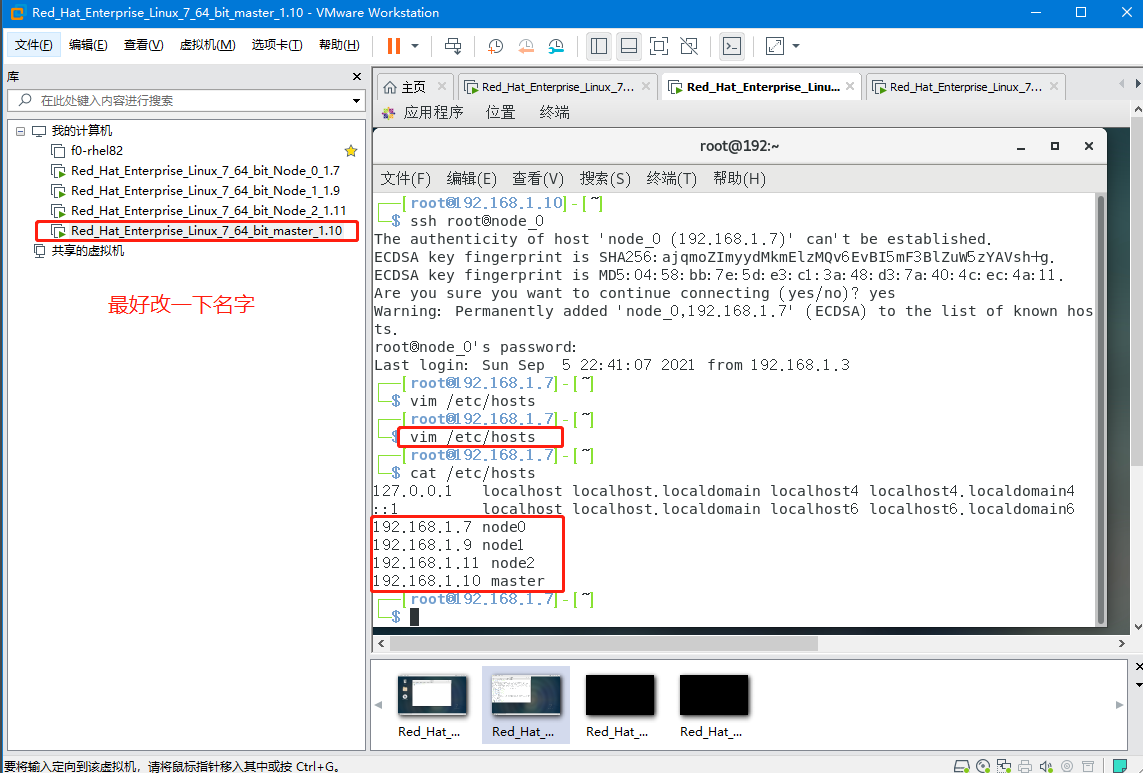 |
┌──[root@192.168.1.10]-[~]
└─$ vim /etc/hosts
┌──[root@192.168.1.10]-[~]
└─$ cat /etc/hosts
127.0.0.1   localhost localhost.localdomain localhost4 localhost4.localdomain4
::1         localhost localhost.localdomain localhost6 localhost6.localdomain6
192.168.1.7  node0
192.168.1.9  node1
192.168.1.11 node2

┌──[root@192.168.1.10]-[~]
└─$
5. Manage Control Node to Compute Node SSH Secret Configuration
| Master Node Configuration SSH Secret Logon |
|---|
| ssh-keygen generates keys, all return |
| SSH Secret-Free Configuration, pass keys using ssh-copy-id |
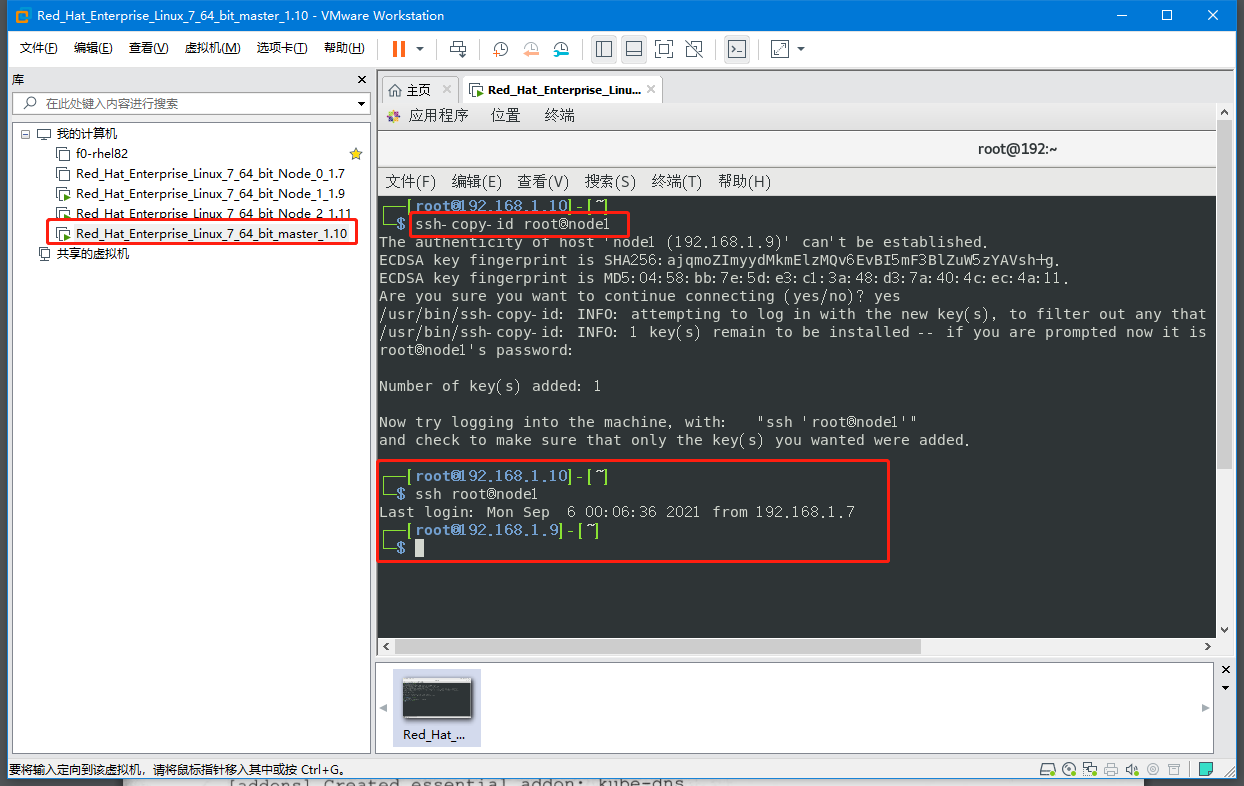 |
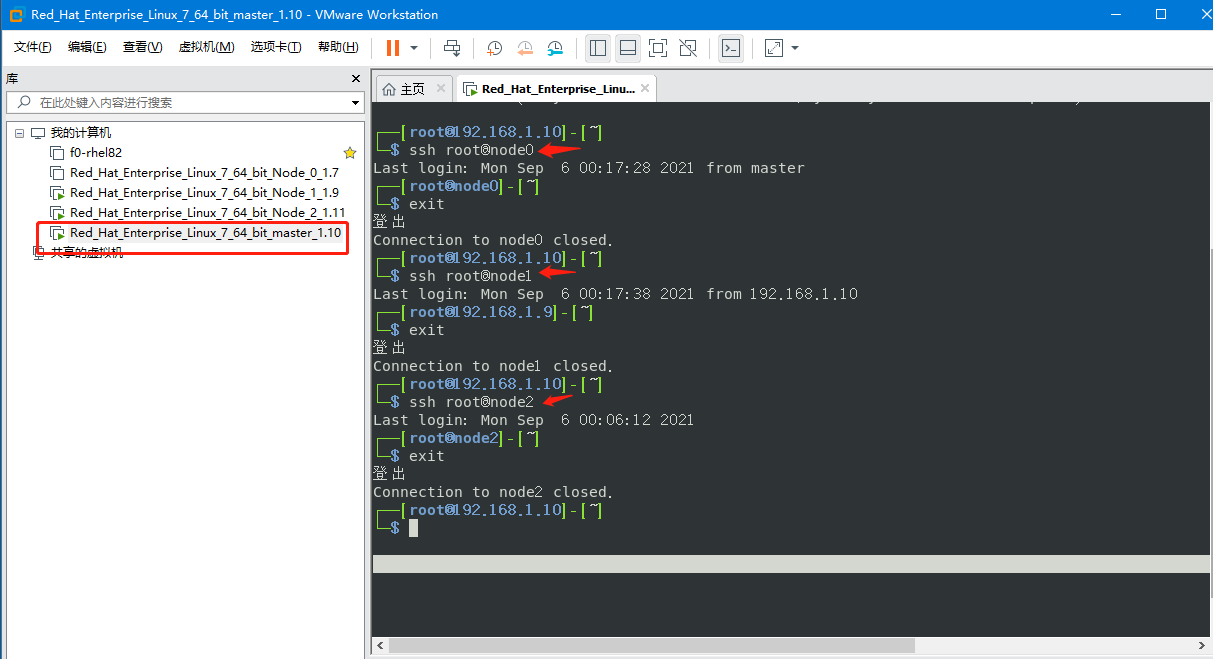
| Secret-free test, if convenient, Node1's host name is not modified here.So it appears as an IP address |
 |
ssh-keygen generates keys, all return
┌──[root@192.168.1.10]-[~]
└─$ ssh
usage: ssh [-1246AaCfGgKkMNnqsTtVvXxYy] [-b bind_address] [-c cipher_spec]
           [-D [bind_address:]port] [-E log_file] [-e escape_char]
           [-F configfile] [-I pkcs11] [-i identity_file]
           [-J [user@]host[:port]] [-L address] [-l login_name] [-m mac_spec]
           [-O ctl_cmd] [-o option] [-p port] [-Q query_option] [-R address]
           [-S ctl_path] [-W host:port] [-w local_tun[:remote_tun]]
           [user@]hostname [command]
┌──[root@192.168.1.10]-[~]
└─$ ls -ls ~/.ssh/
ls: cannot access/root/.ssh/: No file or directory
┌──[root@192.168.1.10]-[~]
└─$ ssh-keygen
Generating public/private rsa key pair.
Enter file in which to save the key (/root/.ssh/id_rsa):
Created directory '/root/.ssh'.
Enter passphrase (empty for no passphrase):
Enter same passphrase again:
Your identification has been saved in /root/.ssh/id_rsa.
Your public key has been saved in /root/.ssh/id_rsa.pub.
The key fingerprint is:
SHA256:qHboVj/WfMTYCDFDZ5ISf3wEcmfsz0EXJH19U6SnxbY root@node0
The key's randomart image is:
+---[RSA 2048]----+
|      .o+.=o+.o+*|
|      ..=B +. o==|
|       ..+o.....O|
|       ... .. .=.|
|      . S. = o.E |
|     o.   o + o  |
|    +... o .     |
|   o..  + o .    |
|   ..  . . .     |
+----[SHA256]-----+
SSH Secret-Free Configuration, pass keys using ssh-copy-id
ssh-copy-id root@node0
ssh-copy-id root@node1
ssh-copy-id root@node2
Secret-free test
ssh root@node0
ssh root@node1
ssh root@node2