Version information
Android Studio: (Android Studio-Help-About)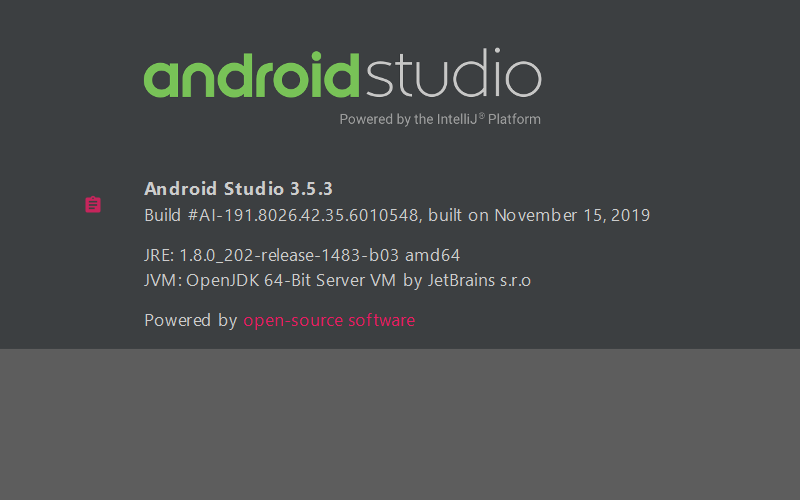
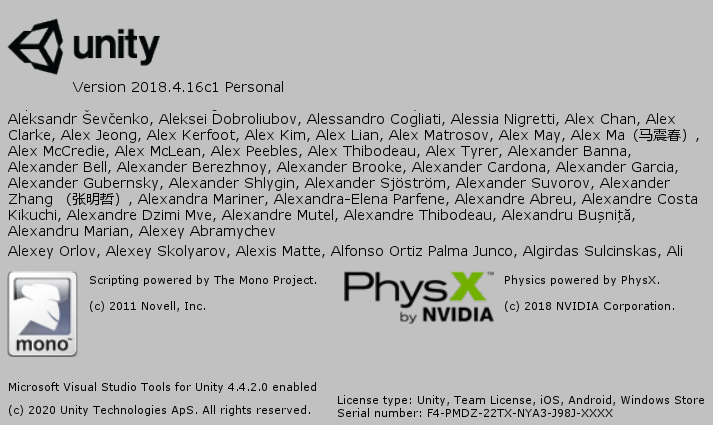
Unity: (Unity-Help-About Unity)
Note:
- Latest version of China Enhanced Edition (time: 2020-02-20)
- Install Android module
1, Operations in Unity
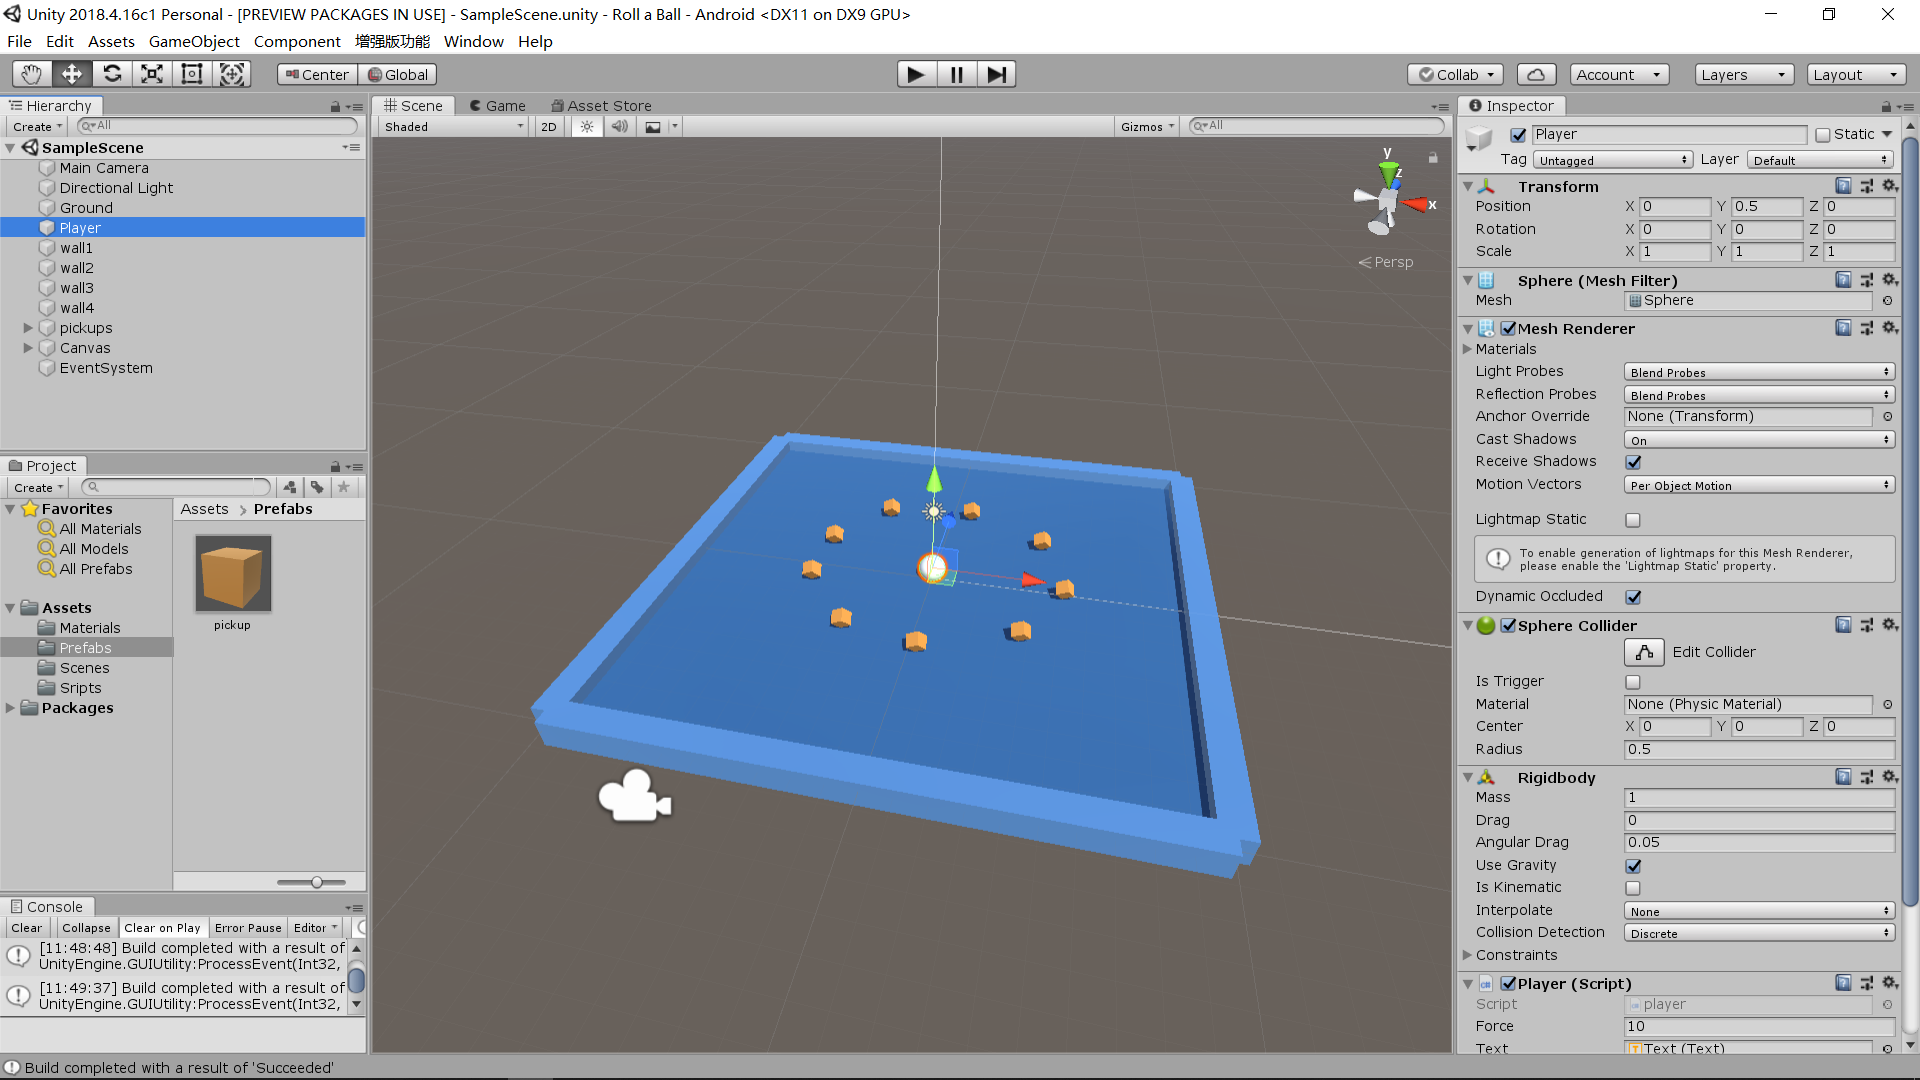
1. Create a Unity project and prepare a Unity game.
Recommended tutorials: Introduction to unity - small ball eating gold coins
2. Export Android project
First, find the file Build Settings and click to open the Build Settings window;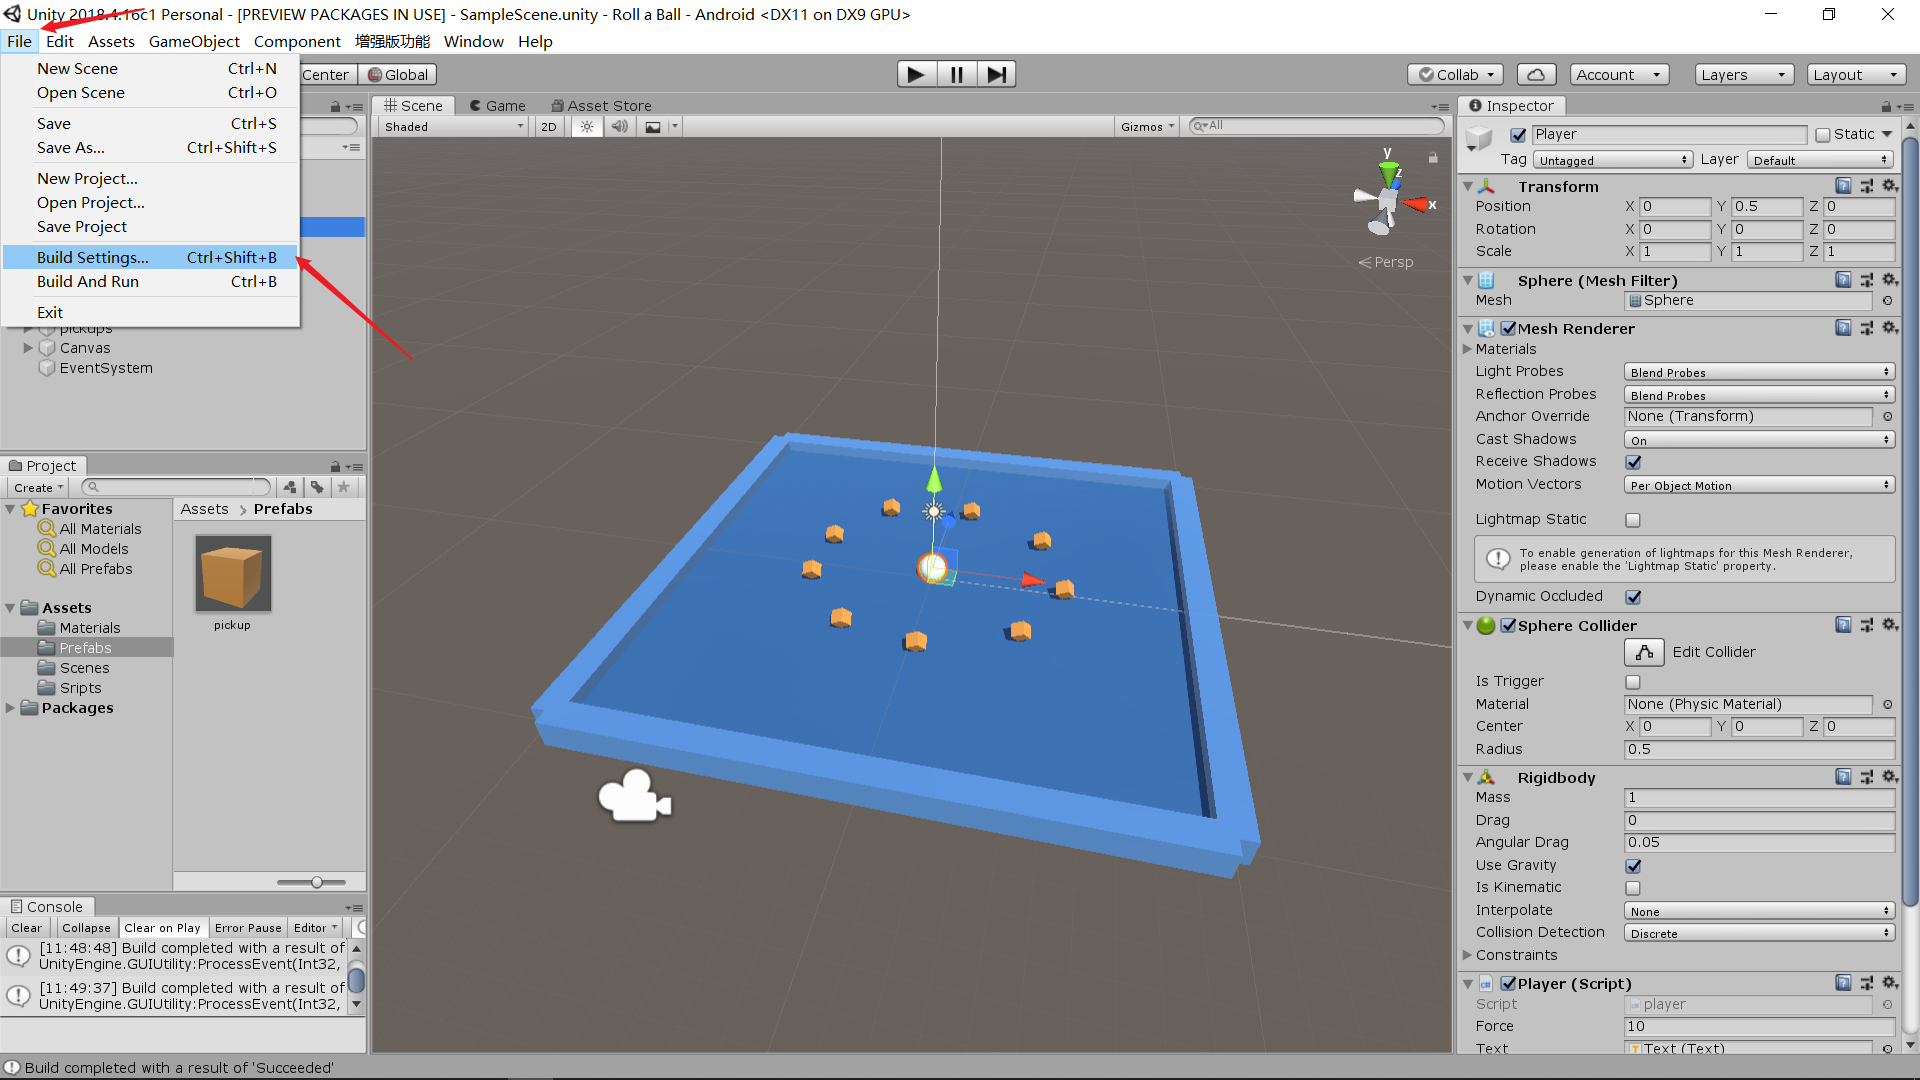
Next, click Add Open Scenes, select the scene you want to export, select Android for platform, check Export Project, and make sure the Build System is "Gradle";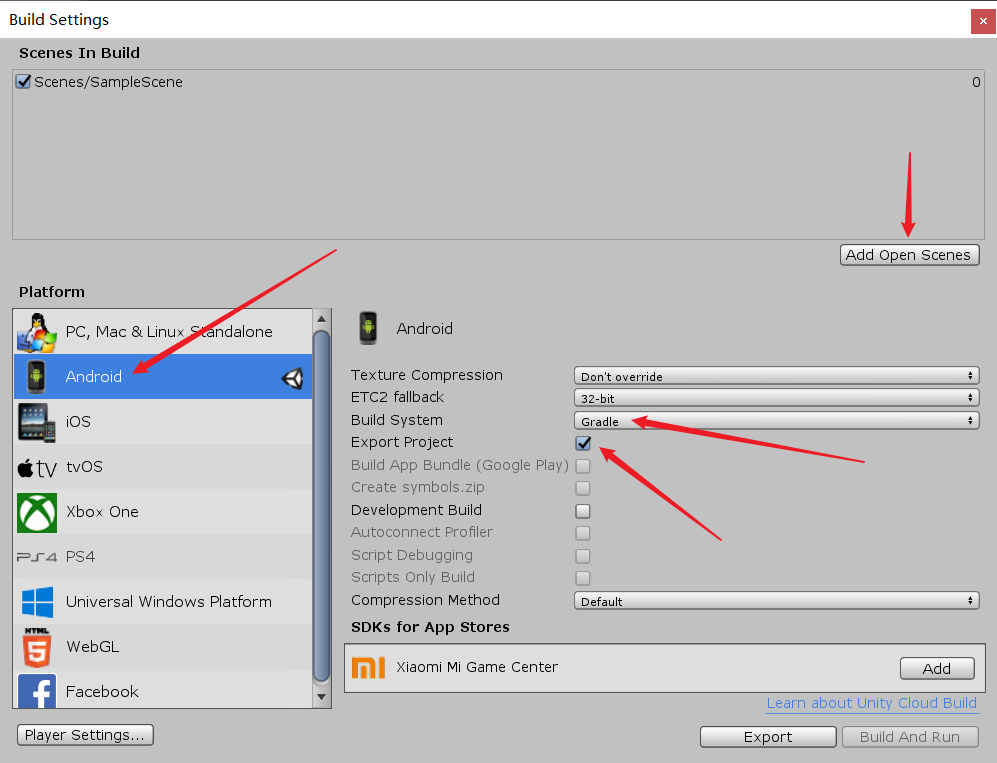
Click Player Settings and a pop-up window will pop up on the right to set some parameters. Here, set the product name to "rollaball" unity, which is displayed as the name of the folder of the exported project;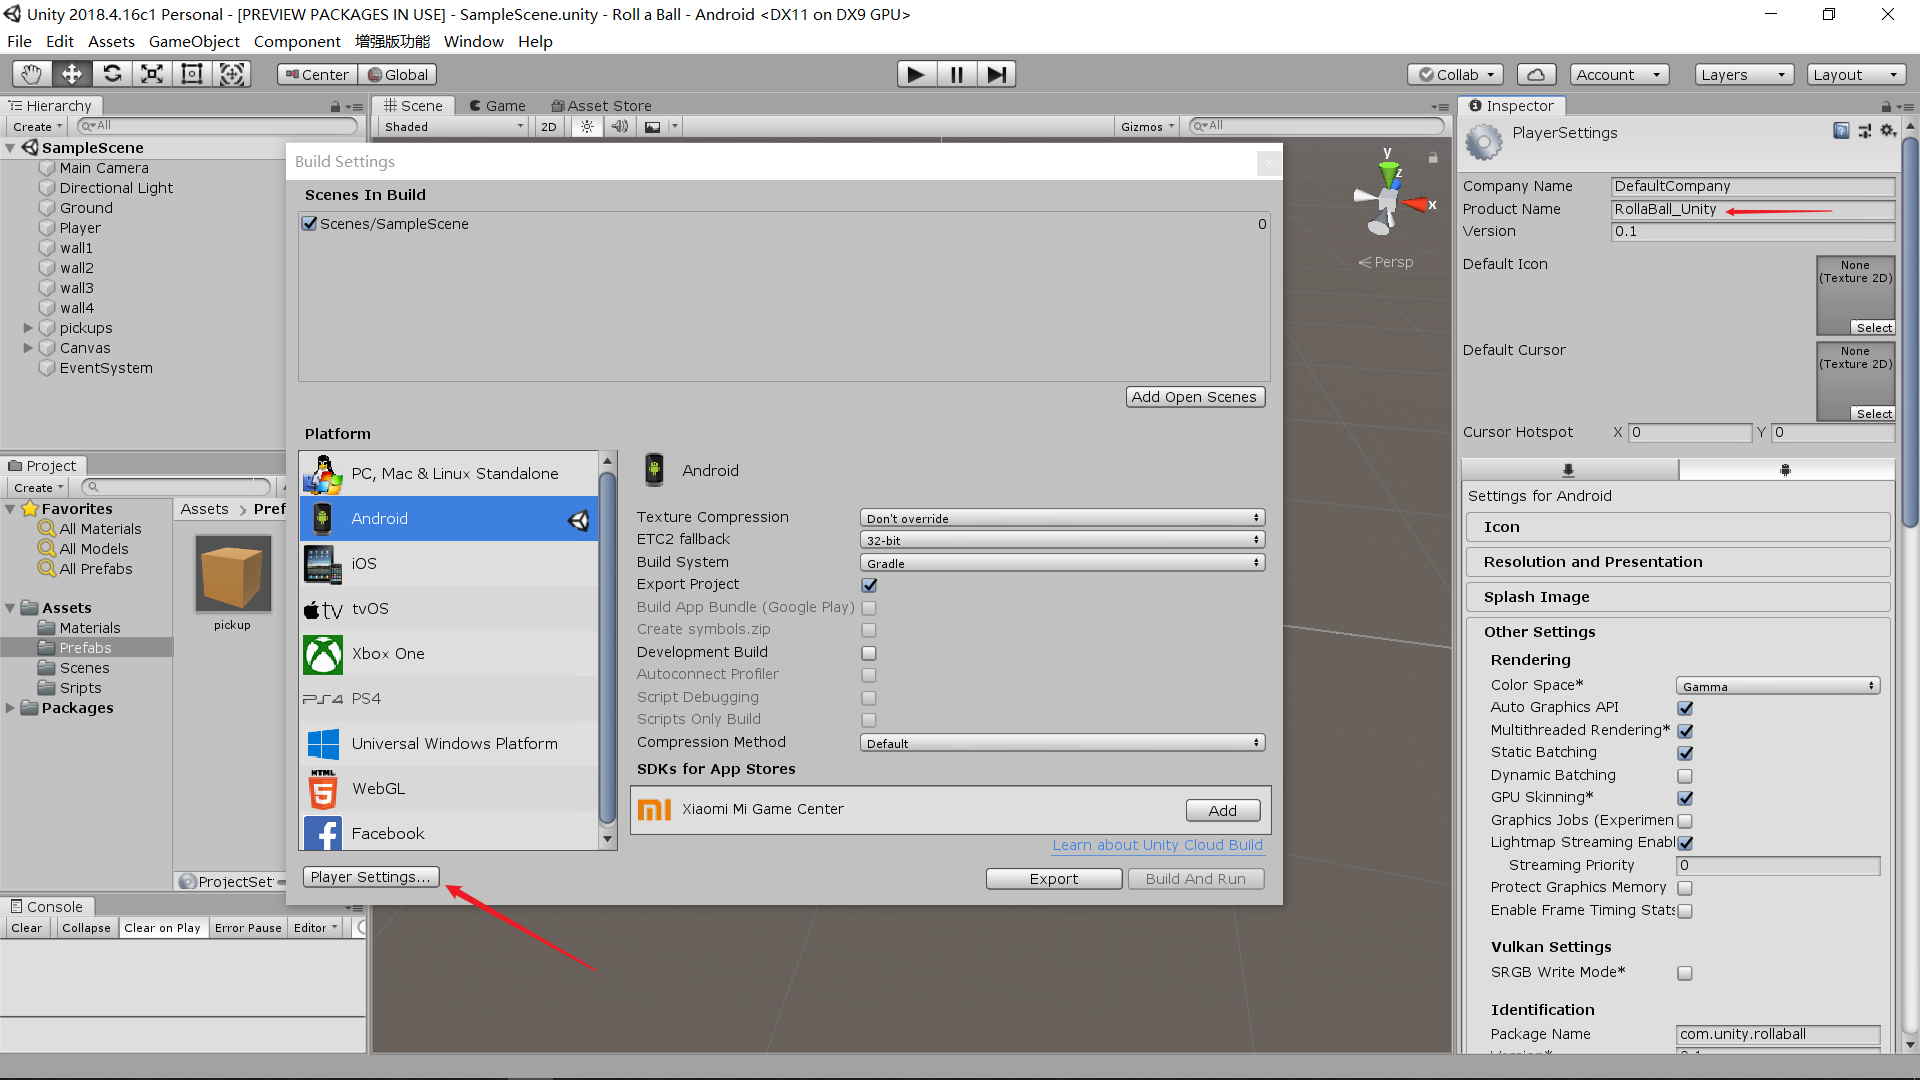
Then, click Export in the lower right corner of the Build Settings window, and save it to the place you want to save. I will save it to a folder called Roll a Ball;
If it is the first time to Export, the display will be the Switch Platform. Click wait for processing for a while and it will become Export. Then click Export;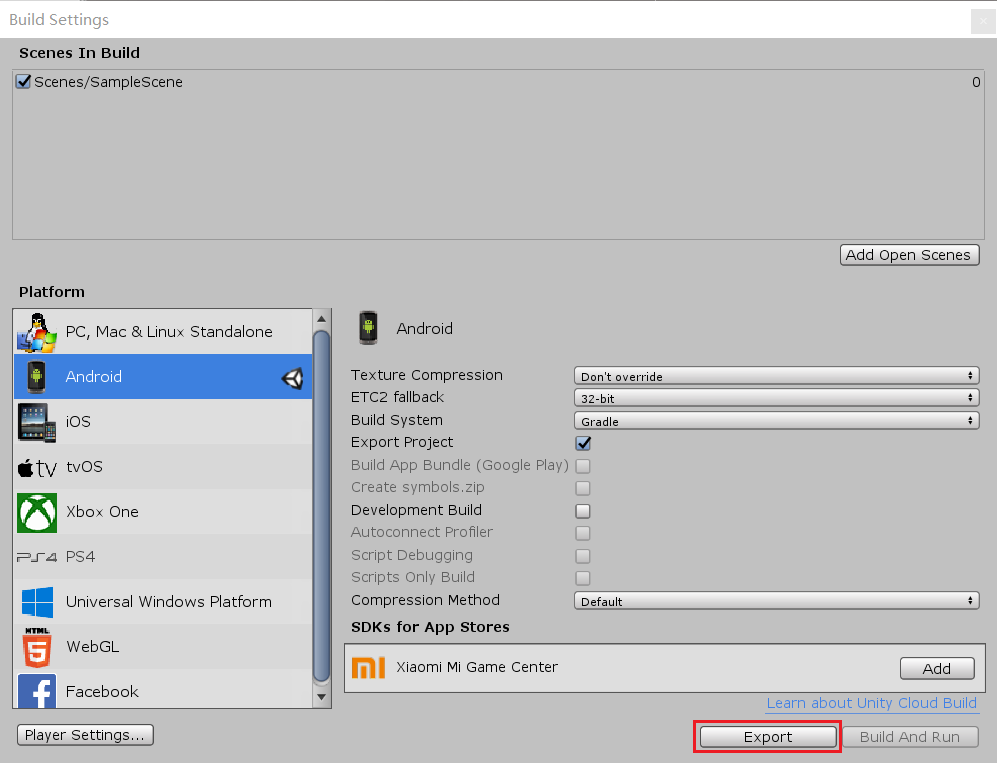
The preserved result is almost the same:
In the Roll a Ball folder, there is the rollaball unit folder, and in the rollaball unit folder, there are Android project files exported by Unity;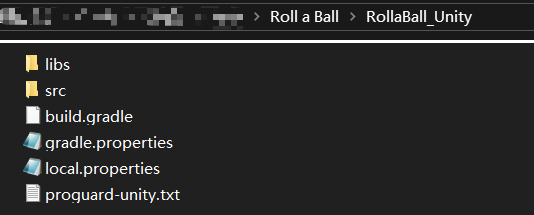
This is the end of the operation under Unity.
2, Actions in Android Studio
1. Create an Android Studio project
Recommended study book: the first line of code [manual wangchai]
Anyway, I created a project by myself.
2. Import Unity as Module
First of all, in Android Studio, click file new import module, and select the Android project exported by Unity, that is, rollaball u Unity folder;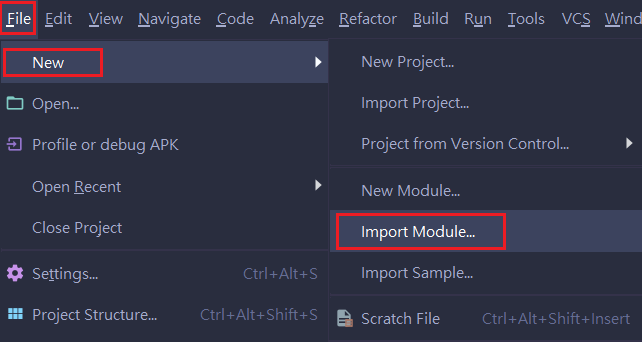
After the import is successful, you can see our rollaball unit,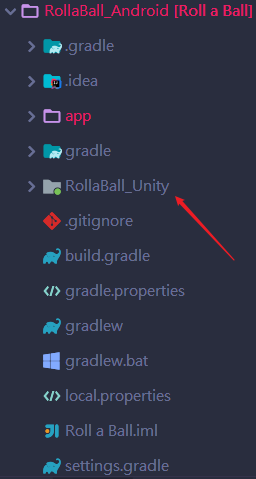
Then, delete the following code snippet in the AndroidManifest.xml file under rollaball_unity SRC Main:
Then, add the Android manifest.xml file application under app-src-main:
tools:replace="android:icon, android:theme"
Next, modify build.gradle under RollaBall_Unity,
take
apply plugin: 'com.android.application'
Change to
apply plugin: 'com.android.library'
Delete:
applicationId 'com.unity.rollaball'
Note: the content in applicationId may be different from mine. Just delete this line anyway
Delete or comment:
    bundle {
        language {
            enableSplit = false
        }
        density {
            enableSplit = false
        }
        abi {
            enableSplit = true
        }
    }
After the change, resync the following;
Finally, right-click app and click Open Module Settings;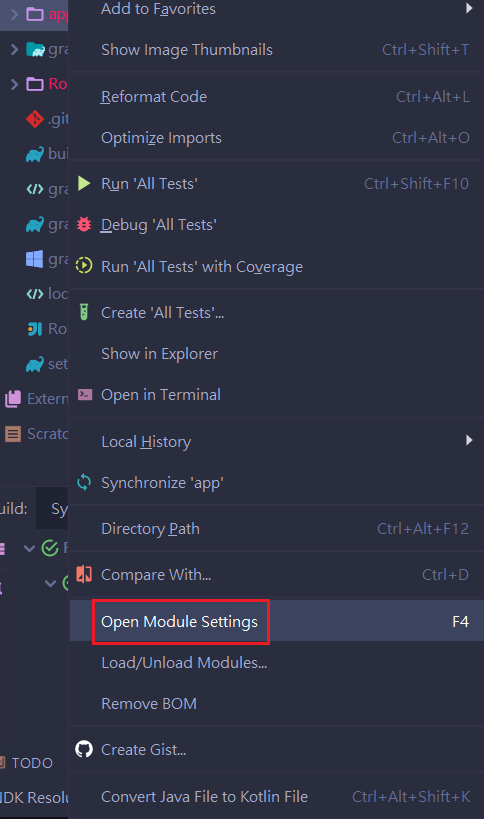
In the pop-up Project Structure window, select as follows: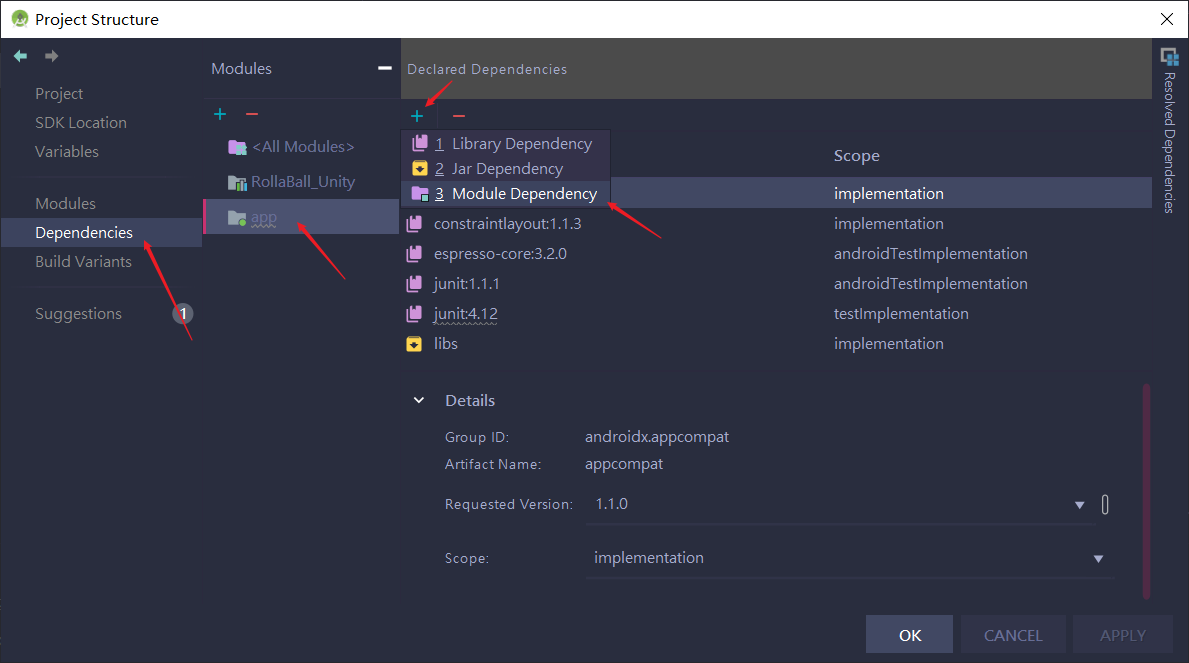
Check rollaball? Unity and click OK;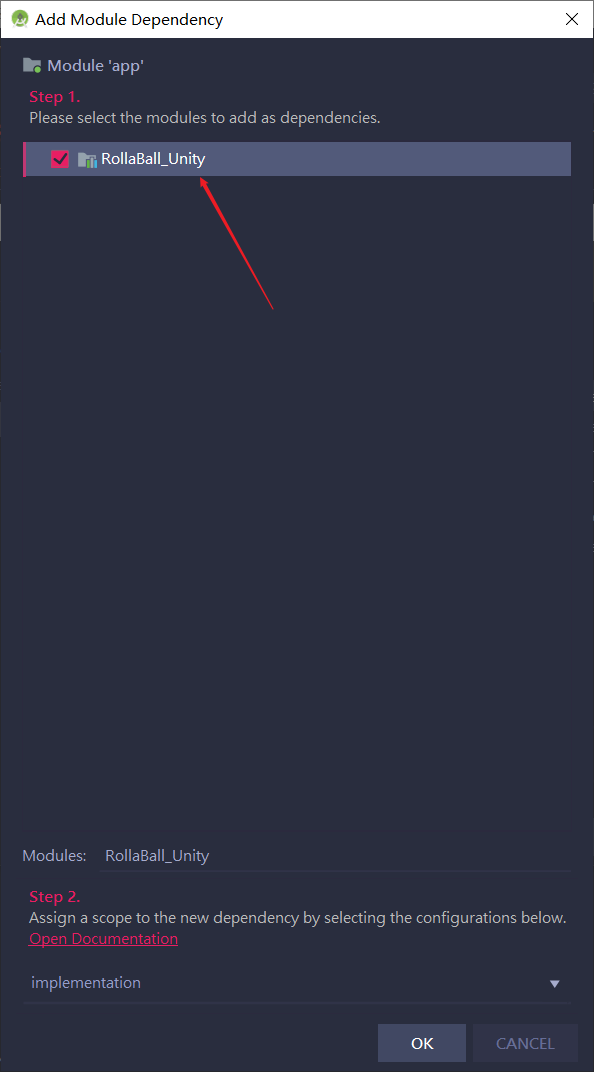
Over.
3. Enable Unity games
First, create a new activity. I name it StartUnity and do not generate a layout file;
Change AppCompatActivity in StartUnity.java to UnityPlayerActivity:
public class StartUnity extends UnityPlayerActivity {

    @Override
    protected void onCreate(Bundle savedInstanceState) {
        super.onCreate(savedInstanceState);
    }
}
Then, in the layout file of MainActivity, create a Button, write a click to jump activity program, and jump to the StartUnity activity. The code is as follows
public class MainActivity extends AppCompatActivity {

    @Override
    protected void onCreate(Bundle savedInstanceState) {
        super.onCreate(savedInstanceState);
        setContentView(R.layout.activity_main);
        Button button1 = (Button) findViewById(R.id.button1);
        button1.setOnClickListener(new View.OnClickListener() {
            @Override
            public void onClick(View view) {
                Intent intent = new Intent(MainActivity.this,StartUnity.class);
                startActivity(intent);
            }
        });
    }
}
The procedure in activity main.xml is as follows
<?xml version="1.0" encoding="utf-8"?>
<RelativeLayout xmlns:android="http://schemas.android.com/apk/res/android"
    xmlns:app="http://schemas.android.com/apk/res-auto"
    xmlns:tools="http://schemas.android.com/tools"
    android:layout_width="match_parent"
    android:layout_height="match_parent"
    tools:context=".MainActivity">

    <Button
        android:id="@+id/button1"
        android:layout_width="wrap_content"
        android:layout_height="wrap_content"
        android:layout_centerInParent="true"
        android:text="Button"
        tools:ignore="HardcodedText" />

</RelativeLayout>
ok!
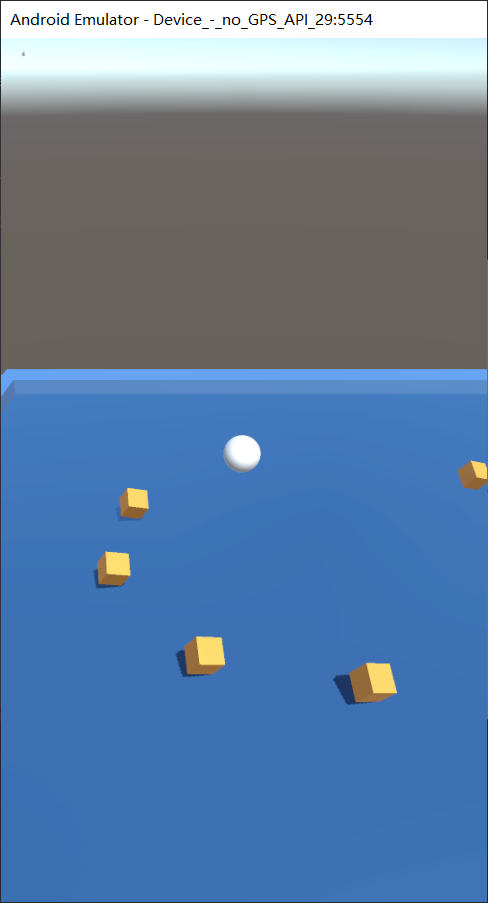
Test the following effects: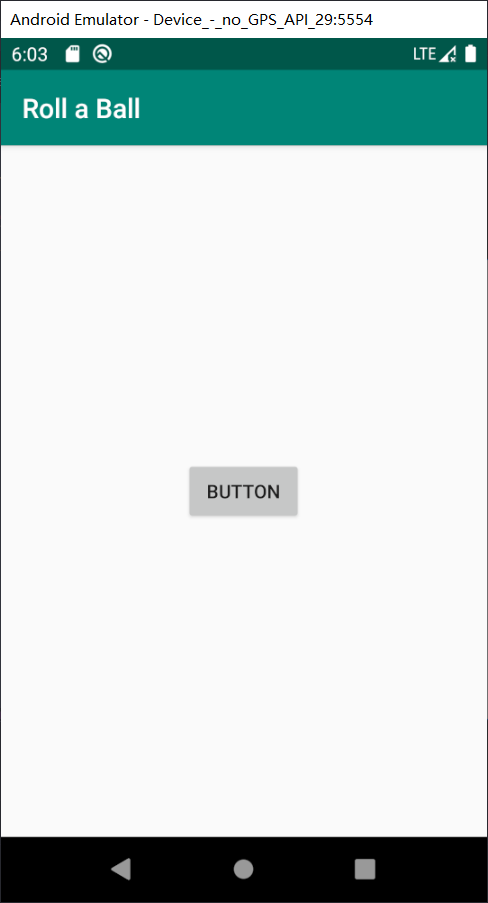
Main reference:
The method of embedding unit project in android native project (android studio 3)

