catalogue
4. clone darknet source code and compile
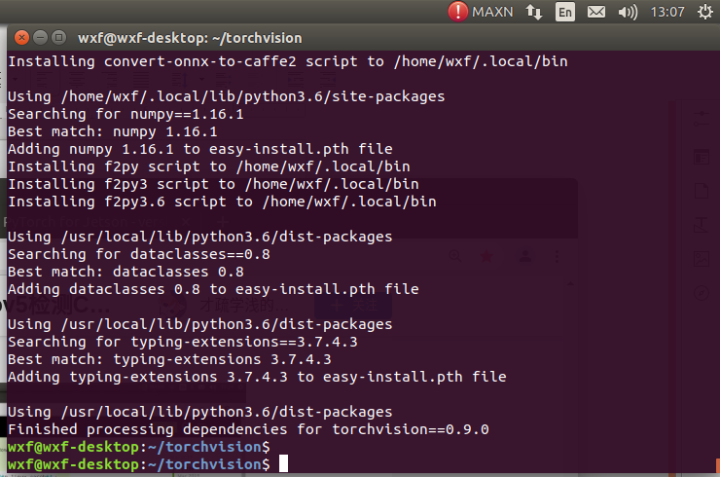
5. Torch and torch vision installation
6. Yolov5 environment construction
7. Tensorrt make & inference test
8. Install and test DeepStream
0 preparation:
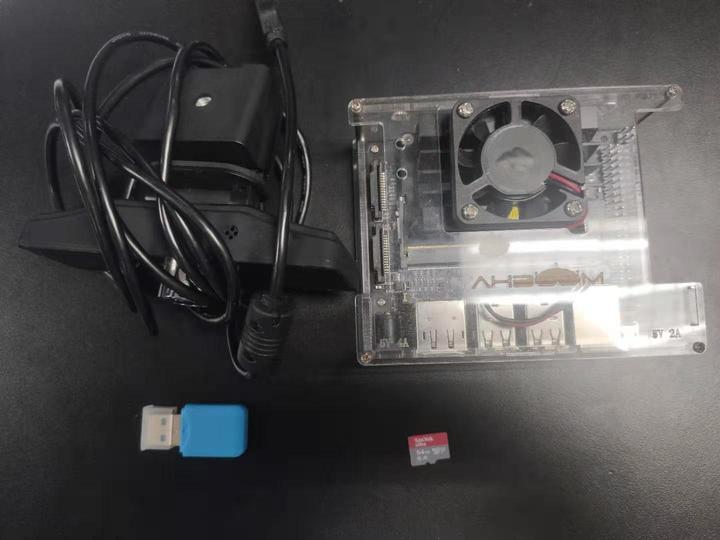
(1) Jetson nano hardware [B01 Development Kit + USB camera + Display + network cable]
(2) USB card reader, 64GB memory card
1. Burn system image
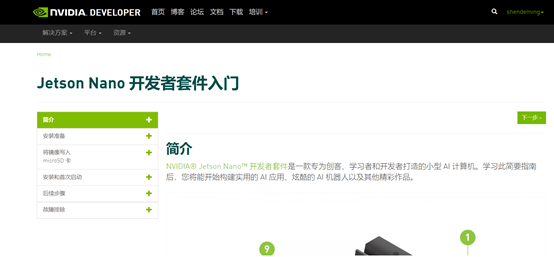
1) Download system image
NVIDIA official download address: Jetson Download Center | NVIDIA Developer
Download system image JetPack 4.5.1(4GB version)
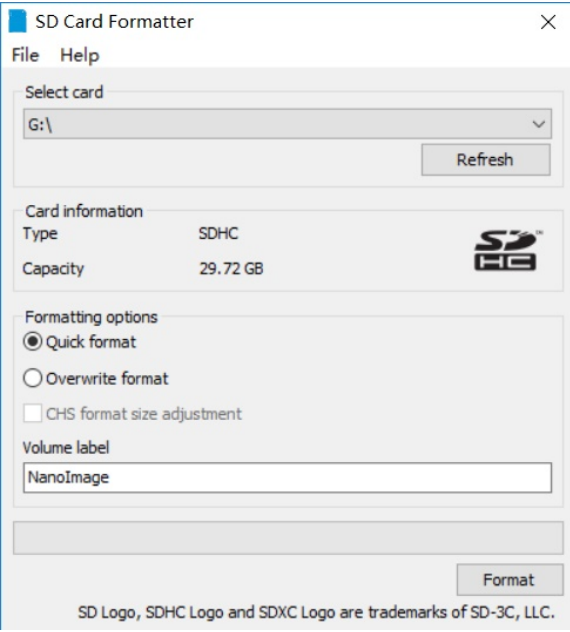
2) Format SD card
Download and install SD Card Formatter software: https://www.sdcard.org/downloads/formatter/sd-memory-card-formatter-for-windows-downloa
Format SD card with SD Card Formatter
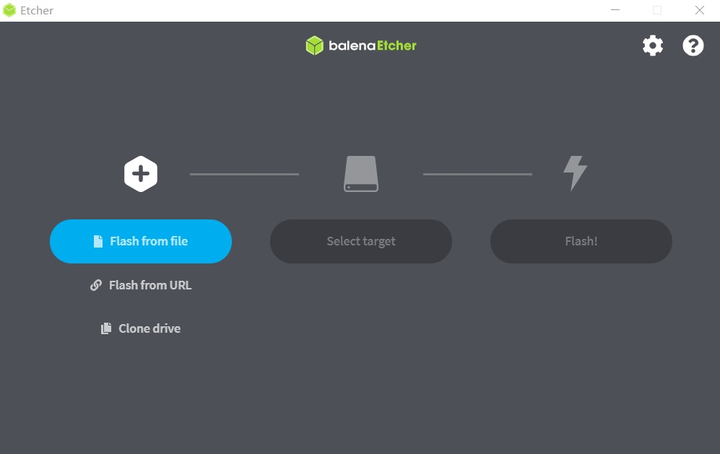
3) Write image using Etcher
Etcher download address: balenaEtcher - Flash OS images to SD cards & USB drives
Burn the image, about 30 minutes
4) Boot with SD card
After burning, insert the SD card into the Jetson Nano, turn it on, and complete some settings, such as time zone, language, input method, etc.
2. Increase swap memory
Because the memory of Jetson nano is only 4GB and shared with video memory, it is not enough to compile torchvision and generate TensorRT inference engine files in the later stage. swap memory is increased in advance.
Open terminal input:
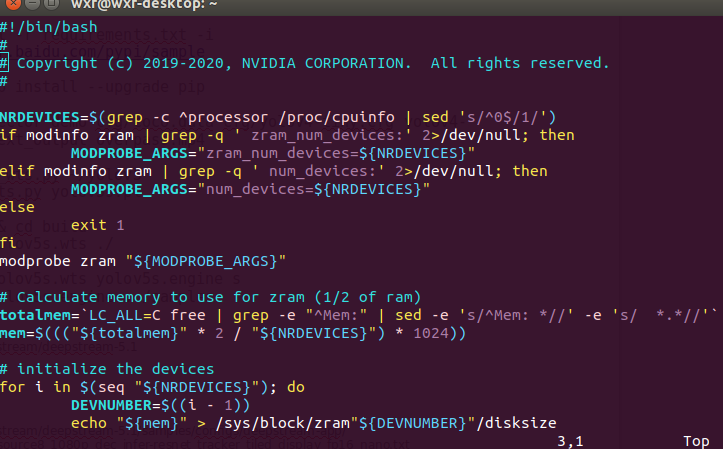
sudo vim /etc/systemd/nvzramconfig.sh
Open nvzramconfig.sh through vim, press "i" to enter the "insert" mode, modify mem=$((("${totalmem}" / 2 / "${NRDEVICES}") * 1024)) to mem=$((("${totalmem}" * 2 / "${NRDEVICES}") * 1024)), press "ESC" to exit the "insert" mode, enter ": wq" to save and exit, and enter "reboot" to restart the development board.
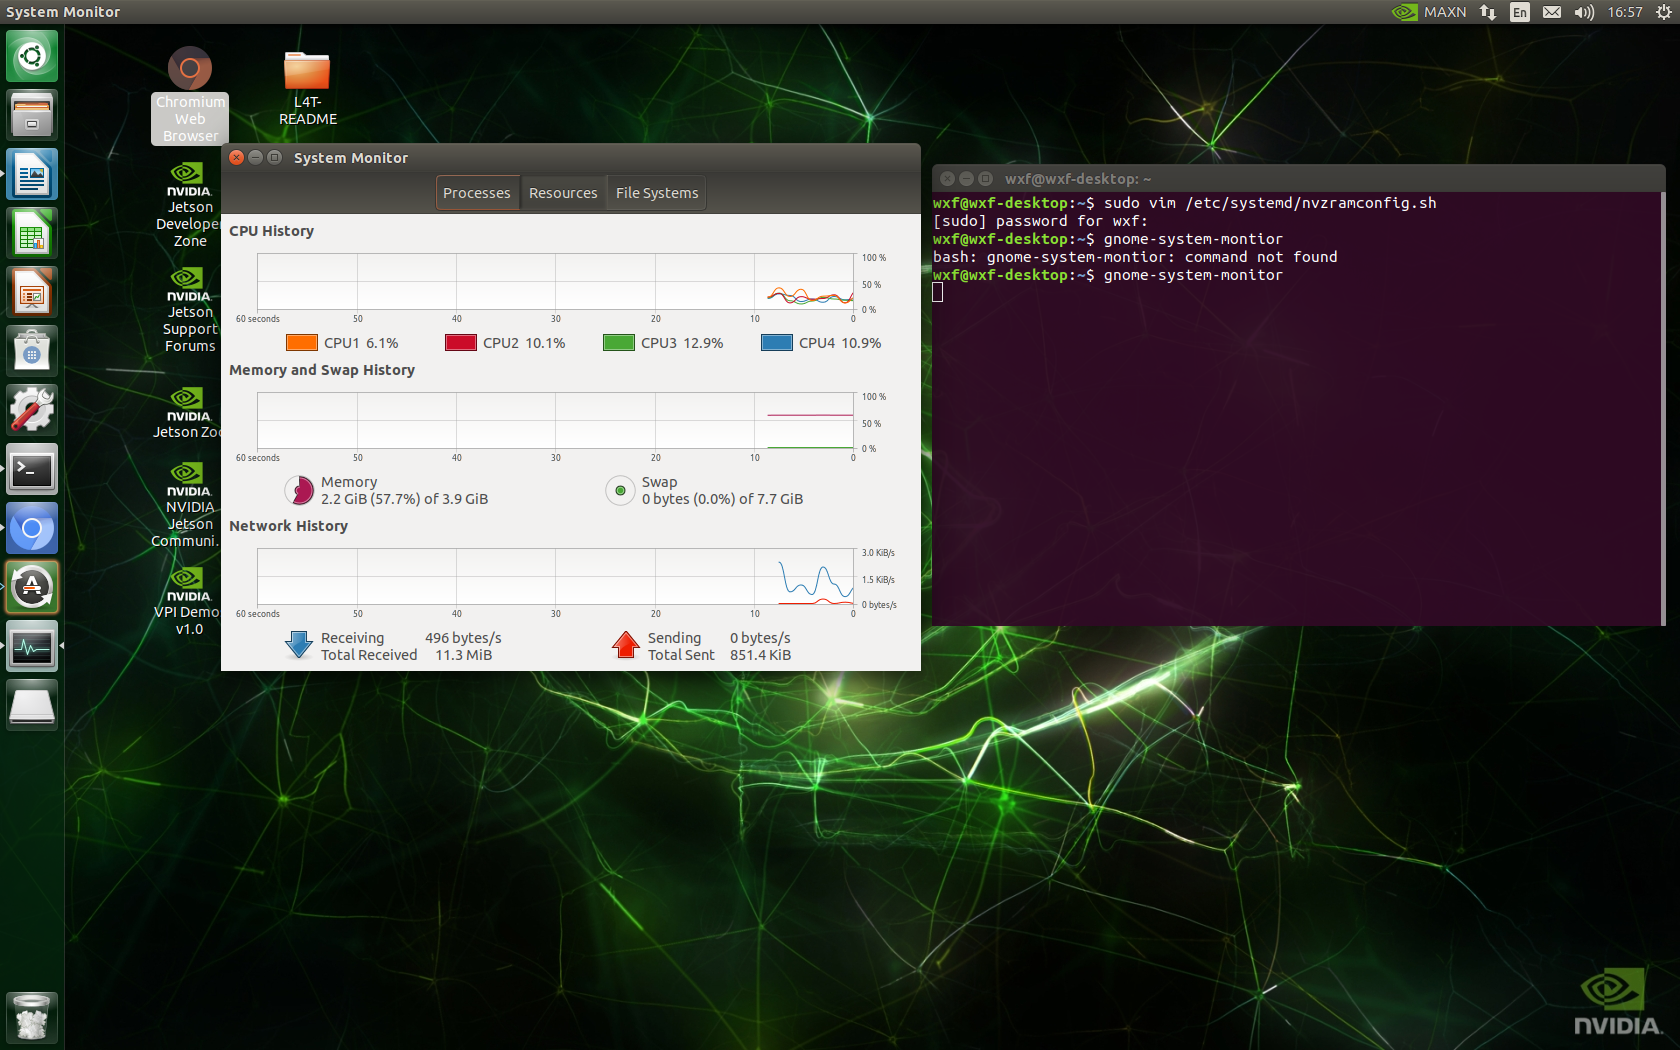
Open terminal input: Gnome system monitor
gnome-system-monitor
You can see the memory increase in the monitoring manager.
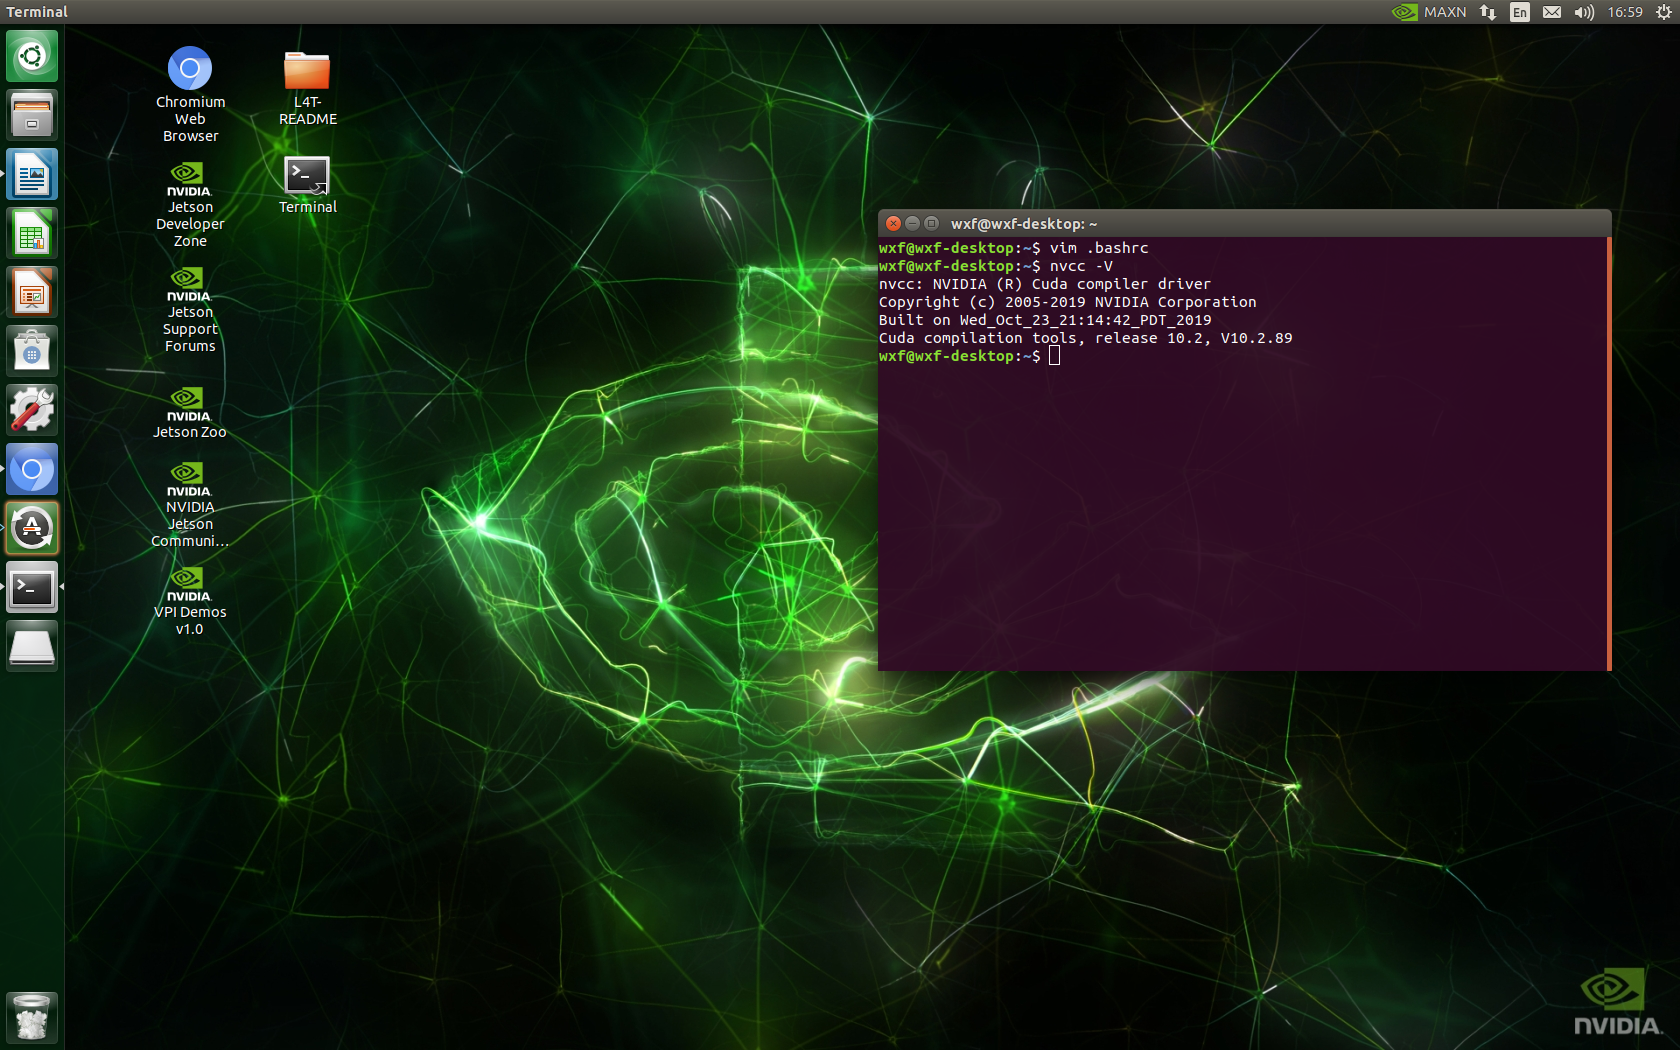
3. View cuda version
When Jetson nano burns the image, the system already comes with cuda (cuda on this machine is 10.2) and cudnn, so you don't need to install it yourself.
1)vim .bashrc
2) In "insert" mode, add at the end
export PATH=/usr/local/cuda-10.2/bin${PATH:+:${PATH}}
export LD_LIBRARY_PATH=/usr/local/cuda-10.2/lib64\
${LD_LIBRARY_PATH:+:${LD_LIBRARY_PATH}}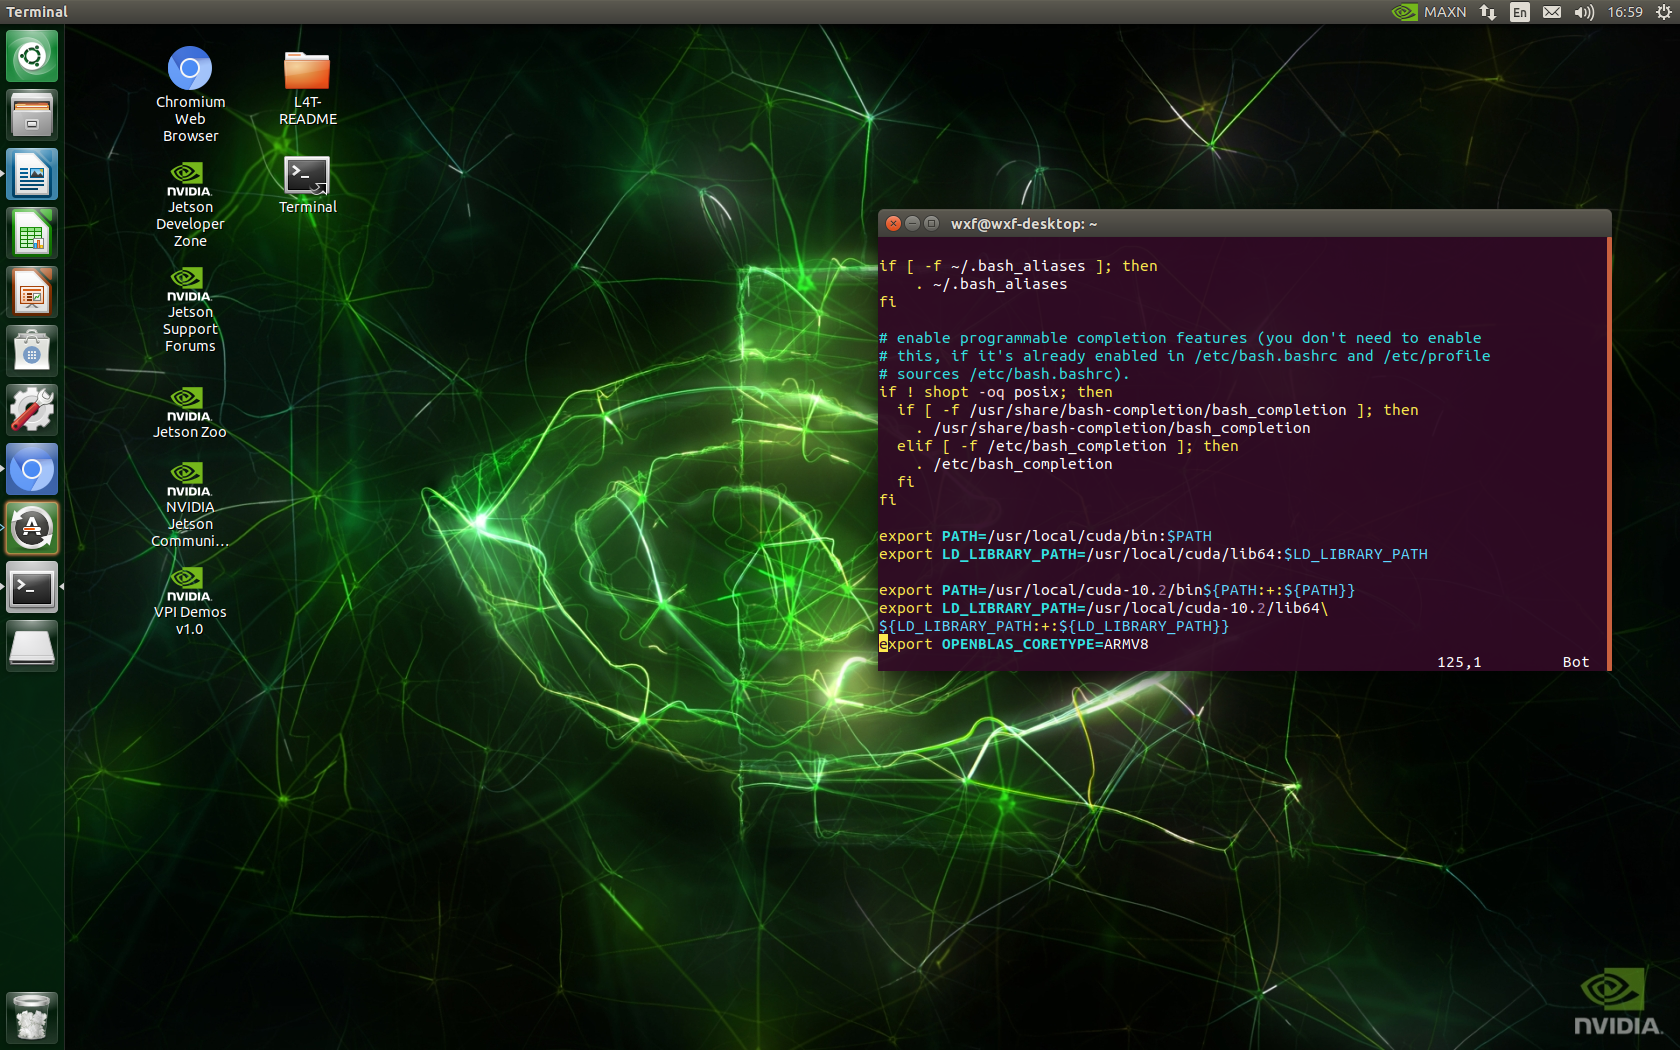
3) "ESC" exits the "insert" mode and ": wq" saves and exits
4) Enter nvcc -V to see that cuda version is 10.2.89
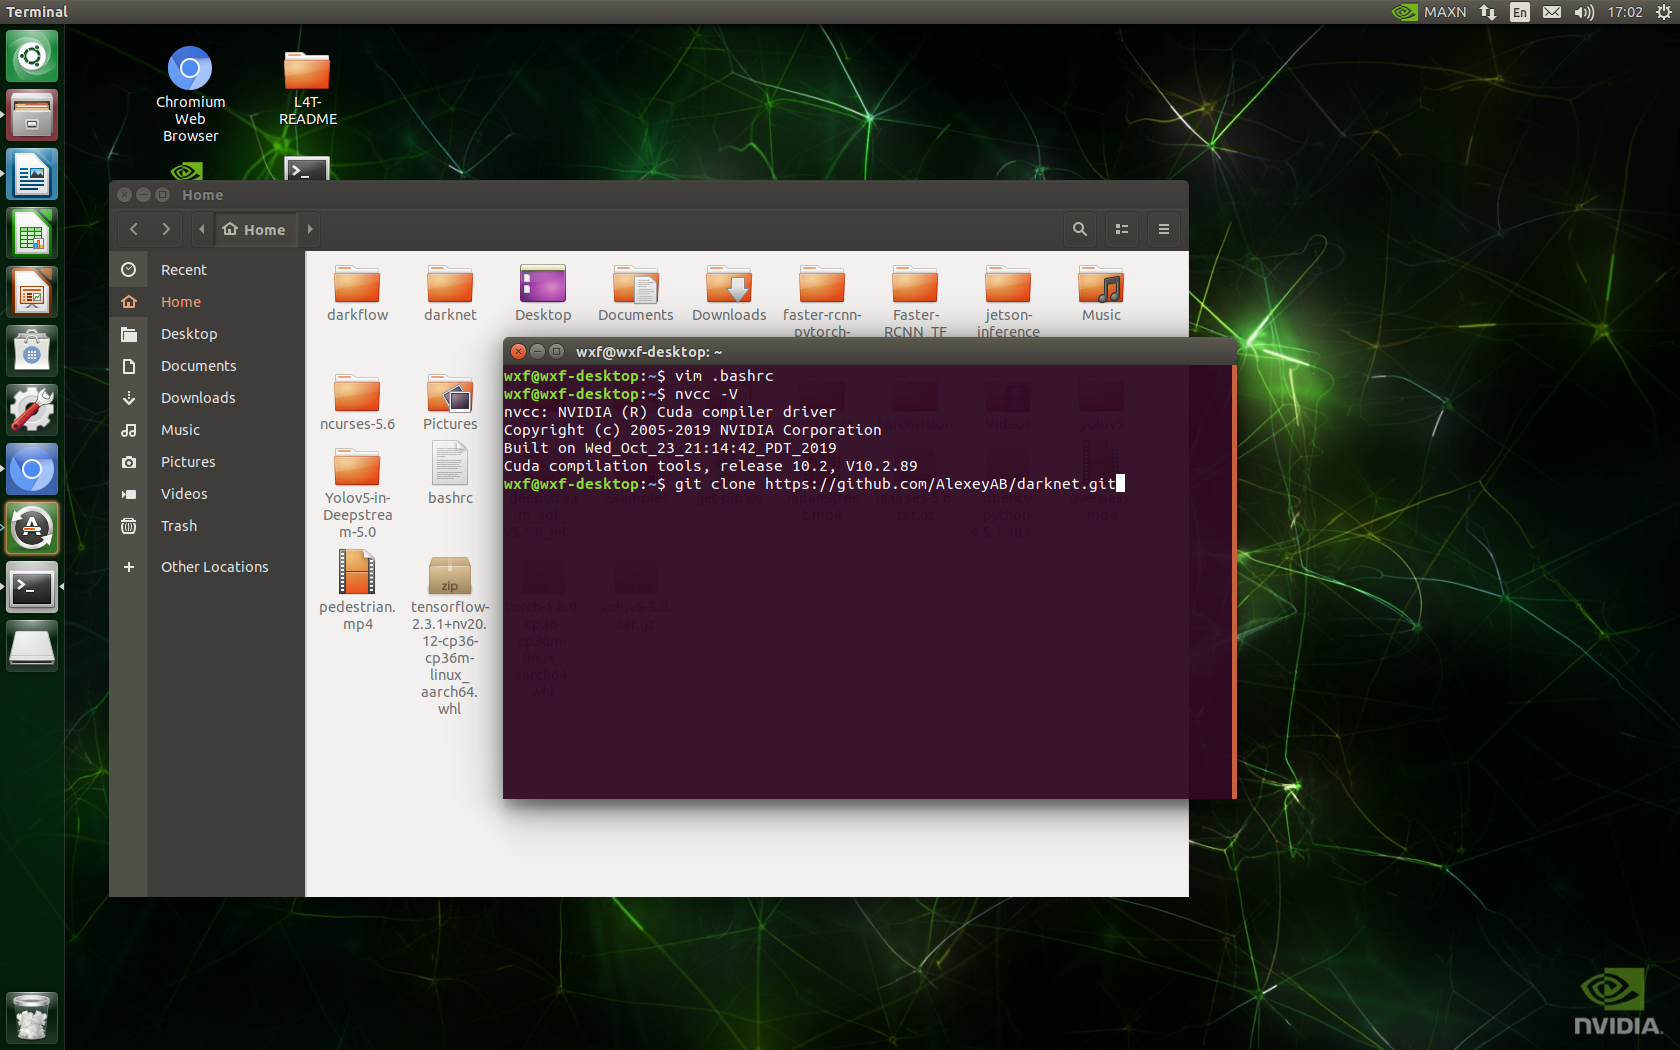
4. clone darknet source code and compile
1) Download darknet source code:
git clone https://github.com/AlexeyAB/darknet.git
2) Modify Makefile file
 GPU=1
GPU=1
CUDNN=1
OPENCV=1
LIBSO=1
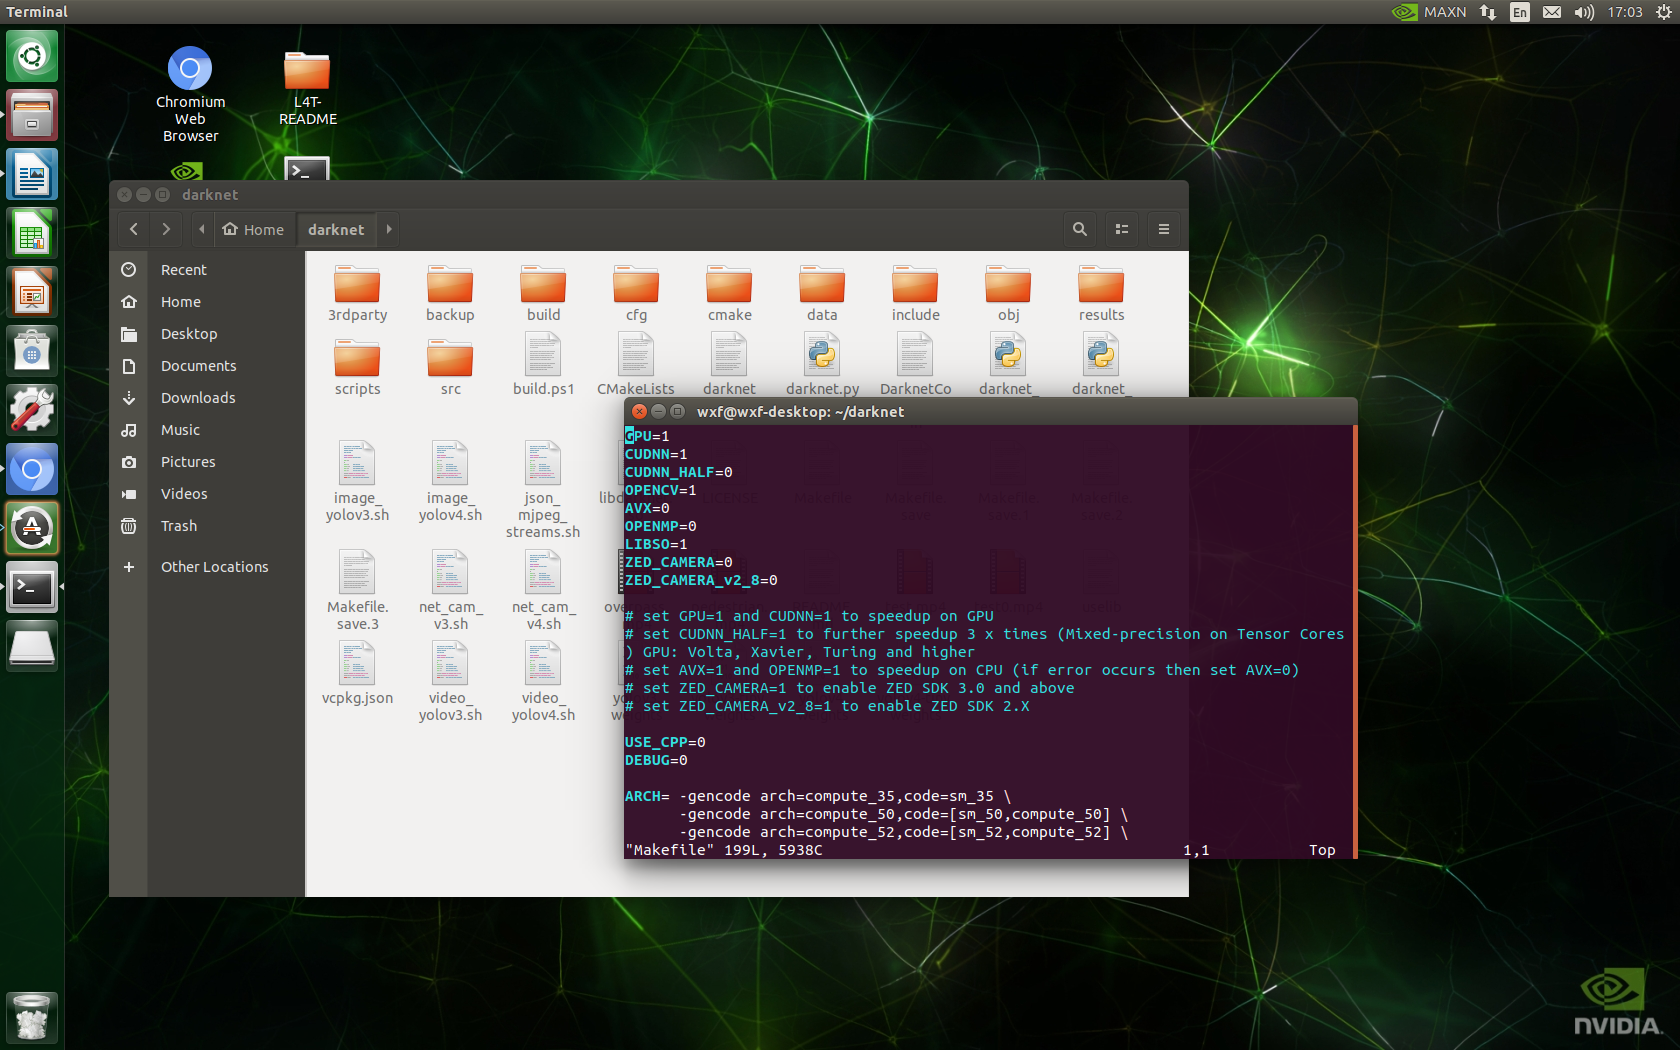
3) "ESC" exits the "insert" mode, ": wq" saves and exits, and make -j compiles
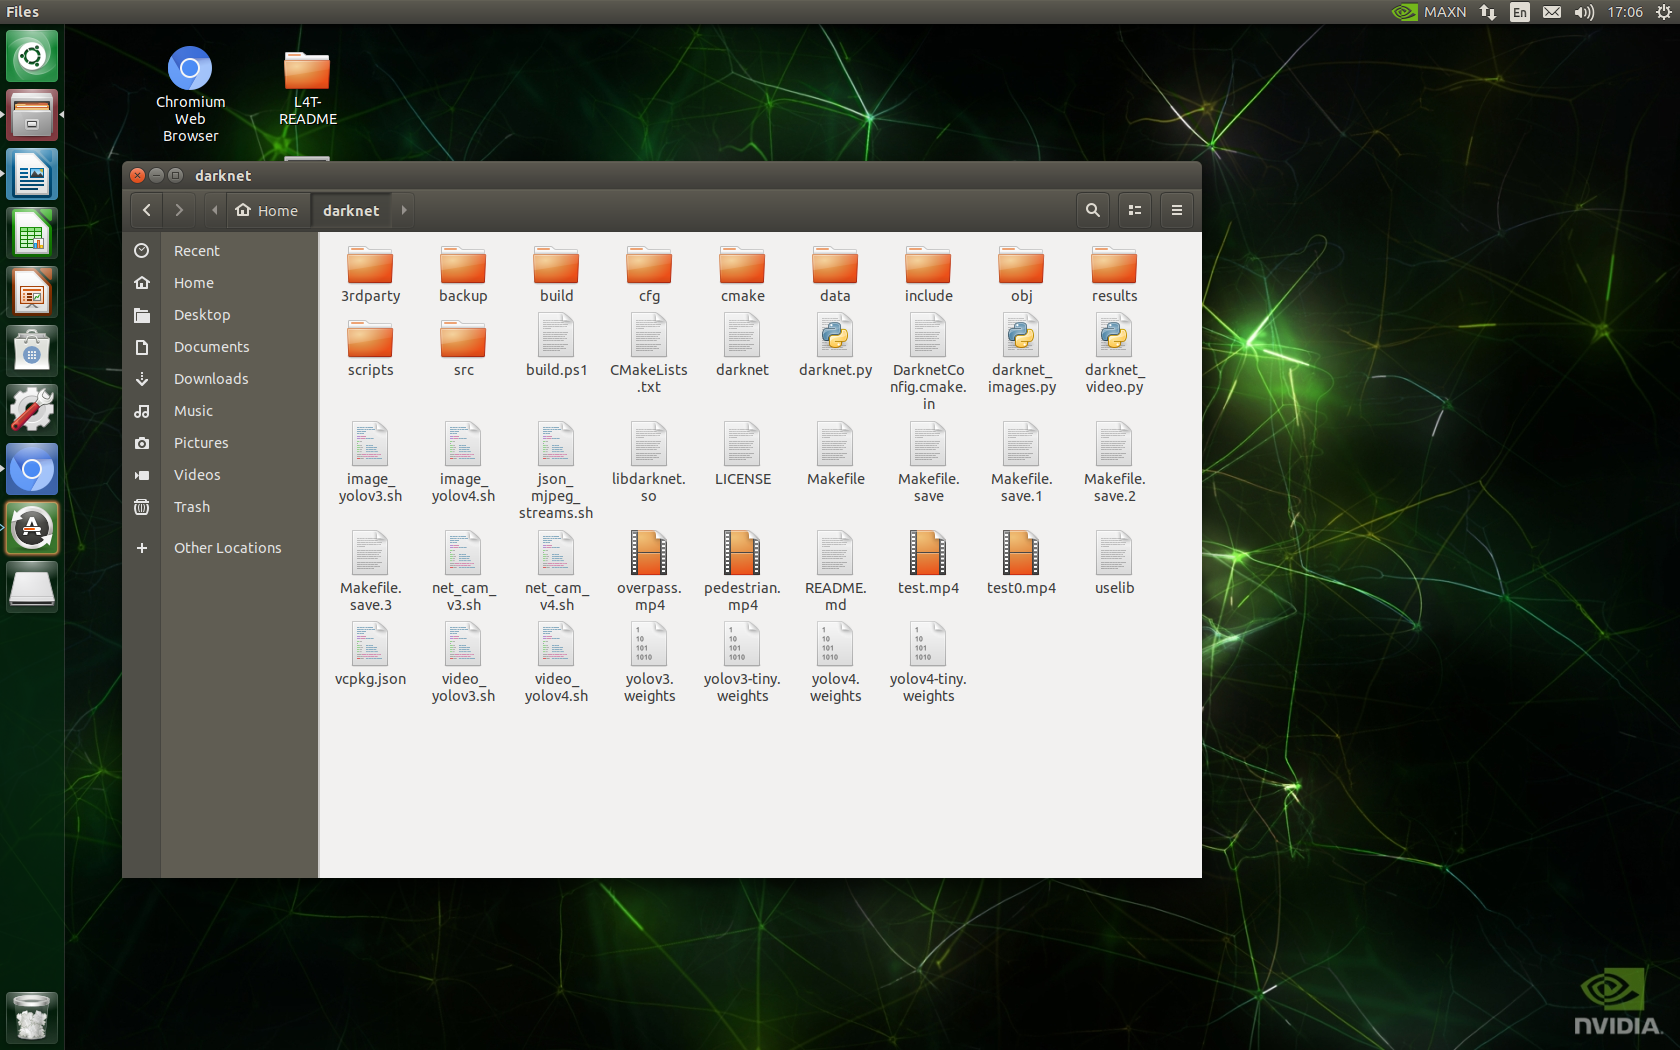
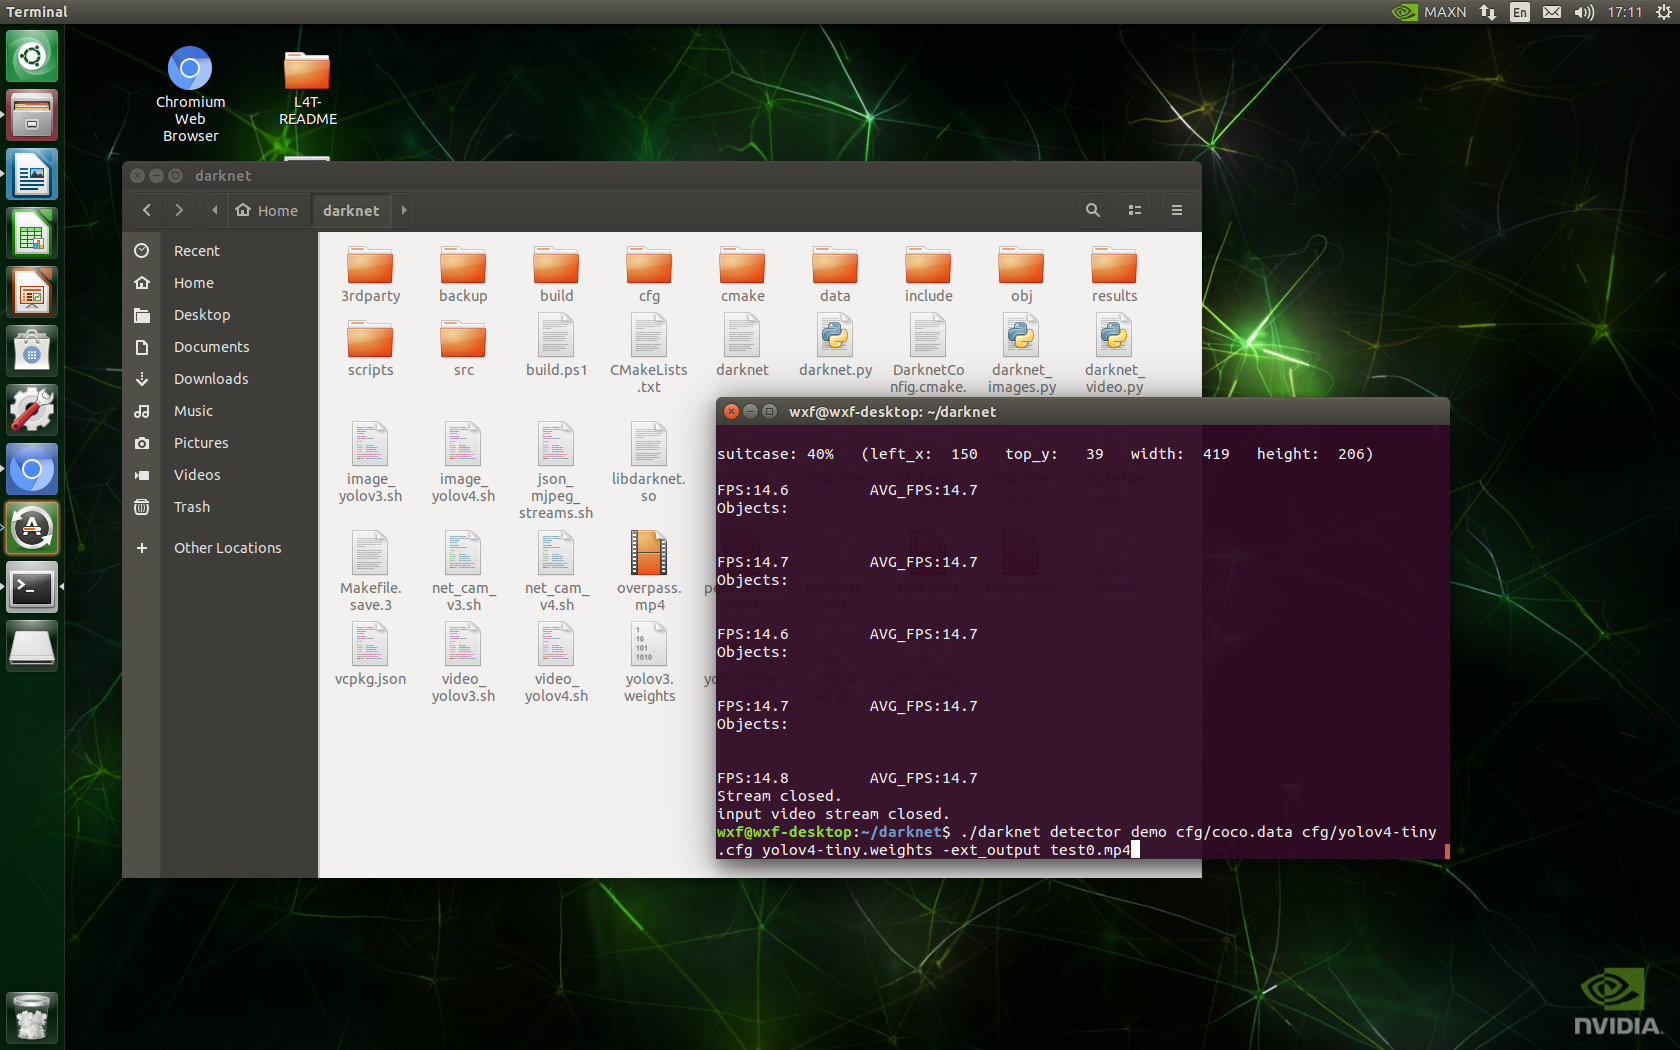
 4) After compilation, enter. / darknet to enter the subdirectory, and enter:
wget https://github.com/AlexeyAB/darknet/releases/download
Download yolov3-tiny.weights and yolov4-tiny.weights weights.
Input:
./darknet detector demo cfg/coco.data cfg/yolov4-tiny.cfg yolov4-tiny.weights exp-output test0.mp4
You can use the yolov4 tiny reasoning video of the darknet framework.
Pictures / cameras can also be tested:
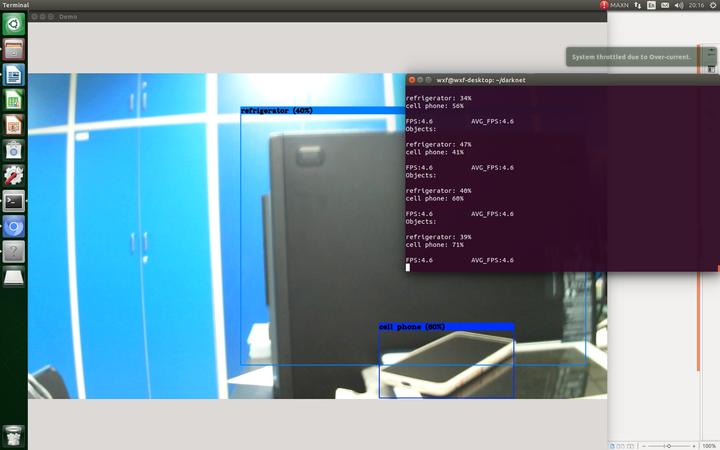
./darknet detector test cfg/coco.data cfg/yolov4-tiny.cfg yolov4-tiny.weights data/dog.jpg	# Picture test
./darknet detector demo cfg/coco.data cfg/yolov4-tiny.cfg yolov4-tiny.weights -ext_output test.mp4		# Video test
./darknet detector demo cfg/coco.data cfg/yolov4-tiny.cfg yolov4-tiny.weights -c 0		# Camera test
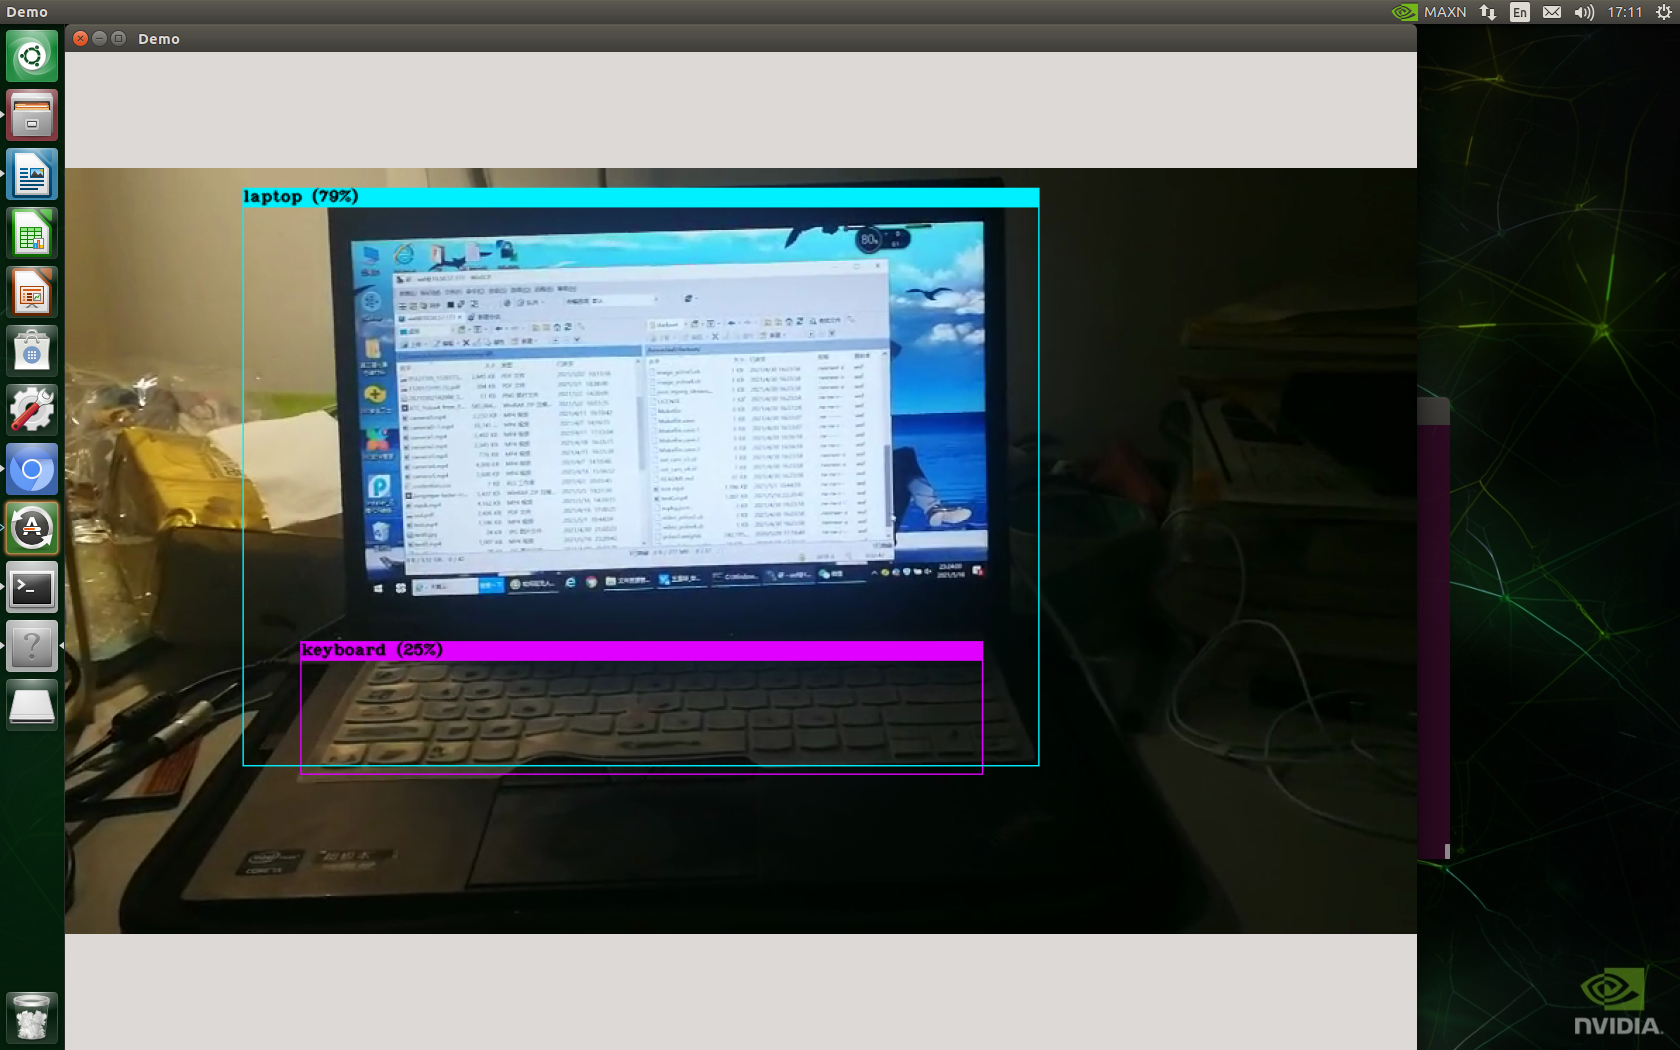 USB camera reasoning: 1920x1080 resolution
5. Torch and torch vision installation
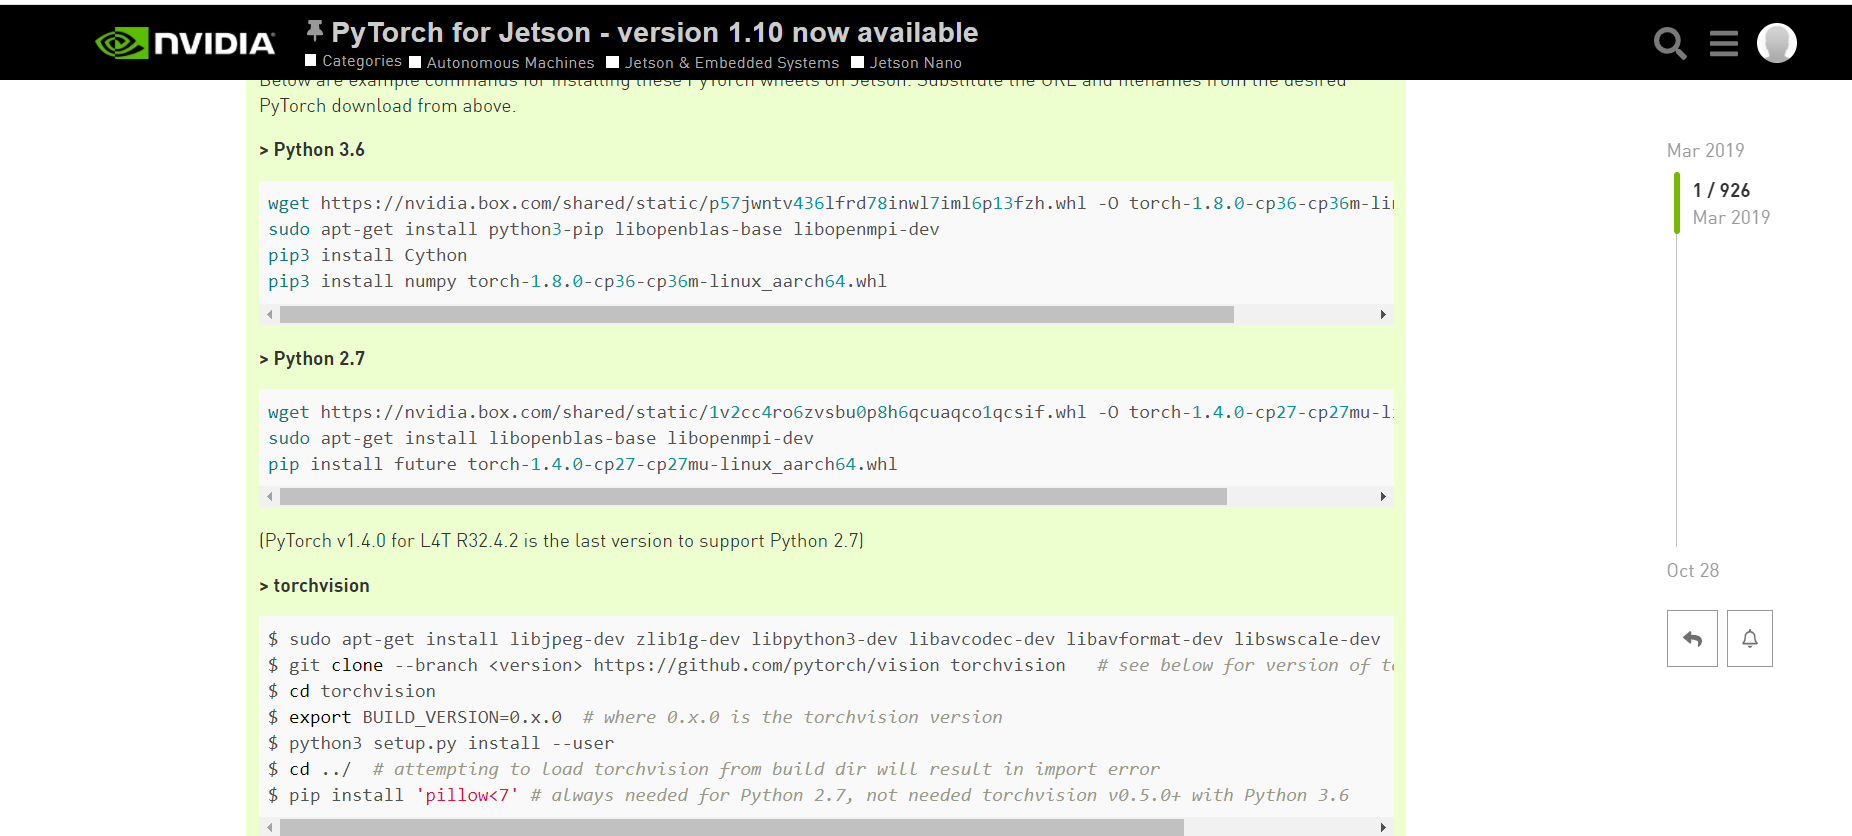
1) Download torch-1.8.0-cp36-cp36m-linux_aarch64.whl package
https://nvidia.box.com/shared/static/p57jwntv436lfrd78inwl7iml6p13fzh.whl

2) Follow the official tutorial and enter the following command
sudo apt-get install python3-pip libopenblas-base libopenmpi-dev
pip3 install Cython
pip3 install numpy torch-1.8.0-cp36-cp36m-linux_aarch64.whl # (modify according to the download path of your torch 1.8.0 package)
sudo apt-get install libjpeg-dev zlib1g-dev libpython3-dev libavcodec-dev libavformat-dev libswscale-dev
git clone --branch v0.9.0 https://github.com/pytorch/vision torchvision
cd torchvision
export BUILD_VERSION=0.9.0
python3 setup.py install --user
6. Yolov5 environment construction
1) Download yolov5 version 5.0 (I used version 6.0 to have compatibility conflicts between numpy and tensorflow, so I later used version 5.0)
GitHub - ultralytics/yolov5 at v5.0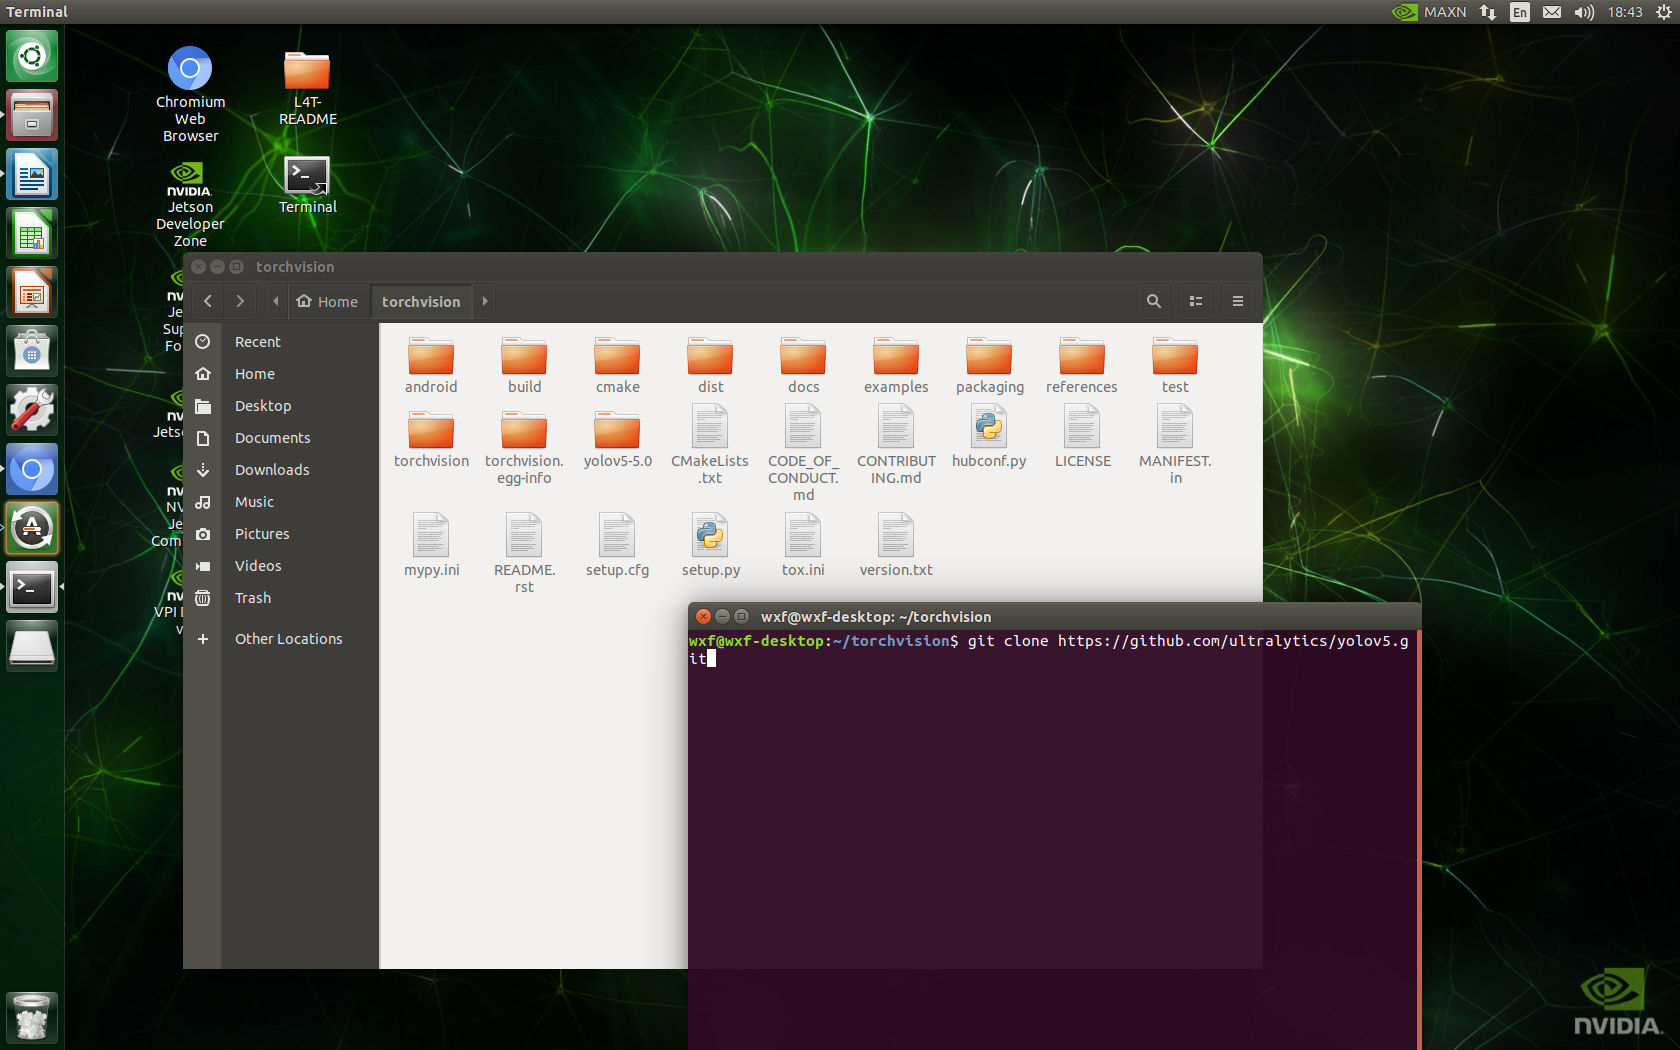
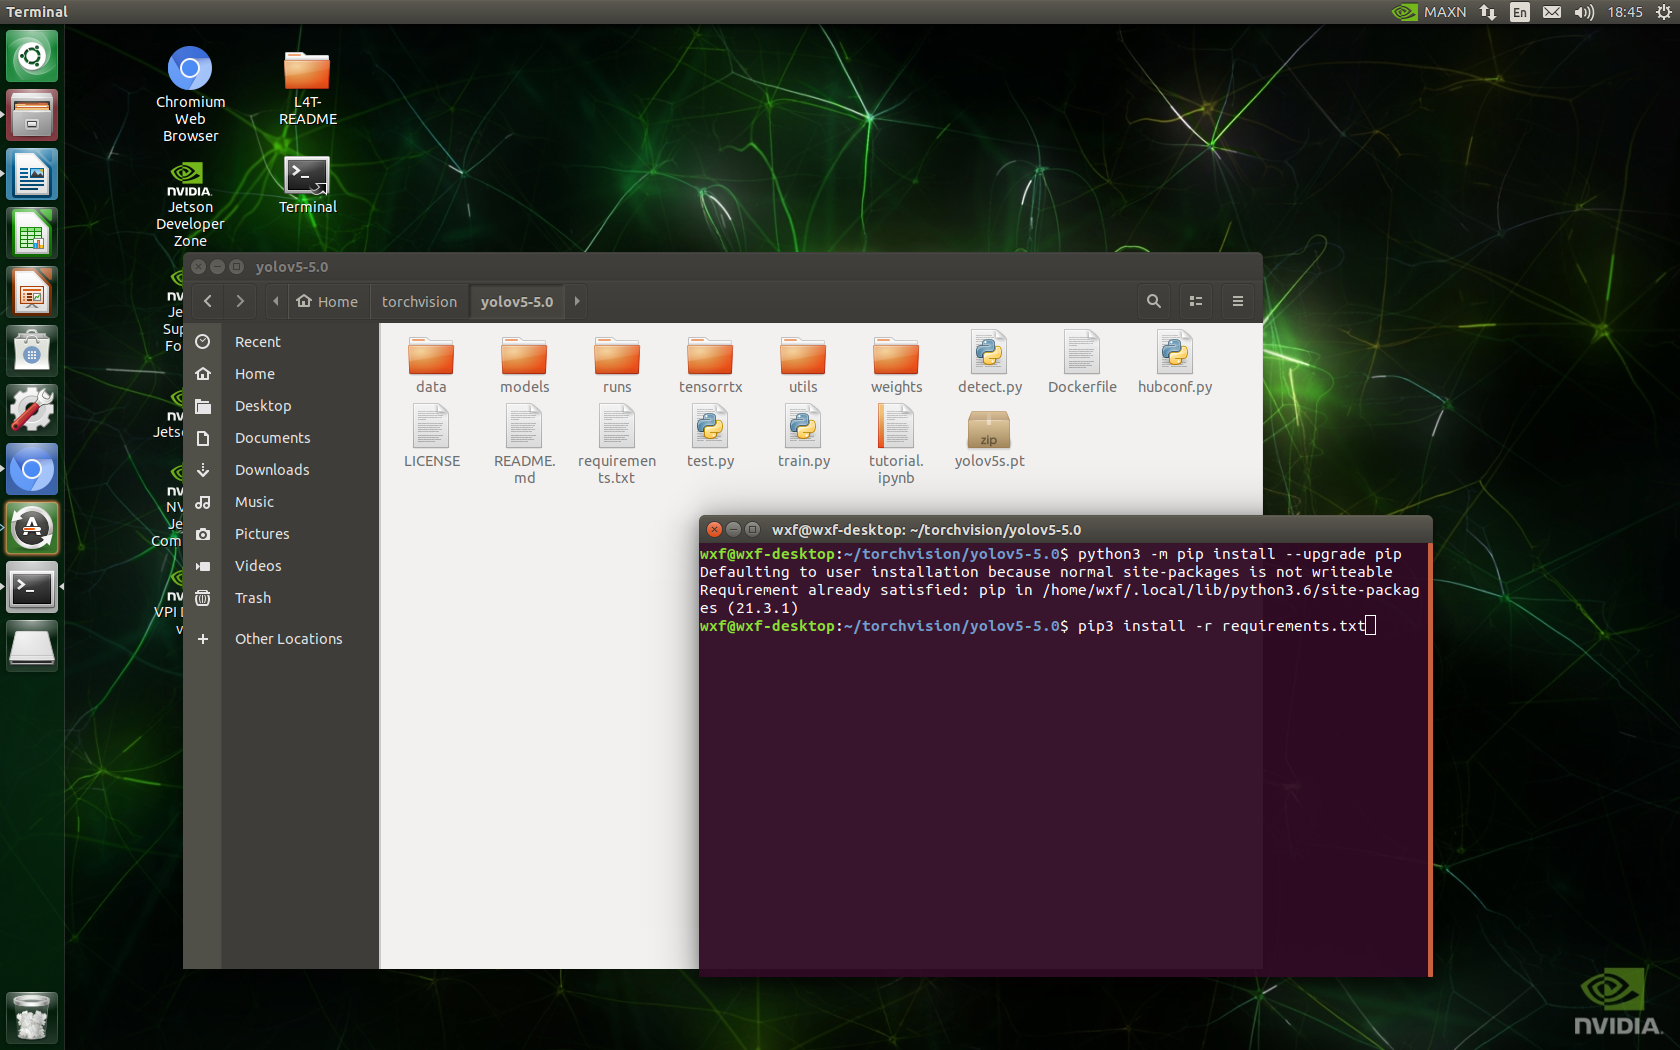
2) Update pip
python3 -m pip install --upgrade pip
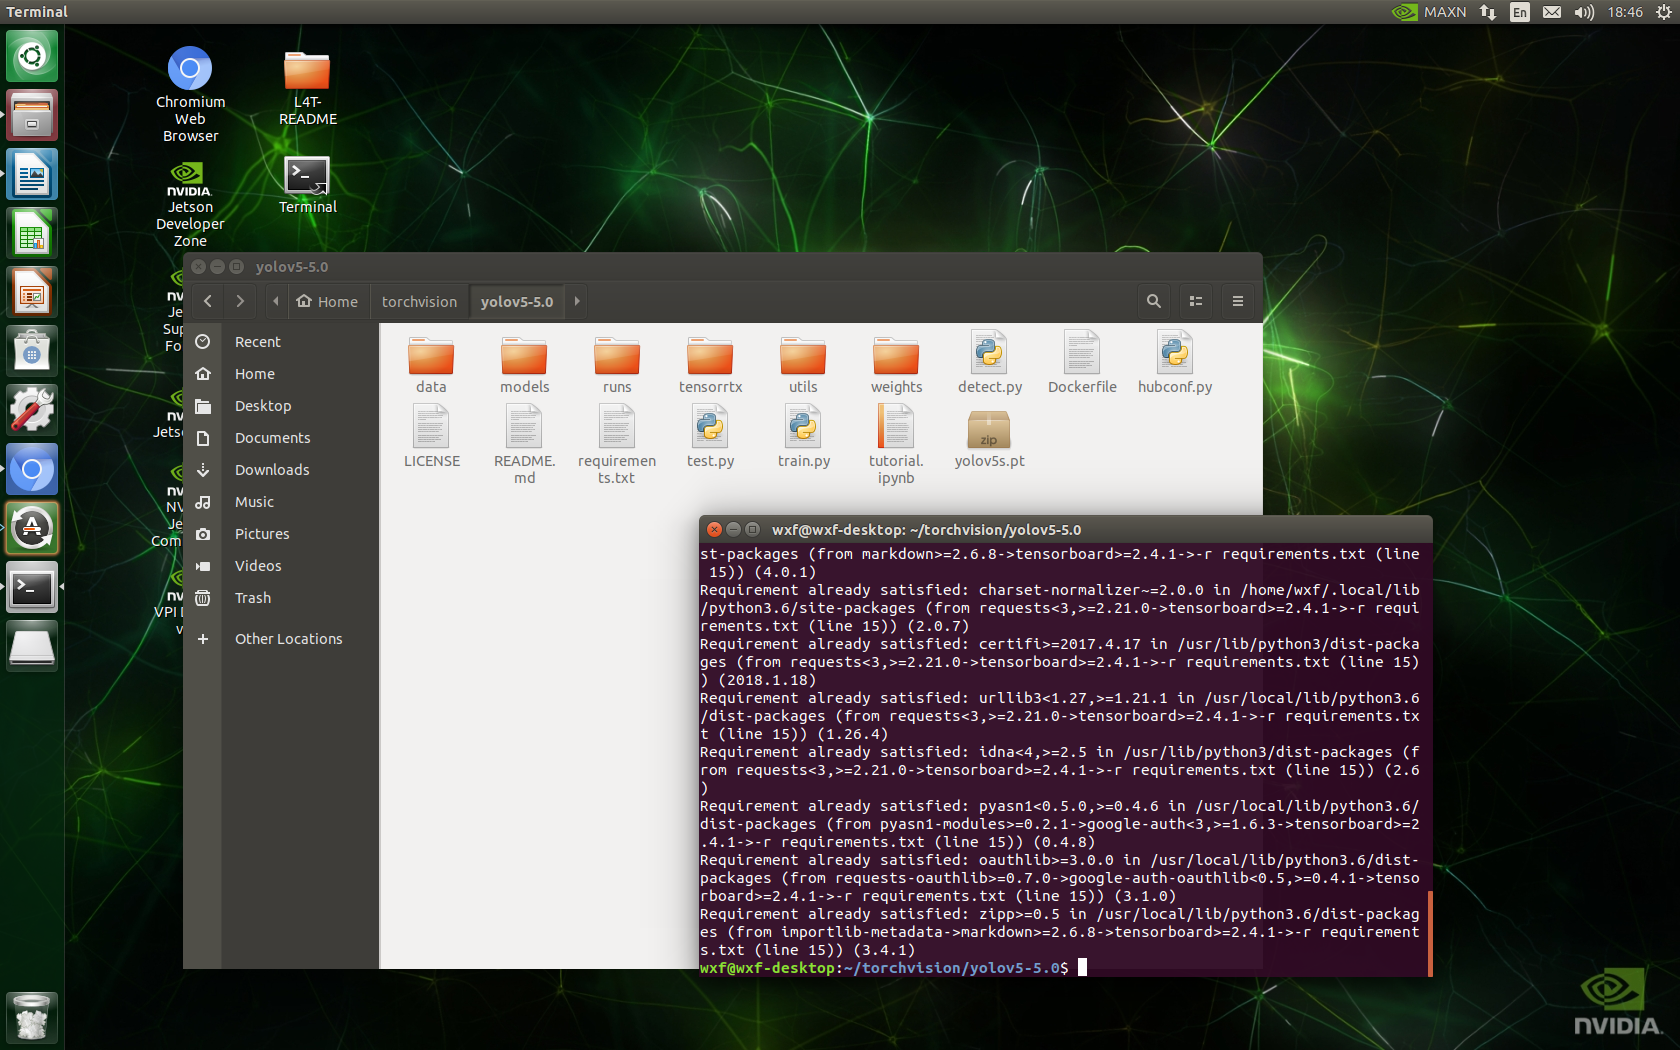
3) Under yolov5 project, right-click to open the terminal and enter pip3 install -r requirements.txt
4) You can download yolov5s.pt weights in advance
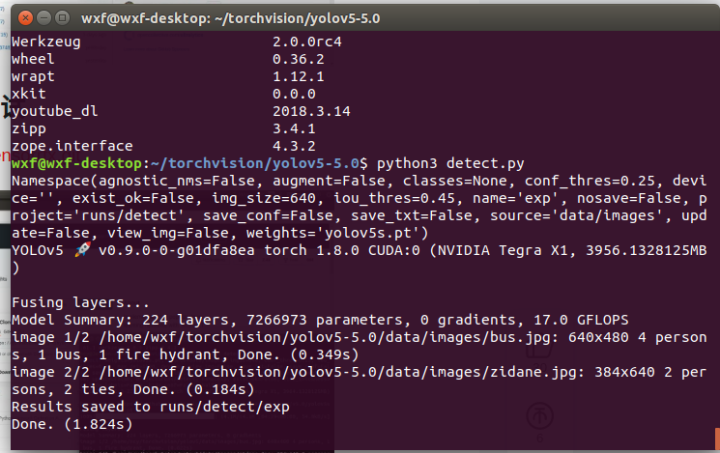
5)python3 detect.py The reasoning results are as follows
7. Tensorrt make & inference test
1)glone TensorRT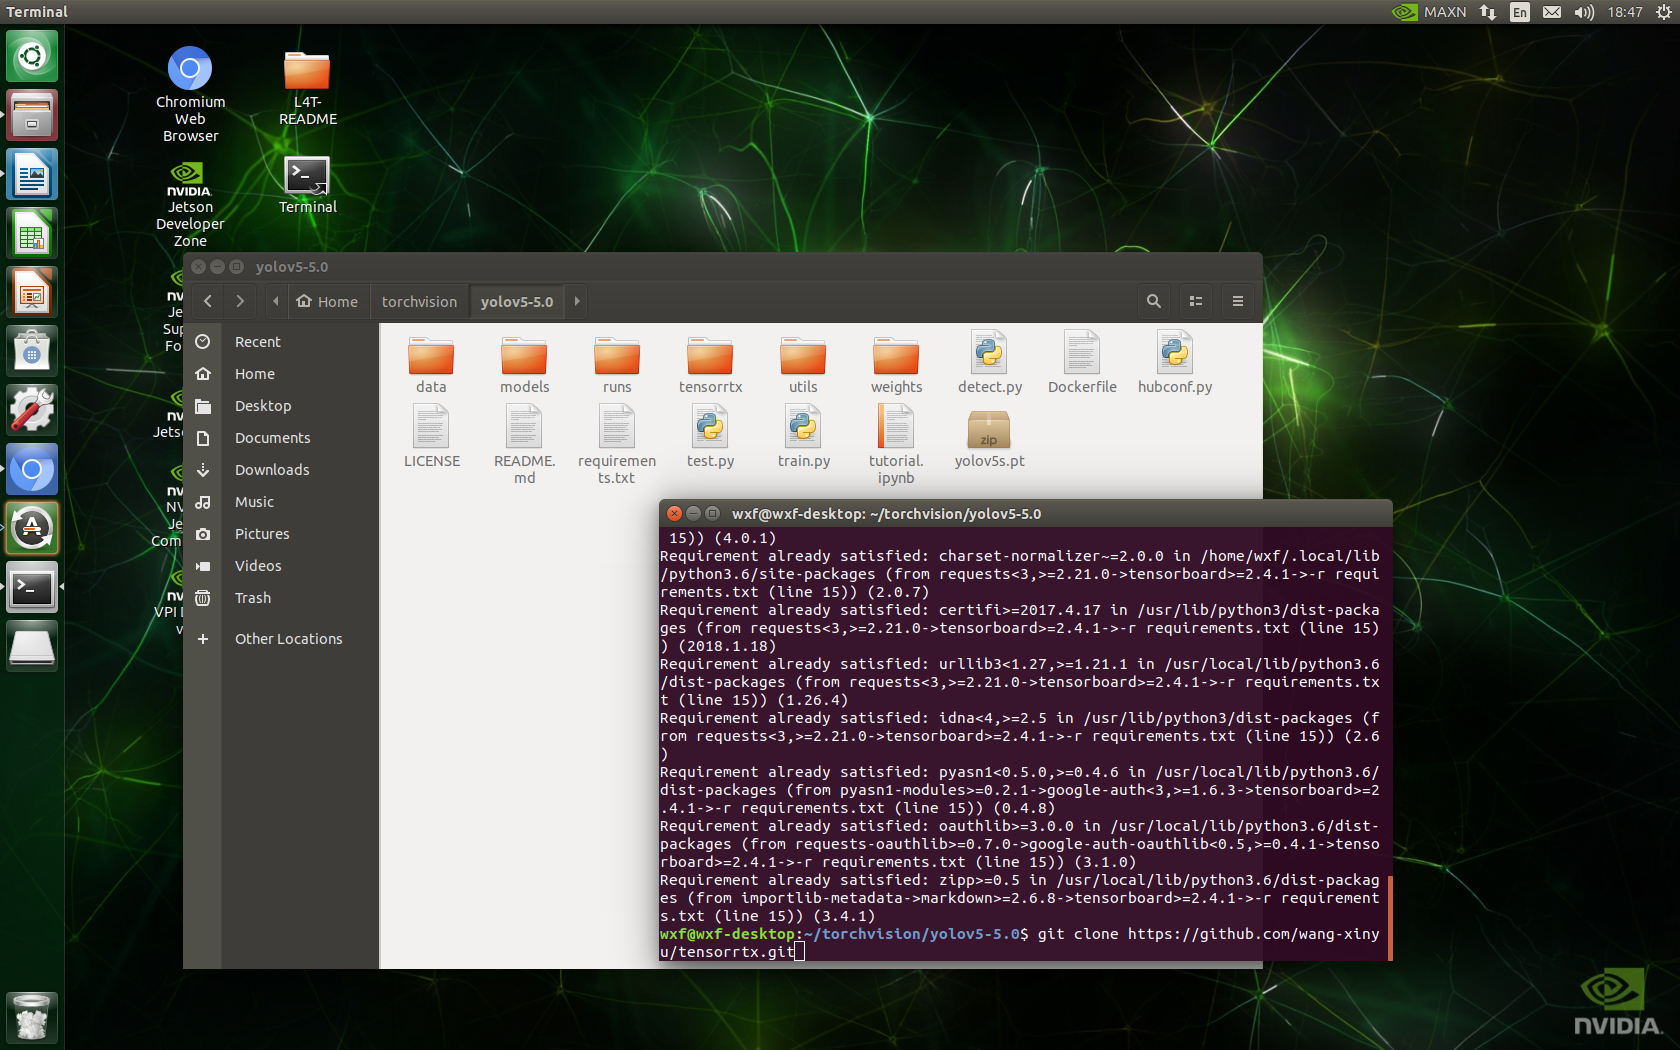
Note that the version of tensorrtx should correspond to the version of yolov5.0.
2) Copy the yolov5 folder and tensorrtx folder to the home directory.
cd tensorrtx
cp yolov5/gen_wts.py ~/yolov5
cd ~/yolov5
python3 gen_wts.py yolov5s.pt
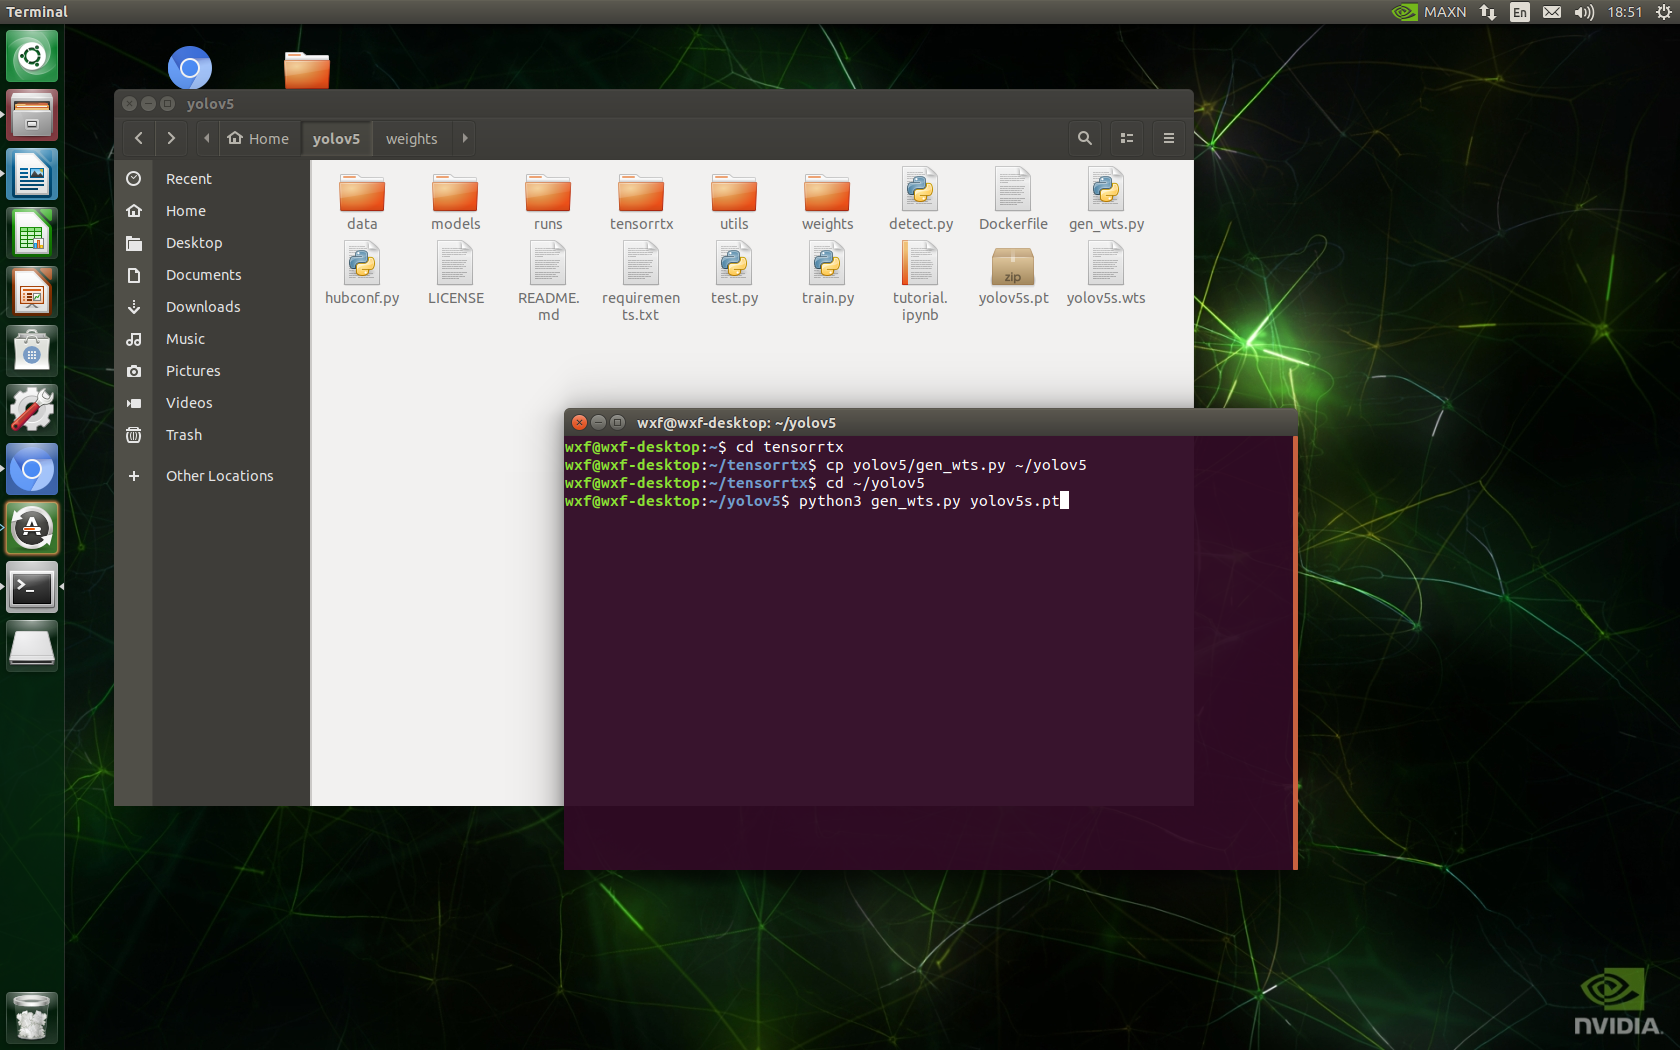
This part of the code copies tensorrtx/yolov5/gen_wts.py to yolov5 directory for operation, and yolov5s.wts is generated by yolov5s.pt.
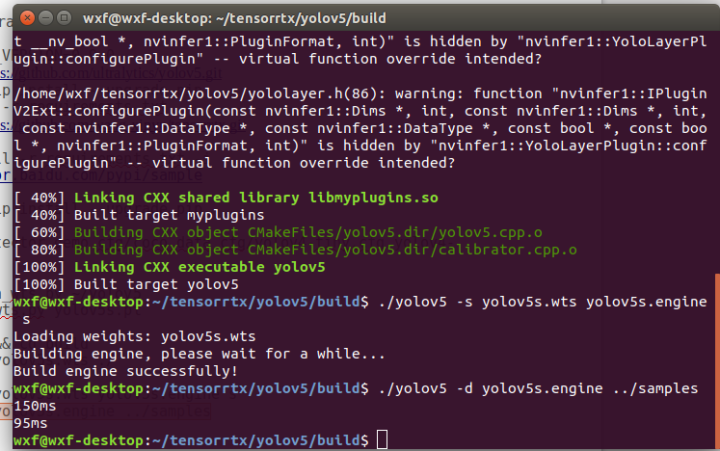
cd ~/tensorrtx/yolov5
mkdir build && cd build
mv ~/yolov5/yolov5s.wts ./
cmake ..
make -j
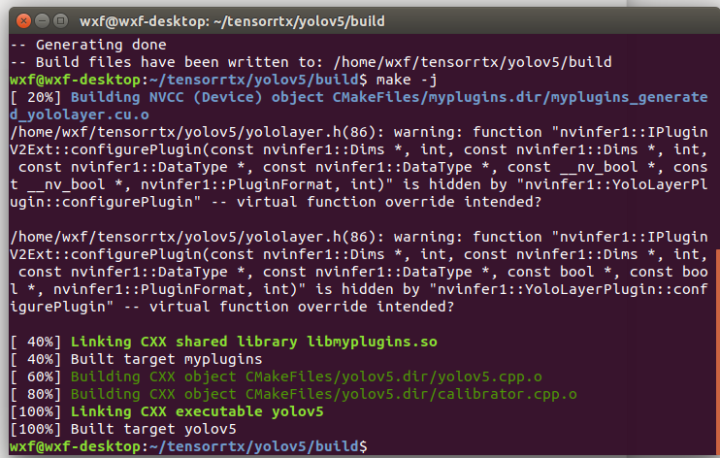
This part of the code copies tensorrtx/yolov5/gen_wts.py to yolov5 directory for operation, and yolov5s.wts is generated by yolov5s.pt.
./yolov5 -s yolov5s.wts yolov5s.engine s #Generate engine file
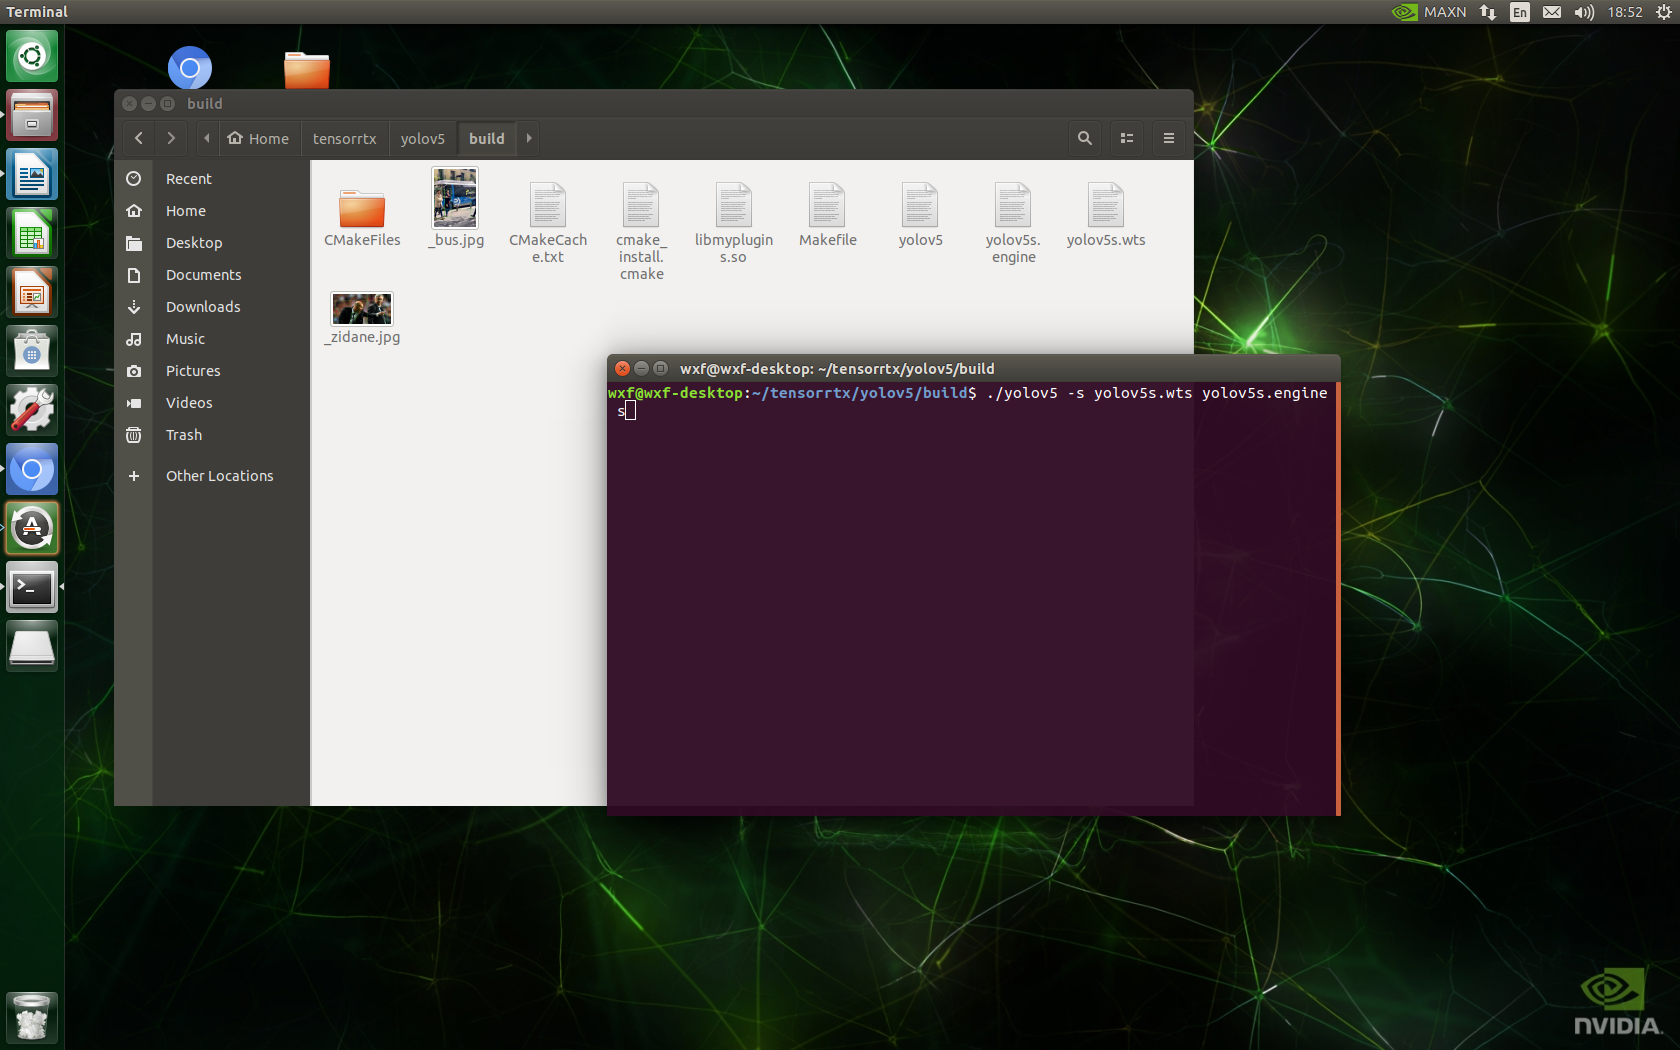
./yolov5 -d yolov5s.engine ../samples #Infer 2 pictures in the samples folder
 8. Install and test DeepStream
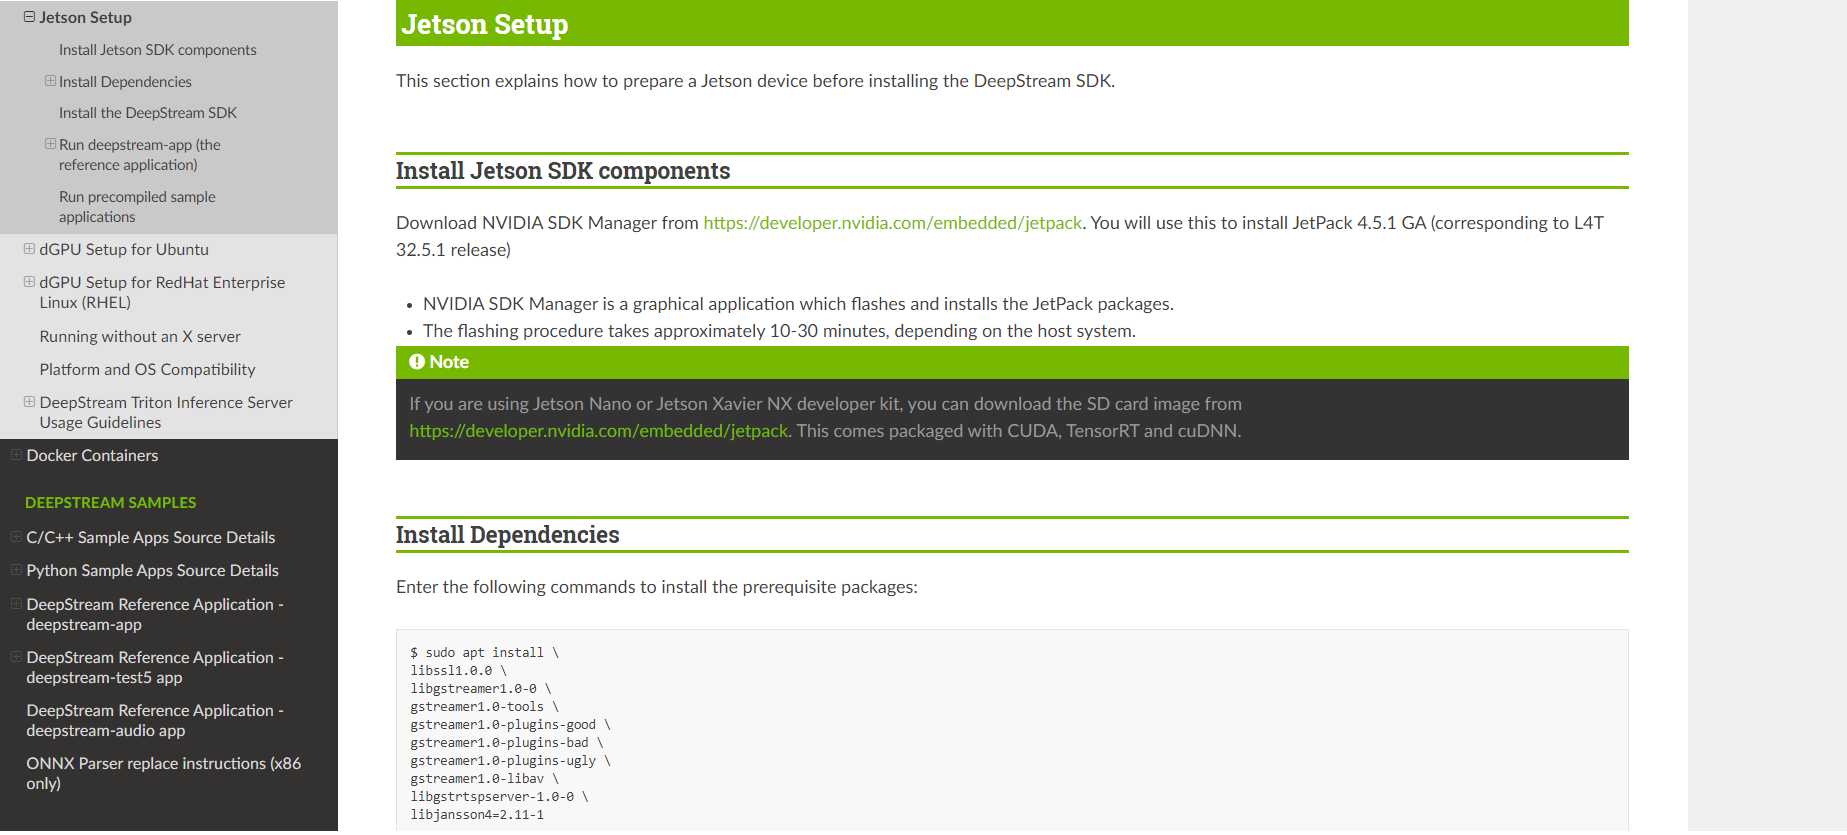
1) Install Dependencies
Execute the following command to install the required packages:
sudo apt install \
libssl1.0.0 \
libgstreamer1.0-0 \
gstreamer1.0-tools \
gstreamer1.0-plugins-good \
gstreamer1.0-plugins-bad \
gstreamer1.0-plugins-ugly \
gstreamer1.0-libav \
libgstrtspserver-1.0-0 \
libjansson4=2.11-1
 2)Install the DeepStream SDK
a. Download DeepStream 5.1 Jetson tar package deepstream_sdk_v5.1.0_jetson.tbz2
https://developer.nvidia.com/deepstream-sdk-v510-jetsontbz2
b. Enter the following command to extract and install the DeepStream SDK:
sudo tar -xvf deepstream_sdk_v5.1.0_jetson.tbz2 -C /
cd /opt/nvidia/deepstream/deepstream-5.1
sudo ./install.sh
sudo ldconfig
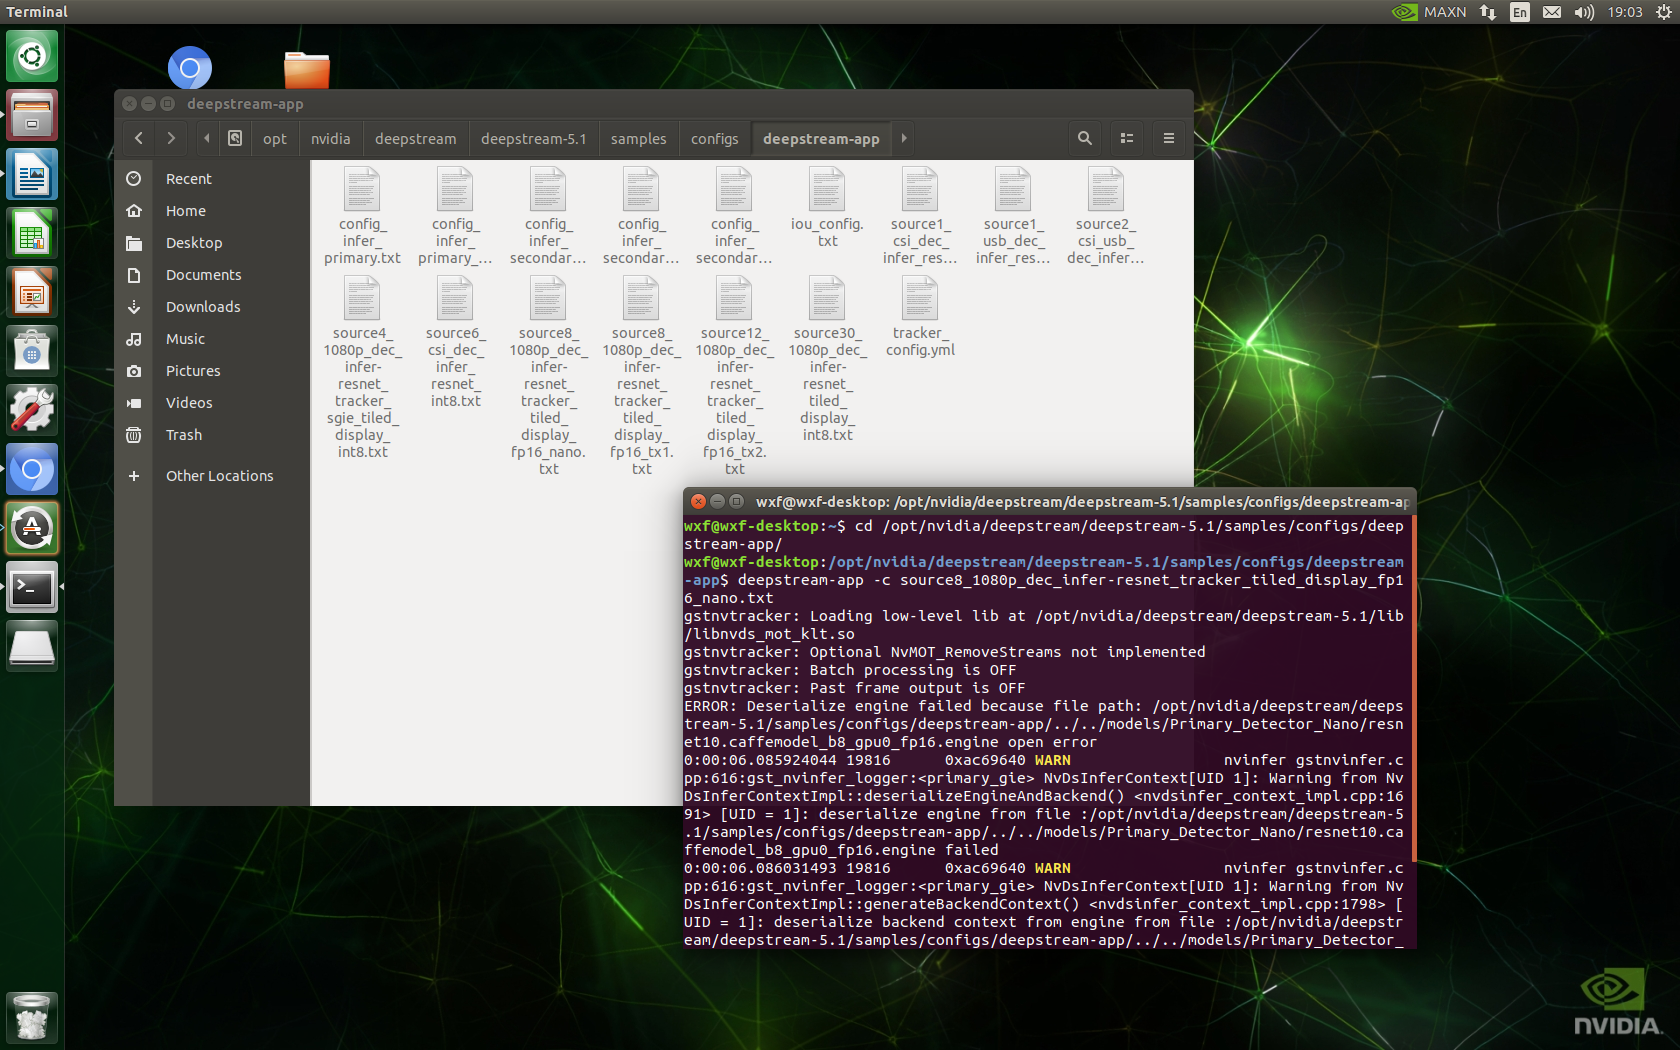
3) After installation, enter the official routine folder
cd /opt/nvidia/deepstream/deepstream-5.1/samples/configs/deepstream-app/
Test:
deepstream-app -c source8_1080p_dec_infer-resnet_tracker_tiled_display_fp16_nano.txt
9. Yolov5 detection
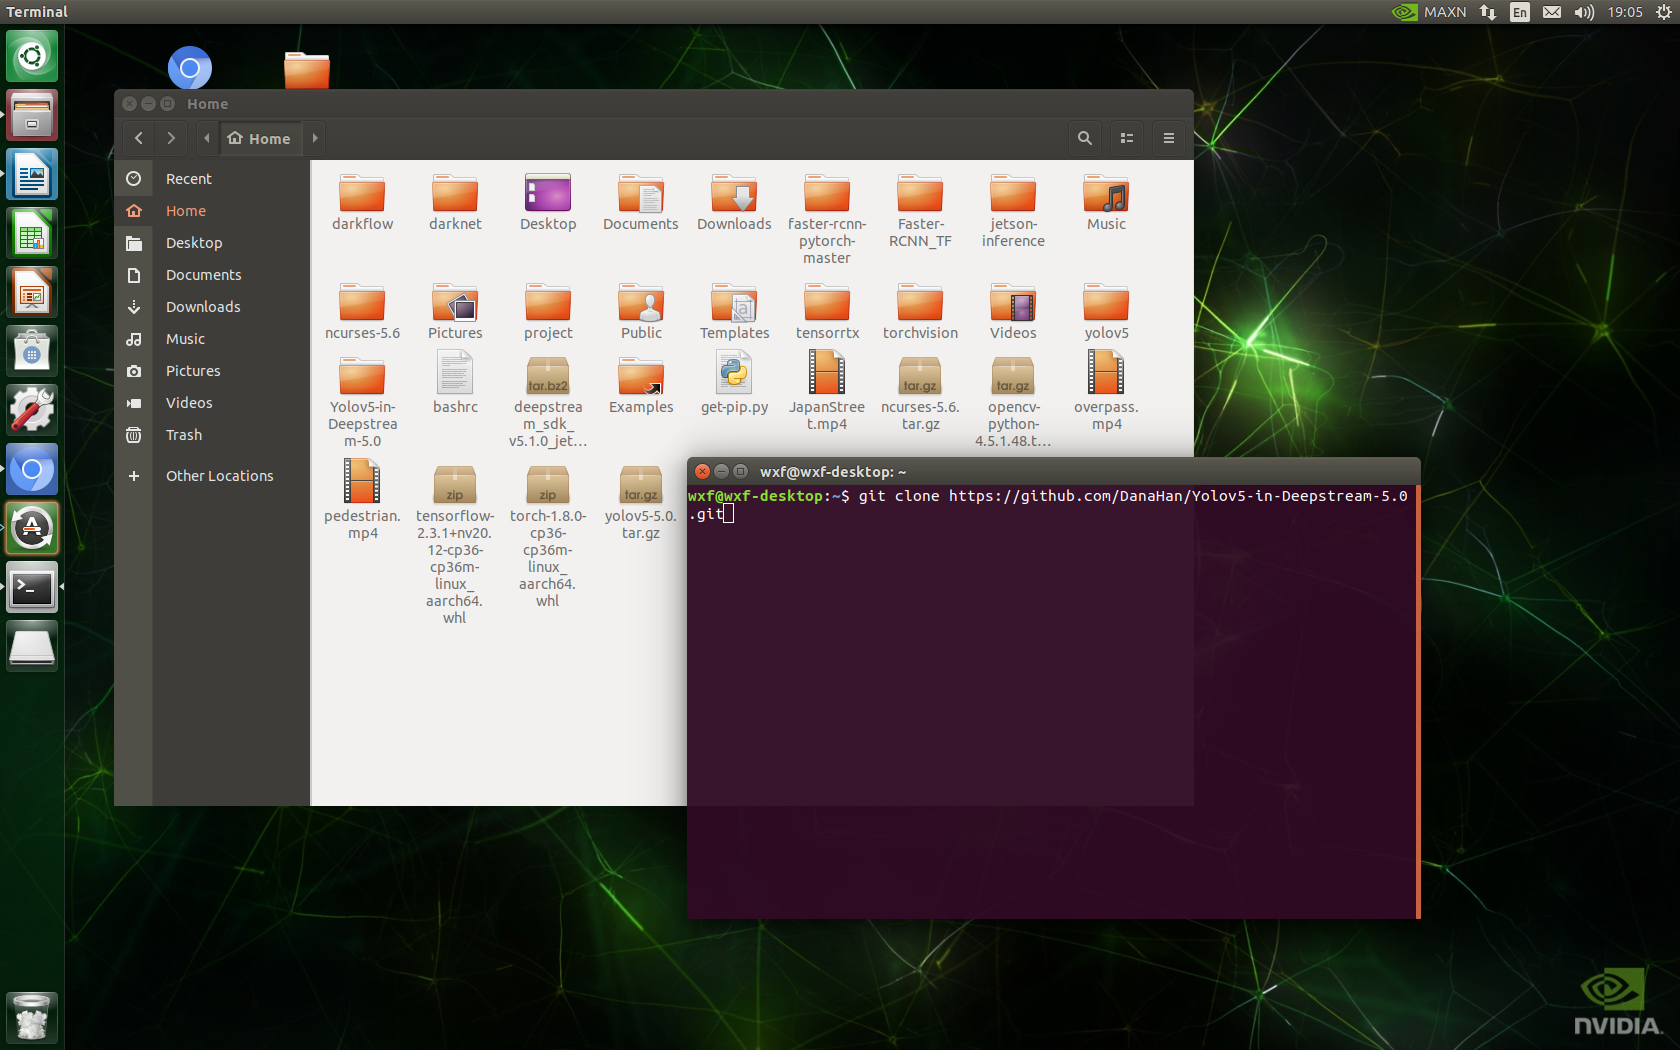
1)git clone GitHub - DanaHan/Yolov5-in-Deepstream-5.0: Describe how to use yolov5 in Deepstream 5.0
git clone https://github.com/DanaHan/Yolov5-in-Deepstream-5.0.git
2)
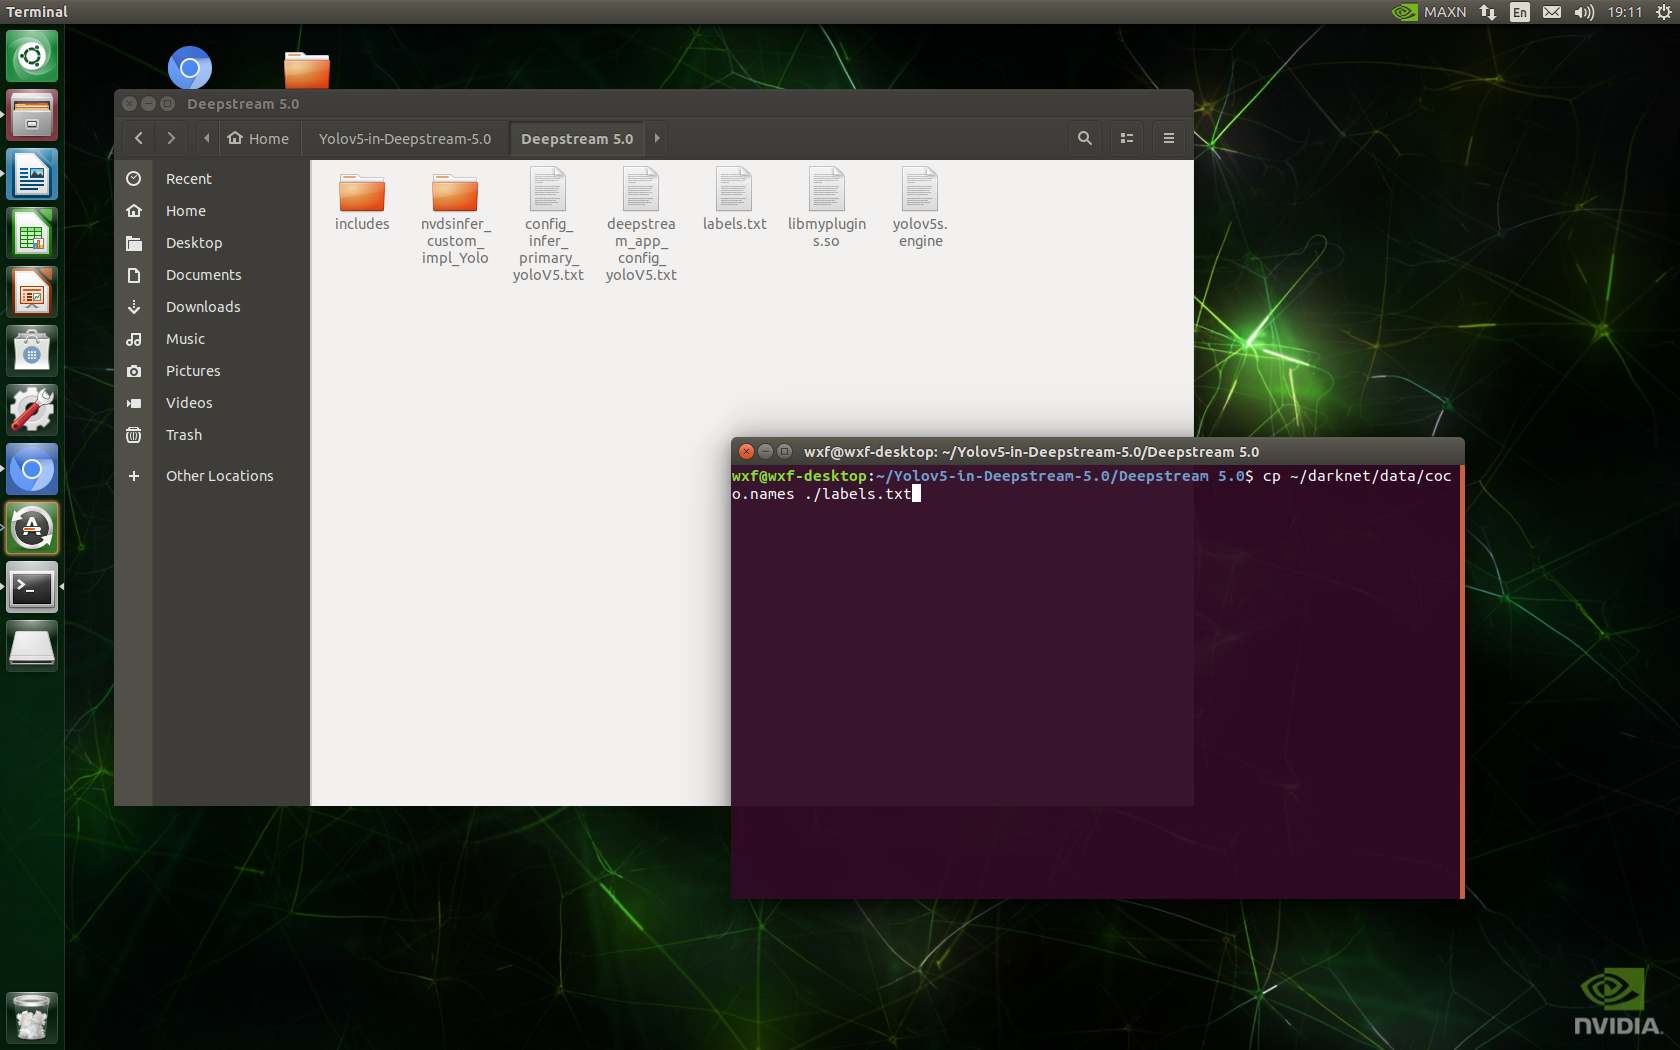
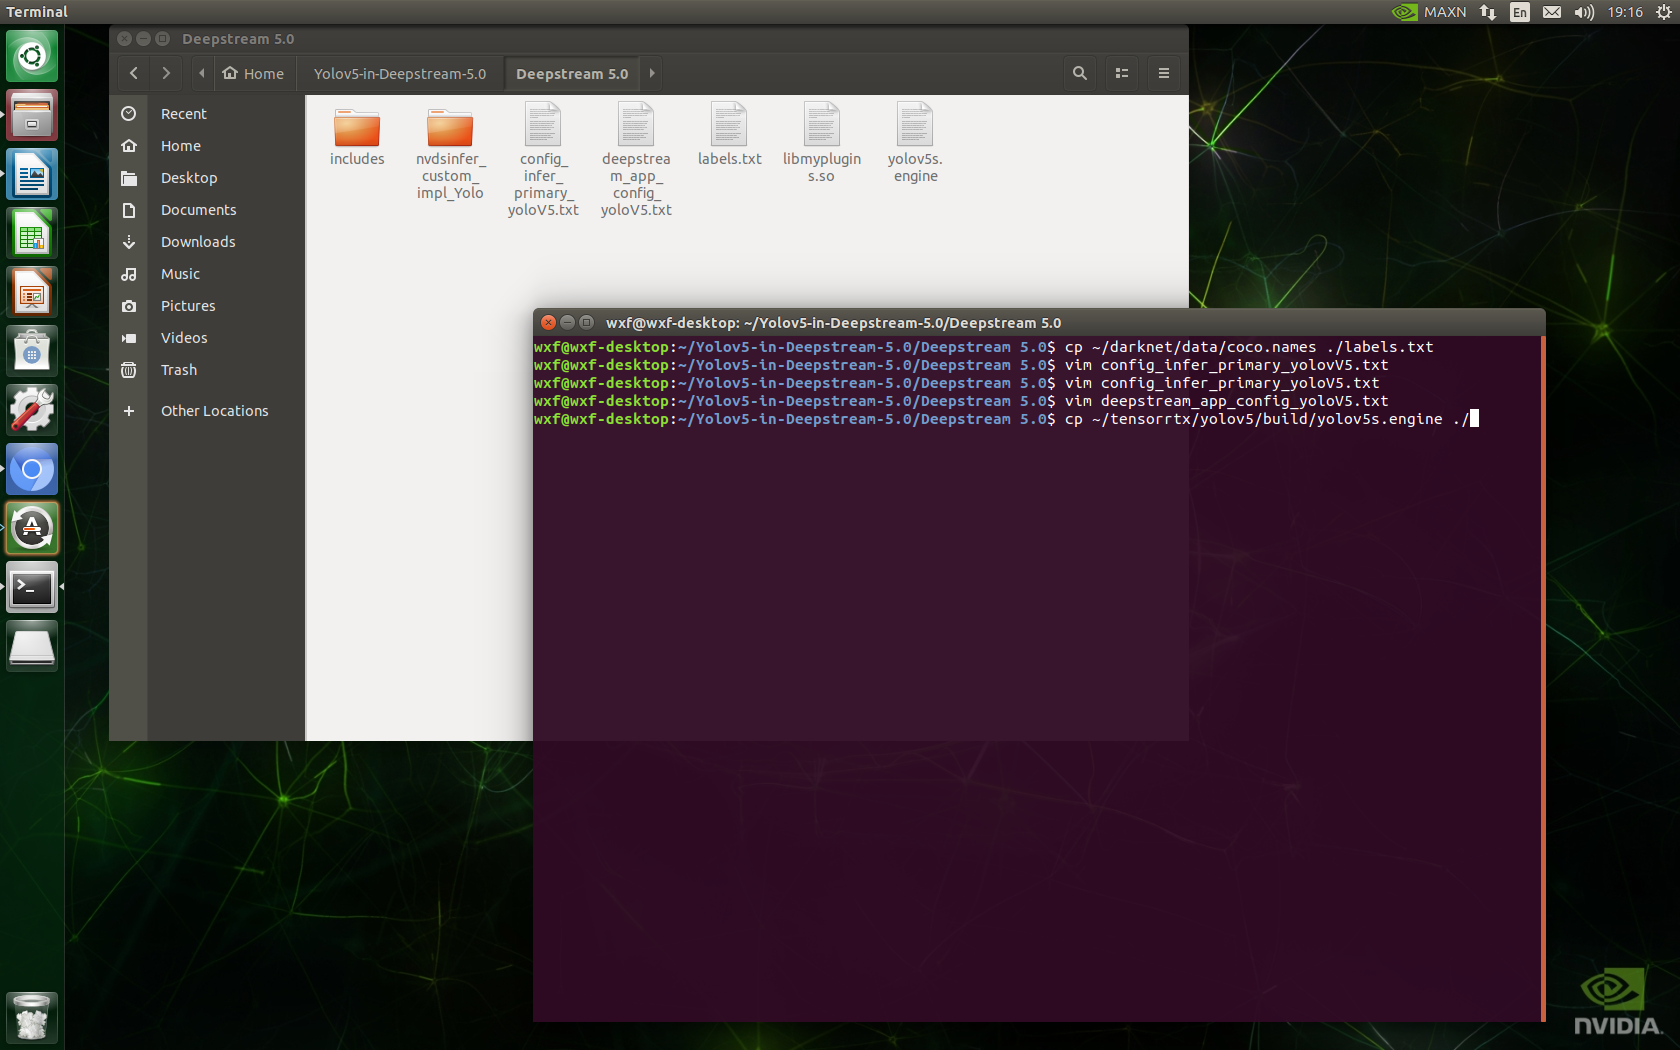
cd Yolov5-in-Deepstream-5.0/Deepstream 5.0
cp ~/darknet/data/coco.names ./labels.txt
3)
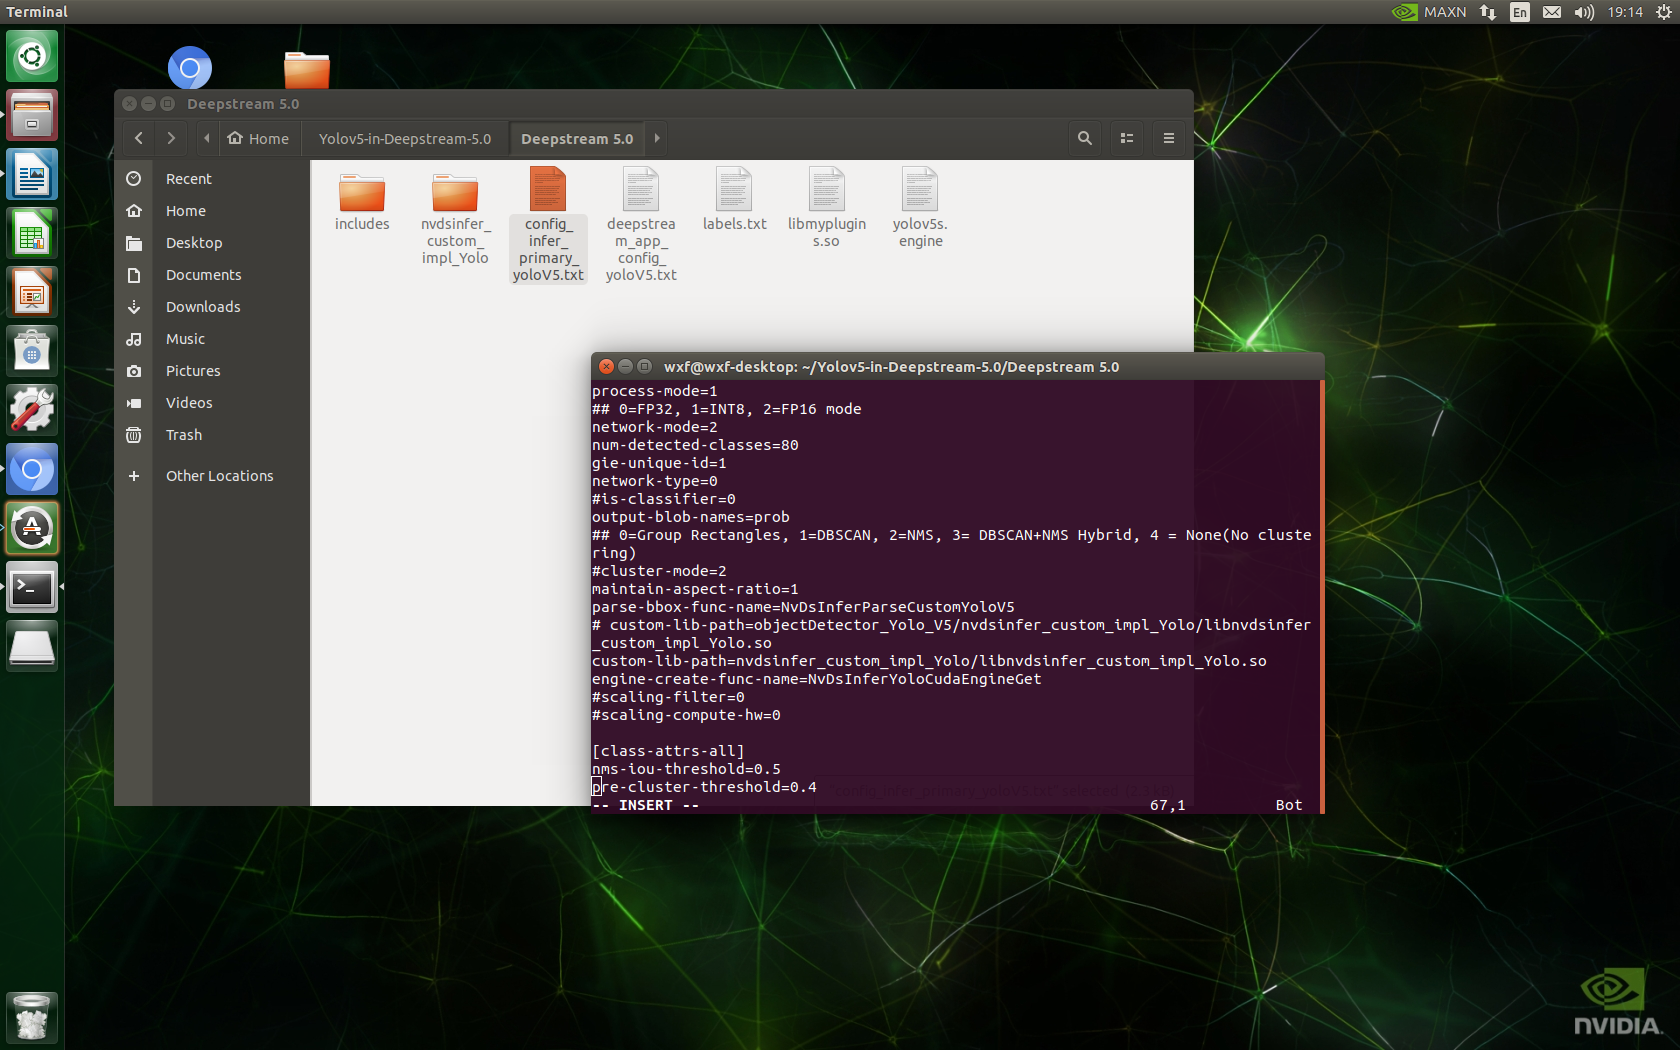
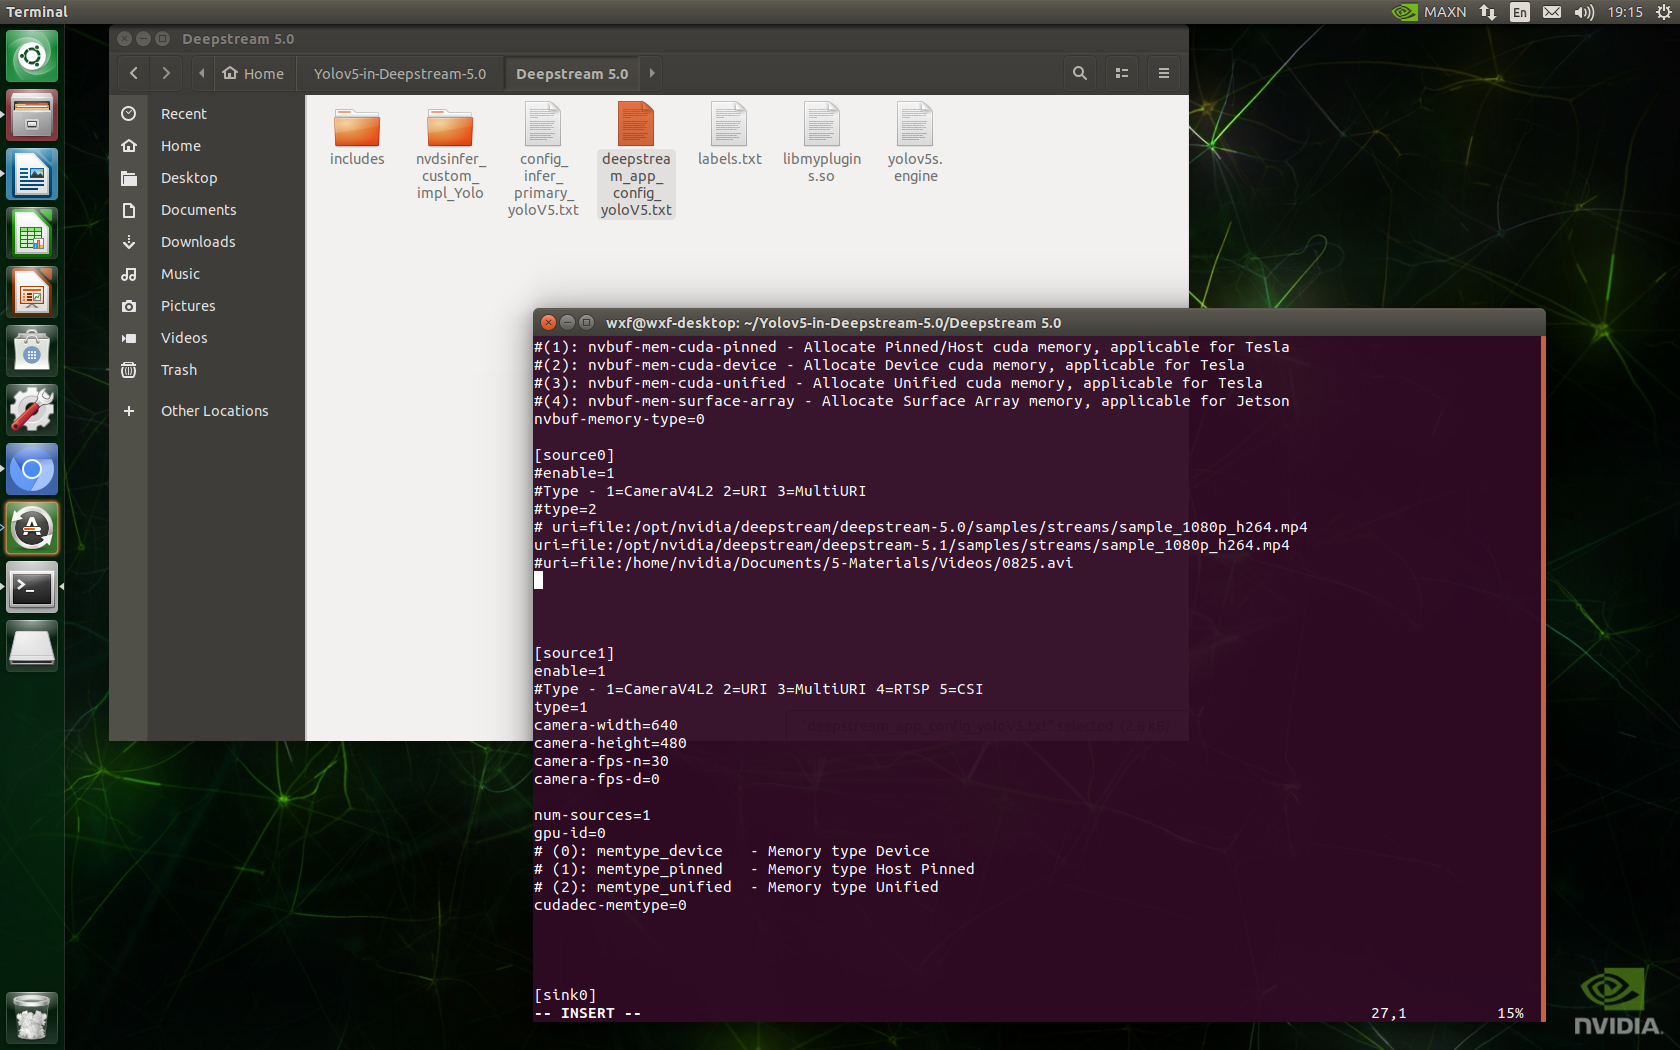
vim config_infer_primary_yolovV5.txt   #Amend line 59
vim deepstream_app_config_yoloV5.txt #Modify line 24
4) cp ~/tensorrtx/yolov5/build/yolov5s.engine. / # copy the previously generated engine files to the current directory
cp ~/tensorrtx/yolov5/build/yolov5s.engine ./ #Copy the previously generated engine files to the current directory
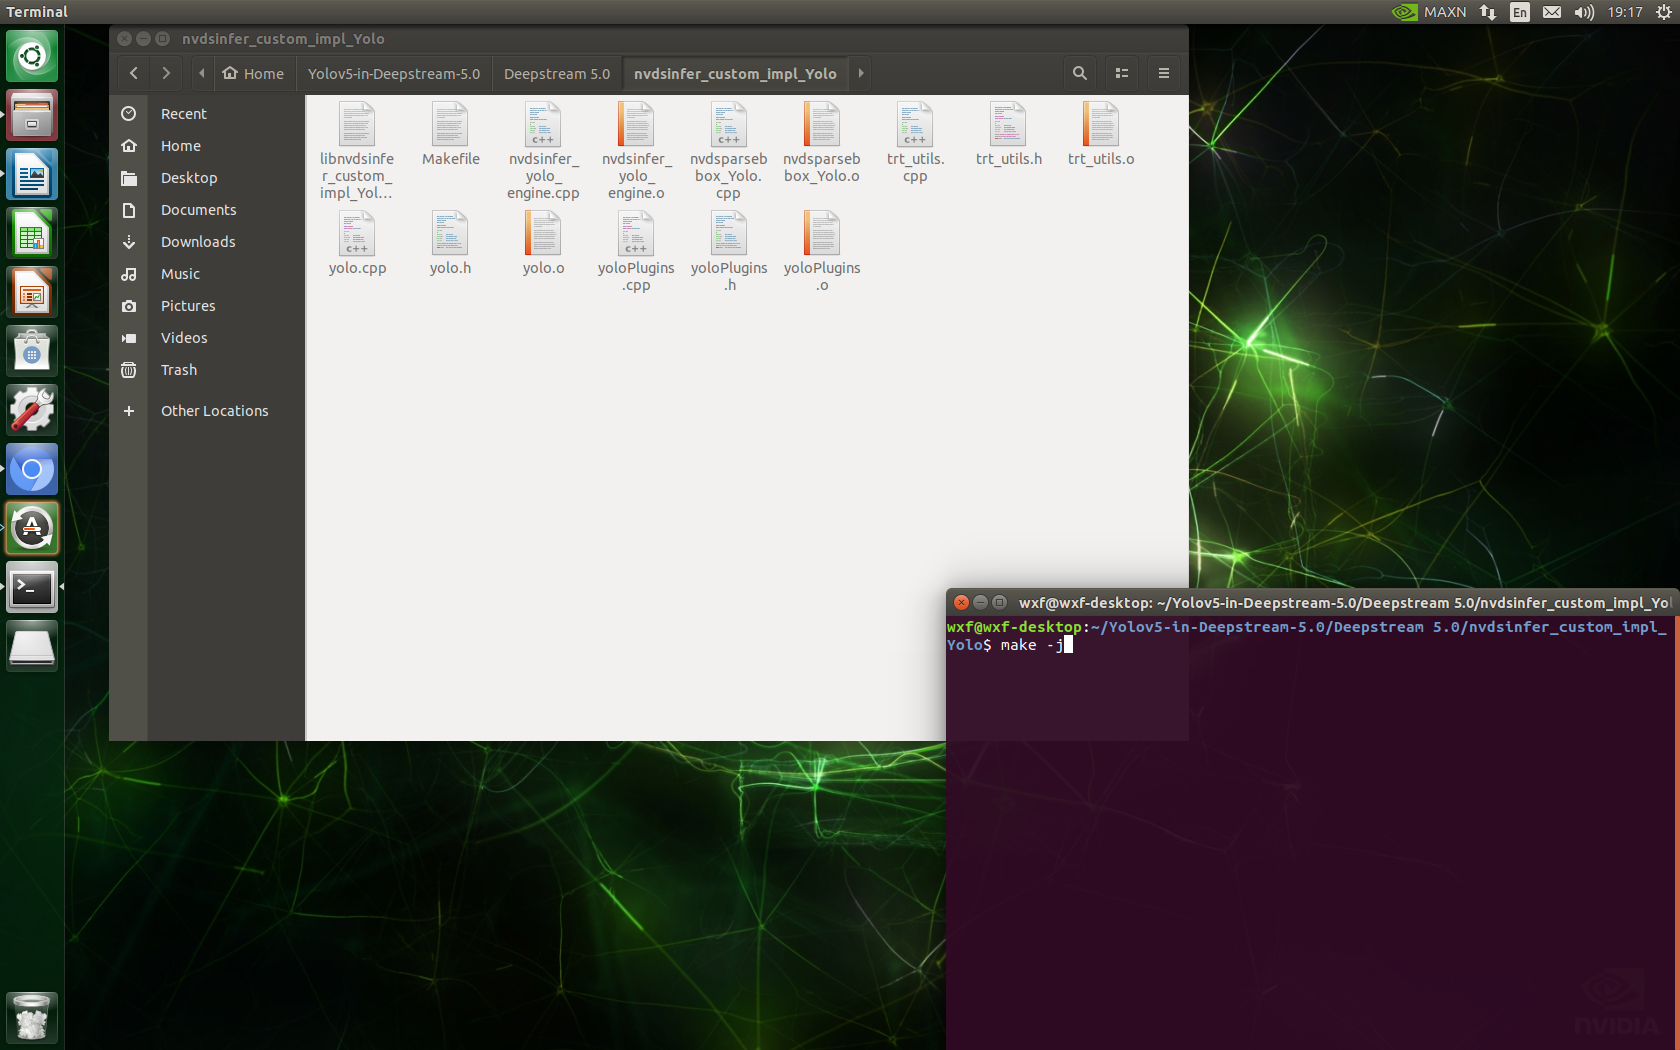
5)cd nvdsinfer_custom_impl_Yolo
6) make -j # generates the libnvdsinfer_custom_impl_Yolo.so file
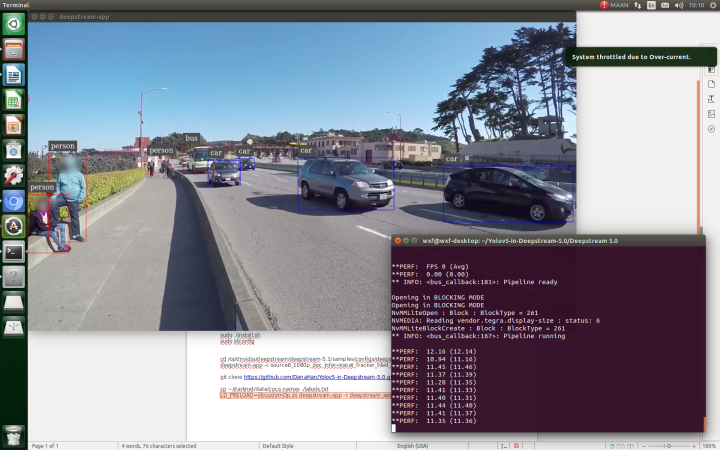
7) cd.. # return to DeepStream5.0 /
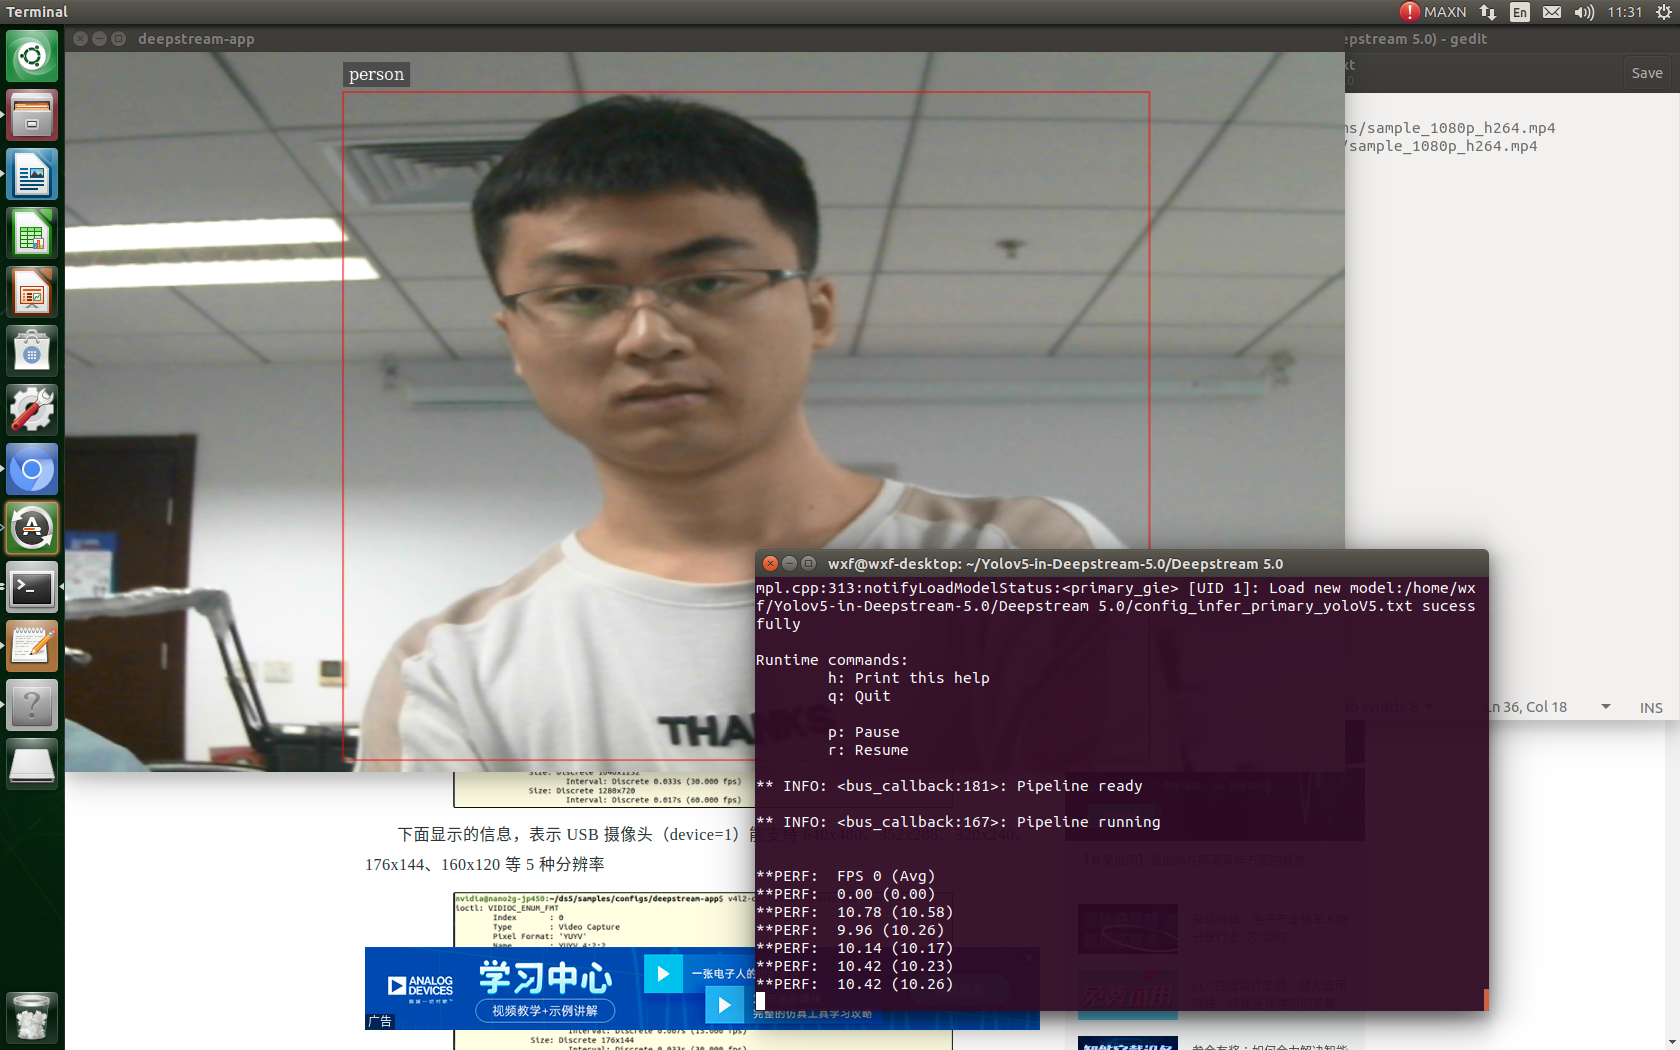
LD_PRELOAD=./libmyplugins.so deepstream-app -c deepstream_app_config_yoloV5.txt

8) Modify deepstream_app_config_yoloV5.txt file, switch to usb camera test:
10. Explain
This tutorial mainly refers to the content of the article on site b in its own jetson nano test: Jetson nano detects CSI camera video from burning system to DeepStream+TensorRT+yolov5 - beep beep
Other references:
jetson nano learning notes_ GeekPlusA blog - CSDN blog_ jetson nano learning
Thank other bloggers for sharing their knowledge.