brief introduction
Weex is a front-end technology similar to React native (RN), which can support platform web, Android, IOS. This compatibility platform may be the trend in the future, as can be seen from the recruitment posts, more and more demand. So let's study it. I've done Android before, and I've taken Android as an example.
Recommend a good article Weex & React Native Contrast
Weex official website 
Building environment
Environmental preparation
- nodejs: download And install
- weex-toolkit: Install using npm after completing the first step
npm install -g weex-toolkitThe first Weex program
Then initialize the Weex project:
weex init myProject
Enter the myProject directory to install dependency packages
npm installBrowser-side debugging
npm run dev   // Open watch mode
npm run serve  //Open static server
Open the browser and enter
http://localhost:8080/index.html You can see the weex h5 page as follows. 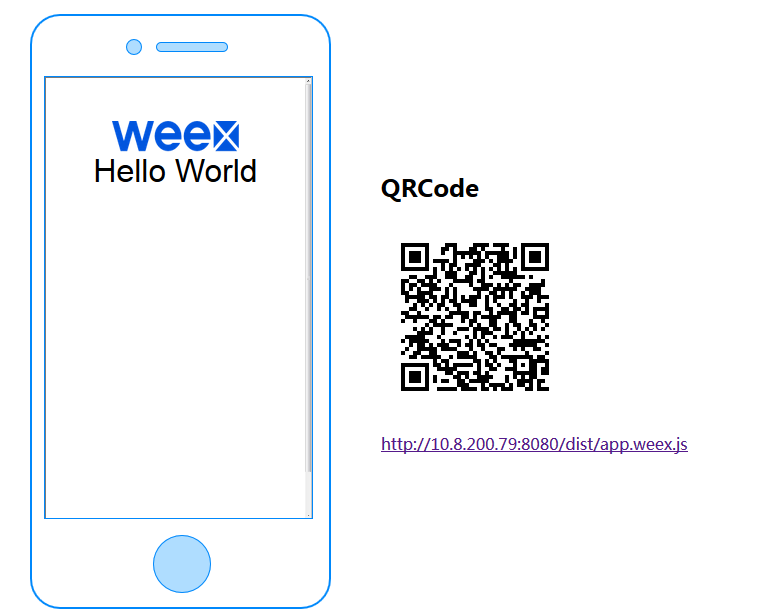
Android terminal
Create an Android Studio project.
Official website requirements:
1. JDK version >= 1.7 has been installed and environment variables have been configured
2. Android SDK has been installed and environment variables have been configured.
3. Android SDK version 23 (compileSdkVersion in build.gradle)
4. SDK build tools version 23.0.1 (buildToolsVersion in build.gradle)
5. Android Support Repository >= 17 (for Android Support Library)
Write Android code
Add dependency
glide is used for image loading.
Other libraries are dependent on the requirements of the official website.
    compile 'com.android.support:recyclerview-v7:24.2.1'
    compile 'com.android.support:appcompat-v7:24.2.1'
    compile 'com.alibaba:fastjson:1.1.45'
    compile 'com.taobao.android:weex_sdk:0.9.5@aar'
    compile 'com.github.bumptech.glide:glide:3.7.0'
Implementing Image Adapter
public class ImageAdapter implements IWXImgLoaderAdapter {
    @Override
    public void setImage(String url, ImageView view, WXImageQuality quality, WXImageStrategy strategy) {
        //Realize your own image download, otherwise the picture can not be displayed.
        Glide.with(view.getContext())
                .load(url)
                .into(view);
    }
}- Can not be achieved, will not make mistakes, but the picture does not show.
- Other image loading modules can also be replaced. For example, Android-Universal-Image-Loader or picasso.
Create Application Classes
public class WeexApp extends Application {

    @Override
    public void onCreate() {
        super.onCreate();
        InitConfig config=new InitConfig.Builder().setImgAdapter(new ImageAdapter()).build();
        WXSDKEngine.initialize(this,config);
    }

}
Configuration in Manifest
android:name=".WeexApp"Writing MainActivity
Here are a few things to do:
- Instance WXSDK.
- Callback the corresponding method of mWXSDK Instance in the Activity life cycle.
- Implement the IWX RenderListener interface.
- Call the mWXSDKInstance.render method to instantiate the component.
- Set view in the IWXRenderListener.onViewCreated() method.
IWXRenderListener.onViewCreated() calls back after Weex instantiates JS into View. The method of simultaneous tuning in IWX RenderListener.
onRenderSuccess();
onRefreshSuccess();
onException();
public class MainActivity extends AppCompatActivity implements IWXRenderListener {
WXSDKInstance mWXSDKInstance;
@Override
protected void onCreate(Bundle savedInstanceState) {
    super.onCreate(savedInstanceState);
    setContentView(R.layout.activity_main);
    mWXSDKInstance = new WXSDKInstance(this);
    mWXSDKInstance.registerRenderListener(this);
    /**
     * WXSample It can be replaced by a custom string, which is valid for buried points.
     * template Yes. We transformed the js file.
     * option You can pass in the parameters required by JS either for null or through option. For example, the address of bundle js.
     * jsonInitData It can be empty.
     * width Full screen default for - 1, you can customize it yourself.
     * height =-1 The default full screen can be customized.
     */
    mWXSDKInstance.render("WXSample", WXFileUtils.loadAsset("hello.js", this), null, null, -1, -1, WXRenderStrategy.APPEND_ASYNC);
}
@Override
public void onViewCreated(WXSDKInstance instance, View view) {
    setContentView(view);
}
@Override
public void onRenderSuccess(WXSDKInstance instance, int width, int height) {
}
@Override
public void onRefreshSuccess(WXSDKInstance instance, int width, int height) {
}
@Override
public void onException(WXSDKInstance instance, String errCode, String msg) {
}
@Override
protected void onResume() {
    super.onResume();
    if(mWXSDKInstance!=null){
        mWXSDKInstance.onActivityResume();
    }
}
@Override
protected void onPause() {
    super.onPause();
    if(mWXSDKInstance!=null){
        mWXSDKInstance.onActivityPause();
    }
}
@Override
protected void onStop() {
    super.onStop();
    if(mWXSDKInstance!=null){
        mWXSDKInstance.onActivityStop();
    }
}
@Override
protected void onDestroy() {
    super.onDestroy();
    if(mWXSDKInstance!=null){
        mWXSDKInstance.onActivityDestroy();
    }
}
}
"`
Install official demo: playground.apk
Scan the code icon in App, and then use your mobile camera to scan the two-dimensional code in the terminal.
Reference resources:
http://www.open-open.com/lib/view/1484708363305