vue3-vite2-blog-h5
A simple version of mobile blog. The front-end project is mainly built by using Vue3's latest syntax sugar < script setup > and Vant3.0; Tsx is used to render common components; Vite 2.0 is used to build and package. The back-end project is mainly designed by Node framework Koa2 and MongoDB database.
- PC blog online preview address: http://www.rasblog.com
- PC blog warehouse address: GitHub - sujb sus / Vue node mongodb blog: Vue + node + mongodb + webpack5 + koa2 build a simple personal blog system from development to online (front and back ends are separated)
- H5 end blog warehouse address: GitHub - sujb sus / Vue3-vite2-ts-blog-h5: a simple version of mobile blog; It is mainly built by using Vue3's latest syntax sugar < script setup > and Vant3.0; Tsx is used to render common components; Vite 2.0 is used to build and package.
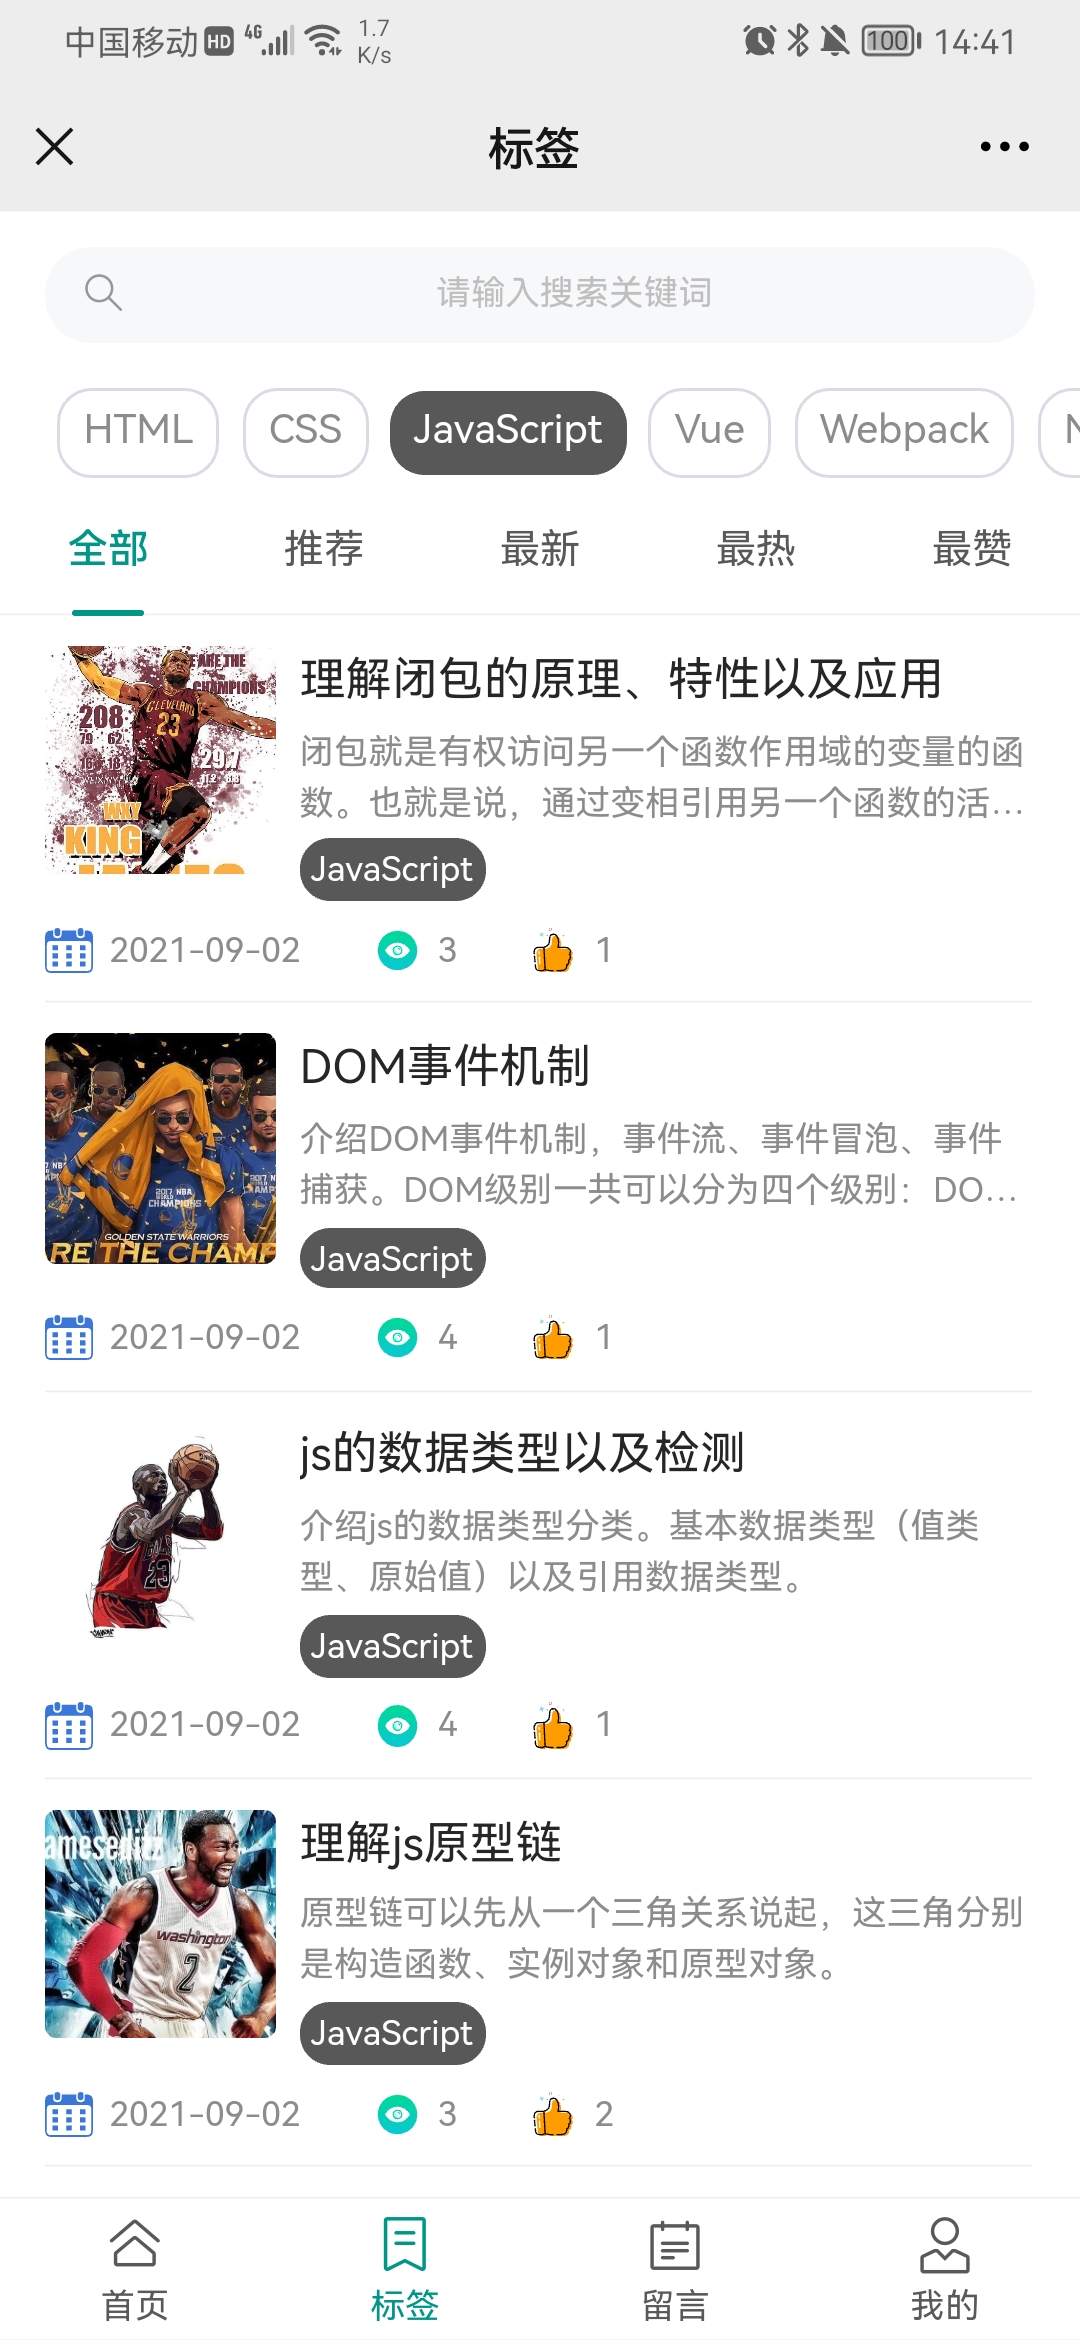
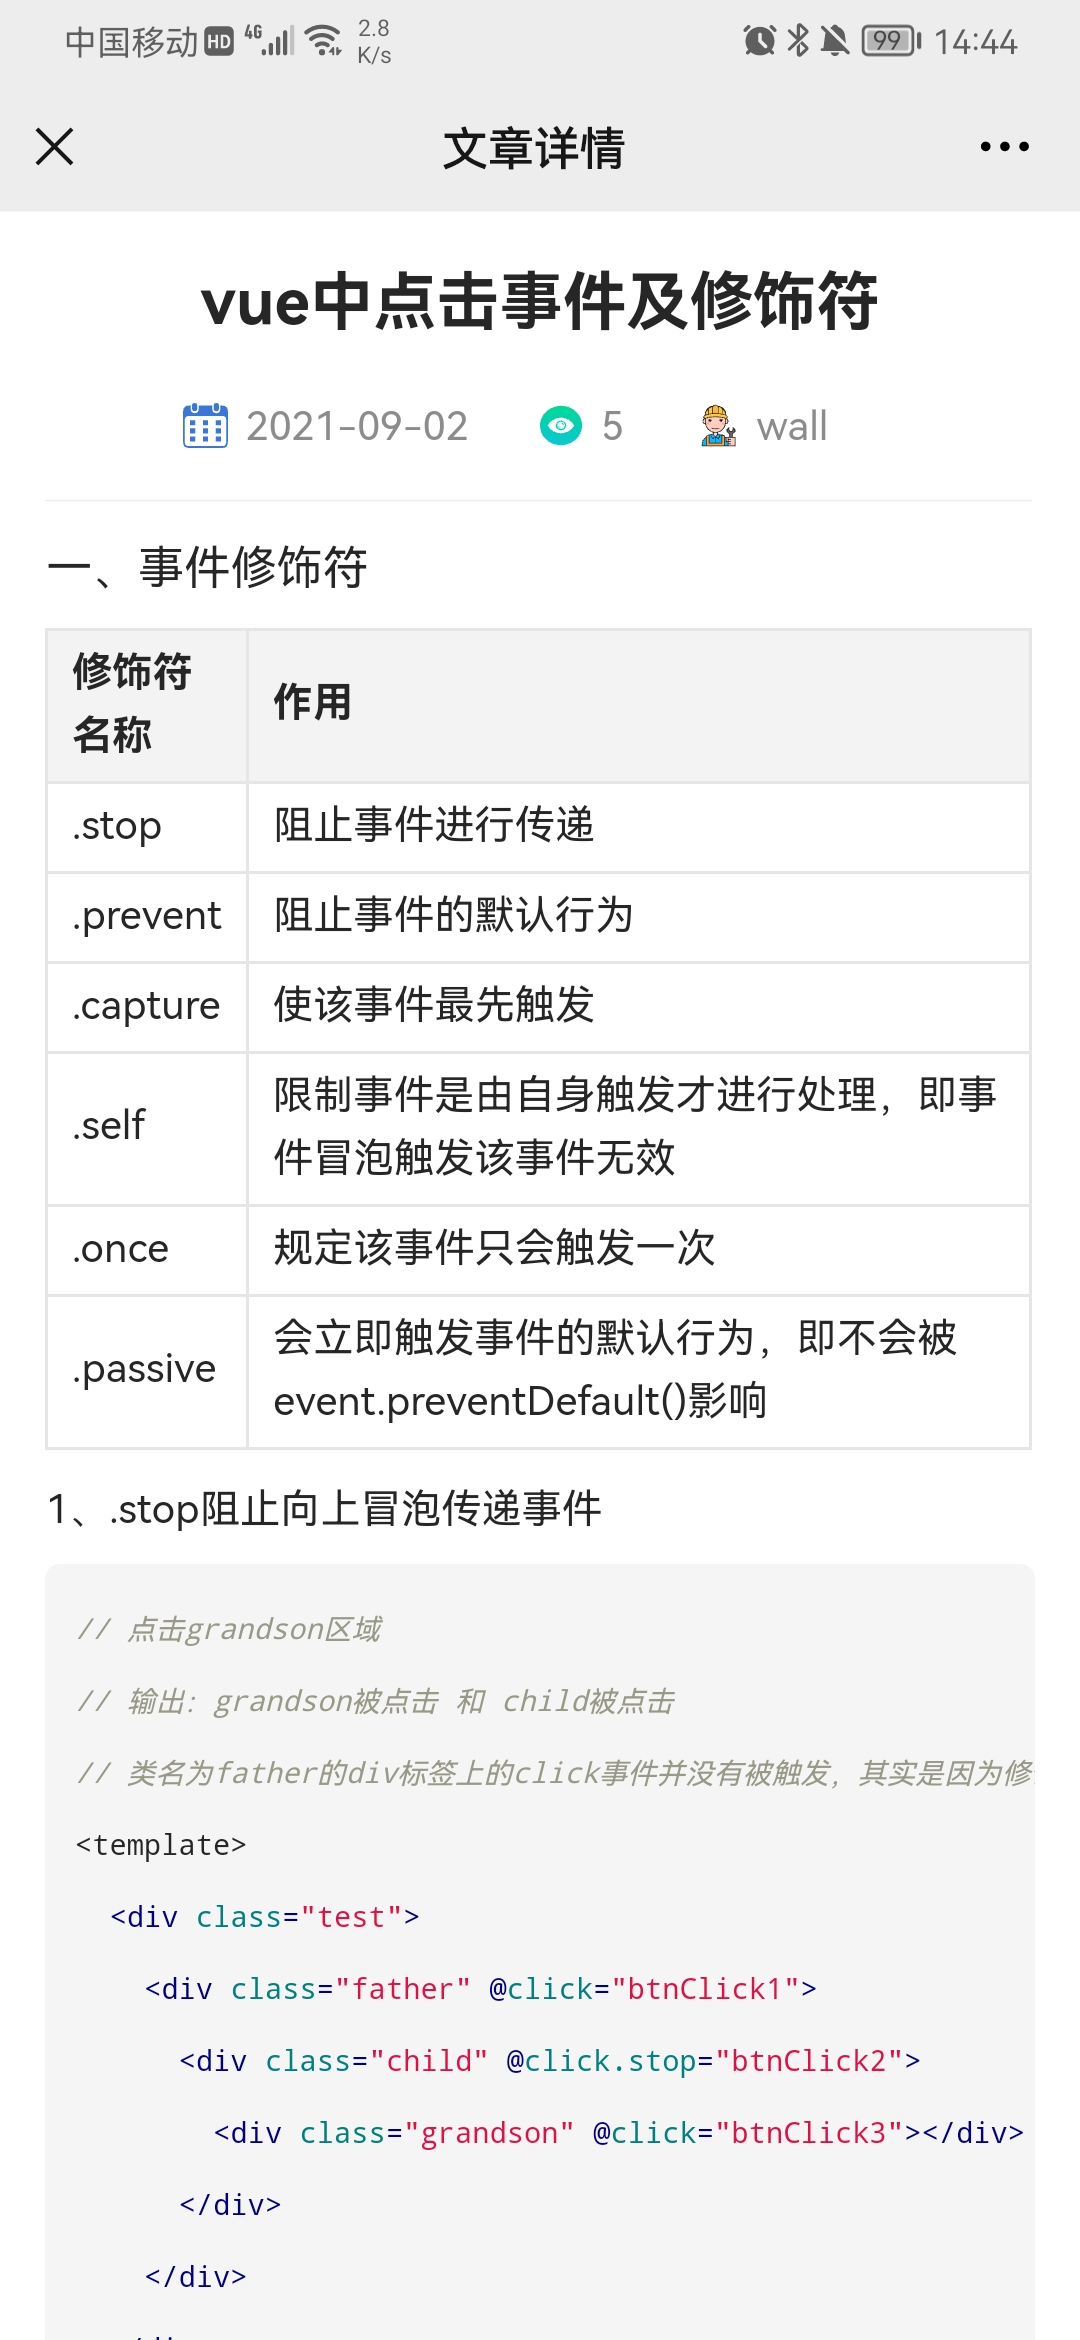
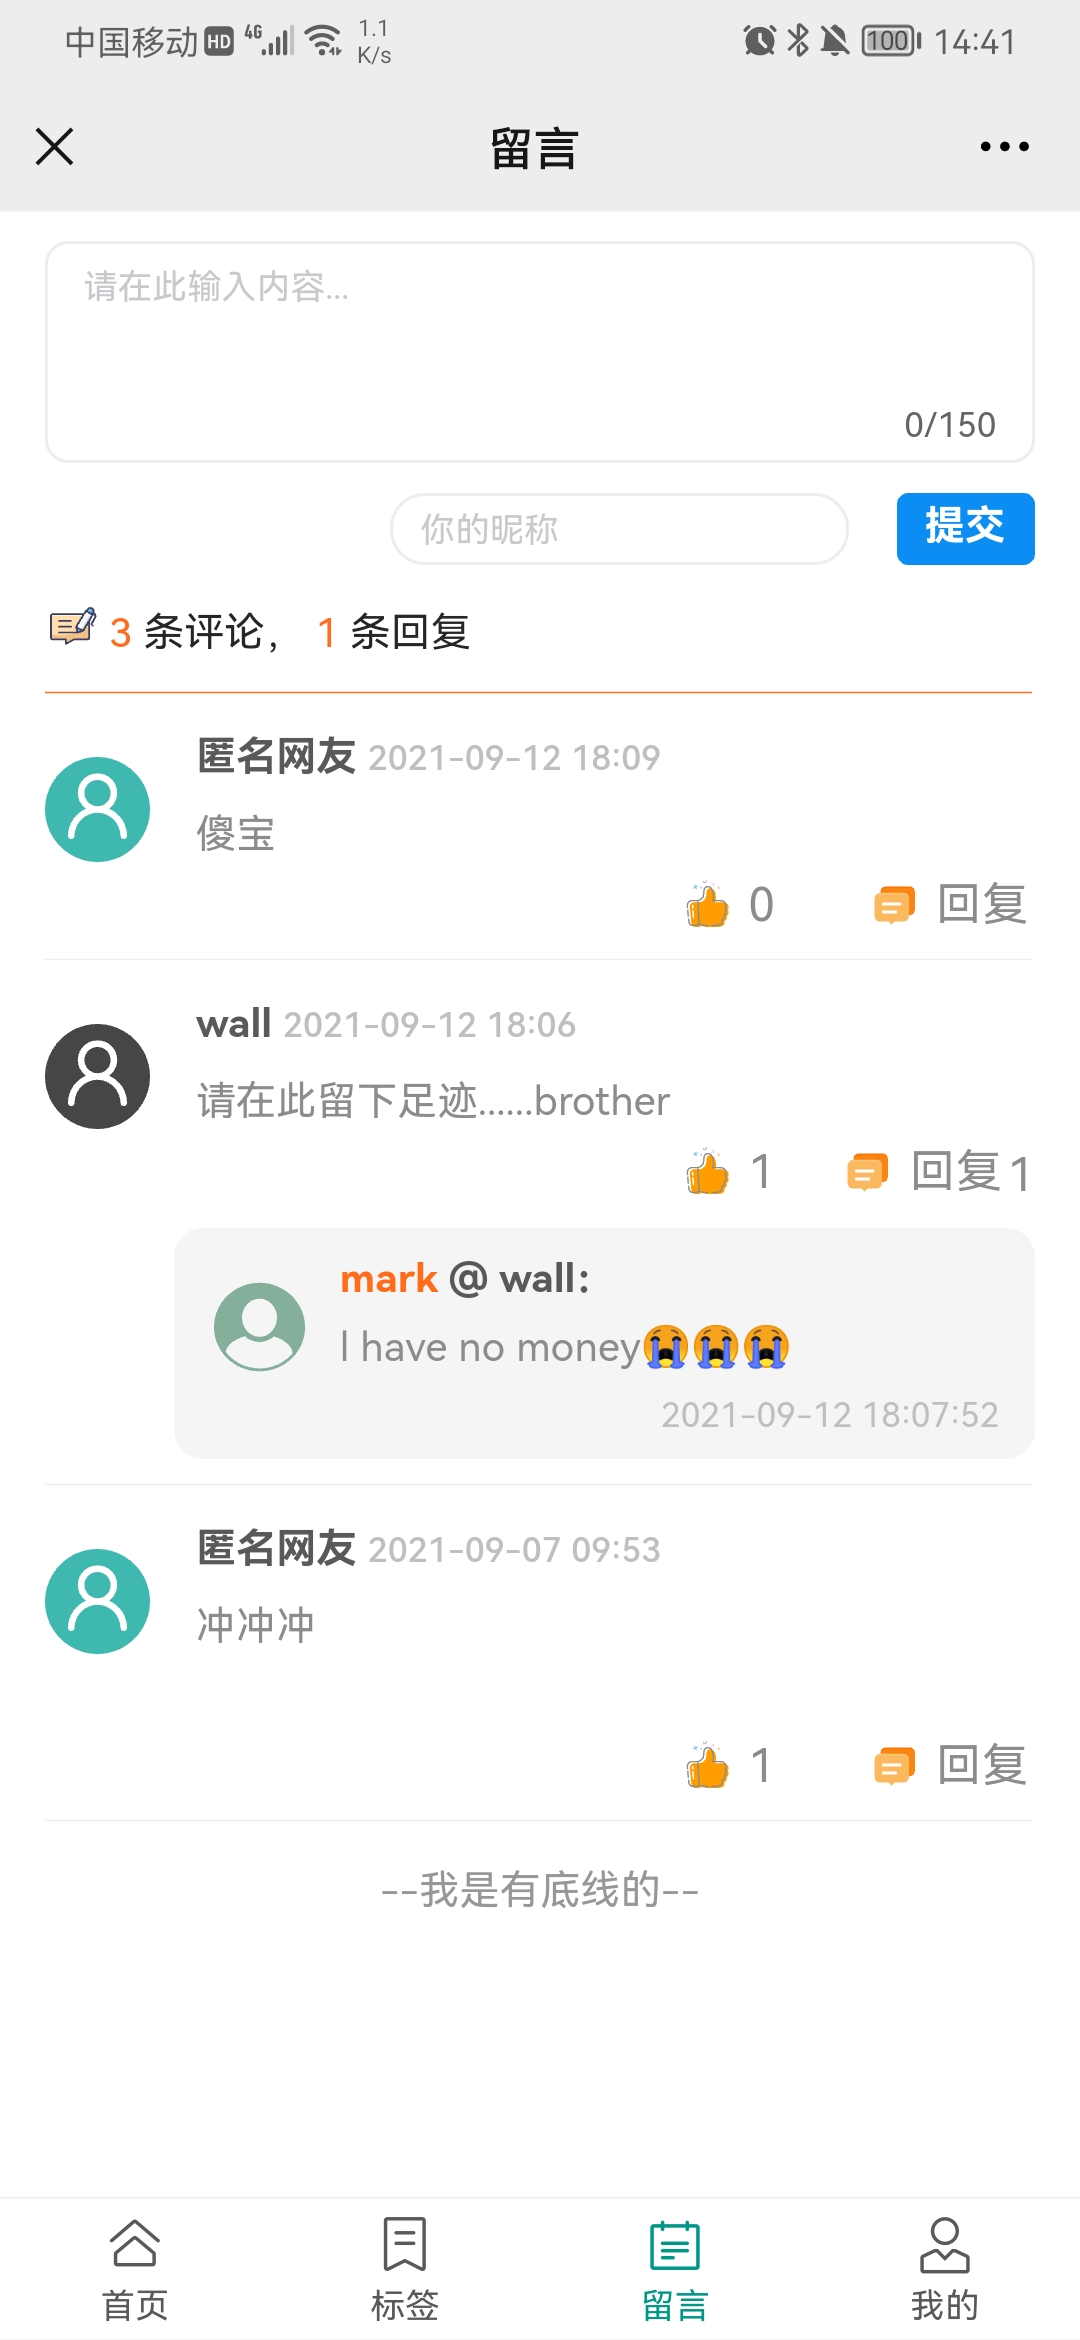
Project Preview

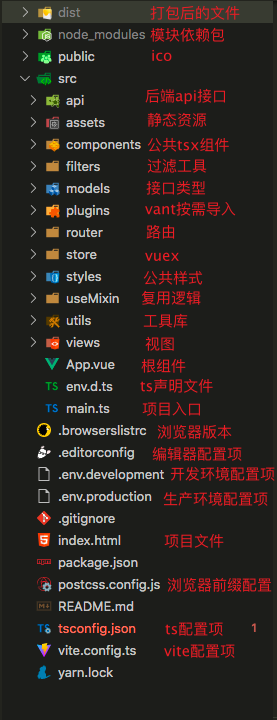
Project structure
Technology application
1, rem adaptation
- Install plug-in yarn add amfe flexible postcss pxtorem - S
- Amfe flexible is to configure a scalable layout scheme, mainly setting 1 rem to viewWidth / 10
- Postcss pxtorem is a plug-in to postcss that generates pixel (px) units into rem units
- Import amfe flexible in main.ts
import "amfe-flexible";
- Configure postcss pxtorem in postcss.config.js
module.exports = {
  plugins: {
    "postcss-pxtorem": {
      rootValue: 37.5,
      propList: ["*"],
    },
  },
};
- The rootValue is set according to the width of the design document divided by 10. Here, it is assumed that the design document is 375, that is, the rootValue is set to 37.5
- propList is used to set the attribute to be converted. Here * means to convert all units (px)
2, Add css prefix
- Install plug-in yarn add autoprefixer -D
- Configure the autoprefixer in postcss.config.js
module.exports = {
  plugins: {
    autoprefixer: {
      overrideBrowserslist: ["Android 4.1", "iOS 7.1"],
      grid: true,
    },
  },
};
- overrideBrowserslist: compatible configuration of the browser
- grid: true enables grid layout prefix for IE
3, Common components are written in tsx syntax
// svgIcon.tsx
import { defineComponent, computed } from "vue";

export default defineComponent({
  name: "svgIcon",
  props: {
    name: {
      type: String,
      required: true,
    },
  },
  setup(props) {
    const iconName = computed(() => `#${props.name}`);
    return () => (
      <>
        <svg class="icon" aria-hidden="true">
          <use xlinkHref={iconName.value}></use>
        </svg>
      </>
    );
  },
});
- defineComponent encapsulates the setup function, returns the options object, and gives the component the correct parameter type inference under ts
- < use Xlink: href = {iconname. Value} > needs to be changed to hump form < use xlinkhref = {iconname. Value} >, otherwise there will be syntax problems
4, Sugar with < script setup > syntax
1. The parent component passes the value to the child component
<!-- Parent component html  -->
<List :showTitle="false" :params="params"></List>
// < script setup >
interface Props {
  showTitle?: boolean;
  params?: object;
}
const props = withDefaults(defineProps<Props>(), {
  showTitle: true,
  params: undefined,
});
- defineProps defines the props type
- withDefaults provides props defaults
- Both can be used in < script setup > without additional import
2. Pass values from child components to parent components
<!-- Parent component html -->
<LabelSelect @changeLabel="changeLabel" ref="label"></LabelSelect>
// < script setup > of parent component
const changeLabel = (labelName: string) => {
  params.type = labelName;
};
// < script setup >
const emit = defineEmits(["changeLabel"]);
emit("changeLabel", labelName);
- defineEmits defines the method name of the response parent component. You need to define it before you can respond through emit()
- emit('changeLabel', data), changeLabel is the method name of the response, and labelName is the value to be passed to the parent component
3. Logic reuse
- Start the definition file with use... In the form of hump, define a useClickLike function and export it;
// useClickLikes.ts
import { ref, computed } from "vue";

function useClickLike(requestApi: Function) {
  let currentId = ref(""); // Current id
  let isLike = ref(false); // Do you like it
  let likeList = ref<string[]>([]); // Click the likes list

  const handleLikes = (id: string) => {
    if (likeList.value.includes(id)) {
      isLike.value = true;
      likeList.value.splice(likeList.value.indexOf(id), 1);
    } else {
      isLike.value = false;
      likeList.value.push(id);
    }
    currentId.value = id;
    return requestApi({ _id: id, isLike: isLike.value }).catch((err: any) => {
      console.log(err);
    });
  };

  return {
    handleLikes,
  };
}

export default useClickLike;
- Reference in the vue file, import it first, and then deconstruct the required function logic
import useClickLike from "@/useMixin/useClickLike";
// Like logic
const { handleLikes } = useClickLike(apiUpdateLikes);
- handleLikes can be used directly in html templates
<div class="footer-item" @click.stop="handleLikes(item._id)"></div>
4. Use of computed and watch
import { computed, watch } from 'vue'

const getLikesNumber = computed(
    () => (id: string, likes: number) =>
      likeList.value.includes(id) ? likes + 1 : likes
  );

watch(props.params, (newVal,oldVal) => {
    pageindex.value = 1
    hasLoad.value = false
    loading.value = false
    finished.value = false
    list.value = []
    getBlogList()
  })
- The syntax of computed is the same as that of vue2. The syntax of watch is slightly different. props.params is the listening object, newvalue is the latest value and oldvalue is the old value
- For specific syntax, please refer to the official document: Computed and watch | Vue.js
5. Use of vuex
import { useStore } from "vuex";

const store = useStore();
// Get the getLabelList method under the actions of the label module
const getLabelList = () => store.dispatch("label/getLabelList");
getLabelList(); // Direct execution method
// Get the label list attribute under the getters of the label module
const labelList = store.getters["label/labelList"];
- For other specific usage, please refer to the official documents: Module | Vuex
6. Use of Vue router
- Configure the routing file, createWebHashHistory, and formulate the hash mode
- /: pathMatch(. *) * matches all routes for redirection
- import.meta.glob is required to import the routing file, but import cannot be used directly. Import has no problem during development, but the packaged file will not recognize the routing file
import { createRouter, createWebHashHistory, RouteRecordRaw } from "vue-router";
import Tabbar from "../components/tabbar";
// First identify all views / folder name/*.vue files
// This is highly restrictive. Only files with the path of / views / folder name/*.vue can be recognized
const modules = import.meta.glob("../views/*/*.vue");
const loadComponent = (component: string) =>
  modules[`../views/${component}.vue`];

const routes: Array<RouteRecordRaw> = [
  {
    path: "/home",
    component: loadComponent("home/index"),
    meta: {
      title: "home page",
    },
  },
  ....
  {
    path: "/:pathMatch(.*)*",
    redirect: "/home",
  },
];

const router = createRouter({
  history: createWebHashHistory(),
  routes,
});

export default router;
- Get the query parameters carried by the route
import { useRouter } from "vue-router";
const route = useRouter();
const id = route.currentRoute.value.query["id"];
Back end service
You must first open the back-end service interface and connect to the MongoDB database, otherwise the front-end project cannot be previewed. The service interface here actually reuses the interface of the wall blog project on the PC side. Therefore, if you want to add data in the management background, you need to move to the warehouse: GitHub - sujb sus / Vue node mongodb blog: Vue + node + mongodb + webpack5 + koa2 build a simple personal blog system from development to online (front and back ends are separated).
There are three projects under the warehouse: PC admin, PC client and background server. The server project is actually the server directory of this project. In order to facilitate everyone's preview, I copied one.
- client: PC side of Blog
- admin: the management side of the blog is used to add article data, tag data, etc
- server: provides interface service data for blogs
Enable backend interface service
Method 1: move to the warehouse address mentioned above
The warehouse is described in detail, and the main processes are as follows:
- Check the precautions. First install and connect the local MongoDB database and start the service
- Start the admin project, and you can manually add data through the management background
Mode 2: directly connect MongoDB database in the project
-
Before starting the project, MongoDB database needs to be installed locally;
-
Configure the database name, user, password and other necessary information in the server/config.js file; This information can be customized, but it needs to be synchronized with step 3;
// server/config.js
export default {
  env: process.env.NODE_ENV,
  port,
  auth,
  log,
  mongodb: {
    username: "wall", // Database user
    pwd: 123456, // Database password
    address: "localhost:27017",
    db: "wallBlog", // Database name
  },
};
- Start the local mongo service and initialize the database with some necessary information configured in server/config.js;
> mongo // Start mongo service
> show dbs // Display database list
> use wallBlog // Create a wallBlog database
> db.createUser({user:"wall",pwd:"123456",roles:[{role:"readWrite",db:'wallBlog'}]}) // Create a wall user in the wallBlog database with a password of 123456
> show users // Show which users the library has
> db.auth("wall", "123456"); // The database authenticates the user and password, and returns 1. The authentication is successful
- Enter the server directory, install the dependency, and start the service
cd server // Enter the server directory
yarn // Install dependent packages
yarn server // Open the back-end interface, and you will be prompted that the database connection is successful
matters needing attention
- env.d.ts file: modules written in TS are still published in js, so a d.ts file is needed to mark the types of objects in a js library
- models/index.ts file: used to define the type of data returned by the interface. Each data type needs to be defined, otherwise there will be problems when packaging the html rendering data of vue file; Export needs to be exported in the format of export type {...}
- components/noData.tsx file: when referencing a static picture, it needs to be imported in the form of module import. The picture path is directly used in html. When packaging, the picture path will not be automatically parsed
- styles/common/iphone_x.scss file: provides the bottom spacing to fit the iPhonex full screen series
- tsconfig.json file: strict: true turns on all strict type checking
Reference documents
- ts Chinese documents: Compilation options · TypeScript Chinese network · TypeScript -- a superset of JavaScript
- vite Chinese documents: Configure Vite | Vite official Chinese documents