1. Layout design effect of left menu
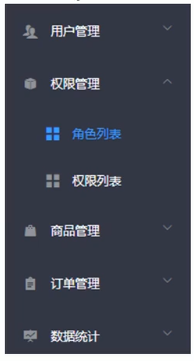
2. Left Menu Layout Analysis
- Menus are split into two levels and have a folding effect
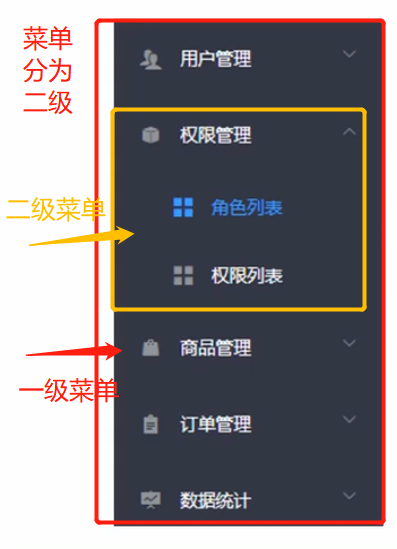
3. Introduction to menu components used Menu | Element Plus (gitee.io)
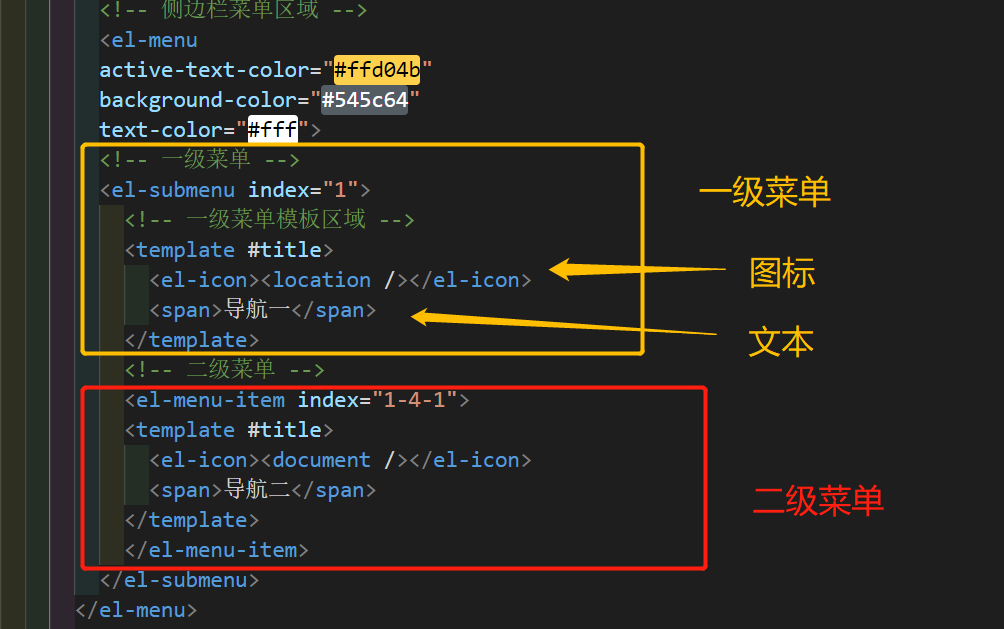
- el-menu The outermost layer of the entire left menu must be wrapped in a menu
- el-submenu Level 1 Menu Component
- el-icon menu icon item
- Text for the span menu
- el-menu-item secondary menu component
        <!-- Sidebar menu area -->
        <el-menu
        active-text-color="#ffd04b"
        background-color="#545c64"
        text-color="#fff">
        <!-- Level 1 Menu -->
        <el-submenu index="1">
          <!-- Level 1 Menu Template Area -->
          <template #title>
            <!-- Icon -->
            <el-icon><location /></el-icon>
            <!-- text -->
            <span>Navigation One</span>
          </template>
          <!-- Level 2 Menu -->
          <el-menu-item index="1-4-1">
            <!-- Secondary Menu Template Area -->
          <template #title>
            <!-- Icon -->
            <el-icon><document /></el-icon>
            <!-- text -->
            <span>Navigation 2</span>
          </template>
          </el-menu-item>
        </el-submenu>
      </el-menu>
Note: Original The element-plus level menu website uses el-sub-menu, but that doesn't seem to work, so it's changed to element-ui, which is el-sub menu. A little buddy with knowledge can leave a message.
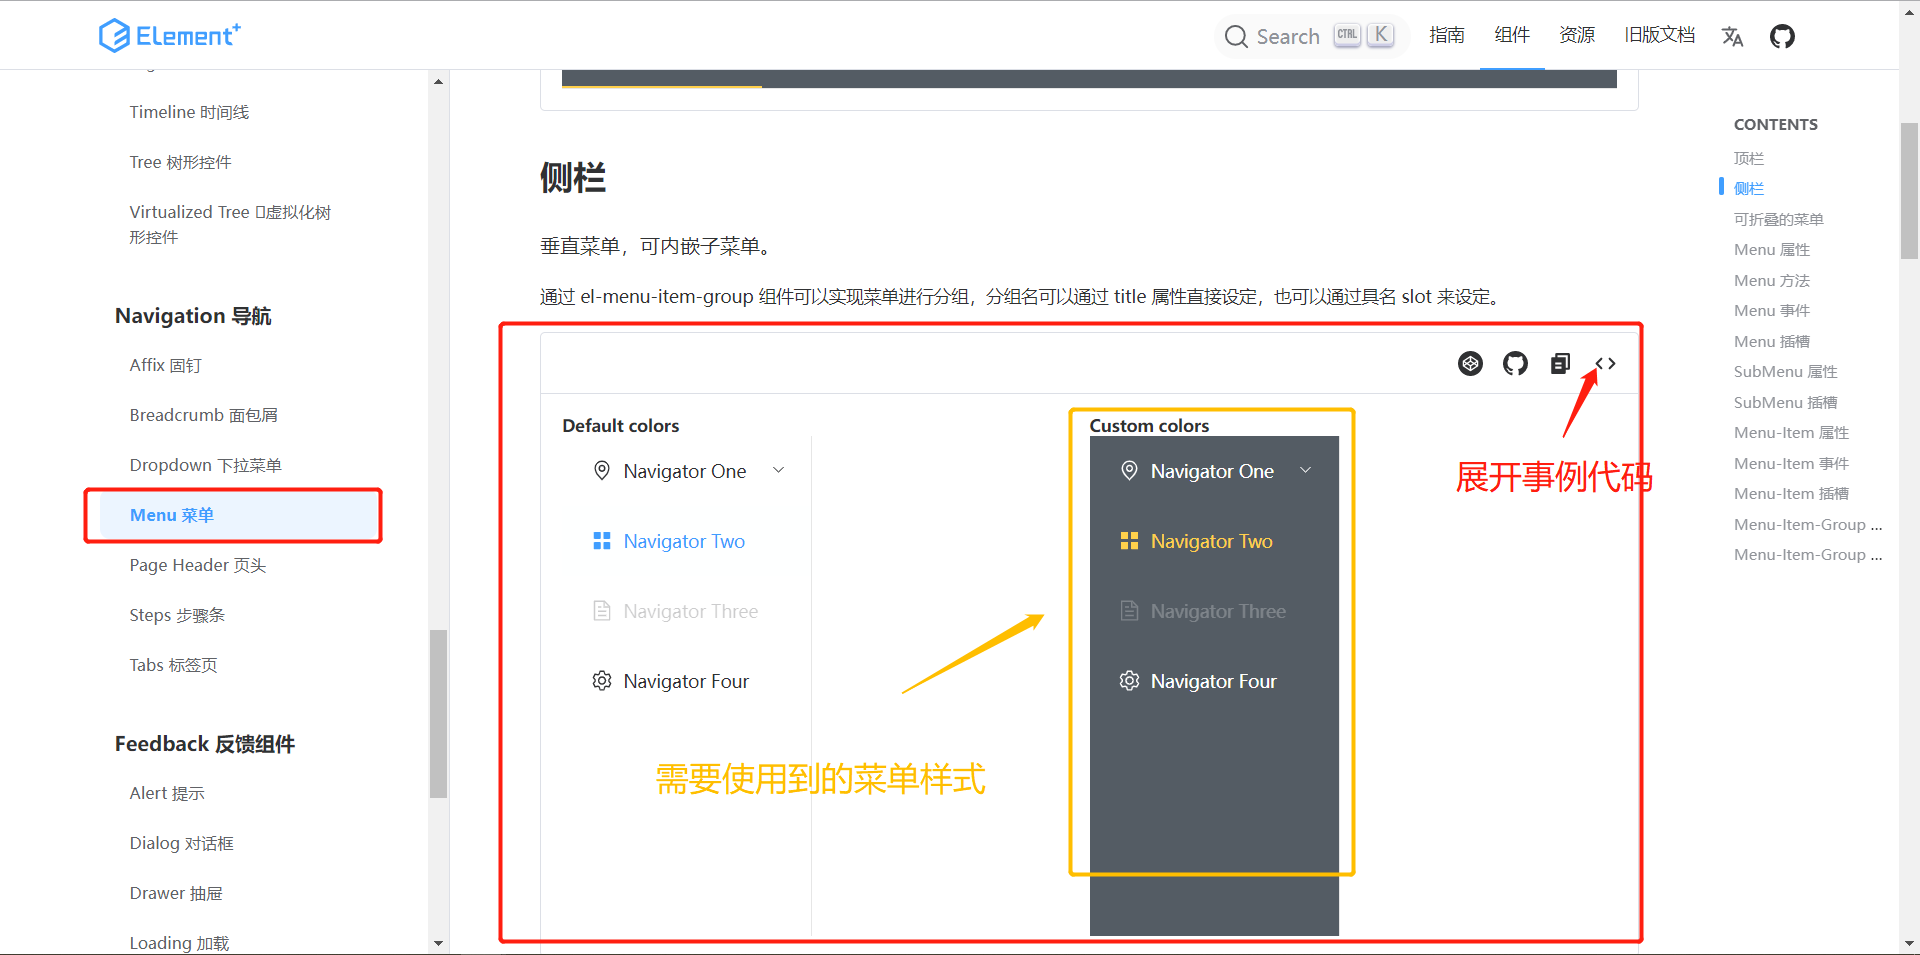
4. Once the layout is clear, we need to know how to transform and use this menu component as needed
4.1 Open the website and find Menu | Element Plus (gitee.io) Choose the right layout and paste the code
4.2 Learn to comb basic code structure
- Deleting temporarily unavailable attributes can make your code structure clearer
4.3 Once the structure has been combed, the next step is to import and register the corresponding components in element.js
-
In particular, it is important to import the components used in each page you are developing, if they are referenced on demand, before developing functionality.
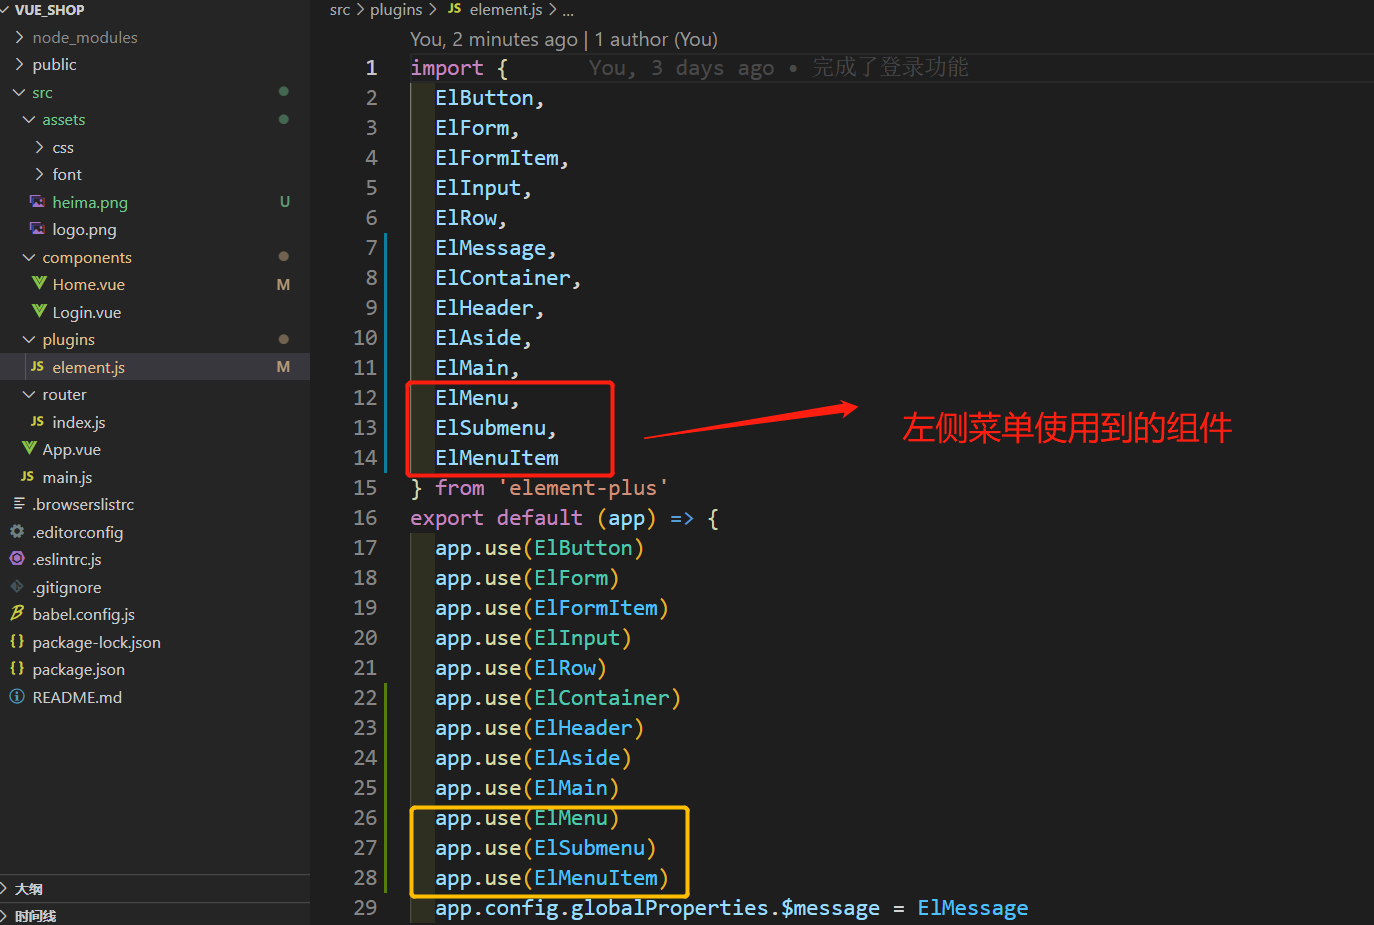
5. View page effects
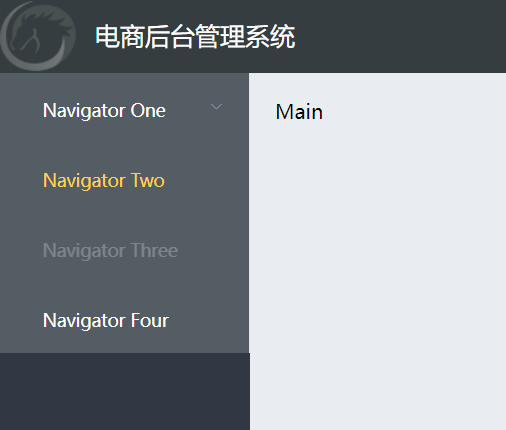
5.1 Page does not display icons because icons depend on them to be installed
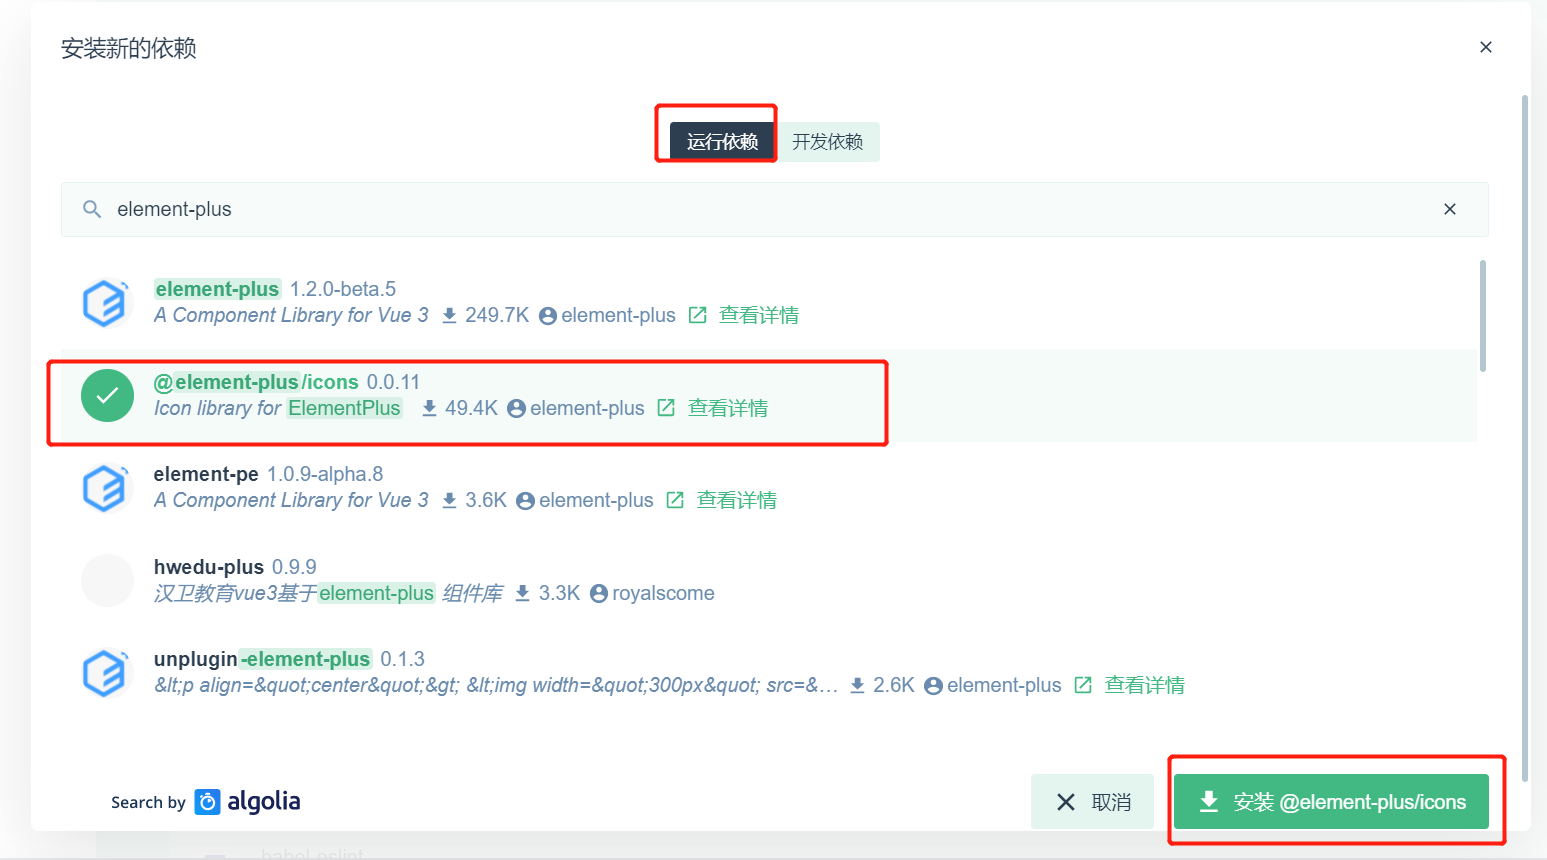
5.2 Open the visualization panel, click Dependencies, install Dependencies

5.3 Click Run Dependencies, search for element-plus/icons dependencies, click Install
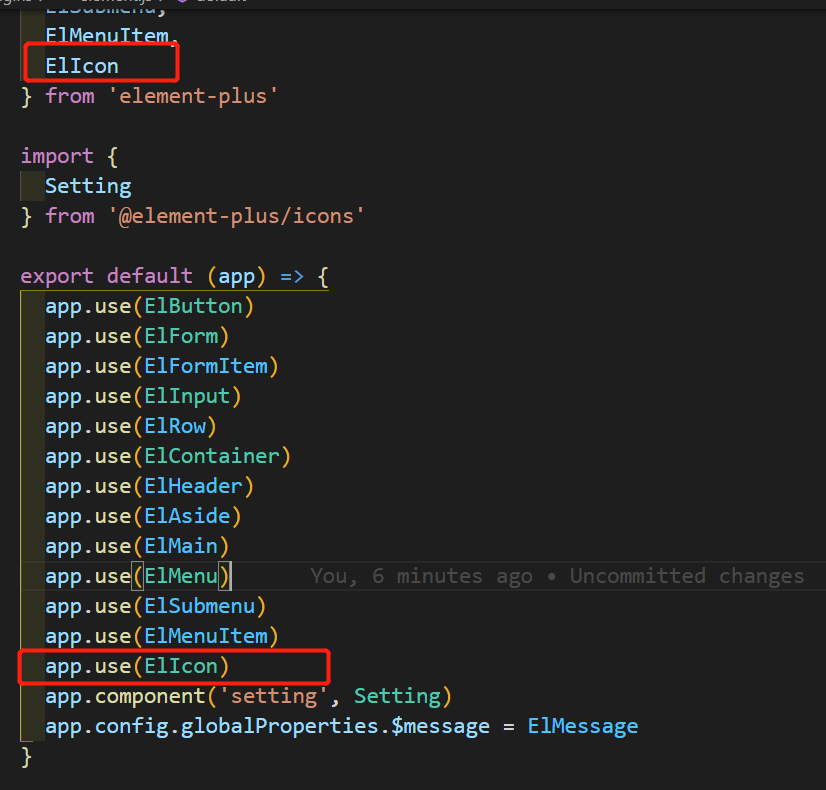
5.4 After installation, you need to import the corresponding icon styles into element.js as needed
1. As shown, the page uses an icon for location

2. element.js import
- Icon component registration format refers to the official document icon use case Component Registration | Vue.js (vuejs.org)
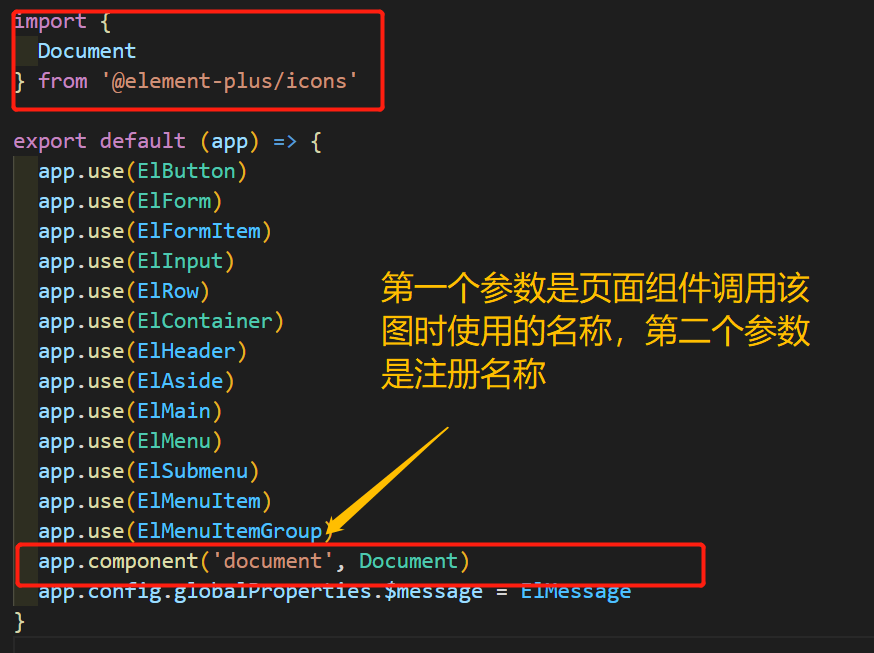
- For example, use in component pages
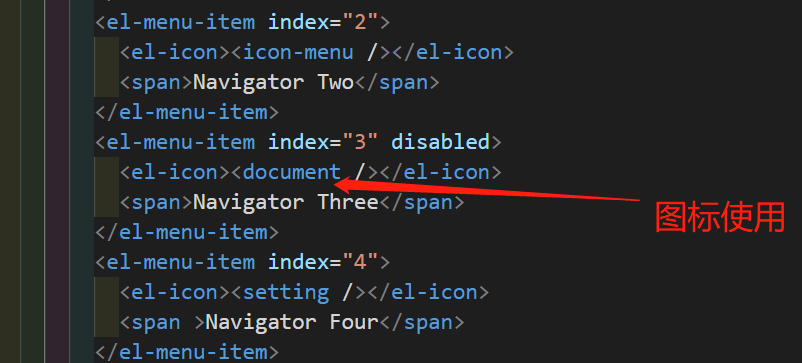
3. Run after recompiling
Ah, ugly icons. Why?
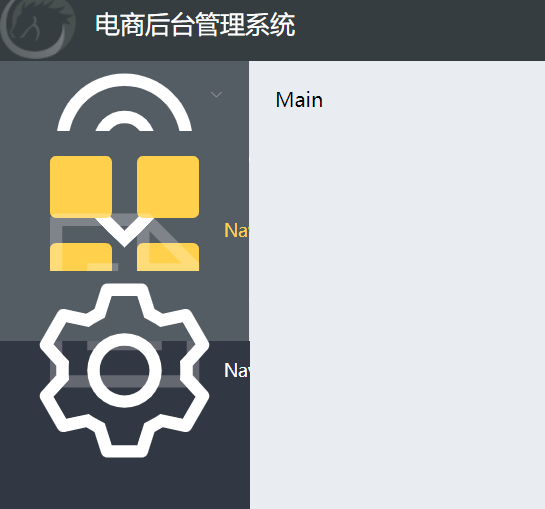
5. Alas, I forgot to register the icon component and registered it globally with element.js
6. Refresh the page to see the effect
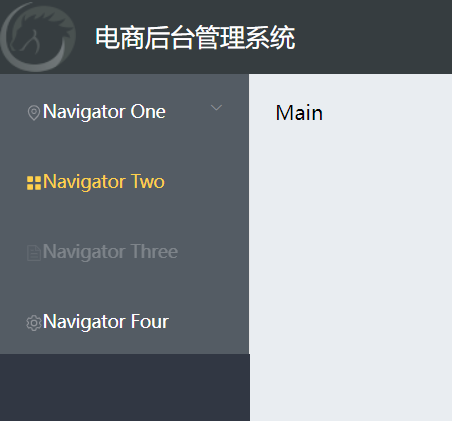
7. There are differences in how the element-ui and element-plus icons are used
- element-plus is an on-demand sign-up, what icon to use, what icon to register manually
// How element-ui icons are used
<i class="el-icon-edit"></i>

// How element-plus is used
 <el-icon >
   <edit></edit>
 </el-icon>
8. Notes on introducing special icon menu
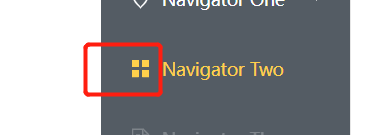
- menu icons need to be aliased for icon rendering
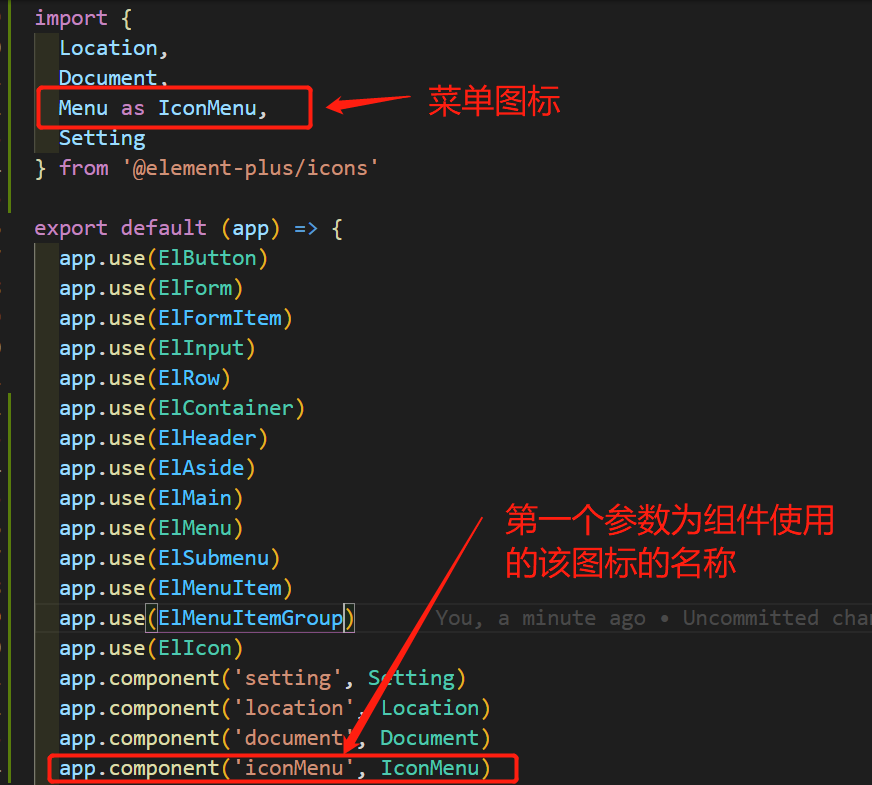
- Sample Component Page Usage

9.vue 3 +element-plus project element.js component naming introduces tips
- For example, when a component is used in a page, the name is el-button
Since the component uses hump naming rules, element.js imports the component.
Need to be written, ElButton
5. Finish the transformation on this page
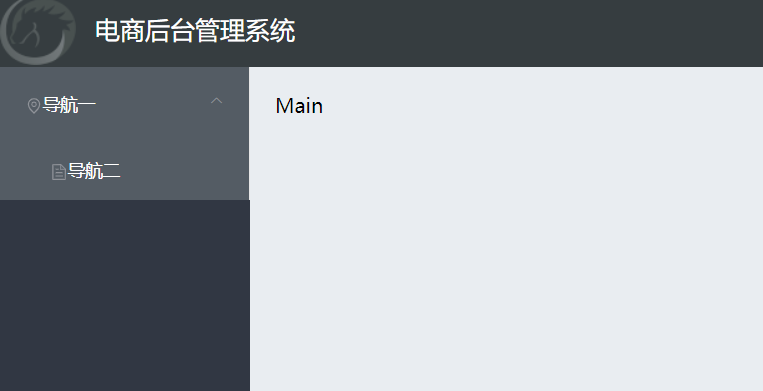
6. Home.vue code
<template>
  <el-container class="home_container">
    <!-- Head area -->
    <el-header>
      <div>
        <img src="../assets/heima.png" alt="" />
        <span>E-commerce Background Management System</span>
      </div>
      <el-button type="info" @click="logout">Sign out</el-button>
    </el-header>
    <!-- Page Body Area -->
    <el-container>
      <!-- sidebar -->
      <el-aside width="200px">
        <!-- Sidebar menu area -->
        <el-menu
        active-text-color="#ffd04b"
        background-color="#545c64"
        text-color="#fff">
        <!-- Level 1 Menu -->
        <el-submenu index="1">
          <!-- Level 1 Menu Template Area -->
          <template #title>
            <el-icon><location /></el-icon>
            <span>Navigation One</span>
          </template>
          <!-- Level 2 Menu -->
          <el-menu-item index="1-4-1">
          <template #title>
            <el-icon><document /></el-icon>
            <span>Navigation 2</span>
          </template>
          </el-menu-item>
        </el-submenu>
      </el-menu>
      </el-aside>
      <!-- Right Content Body Area -->
      <el-main>Main</el-main>
    </el-container>
  </el-container>
</template>
<script>
export default {
  methods: {
    logout () {
      window.sessionStorage.clear()
      this.$router.push('/login')
    }
  }
}
</script>
<style lang="less" scoped>
.home_container {
  height: 100%;
}
.el-header {
  background-color: #363d40;
  // Set a flexible layout for the head
  display: flex;
  // Align labels to the left and right
  justify-content: space-between;
  // Empty the left padding of the picture
  padding-left: 0;
  // Button centered
  align-items: center;
  // text color
  color: #fff;
  // Set text font size
  font-size: 20px;
  // nesting
  > div {
    // Elastic Layout
    display: flex;
    // Vertical Center Alignment
    align-items: center;
    // Add spacing to text and images, using class selector
    span {
      margin-left: 15px;
    }
  }
}
.el-aside {
  background-color: #313743;
}
.el-main {
  background-color: #e9edf1;
}
</style>
7. element.js code
import {
  ElButton,
  ElForm,
  ElFormItem,
  ElInput,
  ElRow,
  ElMessage,
  ElContainer,
  ElHeader,
  ElAside,
  ElMain,
  ElMenu,
  ElSubmenu,
  ElMenuItem,
  ElIcon
} from 'element-plus'

import {
  Location,
  Menu as IconMenu
} from '@element-plus/icons'

export default (app) => {
  app.use(ElButton)
  app.use(ElForm)
  app.use(ElFormItem)
  app.use(ElInput)
  app.use(ElRow)
  app.use(ElContainer)
  app.use(ElHeader)
  app.use(ElAside)
  app.use(ElMain)
  app.use(ElMenu)
  app.use(ElSubmenu)
  app.use(ElMenuItem)
  app.use(ElIcon)
  app.component('location', Location)
  app.component('iconMenu', IconMenu)
  app.config.globalProperties.$message = ElMessage
}
The above comes from:
 https://www.bilibili.com/video/BV1x64y1S7S7?p=32