Visual Sudio 2019 + libtorch(Pytorch C++ Library) Environment Configuration
Preface:
To facilitate the deployment of existing deep learning algorithms in engineering, this paper will configure the deep learning framework libtorch (C++ interface of Pytorch) under the windows environment.
I. Personal Environment
- Windows10 64-bit
- Visual Studio 2019
- Cuda 10.2
- libtorch1.10.0 GPU/CPU
- OpenCV 3.4.3
2. Environmental Installation
-
There are many tutorials available on the Visual Studio 2019 installation web, which will not be covered here. Most of the online tutorials are vs2017 and above to install Libtorch, but it is important to note that vs2019 is required if the version of Libtorch installed is V1.10.0 and above.
-
CMake Installation
Official CMake download address: https://cmake.org/download/
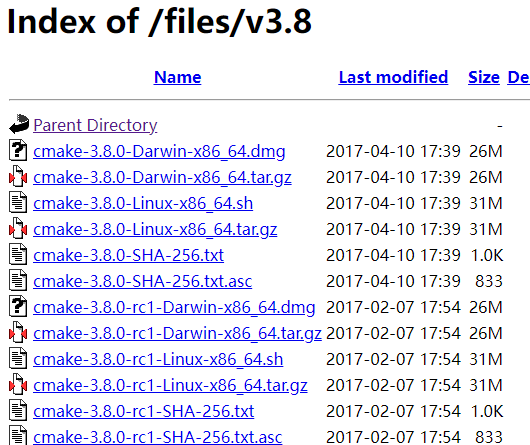
Installed versions need to match the operating system, such as windows 64-bit systems cmake-3.8.0-rc1-win64-x64.msi For download and installation, the installation process is very simple, which is ignored here.
-
libtorch installation
Official download address of libtorch: https://pytorch.org/

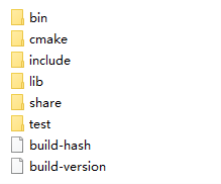
[Note] When downloading libtorch, you need to choose Release or Debug, and the version of libtorch must correspond to the Pytorch training model xxx.pt output from Python, otherwise you cannot infer.
After downloading the unzipped file, the format is as follows:
-
Visual Studio 2019 Configuration libtorch
I used to configure libtorch in VS2017, because the VS version is too low to support the new C++ standard, so there are many errors. After the follow-up communication through the forum blog, I found that VS2019 supports libtorch more and it is successfully configured at one time, so I recommend it.
Install libraries based on project requirements and personal needs, typically on CPU and GPU, while debug mode typically chooses Release version to install, which reduces code compilation errors and improves code efficiency.

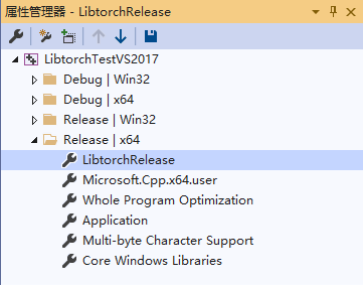
- Open the Property Manager, right-click the compilation mode you selected, and create a new property sheet, named LibtorchRelease, which can also be customized.
-
VC++ contains directories, library directories
General Properties - > VC++ Directory - > Contains Directory, Library Directory
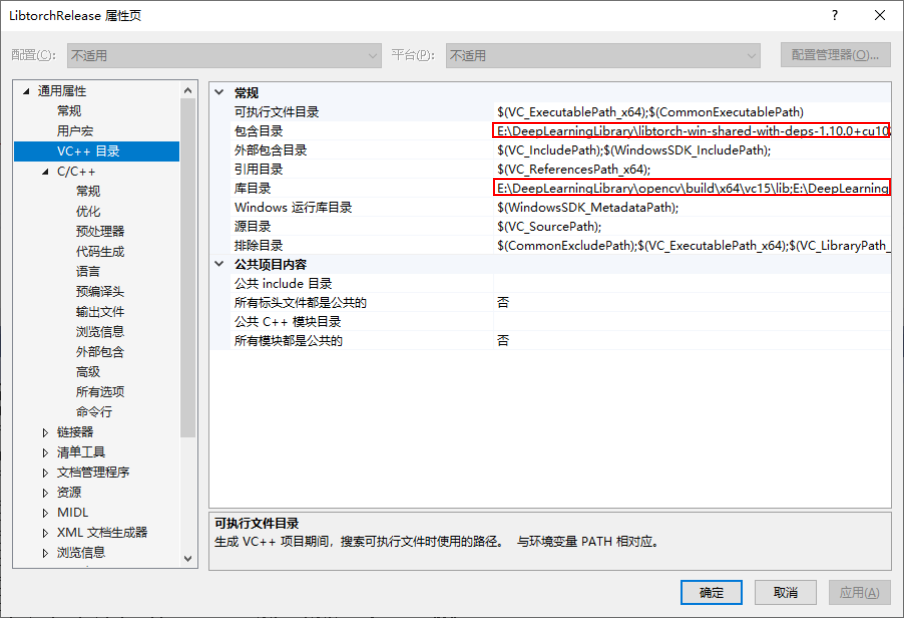
Contains directories:
      path: xxx\libtorch\include\torch\csrc\api\include
      path: xxx\libtorch\include
      path: xxx\opencv\build\include
      path: xxx\opencv\build\include\opencv
      path: xxx\opencv\build\include\opencv2
Library directory:
      path: xxx\libtorch\lib
      path: xxx\opencv\build\x64\vc15\lib
Put the**libtorch**and**OpenCV**The header file directory is placed in the containing directory, and the library file is placed in the library directory.
-
Linker Configuration
Linker->Input->Additional Dependencies
      c10.lib
      c10_cuda.lib
      torch_cpu.lib
      torch_cuda.lib
At this point, the configuration is complete.
-
test
Create a new source file, main.cpp, with the following code
      #include "torch/torch.h"
      #include "torch/script.h"
      #include <opencv2/core/core.hpp>
      #include <opencv2/highgui/highgui.hpp>
      #include <iostream>
      #include <string.h>
      int main() {
      	cv::Mat img = cv::imread("C:\\Users\\admin\\Desktop\\1.png");
      	cv::imshow("show", img);
      	cv::waitKey(3000);
      	torch::Tensor tensor = torch::rand({ 2, 3 });
      	if (torch::cuda::is_available()) {
      		std::cout << "CUDA is available! Training on GPU" << std::endl;
      		auto tensor_cuda = tensor.cuda();
      		std::cout << tensor_cuda << std::endl;
      	}
      	else
      	{
      		std::cout << "CUDA is not available! Training on CPU" << std::endl;
      		std::cout << tensor << std::endl;
      	}


      	std::cin.get();
      }
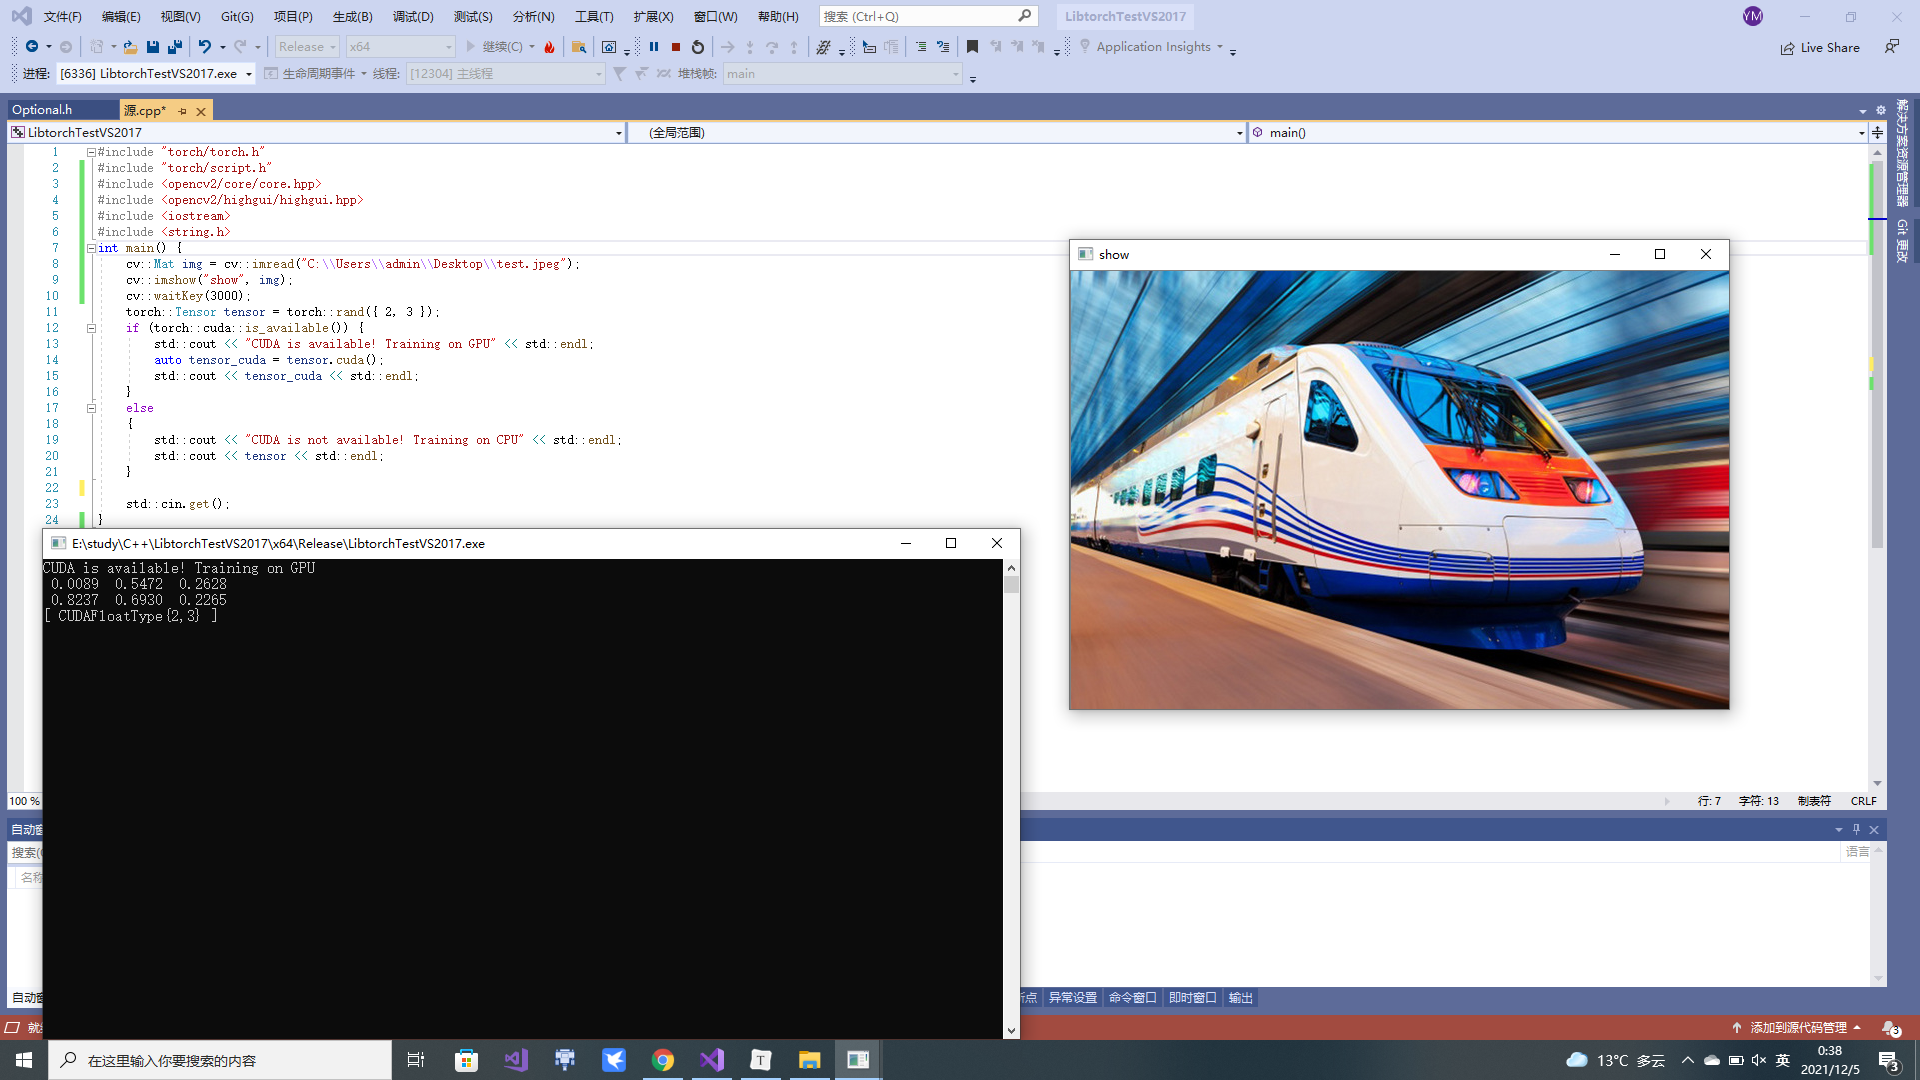
OpenCV Debugging and Libtorch When the result of debugging is as follows, the debugging is successful!
  ### 2. BUG Processing

  1. Direct run, output: `"cuda::is_available(): 0"`,GPU Not called.

     **Solution**:

     - Use VS2017 And above;

     - windows Uploaded cuda Version Required and Downloaded libtorch Of cuda Versions correspond;

     - In Properties --> Linker --> command line --> Adding in Other Options
/INCLUDE:?warp_size@cuda@at@@YAHXZ
2. about VS2017 When compiling, unsupported or a large number of errors occur, and more advanced VS(as VS2019)Compile.