catalogue
1, Construction of development environment:
3, The following problems and solutions may occur:
1, Construction of development environment:
cmake Baidu online disk link:
Link: https://pan.baidu.com/s/1CFQnlU4AwrqAYiMYyGHdmw
Extraction code: ab7a
Download GCC compiler mingw64.zip under windows:
Link: https://pan.baidu.com/s/1I47MAENXtD-cqjZcqKI_Jw
Extraction code: qbv9
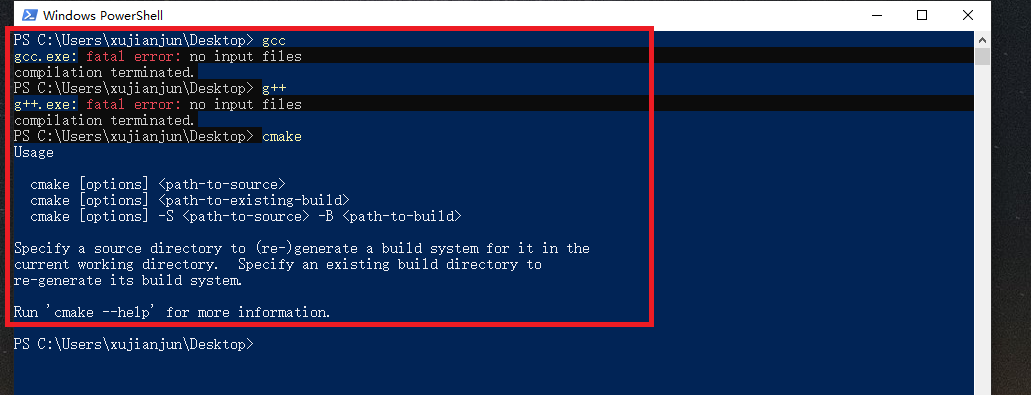
1. Download the above two tools, unzip them, put them in the C:\Program Files folder, then set the full Path of the bin folder of the two tools to the Path environment variable, then click the shift key, right-click the mouse, select to open the powershell window, and enter cmake respectively And g + +, and the normal interface is shown in the figure below:
2. Install the plug-in for visual studio code
Cmake and cmake tools and c/c++
2, Code project practice
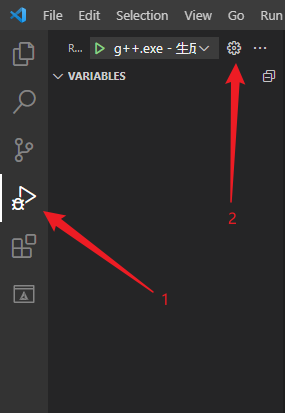
1. Add launch.json for configuration
launch.json
{
// Use IntelliSense to learn about possible attributes.
// Hover to view descriptions of existing attributes.
// For more information, visit: https://go.microsoft.com/fwlink/?linkid=830387
"version": "0.2.0",
"configurations": [
{
"name": "g++.exe - Generate and debug activity files",
"type": "cppdbg",
"request": "launch",
"program": "${workspaceFolder}\\build\\my_wap.exe",
"args": [],
"stopAtEntry": false,
"cwd": "${workspaceFolder}",
"environment": [],
"externalConsole": false,
"MIMode": "gdb",
"miDebuggerPath": "C:\\Program Files (x86)\\mingw-w64\\i686-8.1.0-posix-dwarf-rt_v6-rev0\\mingw32\\bin\\gdb.exe",
"setupCommands": [
{
"description": "by gdb Enable neat printing",
"text": "-enable-pretty-printing",
"ignoreFailures": true
}
],
"preLaunchTask": "Build"
}
]
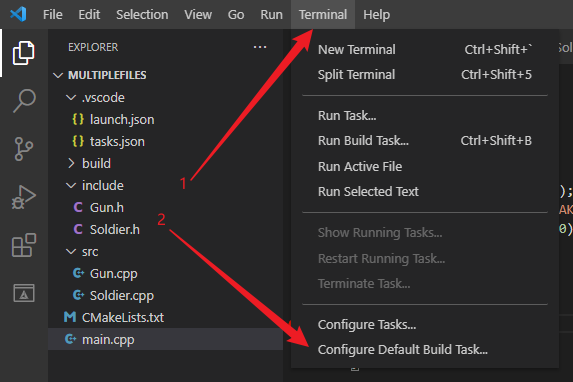
}2. Add tasks.json to the configuration
tasks.json
{
    "version": "2.0.0",
    "options": {
        "cwd": "${workspaceFolder}/build"
    },
    "tasks": [
        {
            "type": "shell",
            "label": "cmake",
            "command": "cmake",
            "args": [
                ".."
            ],
        },
        {
            "label": "make",
            "group": {
                "kind": "build",
                "isDefault": true
            },
            "command": "mingw32-make.exe",
            "args": [

            ],
        },
        {
            "label": "Build",
            "dependsOn":[
                "cmake",
                "make"
            ]
        }
    ],

}
3. Under the project folder, create a new include and src folder, and under the include folder, create the following two header files
Gun.h
#pragma once / / prevent multiple header files from being included. It is recommended to add this line to each header file
#include <string>

class Gun
{
    public:
        Gun(std::string tempType)
        {
            this->_gBulletCount=0;
            this->_gType=tempType;

        }
        void AddBullet(int tempNumber);
        bool Shoot();

    private:

        int _gBulletCount;
        std::string _gType;

};
Soldier.h
#pragma once
#include <string>
#include "Gun.h"
class Soldier
{

public:
    Soldier(std::string tempName);
    ~Soldier();

    void AddGun(Gun* tempGun);
    void AddBulletToGun(int tempNum);
    bool Fire();

private:

    std::string _gName;
    Gun* _gPtrGun;
    /* data */

};
4. Under the project folder and src folder, create the following two source files
Gun.cpp
#include "Gun.h"
#include <iostream>
using namespace std;

 void Gun::AddBullet(int tempNumber)
 {
     this->_gBulletCount+=tempNumber;

 }

 bool Gun::Shoot()
 {
     if (this->_gBulletCount<=0)
     {

         cout<<"there is no bullet!"<<endl;
         return false;
         /* code */
     }
     this->_gBulletCount -= 1;
     cout<<"already shoot:"<<this->_gBulletCount<<endl;
     return true;

 }
Soldier.cpp
#include "Soldier.h"

Soldier::Soldier(std::string tempName)
{
    this->_gName=tempName;
    this->_gPtrGun=nullptr;

}

Soldier::~Soldier()
{
    if(this->_gPtrGun==nullptr)
    {
        return;
    }
    delete this->_gPtrGun;
    this->_gPtrGun=nullptr;
}

void Soldier::AddGun(Gun* tempGun)
{
    this->_gPtrGun=tempGun;
}
void Soldier::AddBulletToGun(int tempNum)
{

    this->_gPtrGun->AddBullet(tempNum);

}
bool Soldier::Fire()
{
    return this->_gPtrGun->Shoot();

}
5. Create main.cpp in the directory of the project folder
main.cpp
#include "Gun.h"
#include "Soldier.h"

void test()
{
    Soldier sanduo("sanduo");
    sanduo.AddGun(new Gun("AK47"));
    sanduo.AddBulletToGun(20);
    sanduo.Fire();
}
int main()
{
    test();
    return 0;
}
6. Create a new CMakeLists.txt file
CMakeLists.txt
cmake_minimum_required(VERSION 3.0)
PROJECT(my_multiple)
set(CMAKE_CXX_FLAGS "${CMAKE_CXX_FLAGS} -g -Wall")
set(CMAKE_CXX_FLAGS "${CMAKE_CXX_FLAGS} -std=c++11")
set( CMAKE_BUILD_TYPE "Debug")
include_directories(${CMAKE_SOURCE_DIR}/include)
set(SRC
src/Gun.cpp
src/Soldier.cpp)
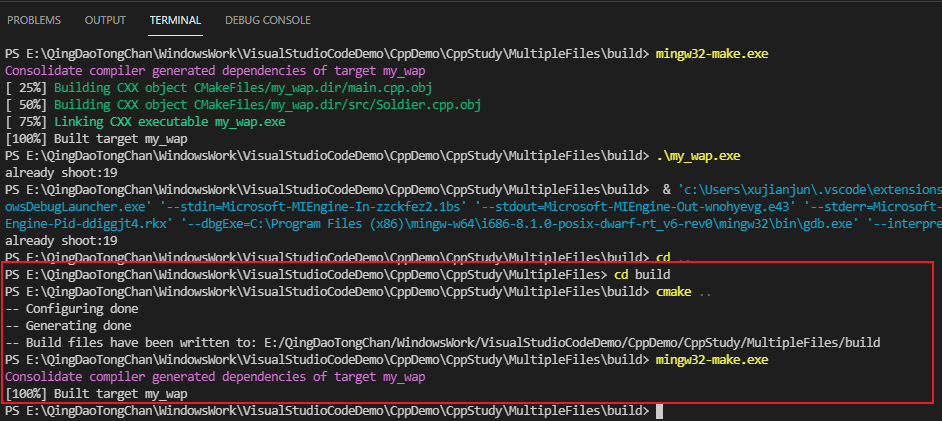
add_executable(my_wap main.cpp ${SRC})7. Click the shortcut key ctrl+shift+p After adding CMake:Configure, continue to select GCC8.1 compiler, and the build folder will be automatically generated under the project folder. You can execute the following commands to test:
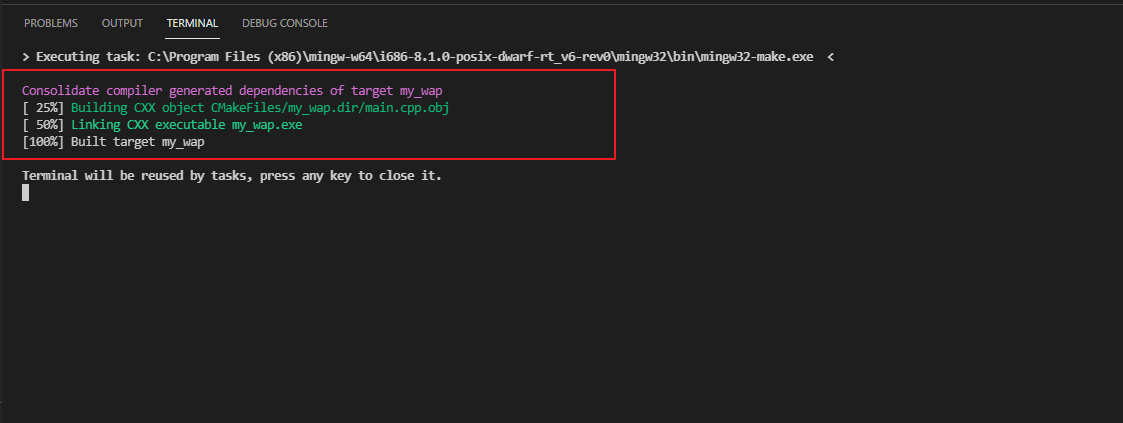
8. After confirming that there are no errors in the various containing paths of the three files launch.json tasks.json CMakeLists.txt, ctrl+shift+b Automatically execute tasks.json to compile, and click any key to exit the terminal
9. Press F5 to run, first execute launch.json, then execute "preLaunchTask": "Build" in launch.json, call and execute tasks.json compilation, and finally execute debugging
3, The following problems and solutions may occur:
1. All directory paths of the project must use English paths
2. If you change the project directory, you need to delete the build folder, and then click ctrl+shift+p After adding CMake:Configure, continue to select GCC8.1 compiler, and then re cmake And make
3. Do not put the project under the network disk with synchronization function. Different processes will call the same file and an error will occur