Article directory
In modern history, every year of gengzi was unusual: the Opium War in 1840, the invasion of China by the Allied forces of eight countries in 1900, and the famine in 1960. A novel coronavirus epidemic swept across East Asia in 2020, which swept the world. This innocent disaster caused many people to give up their plans for party and travel, and they had to live in a small room. However, no matter how rampant the virus is, it can't stop programmers from yearning for a better life. Today, I'm going to teach you how to use Python to make a wallpaper switching tool, show photos of previous trips, and let the desktop take us around the world!
1. Set up Windows Wallpaper with Python
To set up Windows Wallpaper, you need to modify the windows registry, use Python to operate the windows registry, and generally use pywin32 module. This module wraps almost all windows APIs and can be easily called directly from python. Pywin32 allows you to use Python to develop win32 applications in the form of VC. The code style can be similar to win32 sdk or MFC. You can choose. To install the pywin32 module, you can use the following command to install it directly or from the Python module warehouse Download the what file to install locally.
python -m pip install pywin32
Setting Windows Wallpaper in Python is divided into five steps, with only five lines of core code:
import win32api
import win32gui
import win32con

def set_wallpaper(photo_path):
    """set wallpaper"""

    # 1. Open the registry key
    key = win32api.RegOpenKeyEx(win32con.HKEY_CURRENT_USER, "Control Panel\\Desktop", 0, win32con.KEY_SET_VALUE)

    # 2. Set wallpaper style: 0 = centered 1 = tiled 2 = stretched
    win32api.RegSetValueEx(key, "WallpaperStyle", 0, win32con.REG_SZ, "2")

    # 3. Set whether the wallpaper is scaled: 0 = scaled 1 = Original
    win32api.RegSetValueEx(key, "TileWallpaper", 0, win32con.REG_SZ, "0")

    # 4. Set up wallpaper
    win32gui.SystemParametersInfo(win32con.SPI_SETDESKWALLPAPER, photo_path, 3)

    # 5. Close registry key
    win32api.RegCloseKey(key)
I found a picture of Cherry Blossom blooming in Wulongtan of Jinan last spring and ran:
photo_path = r'D:\CSDN\Column\desktop\album\20200129150646.jpg'
set_wallpaper(photo_path)
My desktop is like this: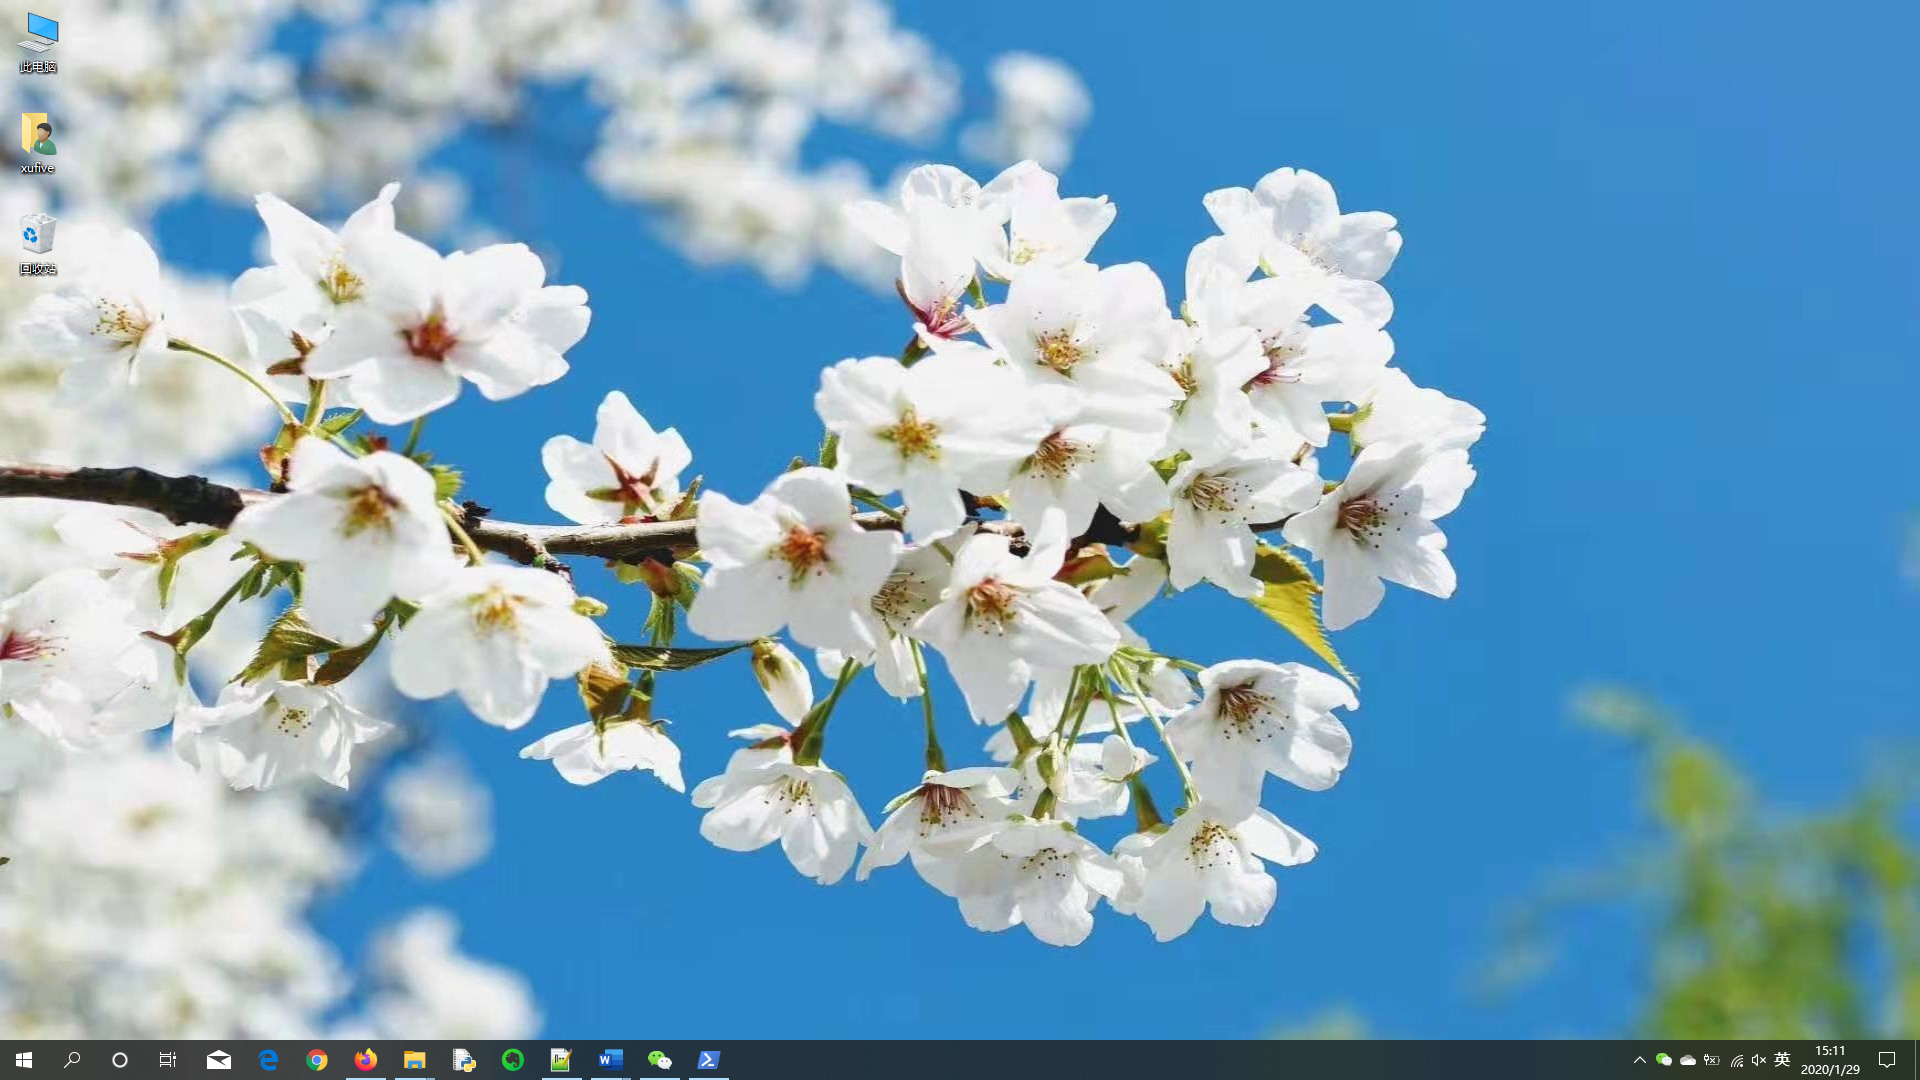
Students familiar with the registration form can skip the rest of this section and go directly to the next section. Students interested in registry structure can continue to read this section. Click Win + R and enter regedit to open the registry editor of the system, as shown in the following figure: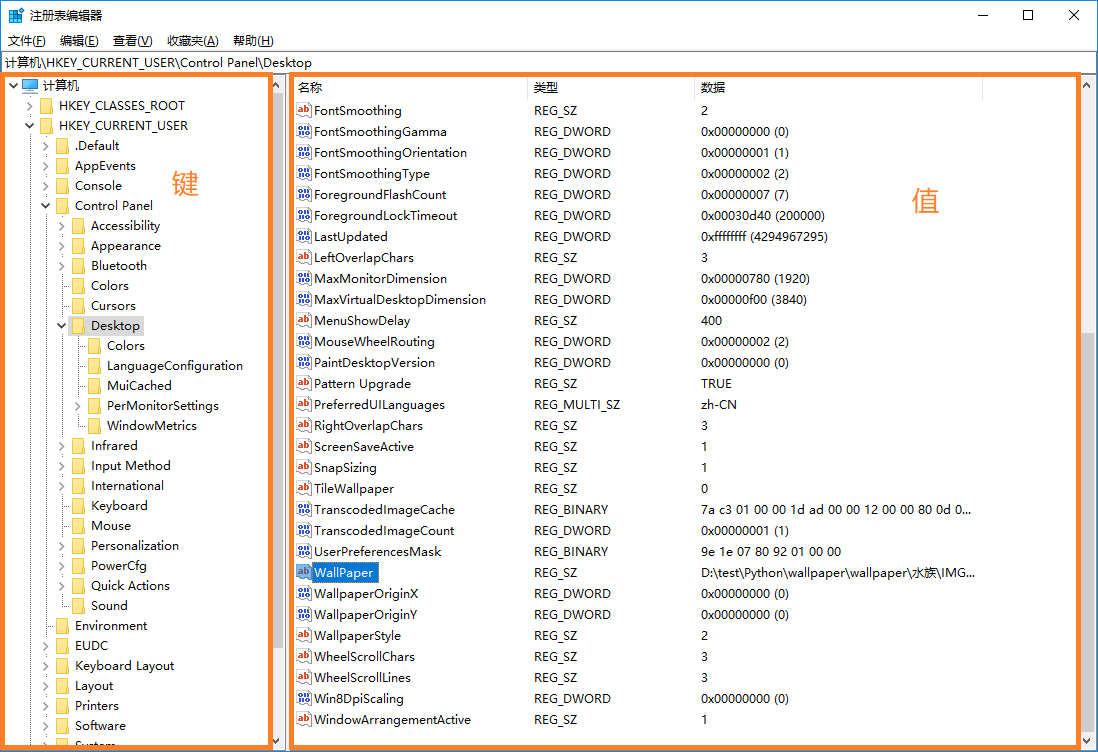
The registry is divided into two parts: the key directory on the left and the value list on the right. The keys and values in the registry are different from what our programmers usually call keys and values. Here, the key is similar to the directory and the value is similar to the file. Each value contains three items: name, type and data.
The key of Windows registry is a tree structure, which has six root nodes:
- HKEY? Local? Machine: the core primary key of the registry, which records the configuration of all hardware and software on the computer
- HKEY ﹣ classes ﹣ root: This is not really a node, but a link to HKEY ﹣ local ﹣ machine \ software \ classes. The operation on this node is the same as that on HKEY ﹣ local ﹣ machine \ software \ classes
- HKEY_USERS: the core primary key of the registry, which records the setting information of all users in Windows
- HKEY ﹣ current ﹣ user: it is the link of the current user key in HKEY ﹣ users, saving all the configuration information of the current login user
- HKEY? Current? Config: is a link to HKEY? Local? Machine \ config
- HKEY? Dyn? Data: records the dynamic data of the system
Each user of wallpaper information is different, so we need to operate the content in HKEY ﹣ current ﹣ user, specifically HKEY ﹣ current ﹣ user \ control panel \ desktop, which has three values to modify:
- WallPaper: path to WallPaper file
- WallpaperStyle: there are three options: 0 = center 1 = tile 2 = stretch
- Tilewalpaper: there are two options: 0 = zoom 1 = Original
Using pywin32 module to operate the registry requires three steps:
- Open registry key
Call win32api.RegOpenKeyEx to open the registry key. It has four parameters, namely:- Root node
- Child node
- Must be 0
- Operations on open subitems, including win32con.key'all'access, win32con.key'read, win32con.key'write, win32con.key'set'value, etc
- Modify registry value
To modify the value of the registry, when you open the key, the fourth parameter needs to be set to win32con.key-set-value, and then you can call win32api.RegSetValueEx to modify the value. It has five parameters:- Open registry key
- Name of value
- Must be 0
- The data type of value, including win32con.reg ﹣ binary, win32con.reg ﹣ SZ, win32con.reg ﹣ DWORD, etc
- value
- Close registry key
After operating the registry, you can call win32api.RegCloseKey to close the registry key
2. Randomly switch Windows Wallpaper
Next, we organize the travel photos into a directory, recursively traverse all the photos, and then randomly select one set as wallpaper:
# -*- coding: utf-8 -*-

import os, random
import win32api, win32gui, win32con

def set_wallpaper(photo_path):
    """set wallpaper"""

    # 1. Open the registry key
    key = win32api.RegOpenKeyEx(win32con.HKEY_CURRENT_USER, "Control Panel\\Desktop", 0, win32con.KEY_SET_VALUE)

    # 2. Set wallpaper style: 0 = centered 1 = tiled 2 = stretched
    win32api.RegSetValueEx(key, "WallpaperStyle", 0, win32con.REG_SZ, "2")

    # 3. Set whether the wallpaper is scaled: 0 = scaled 1 = Original
    win32api.RegSetValueEx(key, "TileWallpaper", 0, win32con.REG_SZ, "0")

    # 4. Set up wallpaper
    win32gui.SystemParametersInfo(win32con.SPI_SETDESKWALLPAPER, photo_path, 3)

    # 5. Close registry key
    win32api.RegCloseKey(key)

def set_wallpaper_random(photo_dir):
    """Random wallpaper"""

    wall_papers = list()
    for root, dirs, files in os.walk(photo_dir):
        for name in files:
            if os.path.splitext(name)[1].lower() == ".jpg":
                wall_papers.append(os.path.join(root, name))

    set_wallpaper(random.choice(wall_papers))

if __name__ == '__main__':
    #photo_path = r'D:\CSDN\Column\desktop\album\20200129150646.jpg'
    #set_wallpaper(photo_path)
    set_wallpaper_random(r'D:\CSDN\Column\desktop\album')
This code runs once, you can randomly switch a wallpaper. I ran it four times, and the four desktop effects are as follows: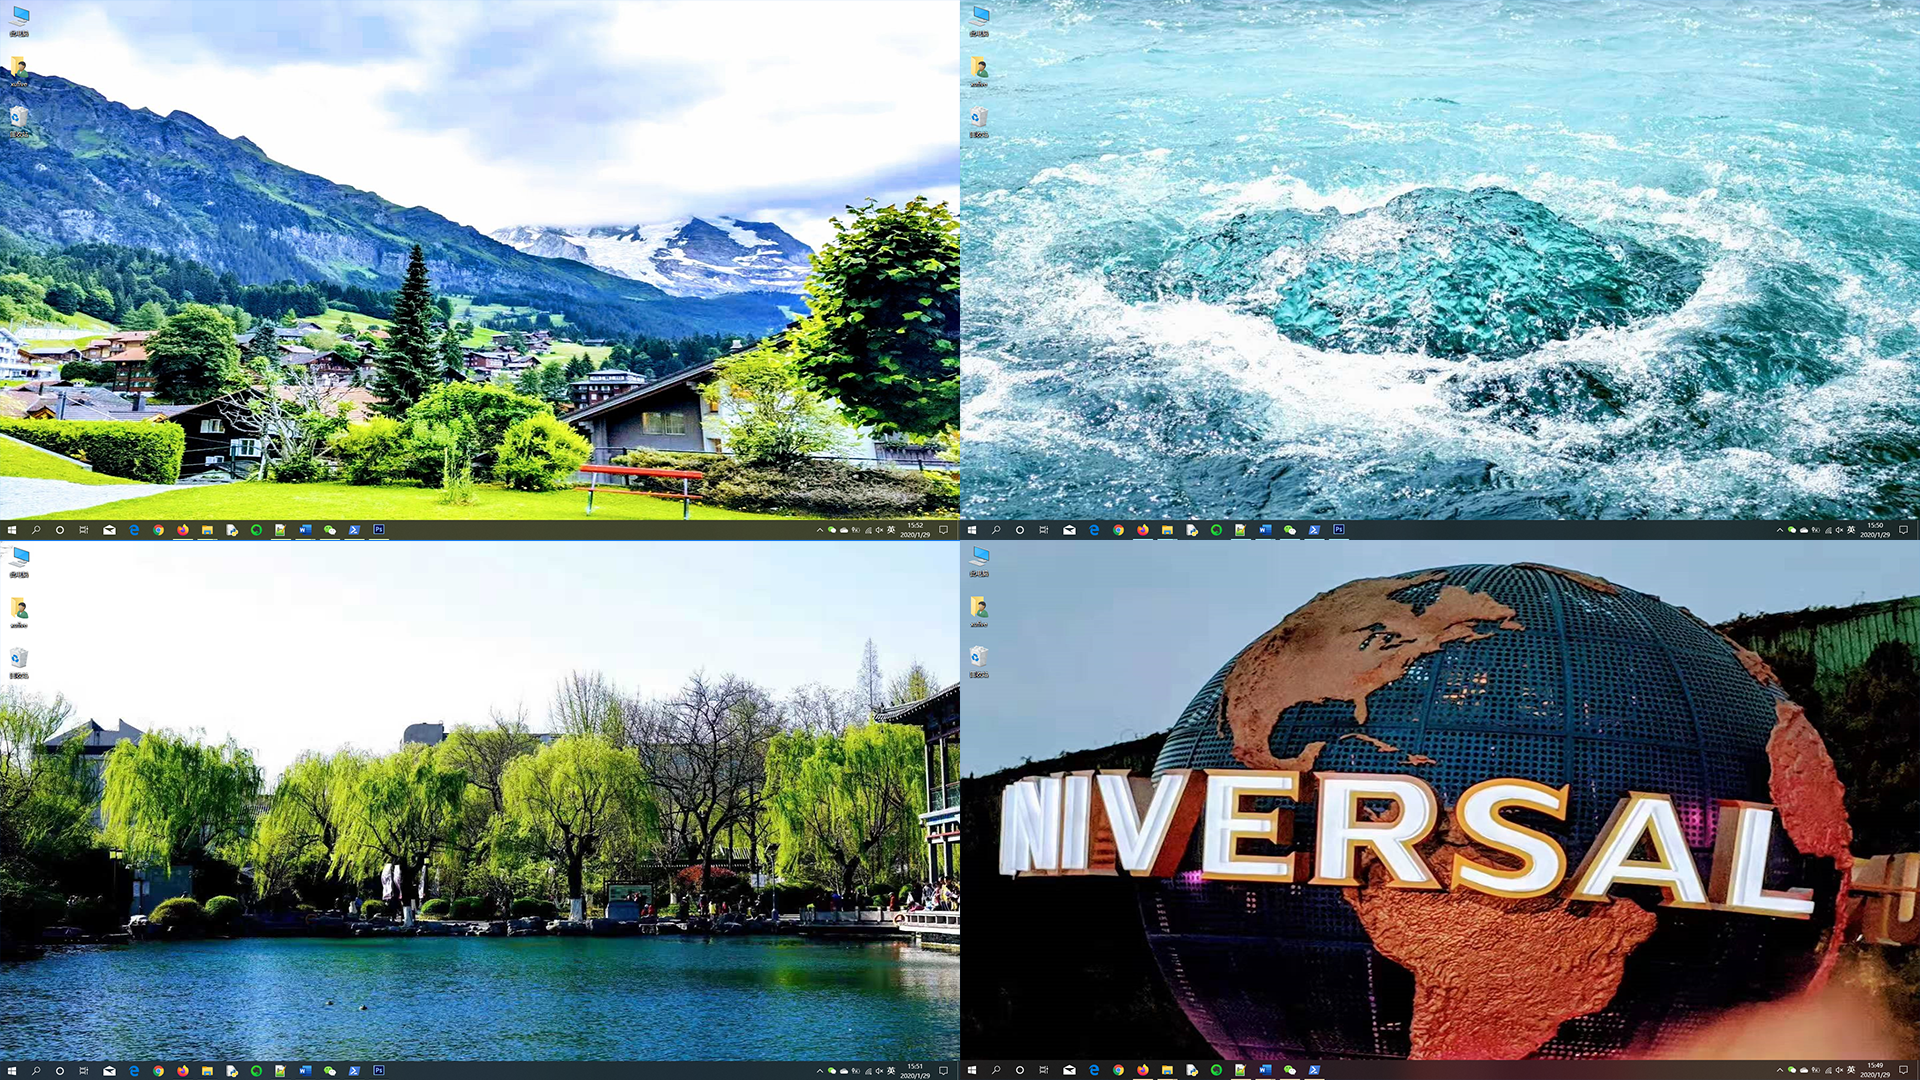
3. Switch Windows wallpaper regularly
Every time I want to change the wallpaper, I have to run the above code manually. It's a bit troublesome. Well, let's make an automatic timing switch. To realize the function of timing switching, a framework of timing scheduling service is needed. I just introduced the APScheduler Library in the data capture service a few days ago. Today, we continue to use it to implement the scheduled execution of tasks. The APScheduler installation command is as follows:
python -m pip install apscheduler
After installation, the following code can be used to test the effect:
from apscheduler.schedulers.blocking import BlockingScheduler

# Task execution function
def do_job():
    print("do_job")

# Create scheduler
scheduler = BlockingScheduler()

# Add job
scheduler.add_job(do_job,               # Execution function after time
                trigger="cron",         # Set trigger to cron
                second="*/1",           # Set to execute every second
                misfire_grace_time=60   # If there are many tasks, and the job is not executed in 60 seconds, give up execution
                )

# Startup scheduling
scheduler.start()
If you can print out do ﹣ jobs every second, the apscheduler can execute normally. There are many kinds of triggers in apscheduler. In this code, cron trigger is used, which is the most complex trigger in apscheduler. It can use cron syntax to specify very complex trigger mode.
cron syntax includes seven fields: second, minute, hour, day, month, week, and year. Each field can use some wildcards to match the time when the task can be executed. When the seven fields are successfully matched, the task will be executed. Wildcards supported by each domain are as follows:
- Seconds: four characters', - * / 'and an integer with a valid range of 0-59 can be used
- Minutes: four characters', - * / 'and an integer with a valid range of 0-59 can be used
- Hours: four characters of ", - * /" and integers with valid range of 0-23 are allowed
- Day: eight characters of ", - * /? L W C" and integers with valid range of 0-31 can be used
- Month: you can use ", - * /" as a four character integer with a valid range of 1-12 or JAN-DEC
- Week: you can use four characters', - * /? L C ා ', an integer with a valid range of 1-7 or two ranges of SUN-SAT. 1 for Sunday, 2 for Monday, and so on
- Year: four characters of ", - * /" can be used, and the valid range is 1970-2099
Among them, the meaning of each character is as follows:
-
, indicating that enumeration value values are listed.
Using 5,20 in the "minutes" field means triggering twice at 5 and 20 minutes
-
-Indicates the range
Use 5-20 in the "minutes" field, which means every minute is triggered from 5 minutes to 20 minutes
-
*Represents any value that matches the field.
Using * in the minutes field means that events are triggered every minute
-
/Indicates that the start time starts to trigger, and then triggers every fixed time
If 5 / 20 is used in the "minute" field, it means once every five minutes, then once every 20 minutes, i.e. once for 5, 25, 45, etc
-
? also matches any value of the field, but can only be used in the day and week fields. Because "day" and "week" will affect each other, when one of "day" and "week" uses rules other than *, the other should use? Instead of using *.
If you want to trigger scheduling on the 20th of every month, no matter what day it is, you can only use the following method:
Day: 20, month: *, week:?
-
L means at the end, it can only appear in the "day" and "week" fields.
Using 5L in the "week" field means triggering on the last Thursday
-
W means effective working day (Monday to Friday), which can only appear in the "day" field. The system will trigger the event on the latest effective working day from the specified date.
Use 5W on a day. If the 5th is Saturday, it will trigger on the latest working day: Friday, that is, the 4th. If the 5th is Sunday, it will be triggered on the 6th (Monday);
If the 5th is a day from Monday to Friday, it will trigger on the 5th. On the other hand, W's recent search won't span months.
-
LW can be used together to indicate the last working day of a month, that is, the last Friday
-
#Used to determine the day of the week of each month, which can only appear in the week field.
In 4 × 2, the second Wednesday of a month
Change the above code slightly to switch wallpaper regularly:
# -*- coding: utf-8 -*-

import os, random
import win32api, win32gui, win32con
from apscheduler.schedulers.blocking import BlockingScheduler

def set_wallpaper(photo_path):
    """set wallpaper"""

    # 1. Open the registry key
    key = win32api.RegOpenKeyEx(win32con.HKEY_CURRENT_USER, "Control Panel\\Desktop", 0, win32con.KEY_SET_VALUE)

    # 2. Set wallpaper style: 0 = centered 1 = tiled 2 = stretched
    win32api.RegSetValueEx(key, "WallpaperStyle", 0, win32con.REG_SZ, "2")

    # 3. Set whether the wallpaper is scaled: 0 = scaled 1 = Original
    win32api.RegSetValueEx(key, "TileWallpaper", 0, win32con.REG_SZ, "0")

    # 4. Set up wallpaper
    win32gui.SystemParametersInfo(win32con.SPI_SETDESKWALLPAPER, photo_path, 3)

    # 5. Close registry key
    win32api.RegCloseKey(key)

def set_wallpaper_random(photo_dir):
    """Random wallpaper"""

    wall_papers = list()
    for root, dirs, files in os.walk(photo_dir):
        for name in files:
            if os.path.splitext(name)[1].lower() == ".jpg":
                wall_papers.append(os.path.join(root, name))

    set_wallpaper(random.choice(wall_papers))

def set_wallpaper_regular(photo_dir):
    """Timing wallpaper"""

    scheduler = BlockingScheduler()
    scheduler.add_job(set_wallpaper_random,
        args    = (photo_dir, ),
        trigger = "cron",
        second  = "*/10" # Switch every 10 minutes
    )
    scheduler.start()

if __name__ == '__main__':
    #photo_path = r'D:\CSDN\Column\desktop\album\20200129150646.jpg'
    #set_wallpaper(photo_path)
    #set_wallpaper_random(r'D:\CSDN\Column\desktop\album')
    set_wallpaper_regular(r'D:\CSDN\Column\desktop\album')
Run this code and switch wallpaper automatically every 10 minutes. Students who are interested in it can also be packaged into a service program or even a task tray program, which will be more practical.