be careful:
The editor used in this paper is: idea
1. Download Baidu rich text editor at https://ueditor.baidu.com/website/download.html
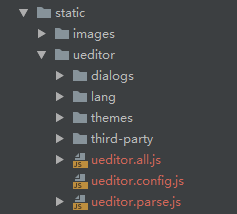
2. Add it to the static folder, as shown in the figure:
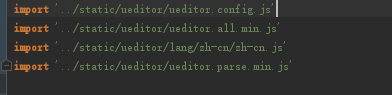
3. Introduce JS into main.js.
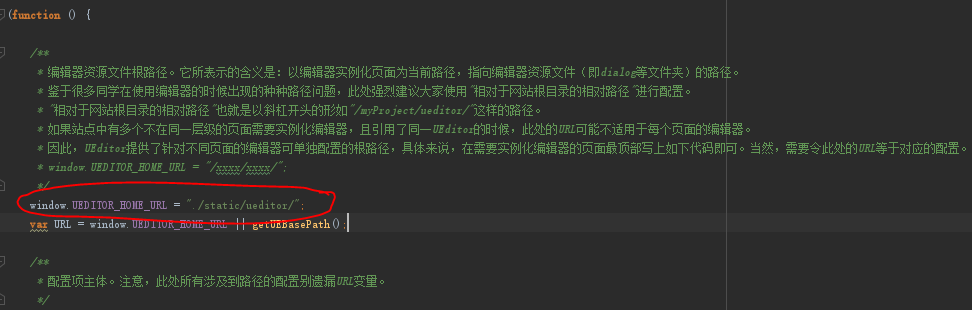
Note: be sure to modify the path in ueeditor.config.js
window.UEDITOR_HOME_URL = "./static/ueditor/"
4.To write vue Components:
<template>
  <div>
    <script id="editor" type="text/plain"></script>
  </div>
</template>
<script>
  export default {
    name: 'UE',
    data () {
      return {
        editor: null
      }
    },
    props: {
      defaultMsg: {
        type: String
      },
      config: {
        type: Object
      }
    },
    mounted() {
      const _this = this;
      this.editor = UE.getEditor('editor', this.config); // Initialize UE
      this.editor.addListener("ready", function () {
        _this.editor.setContent(_this.defaultMsg); // Make sure that the UE load is complete and the content is put in.
      });
    },
    methods: {
      getUEContent() { // Get content method
        return this.editor.getContent()
      }
    },
    destroyed() {
      this.editor.destroy();
    }
  }
</script>

5.Write the Vue Interface:
<template>
  <div>
    <navigation></navigation>
    <div style="width: 50%;padding-left: 25%;" >
      <!--<el-input type="textarea" v-model="form.desc" placeholder="Say something"></el-input>-->
      <div class="components-container">
        <el-button @click="getUEContent()" type="primary" style="padding: 10px;margin: 10px;">Get content</el-button>
        <div class="editor-container">
          <ueditor :defaultMsg=defaultMsg :config=config ref="ue"></ueditor>
        </div>
      </div>
    </div>
  </div>
</template>

<script>
//Register components by local reference
  import ueditor from '@/components/Ueditor';
  export default {
    name: "PublishPage",
    data() {
      return {
        defaultMsg: 'Say something',
        config: {
          initialFrameWidth: null,
          initialFrameHeight: 350
        }
      }
    },
    components: {
     ueditor
    },
    methods: {
      getUEContent() {
        let content = this.$refs.ue.getUEContent();
        this.$notify({
          title: 'You can view it in the console!',
          message: content,
          type: 'success'
        });
        console.log(content)
      }
    }
  }
</script>

<style scoped>

</style>

6.Write route

7. Operation project
npm run dev
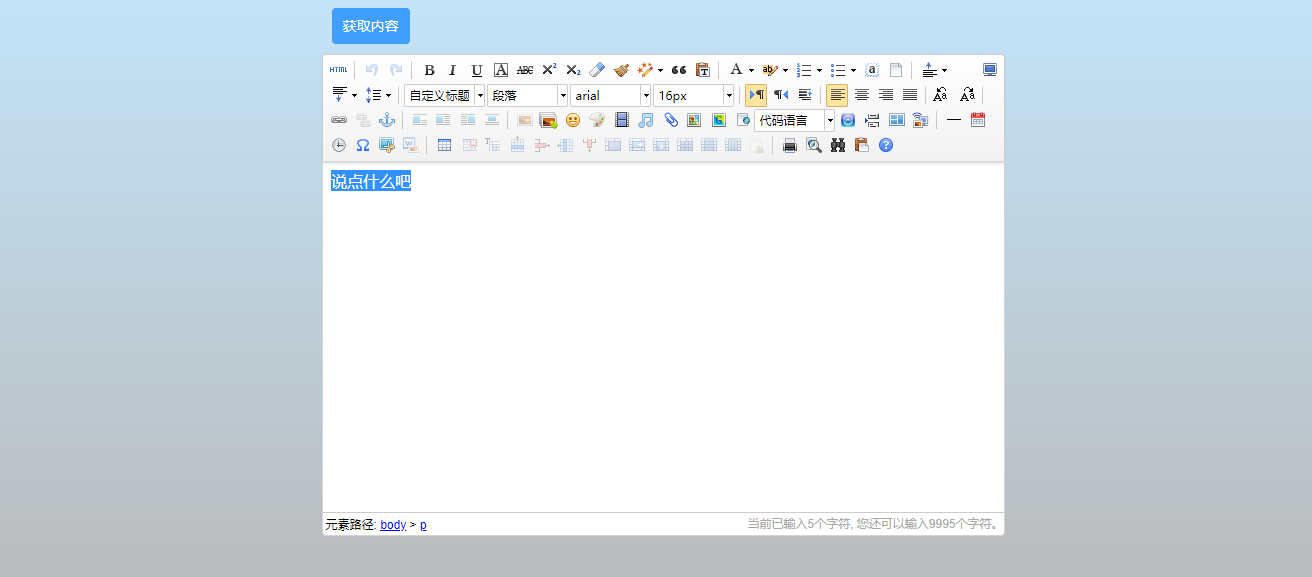
8. Effect display
Note:
1. Send the prepared text and media files to the server. Please see the next introduction.
2. This is the process of the author's learning and recording. If there is any mistake, please correct it. Don't spray it if you don't like it. Thank you.