Preface
Recently, when making a special page for a competition in our company, we met the need to create a poster using photos uploaded by competitors. In the process of implementation, we used some APIs which were not used before, and also stepped on some pits, so we recorded them.
Requirement description
Users click on buttons to upload photos
After the photo upload is completed, the photos are cut and posters are obtained by combining the background and name of the poster.
Upload the generated Poster
The effect is roughly as follows:
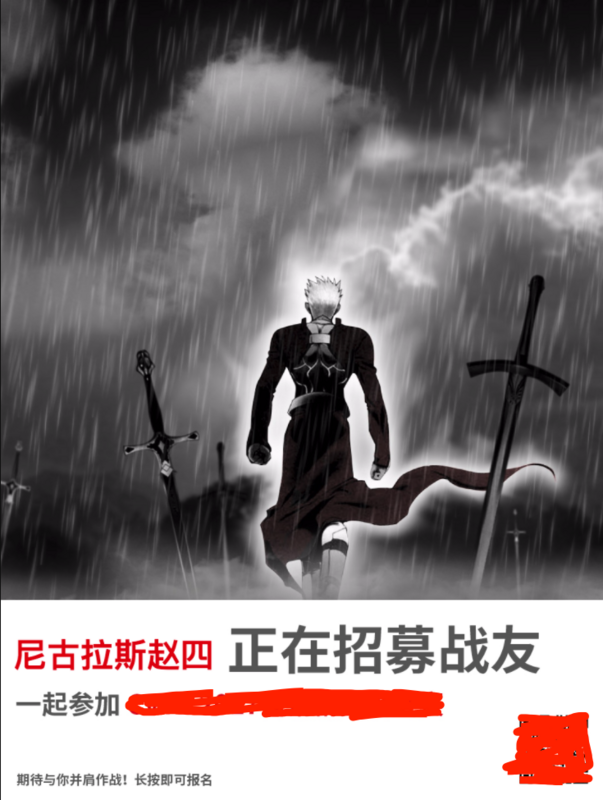
Background of the poster:

Finished products:
Implementation process
1. Initialization of canvas
canvas#poster-canvas(width='960' height='1280')
function initCanvas() {
  canvasCtx = document.getElementById("poster-canvas").getContext('2d');
}
2. Drawing poster background
The background of the poster is a pre-provided photo, which is placed in a hidden img tag, and a canvas element is reserved for drawing the poster:
img.poster-background(src='/assets/xxx/poster-background.jpeg')
After the page is loaded, the poster background is drawn into canvas:
$('img.poster-background').on('load', function () {
  var backgroundImg = $('img.poster-background')[0];
  canvasCtx.drawImage(backgroundImg, 0, 0, 960, 1280);
  renderName();
});
After the poster background is drawn, the user's name needs to be drawn to a specific location. Because user names vary in length, it is necessary to calculate and determine font size:
function renderName() {
  var name = $('input[name="chName"]').val();
  var fontSize;
  if (name.length < 3) {
    fontSize = 100;
  } else {
    fontSize = parseInt(320 / name.length);
  }
  canvasCtx.font = "bold " + fontSize + "px Courier New";
  canvasCtx.fillStyle = "#de071b";
  canvasCtx.fillText(name, 20, 1066);
}
3. Upload Photos
Use the input element of file type, because the page appears as a button click, so use the classic method of transparency and overwriting the input element button:
a.upload-btn
  input#photo(type='file' name='photo' accept='image/jpeg, image/png')
  | Upload your own photos to generate exclusive posters
.upload-btn input {
  position: absolute;
  left: 0;
  top: 0;
  opacity: 0;
  width: 100%;
  height: 68px;
  cursor: pointer;
}
Then listen for the change event of the input element, construct the form data using the FormData API, upload asynchronously using ajax, and upload the photos after completion. Get an address and set it in an img tag reserved on the page:
$('#photo').on('change', function (e) {
  var file = e.target.files[0];
  var type = file.type;
  if (type !== 'image/jpeg' && type !== 'image/png') {
    window.toastr.error('Please upload jpg or png Pictures in format');
  } else {
    var formData = new FormData();
    formData.append('avatar', file);
    $.ajax({
      type: 'POST',
      url: '/upload_url',
      data: formData,
      contentType: false,
      processData: false,
      success: function(result) {
        var avatarUrl = result.data.url;
        $('img.avatar').attr('src', avatarUrl);
      },
      error: function(err) {

      }
    });
  }
});
4. Photographing
The area where the photos are placed in the poster is square, but the photos uploaded by the user are not necessarily so the photos need to be cut. The principle of clipping is to take the middle part of the photos. Then the clipping parameters are passed into the drawImage method of canvas to draw:
$('img.avatar').on('load', function () {
  var avatarImg = $('img.avatar')[0];
  var originWidth = avatarImg.width;
  var originHeight = avatarImg.height;
  var newWidth, cutStartX, cutStartY;

  if (originWidth < originHeight) {
    newWidth = originWidth;
    cutStartX = 0;
    cutStartY = (originHeight - originWidth) / 2;
  } else if (originWidth > originHeight) {
    newWidth = originHeight;
    cutStartX = (originWidth - originHeight) / 2;
    cutStartY = 0;
  } else {
    newWidth = originWidth;
    cutStartX = 0;
    cutStartY = 0;
  }

  canvasCtx.drawImage(avatarImg, cutStartX, cutStartY, newWidth, newWidth, 0, 0, 960, 960);

  uploadPoster();

});
The same method is used to draw the poster background in front of the poster and the picture here, but the latter passes in more clipping parameters. However, it should be noted that the clipping parameters are passed in before the drawing position, rather than simply filling in the following:
canvasCtx.drawImage(backgroundImg, 0, 0, 960, 1280);

canvasCtx.drawImage(avatarImg, cutStartX, cutStartY, newWidth, newWidth, 0, 0, 960, 960);
5. Uploading Posters
FormData API is still used, so you need to construct a Blob object with canvas first. New versions of Chrome and Firefox support canvas's toBlob method, which can be used directly:
document.getElementById("poster-canvas").toBlob(function (blob) {});
In other browsers, image data in base64 format can be obtained by toDataURL method, and then Blob:
var blob = dataURLtoBlob(document.getElementById("poster-canvas").toDataURL());

function dataURLtoBlob(dataurl) {
  if (dataurl.indexOf('base64') < 0) {
    dataurl = 'data:image/jpeg;base64,' + dataurl;
  }
  var arr = dataurl.split(',');
  var mime = arr[0].match(/:(.*?);/)[1];
  var bstr = atob(arr[1]);
  var n = bstr.length;
  var u8arr = new Uint8Array(n);
  while (n --) {
    u8arr[n] = bstr.charCodeAt(n);
  }
  return new Blob([u8arr], {type: mime});
}
Then upload, the steps are consistent with the previous upload photos:
var formData = new FormData();
formData.append('poster', blob);
$.ajax({
  type: 'POST',
  url: '/upload_poster_url',
  data: formdata,
  contentType: false,
  processData: false,
  success: function(result) {

  },
  error: function(err) {

  }
});
So far, the whole process is over.