Game requirements
- Create a map and several patrols (using animation);
- Each patrol takes a convex multilateral form with 3-5 sides, and the location data is the relative address. That is to say, each time the next target position is determined, it is calculated with its current position as the origin;
- When the patrolman collides with an obstacle, he will automatically select the next point as the target.
- When the patrolman senses the player within the set range, he will automatically chase the player.
- After losing the player's target, continue to patrol;
- Score: players lose one patrol every time, and the game is over;
Program design requirements
- You must use subscription and publish mode to deliver messages
- Using factory mode to produce patrolmen
design process
Patrol Arsenal
The first is the production of patrolmen. Like the previous game of flying saucer, a class is designed to be specially responsible for the production of patrolmen, and the factory can be directly called in the control class. Therefore, the factory also needs to be instantiated. The specific code is as follows:
public class factory : MonoBehaviour {
    private static factory _instance;
    private List<GameObject> guard = new List<GameObject>();
    private GameObject cur_guard;

    public static factory getinstance()
    {
        if (_instance == null)
        {
            _instance = new factory();
        }
        return _instance;
    }

    public GameObject getguard(Vector3 po)
    {
        GameObject cur = Instantiate(Resources.Load<GameObject>("guard"), po, Quaternion.identity);
        return cur;
    }

}
Patrol mobile script
There are two main modes of movement for patrolmen
a. free patrol b. chasing players
- For free patrol, it is realized by walking a fixed route. The topic requires walking a polygon, and I use a Pentagon route.
The generation method of Pentagon route is to set a square area, then randomly select four points on four sides, and then connect with the points in the lower left corner to form a polygon.
When creating patrolmen, generate these 4 points, and then let patrolmen walk along these 5 points in turn. (here, x[order], y[order] is the coordinate of the target point, and order is the sequence number of the point.)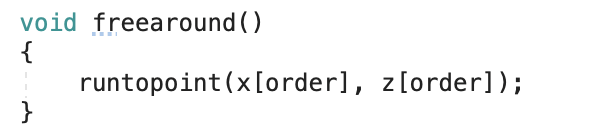
Each time you walk toward a certain point, you only need to set the direction at the beginning, and then walk towards that point until you reach the point nearby.
void runtopoint(float px,float pz)
    {
        float lx = this.transform.position.x;
        float lz = this.transform.position.z;
        if (System.Math.Abs(lx - px) < delta && System.Math.Abs(lz - pz) < delta)
        {
            order++;
            order %= 5;
            //Debug.Log("change dir");
            dir = new Vector3(x[order] - lx, 0, z[order] - lz);
            this.transform.rotation = Quaternion.LookRotation(dir, Vector3.up);
        }
        else
        {
            //Debug.Log("run");
            this.transform.position += dir * Time.fixedDeltaTime * 0.5f;
        }
    }
- For chasing the player, you need to get the player's coordinates first, then set the direction, and move towards the player until you are close to the player or the player escapes from the range. After the chasing fails, the patrolman continues to patrol freely, and moves towards the target point that the player was chasing.
First, get the player's coordinates. Here, use the private void ontrigger enter (collaborator other) function to judge. When an object touches the patrolman's box collaborator, this function will be triggered. Then, in this function, judge whether the object touched is the player. Here, judge by tag.
private void OnTriggerEnter(Collider other)
    {
        if (other.tag == "Player")
        {
            //Debug.Log("run to player");
            mod = 2;
        }
    }
To do this, you need to add the Box Collider component to the patrolman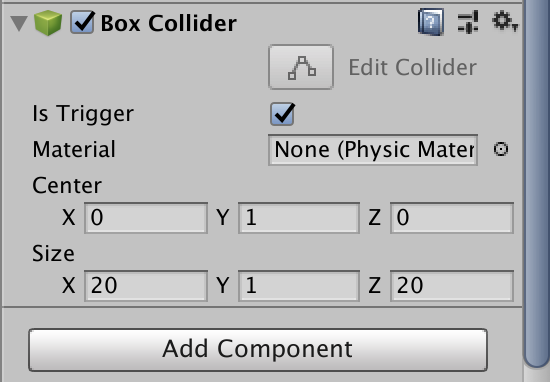
(the size here is the "field of view" size)
- Animations for patrolmen
Because the patrolmen only walk this animation, without adding attacks, the animator control is very simple
- Coordinate acquisition of players
The player will first trigger the OnTriggerEnter function to indicate that he has entered the patrol's field of vision. Then, as long as the player is in the field of vision, the OnTriggerStay function will be triggered continuously. In this function, the player's coordinates can be obtained and the patrol's direction can be set.
private void OnTriggerStay(Collider other)
    {
        if (other.tag == "Player")
        {
            if (t < 1f)
            {
                t += Time.deltaTime;
            }
            else
            {
                playerx = other.transform.position.x;
                playerz = other.transform.position.z;
                setdir(playerx, playerz);
                t = 0f;
            }
        }
    }
(there is no real-time acquisition of coordinates here, but acquisition at intervals is to reduce the amount of calculation.)
5. Restore patrol status
Use the OnTriggerExit function to execute, and when the player leaves the field of vision, call the next target point.
private void OnTriggerExit(Collider other)
    {
        if (other.tag == "Player")
        {
            //Debug.Log("out of player");
            mod = 1;
            setdir(x[order], z[order]);
            rule.getinstance().addscore();
        }
    }
Player control
I downloaded the player's model in the unit store. The only animation I used was running, and it had its own control script, so I can directly use the keyboard to operate it. The code is not shown here.
Subscription and publisher mode
The main function of this mode is to register the time you want to subscribe to the scheduling center, and then when the event is triggered, the publisher publishes the event to the scheduling center, and then the scheduling center dispatches the subscriber's processing code.
The implementation method is to use a rule class to record the score. When the patrolman judges that the player is out of vision, he will call the rule class to add one score to the record. This rule class also needs to be singleton.
public class rule {

	int score;


	private static rule _instance;

	public static rule getinstance()
	{
		if (_instance == null)
		{
			_instance = new rule();
		}
		return _instance;
	}

	void Start()
	{
		init();
	}

    public void init()
	{
		score = 0;
	}

	public void addscore()
	{
		score++;
	}

    public int getscore()
	{
		return score;
	}
}
Game control
For the whole process of the game, use the control class to control, and initialize various parameter variables at the beginning of the game.
- UI interface
For the display of the interface, there is a button and a text box. The button triggers the start of the game. The text box displays the score of the game and some related information of the game. What we need to pay attention to here is the setting of the position. Use screen.width to get the width of the screen, so as to set its center display. Then, if you need to change its position and size, you only need to use variables to change it in real time when setting it. The interface is as follows: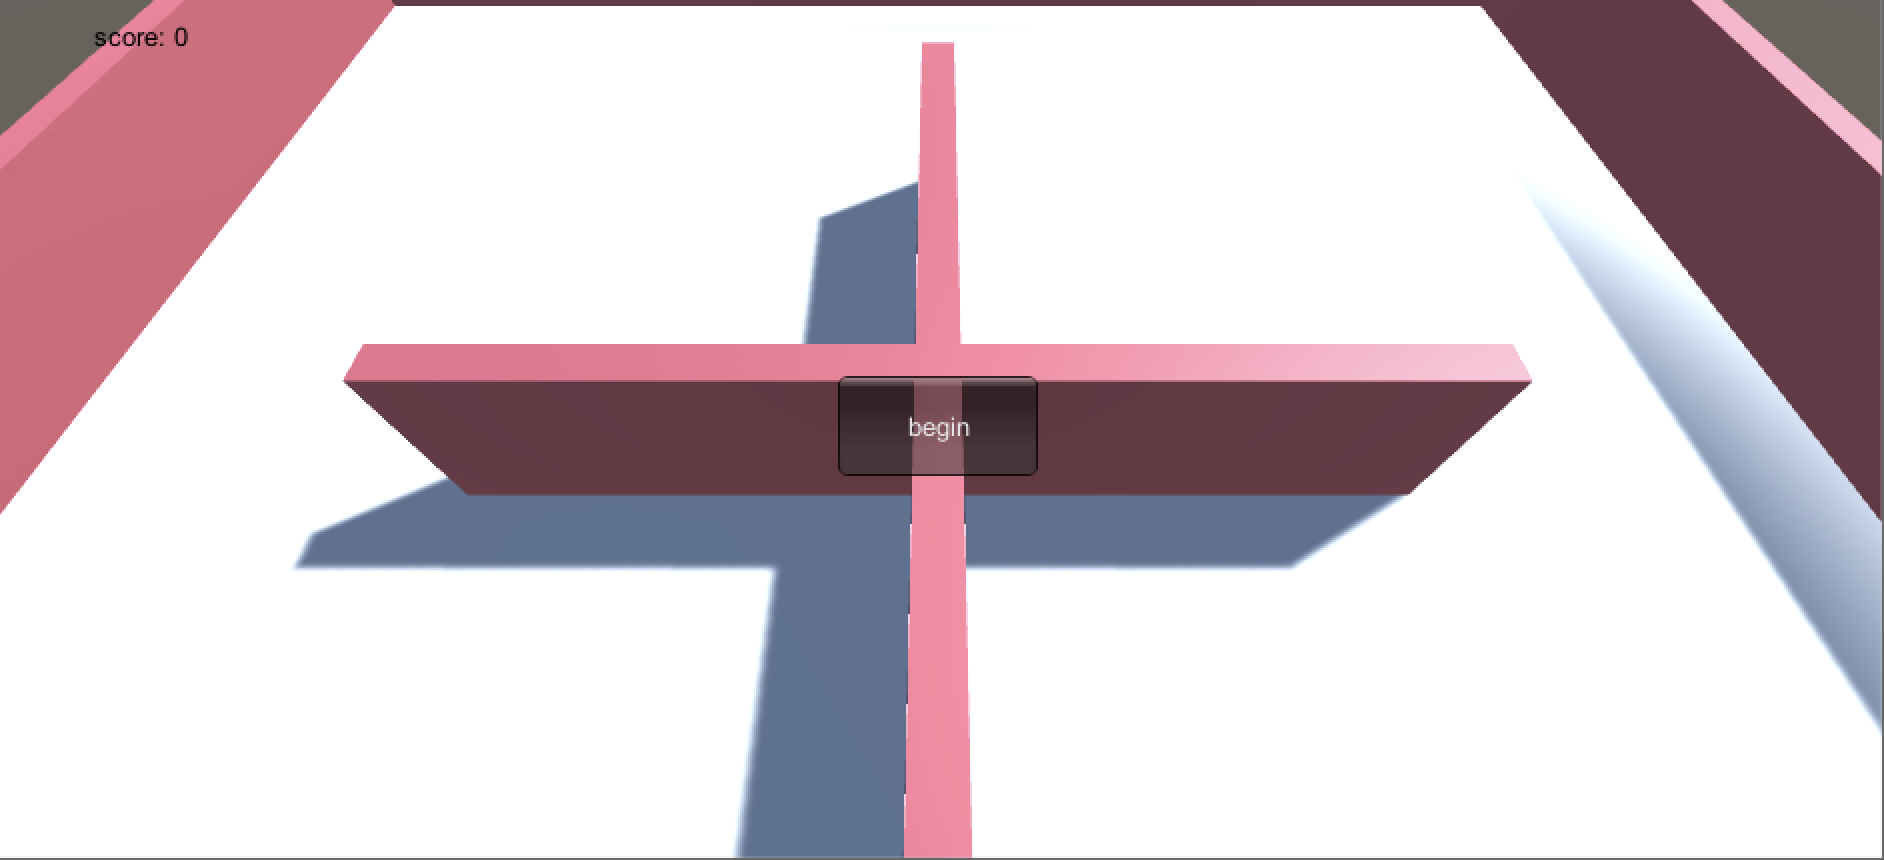
The implementation code is as follows:
private void OnGUI()
	{
		if (GUI.Button(new Rect(bux,buy,buwidth,buheight), "begin"))
		{
			director.getinstance().setbegin();
            bux = 0;
            buy = 0;
            buheight = 0;
            buwidth = 0;
			//director.getinstance().setrun();
			//Debug.Log(director.getinstance().getstate());

		}
		GUI.color = Color.black;
		GUI.Label(new Rect(labelx, labely, labelwid, labelhe), showlabel);

	}
(the setting button here moves to the upper left corner to hide after clicking)
- The progress of the game
A director class is used to control the start and end of the game. When the start button is clicked, the director class parameter is set as start to inform each object or function of the start of the game. Here is mainly the setting of update in control. In the process of handling this, I used two states: prepare and proceed. Click the button to enter the prepare state, initialize the patrolmen and players, and then set it to run state. The game starts to run.
void Update () {
		if (director.getinstance().getstate() == 1)
		{
			//Debug.Log("create");
			guard[0] = factory.getinstance().getguard(new Vector3(2.5f, 0f, 2.5f));
			guard[1] = factory.getinstance().getguard(new Vector3(-22.5f, 0f, -22.5f));
			guard[2] = factory.getinstance().getguard(new Vector3(-22.5f, 0f, 2.5f));
			director.getinstance().setrun();
            player.SetActive(true);

		}
        else if (director.getinstance().isover() == true)
        {
            player.SetActive(false);
            labelx = Screen.width / 2 - labelx / 2;
            labely = Screen.height / 2;
            showlabel = "you lose and the score is " + rule.getinstance().getscore();
        }
        else
        {
            showlabel = "score: " + rule.getinstance().getscore();
        }
	}
The end of the game is set in the patrol. Once the end condition is triggered, the director will be informed of the end of the game, and the control class will be displayed.
For the director class, it also needs to be singleton:
public class director {

	private static director _instance;

	public int gamestate;//0 for stop   1 for ready   2 for run   3 for over

    public void init()
	{
		gamestate = 0;

	}

    public void setbegin()
	{
		gamestate = 1;
	}

    public void setrun()
	{
		gamestate = 2;
	}

    public void setover()
	{
		gamestate = 3;
	}

    public bool isover()
    {
        if (gamestate == 3)
        {
            return true;
        }
        return false;
    }

    public int getstate()
	{
		return gamestate;
	}

    public static director getinstance()
	{
		if (_instance == null)
		{
			_instance = new director();
		}
		return _instance;
	}
}
- Lens control
It uses the form that the camera keeps tracking the player's back and copies the online code, but it is also quite simple:
public class cameracontrol : MonoBehaviour
{
    public Transform target=null;
    public float distanceUp = 5f;
    public float distanceAway = 2f;
    public float smooth = 60f;//Position smooth move value
    public float camDepthSmooth = 5f;

    //public bool begin = false;

    bool setalready;
    // Use this for initialization
    void Start()
    {
        setalready = false;
        //target = GameObject.FindGameObjectWithTag("Player").transform;
    }

    // Update is called once per frame
    void Update()
    {

        if (director.getinstance().getstate()==2 && setalready == false)
        {
            target = GameObject.FindGameObjectWithTag("Player").transform;
            setalready = true;
        }
        // The mouse axis controls the distance of the camera
        if ((Input.mouseScrollDelta.y < 0 && Camera.main.fieldOfView >= 3) || Input.mouseScrollDelta.y > 0 && Camera.main.fieldOfView <= 80)
            {
                Camera.main.fieldOfView += Input.mouseScrollDelta.y * camDepthSmooth * Time.deltaTime;
            }
        //}
    }

    void LateUpdate()
    {
        if (director.getinstance().getstate() == 2 && setalready == false)
        {
            target = GameObject.FindGameObjectWithTag("Player").transform;
            setalready = true;
        }
        //Camera position
        Vector3 disPos = target.position + Vector3.up * distanceUp - target.forward * distanceAway;
        transform.position = Vector3.Lerp(transform.position, disPos, Time.deltaTime * smooth);
        //Camera angle
        transform.LookAt(target.position);
    }
}
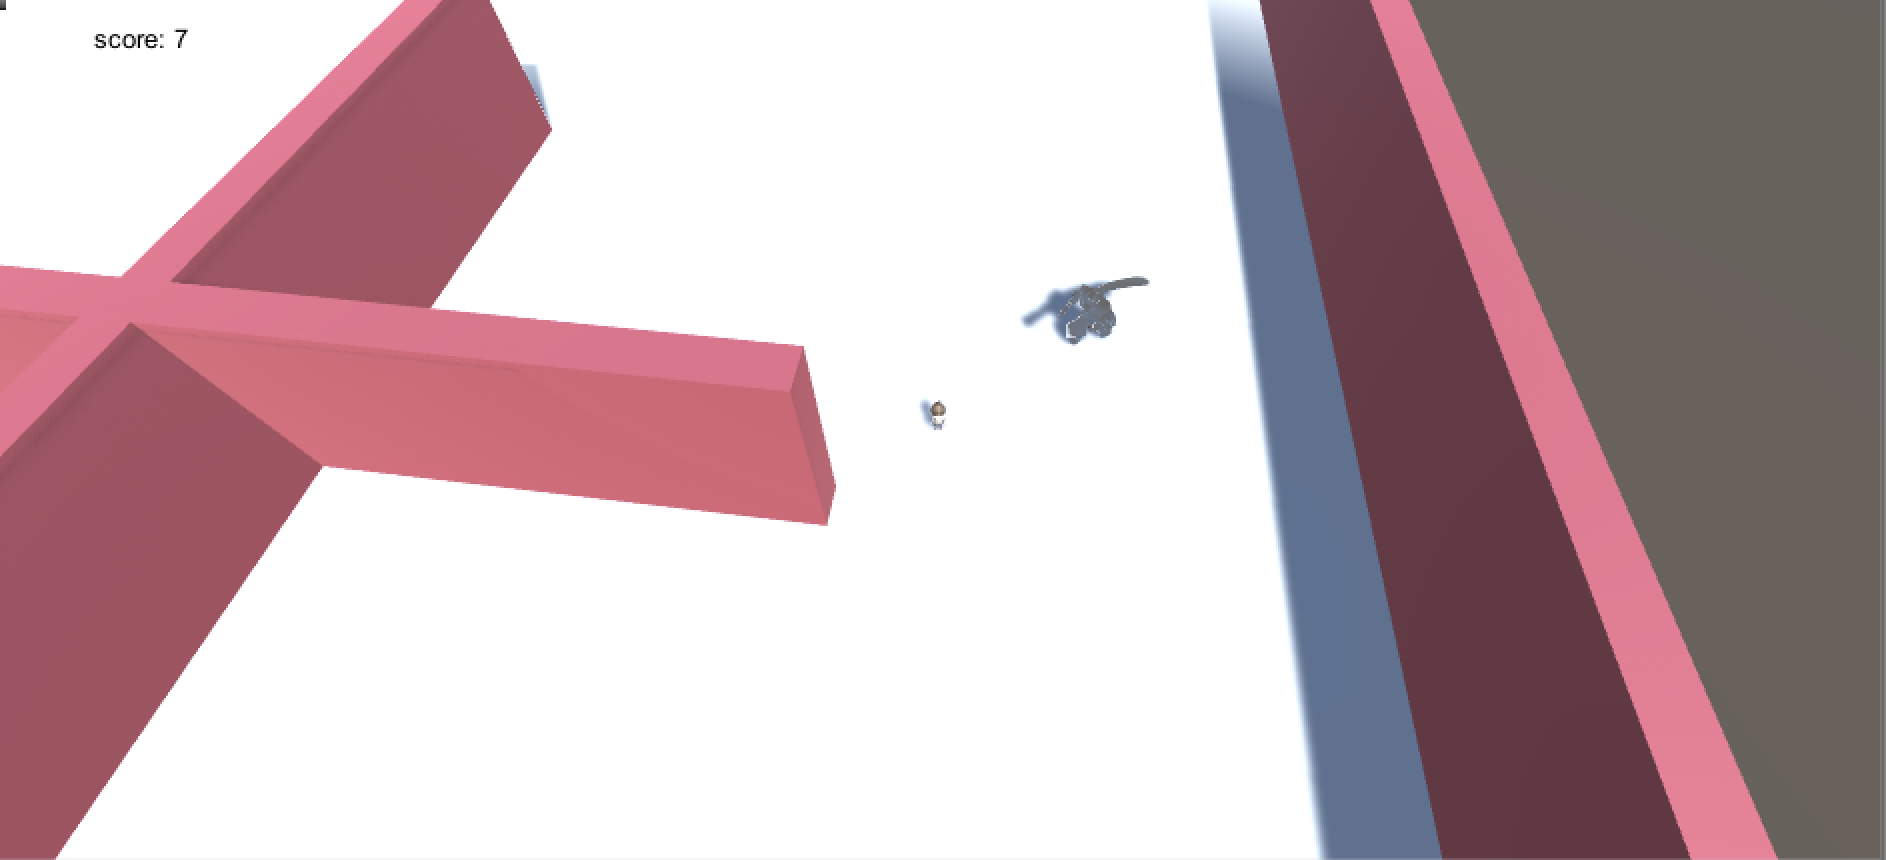
Screenshot of the final run of the game