View the installed opencv version number
pkg-config --modversion opencv
pkg-config --modversion opencv4
opencv uninstall
sudo make uninstall
cd ..
sudo rm -r build
sudo rm -r /usr/local/include/opencv2 /usr/local/include/opencv /usr/include/opencv /usr/include/opencv2 /usr/local/share/opencv /usr/local/share/OpenCV /usr/share/opencv /usr/share/OpenCV /usr/local/bin/opencv* /usr/local/lib/libopencv*
sudo apt-get autoremove opencv-doc opencv-data libopencv-dev libopencv2.4-java libopencv2.4-jni python-opencv libopencv-core2.4 libopencv-gpu2.4 libopencv-ts2.4 libopencv-photo2.4 libopencv-contrib2.4 libopencv-imgproc2.4 libopencv-superres2.4 libopencv-stitching2.4 libopencv-ocl2.4 libopencv-legacy2.4 libopencv-ml2.4 libopencv-video2.4 libopencv-videostab2.4 libopencv-objdetect2.4 libopencv-calib3d2.4
opencv installation
1. Go to the official website to download opencv. opencv 3.4.15 is selected at this time. The configuration methods of other versions are similar.
Download link Releases - OpenCV , select the sources version
2. Unzip the downloaded zip package
unzip opencv-3.4.15.zip
3. Enter the extracted file package
4. Install the dependency library and cmake. If you are reminded that apt get update is required, first sudo su enter the root permission, then sudo apt get update, and then execute the following command
sudo apt-get install cmake
sudo apt-get install build-essential libgtk2.0-dev libavcodec-dev libavformat-dev libjpeg.dev libtiff4.dev libswscale-dev libjasper-dev
5. After installing cmake, execute the command to create a compilation folder. If not, you will be prompted (as shown in the figure below)
In-source builds are not allowed.
mkdir my_build_dir
cd my_build_dir
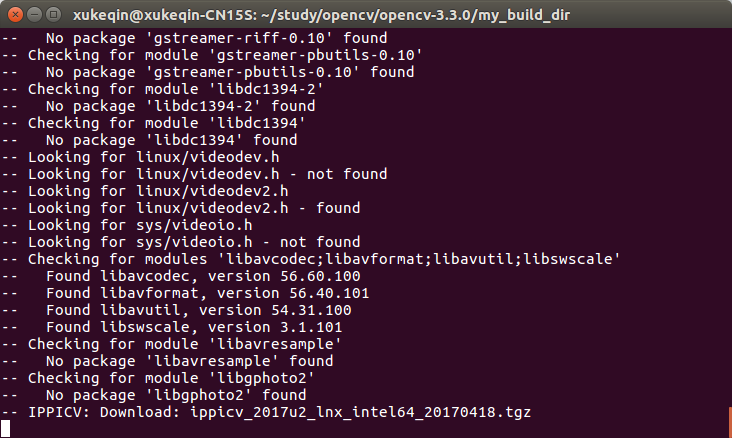
6. cmake
cmake -D CMAKE_BUILD_TYPE=Release -D CMAKE_INSTALL_PREFIX=/usr/local ..
Note: if you have compiled in a new folder, but there will be previous errors, delete cmakecache.txt and compile again.
During this period, you may download something. Just wait for a while
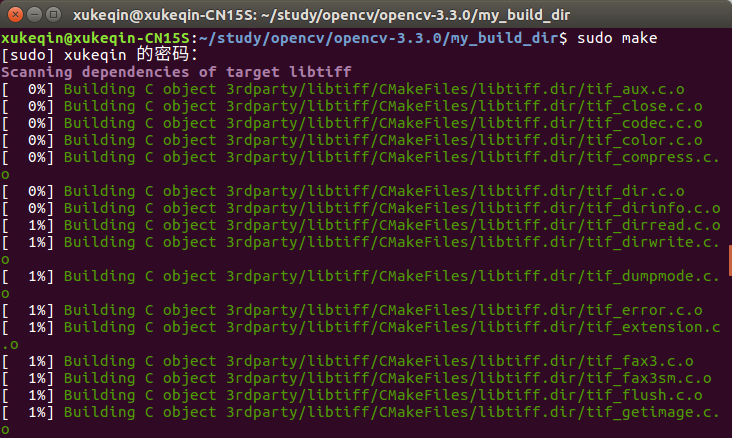
7. Execute commands, a long compilation process
sudo make
8. Execute command
sudo make install
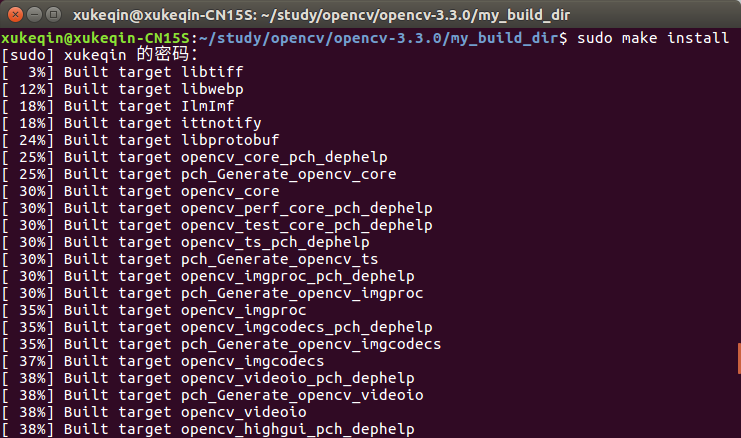
Installation here has been completed!
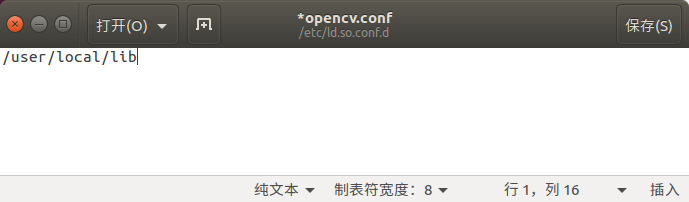
9. After sudo make install is executed, the OpenCV compilation process ends. Next, you need to configure some OpenCV compilation environments. First, add the OpenCV library to the path so that the system can find it
sudo gedit /etc/ld.so.conf.d/opencv.conf
After executing this command, you may open a blank file. Don't worry, just add it at the end of the file
/usr/local/lib
10,
Execute the following command to make the configuration path take effect
sudo ldconfig
Errors may be prompted at this time, as shown in the figure below (upper part)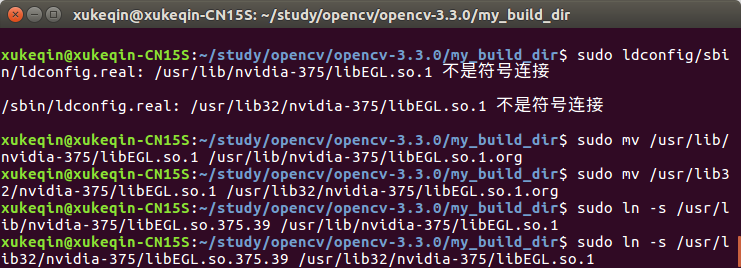
sbin/ldconfig.real: /usr/lib/nvidia-375/libEGL.so.1 is not a symbolic connection
/sbin/ldconfig.real: /usr/lib32/nvidia-375/libEGL.so.1 is not a symbolic connection
This error may be caused by a system BUG
You only need to input the four line commands in the lower part of the figure above
sudo mv /usr/lib/nvidia-375/libEGL.so.1 /usr/lib/nvidia-375/libEGL.so.1.org
sudo mv /usr/lib32/nvidia-375/libEGL.so.1 /usr/lib32/nvidia-375/libEGL.so.1.org
sudo ln -s /usr/lib/nvidia-375/libEGL.so.375.39 /usr/lib/nvidia-375/libEGL.so.1
sudo ln -s /usr/lib32/nvidia-375/libEGL.so.375.39 /usr/lib32/nvidia-375/libEGL.so.1
11. Configure bash
sudo gedit /etc/bash.bashrc
Add at the end
PKG_CONFIG_PATH=$PKG_CONFIG_PATH:/usr/local/lib/pkgconfig
export PKG_CONFIG_PATH
Save and execute the following command to make the configuration effective
source /etc/bash.bashrc
to update
sudo updatedb
12. So far, all configurations have been completed
Test whether opencv is installed
cd to opencv-3.4.15/samples/cpp/example_cmake directory
We can see that the official in this directory has given an example of cmake, which we can test
Execute in sequence
cmake .
make
./opencv_example
You can see that the camera is turned on and there is a hello opencv in the upper left corner
This means that the configuration is successful