ubuntu 18.04 install opencv3.4.5 + opencv ﹣ contrib
1. Installation package download
Opencv and opencv contrib Download
Pay attention to the consistency of versions
opencv Download opencv official website
Opencv? Contrib Download github
2. Install dependency package
sudo apt-get update
sudo apt-get upgrade
//Dependency package
sudo apt-get install build-essential
sudo apt-get install cmake git libgtk2.0-dev pkg-config libavcodec-dev libavformat-dev libswscale-dev
sudo apt-get install python-dev python-numpy libtbb2 libtbb-dev libjpeg-dev libpng-dev libtiff-dev libjasper-dev libdc1394-22-dev
sudo apt-get install qt5-default ccache libv4l-dev libavresample-dev  libgphoto2-dev libopenblas-base libopenblas-dev doxygen  openjdk-8-jdk pylint libvtk6-dev
sudo apt-get install pkg-config
cd build
sudo cmake -D CMAKE_BUILD_TYPE=Release -D CMAKE_INSTALL_PREFIX=/usr/local -D OPENCV_EXTRA_MODULES_PATH=/home/tjk/opencv/opencv-3.4.5/opencv_contrib-3.4.5/modules/   -D OPENCV_ENABLE_NONFREE=True ..
3. Install opencv
Unzip the downloaded installation package
//Unzip the installation package
sudo unzip opencv-3.4.5.zip
sudo tar zxvf opencv_contrib-3.4.5.tar.gz
At this time, your package may still be in the downloaded folder. Here, it's better to re create a folder in the home directory and move the unzipped package into it
Then move the extracted contrib file to opencv-3.4.5
sudo cp -r opencv_contrib-3.4.5 opencv-3.4.5
A new build folder is created in the opencv-3.4.5 folder for subsequent compilation and generation.
cd opencv-3.4.5                               #Enter the opencv folder
sudo mkdir build                              #New folder build
Enter bulid folder and make cmake
cd build
sudo cmake -D CMAKE_BUILD_TYPE=Release -D CMAKE_INSTALL_PREFIX=/usr/local -D OPENCV_EXTRA_MODULES_PATH=~/opencv-3.4.5/opencv_contrib-3.4.5/modules/ -D OPENCV_ENABLE_NONFREE=True ..
Note that the following two points cannot be omitted, which represents the default of other parameters.
Note that opencv? Extra? Modules? Path represents the real address of the modules folder where you place opencv? Contrib
After the above command is executed, some problems will be found, mainly the downloading of some files, including ippicv, face? Landmark? Model.dat and fatal error: bootdesc? BGM. I: VGg? Generated? 80. VGg? Generated? 120. I there is no such file or directory.
After generation, the following screen will appear
--   Install path:                  /usr/local
--
--   cvconfig.h is in:              /home/files/opencv-3.4.5/build
-- -----------------------------------------------------------------
--
-- Configuring done
-- Generating done
-- Build files have been written to: /home/files/opencv-3.4.5/build
Let's take a look at the following mistakes first, and then solve the following problems in make to strive for a success
//Then make
sudo make -j8   #The number after j represents compiling with several threads, which are 8 threads
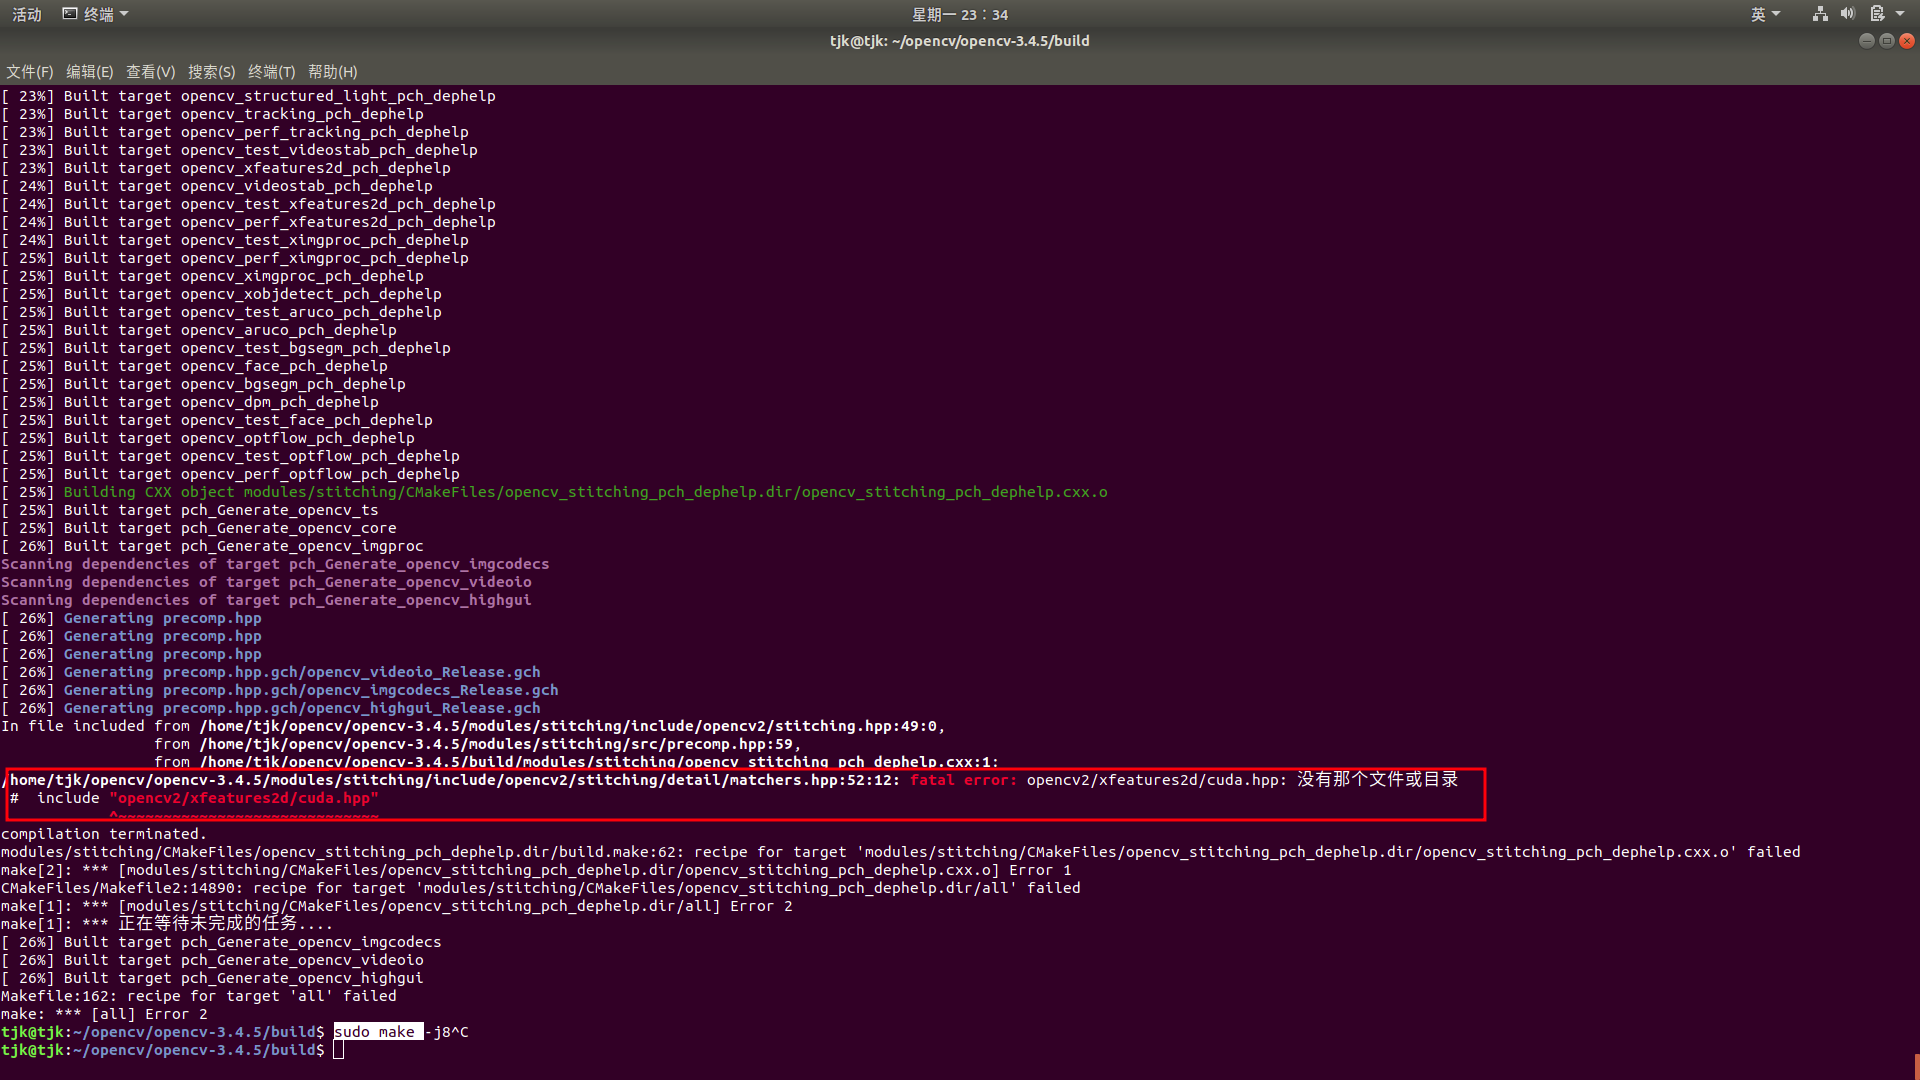
Then there is a high probability of error, as follows: In fact, there are many solutions to search this error on the Internet. What I use is to directly modify the header file in the error reporting file, as follows:
#ifdef HAVE_OPENCV_XFEATURES2D
//(original header file)
//#include "opencv2/xfeatures2d/cuda.hpp"
//(modified header file)
#include"/home/tjk/opencv/opencv-3.4.5/opencv_contrib-3.4.5/modules/xfeatures2d/include/opencv2/xfeatures2d/cuda.hpp"
#endif
Then there may be another mistake. Anyway, I met it,
Fatal error: bootdesc? BGM. I: VGg? Generated? 80. VGg? Generated? 120. I does not have that file or directory
The problem is a lot of missing files, including
boostdesc_bgm.i
boostdesc_bgm_bi.i
boostdesc_bgm_hd.i
boostdesc_lbgm.i
boostdesc_binboost_064.i
boostdesc_binboost_128.i
boostdesc_binboost_256.i
vgg_generated_120.i
vgg_generated_64.i
vgg_generated_80.i
vgg_generated_48.i
So you just need to download these files and put them in the path of OpenCV [contrib / modules / xfeatures2d / SRC /.
Of course, the download path of these files can be viewed in the cmake / / log. You can directly copy the download address to the web page to see the source code of the file. You can directly copy the source code and generate a file with the same name, and then place it in the opencv_contrib/modules/xfeatures2d/src / path.
Or download from Baidu online disk, and then extract and place these files under the path of opencv_contrib/modules/xfeatures2d/src /.
Baidu cloud disk connection
Link: Password: os8l
After these errors are resolved, you can continue
sudo make -j8,
Some tutorials also suggest deleting the build folder. I've tried both of them again. It's OK.
Then execute: sudo make install
Installation is finished here
4. Configure environment variables
Open file
sudo gedit /etc/ld.so.conf.d/opencv.conf
Add in blank document
/usr/local/lib
Next, configure the library
sudo ldconfig
change environment variable
sudo gedit /etc/bash.bashrc
Add at the end of the document
export PKG_CONFIG_PATH=/usr/local/opencv/lib/pkgconfig
export LD_LIBRARY_PATH=/usr/local/opencv/lib
5, test
Here are two ways:
The first is:
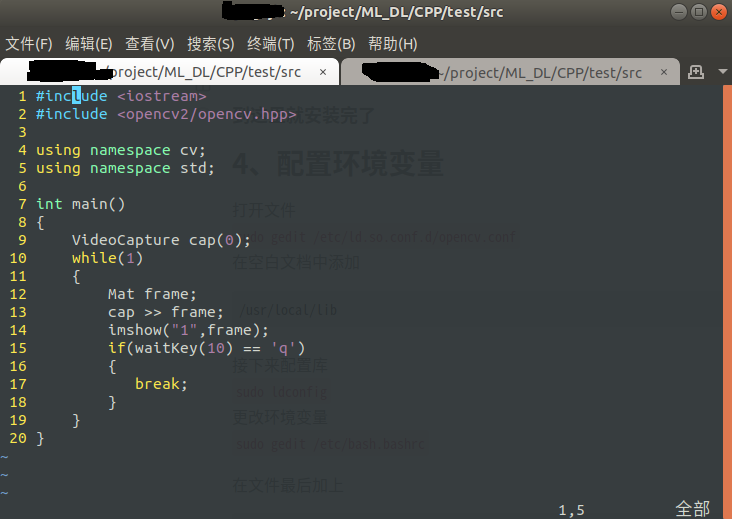
Write directly in vim,
#include <iostream>
#include <opencv2/opencv.hpp>

using namespace cv;
using namespace std;

int main()
{
    VideoCapture cap(0);
    while(1)
    {
        Mat frame;
        cap >> frame;
        imshow("1",frame);
        if(waitKey(10) == 'q')
        {
           break;
        }
    }
}
As shown in the picture:
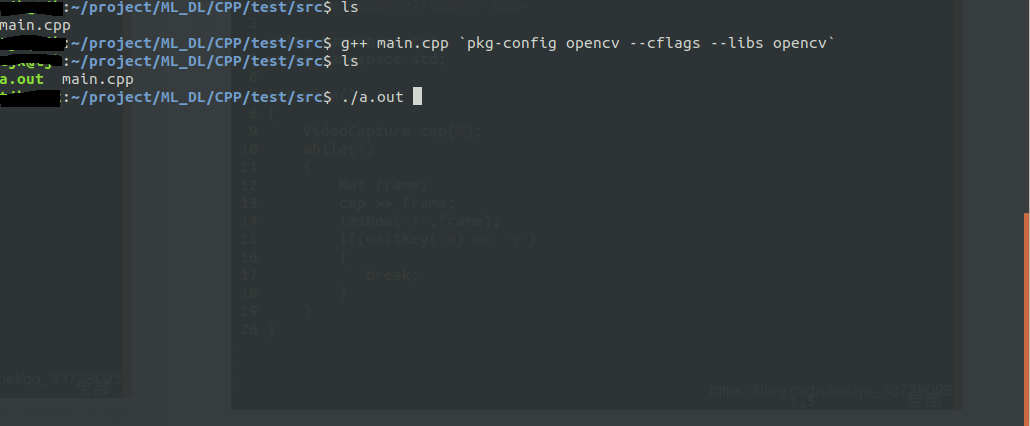
Then compile and run the command
As follows:
g++ main.cpp `pkg-config opencv --cflags --libs opencv`
./a.out

Then the camera that opens the notebook will show the image.
Second species:
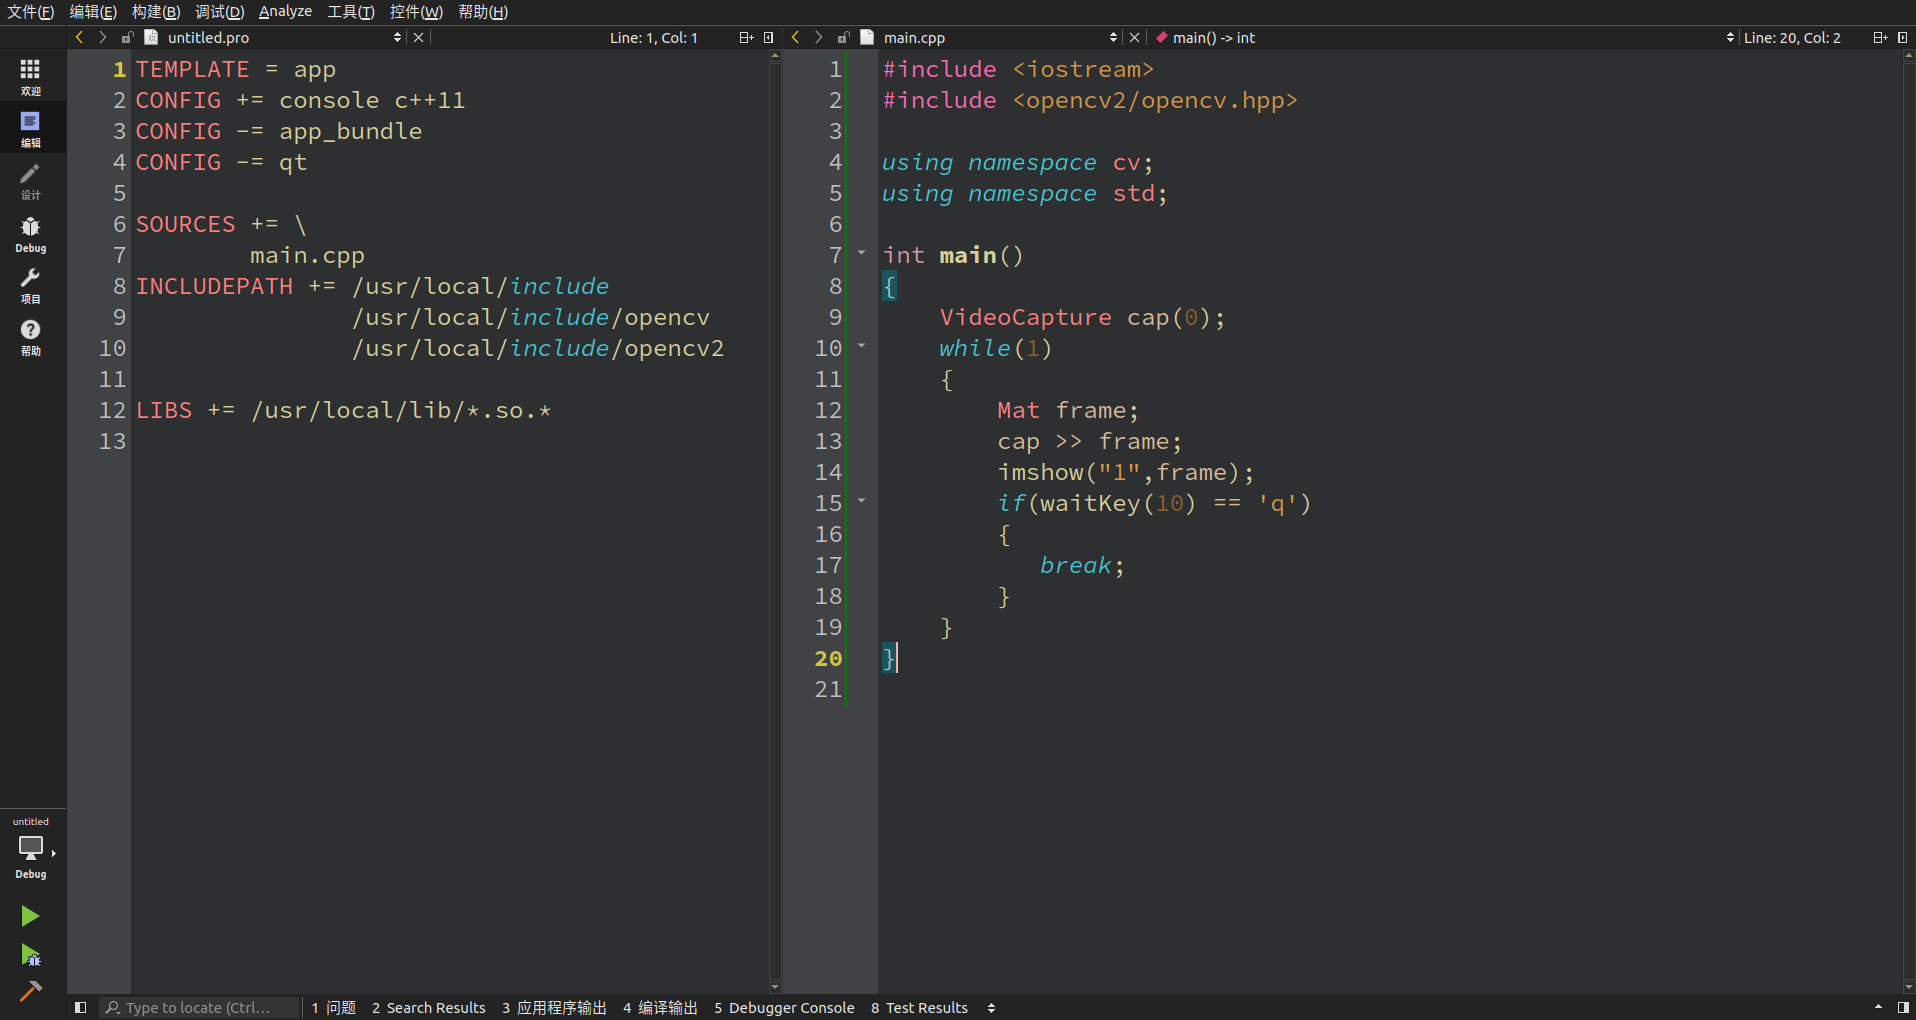
Using qt is simple and convenient
As shown in the figure, attention should be paid to the following. . pro file. Then run it directly.

