preface
This is the third in the VS Code plug-in development practice series. The first two are
- Writing VS Code plug-ins together: providing common code snippets for your team
- Writing VS Code plug-in together: implementing a translation plug-in
CNode The community is the most professional Node.js open source technology community in China and is committed to the technical research of Node.js. This article will lead you to get familiar with the powerful functions of VSCode Webview by implementing VS Code version CNode. Before we start, let's refer to Official website about webview Introduction to. Webview API allows extensions to create fully customizable views in Visual Studio code. webview can be regarded as iframe in VS Code.
We can pass the event message to our server (including NodeJS) through the web page, and the server can pass the message data to the web page after processing. Therefore, we can develop the same content as web pages in extensions, but realize far more powerful functions than web pages.
effect
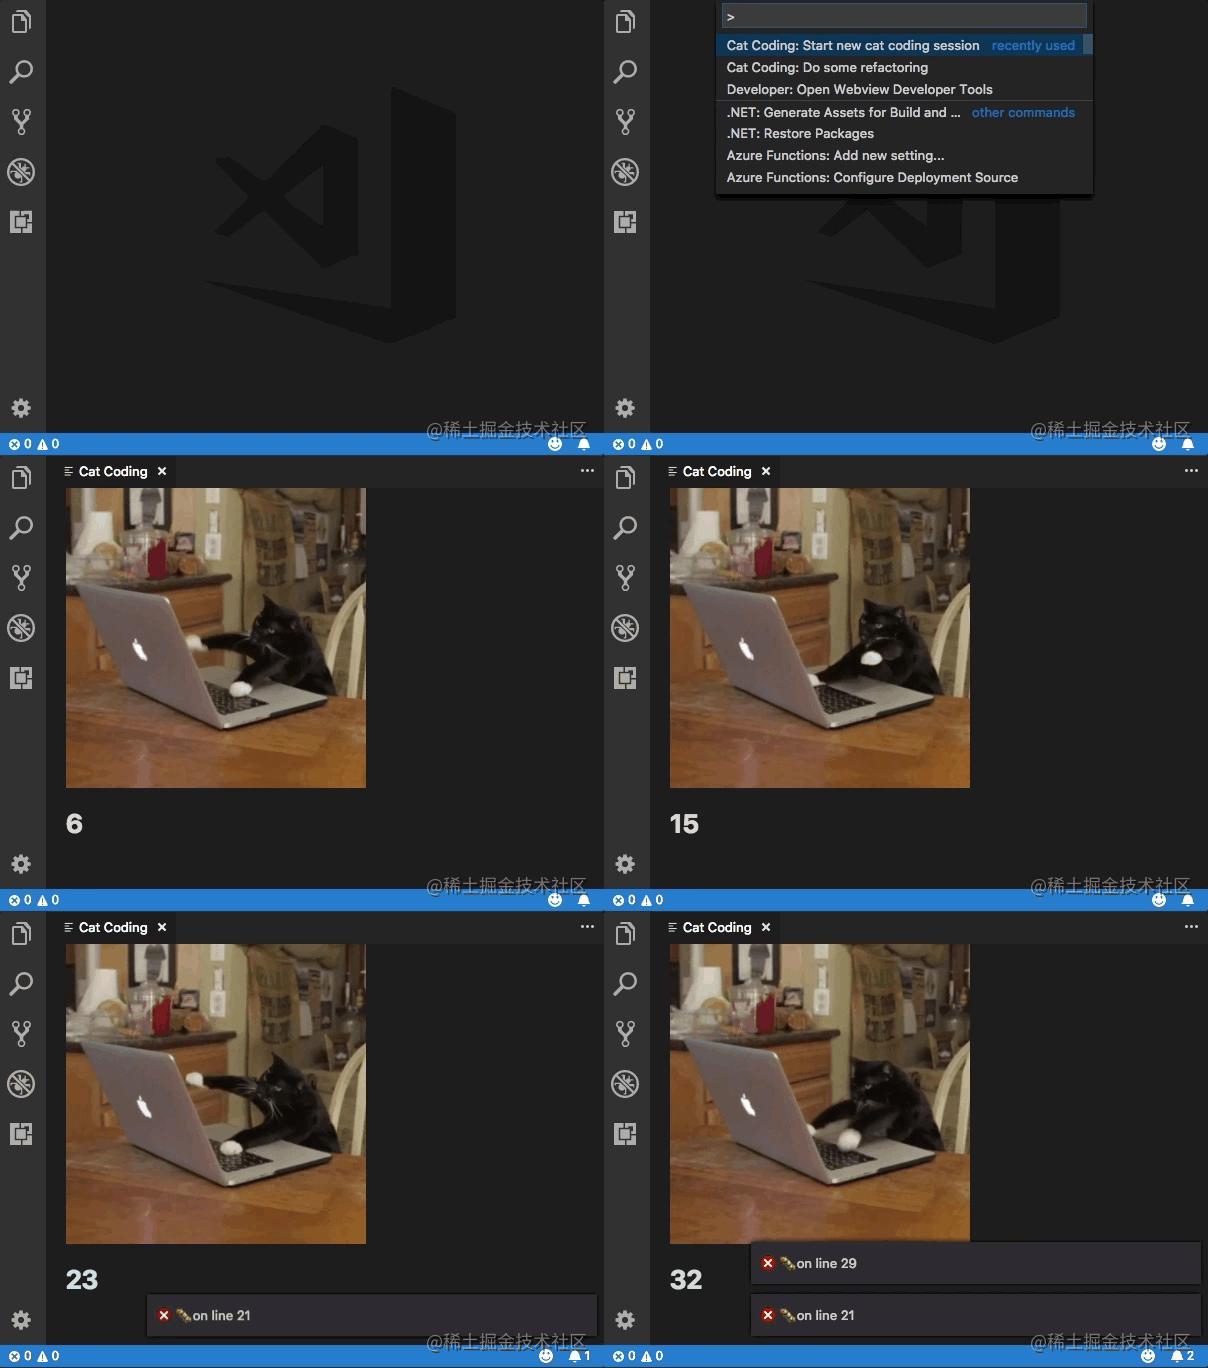
First, let's look at the effect

It is mainly divided into two parts. On the left is the subject list and on the right is the subject details.
Initialize project
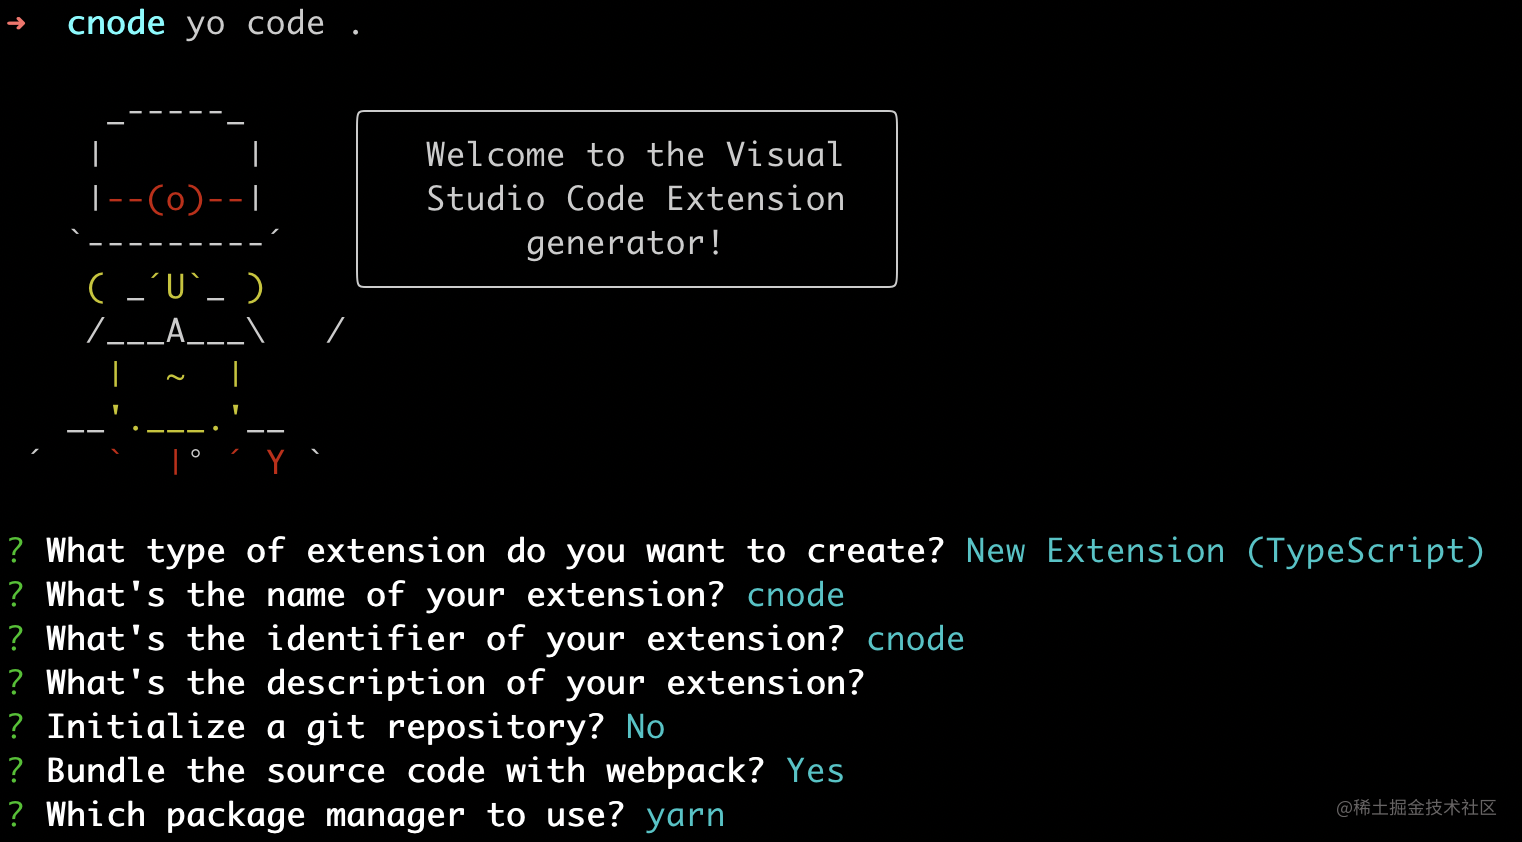
First, initialize a typescript + webpack project through the scaffold

Configure left navigation icon
 "icon": "icon.png",
  "activationEvents": [
    "onView:vs-sidebar-view"
  ],
  "contributes": {
    "viewsContainers": {
      "activitybar": [
        {
          "id": "vs-sidebar-view",
          "title": "CNODE community",
          "icon": "media/cnode_icon_64.png"
        }
      ]
    },
    "views": {
      "vs-sidebar-view": [
        {
          "type": "webview",
          "id": "vs-sidebar-view",
          "name": "Topic list",
          "icon": "media/cnode_icon_64.png",
          "contextualTitle": "Topic list"
        }
      ]
    }
  },
  ...
Views is the list of configuration views, and the activity bar is the view displayed on the side navigation under the definition.
Register a sidebar
Register a vs sidebar view sidebar ID corresponding to package.json in extension.ts
import * as vscode from "vscode";
import { SidebarProvider } from "./SidebarProvider";

export function activate(context: vscode.ExtensionContext) {
  const sidebarPanel = new SidebarProvider(context.extensionUri);
  context.subscriptions.push(
    vscode.window.registerWebviewViewProvider("vs-sidebar-view", sidebarPanel)
  );
}
Implementation sidebar
import * as vscode from "vscode";
import { getNonce } from "./getNonce";

export class SidebarProvider implements vscode.WebviewViewProvider {
  _view?: vscode.WebviewView;
  _doc?: vscode.TextDocument;
  constructor(private readonly _extensionUri: vscode.Uri) {}

  public resolveWebviewView(webviewView: vscode.WebviewView) {
    this._view = webviewView;

    webviewView.webview.options = {
      // Allow scripts in webview
      enableScripts: true,
      localResourceRoots: [this._extensionUri],
    };

    webviewView.webview.html = this._getHtmlForWebview(webviewView.webview);
  }

  public revive(panel: vscode.WebviewView) {
    this._view = panel;
  }

  private _getHtmlForWebview(webview: vscode.Webview) {
    const scriptUri = webview.asWebviewUri(
      vscode.Uri.joinPath(this._extensionUri, "build", "static/js/main.js")
    );
    const styleMainUri = webview.asWebviewUri(
      vscode.Uri.joinPath(this._extensionUri, "build", "main.css")
    );

    // Use a nonce to allow only specific scripts to run
    const nonce = getNonce();

    return `<!DOCTYPE html>
		<html lang="en">
		<head>
		<meta charset="UTF-8">
                <meta http-equiv="Content-Security-Policy" content="img-src https: data:; style-src 'unsafe-inline' ${webview.cspSource}; script-src 'nonce-${nonce}';">
		<meta name="viewport" content="width=device-width, initial-scale=1.0">
		<link href="${styleMainUri}" rel="stylesheet">
                <script nonce="${nonce}">
                  const tsvscode = acquireVsCodeApi(); //Built in function to access VS Code API object
                  const apiBaseUrl = 'https://cnodejs.org/'
                </script>
                </head>
              <body>
                  <div id="root"></div>
                  <script nonce="${nonce}" src="${scriptUri}"></script>
              </body>
	</html>`;
  }
}
The above code implements a SidebarProvider class in an object-oriented manner. According to vscode.webviewprovider, in fact, all webviewproviders are implemented in this code, and other codes are the same, because we can use js to generate HTML in webview. Isn't this our single page application development?
In the above code, nonce is a number that can only be used once in encrypted communication. In authentication protocols, it is often a random or pseudo-random number to avoid replay attacks. Nonce is also used for stream ciphers to ensure security. If more than one message needs to be encrypted with the same key, nonce is required to ensure that different messages are different from the key stream encrypted by the key. So we copy directly Official demo Code in.
//  Generate a specific random number
export function getNonce() {
  let text = "";
  const possible =
    "ABCDEFGHIJKLMNOPQRSTUVWXYZabcdefghijklmnopqrstuvwxyz0123456789";
  for (let i = 0; i < 32; i++) {
    text += possible.charAt(Math.floor(Math.random() * possible.length));
  }
  return text;
}
Implement side view
CNode provides the ability to allow cross domain API , we can call it directly in js. If you want to develop similar functions, please add them in HTTP headers
Access-Control-Allow-Origin: *
Configure webpack config
Add the configuration of packaged React to the original webpack.config.js, and webpack 5 supports multiple config configurations.
const viewConfig = {
  entry: "./view/index.tsx",
  output: {
    path: path.resolve(__dirname, "build"),
    filename: "static/js/[name].js",
  },
  mode: "production",
  plugins: [
    new miniCssExtractPlugin(),
  ],
  module: {
    rules: [
      {
        test: /\.(ts|tsx)$/i,
        loader: "ts-loader",
        exclude: ["/node_modules/"],
      },
      {
        test: /\.css$/i,
        use: [miniCssExtractPlugin.loader, "css-loader", "postcss-loader"],
      },
    ],
  },
  resolve: {
    extensions: [".ts", ".tsx"],
  },
}

module.exports = [extensionConfig, viewConfig];
Then, when debugging is started, the webpack will be packaged automatically;
Note that the mode here must be set to production, and the webpack development mode will use eval to execute code, which is not allowed in VS Code webview.
Configure tailwindcss
For convenience, I use tailwindcss because I can use it tailwindcss-typography This plug-in helps me generate beautiful article type typesetting.
yarn add tailwindcss @tailwindcss/typography autoprefixer
Initialize tailwindcss config using the command
npx tailwindcss init
module.exports = {
  mode: "jit",
  purge: ["./view/**/*.tsx"],
  darkMode: false, // or 'media' or 'class'
  theme: {
    extend: {},
  },
  variants: {
    extend: {},
  },
  plugins: [require("@tailwindcss/typography")],
};
mode jit is added to the timely compilation mode tailwindcss version 2.1, ignoring the css code we don't need.
Generate the style of the article page
.markdown-preview {
  @apply prose prose-lg max-w-full bg-white p-20;
}
Use React to implement the topic list
I won't describe the code of using react to implement a list. It's no different from our usual business. The most important thing is data communication. When we click the topic list, a new webview page will open on the right
const handleClick = (item: Topic) => {
    setCurrent(item.id);

    tsvscode.postMessage({ type: "detail", value: item });
};
According to the official example

Webviews can also pass messages back to their extensions. This is achieved by using the postMessage function on a special vs Code API object in webview. To access the VS Code API object, we call the acquireVsCodeApi function in webview.
Define TS global objects
import * as _vscode from "vscode";

declare global {
  const tsvscode: {
    postMessage: ({ type: string, value: any }) => void;
    getState: () => any;
    setState: (state: any) => void;
  };
  const apiBaseUrl: string;
}
Then you can receive data in vs sidebar view
webviewView.webview.onDidReceiveMessage(async (data) => {
  switch (data.type) {
    case "detail":
      createPreviewPanel(this._extensionUri, data.value);
      break;

    default:
      break;
  }
});
After receiving the data, you can open a preview page
Preview page implementation
function createPreviewPanel(topic: Topic){
    // Create a new panel
    const panel = vscode.window.createWebviewPanel(
      "cnode-preview",
      "CNODE Technology community",
      column || vscode.ViewColumn.One,
      {
        // Allow scripts in webview
        enableScripts: true,

        // Restrict loading resources from the media folder
        localResourceRoots: [vscode.Uri.joinPath(extensionUri, "build")],
      }
    );

    panel.webview.html = _getHtmlForWebview(panel.webview, topic);
}
You can use the built-in method vscode.window.createWebviewPanel to create a new panel and receive topic data_ getHtmlForWebview and in SidebarProvider_ getHtmlForWebview is consistent, and HTML can be returned.
Avoid duplicate creation of preview pages
Of course, you can also pass attributes through postMessage
extension end
panel.webview.postMessage({text: 'hello'});webview end
window.addEventListener('message', event => {
    const message = event.data;
    console.log('Webview Received message:', message);
}
Theme adaptation
VS Code divides topics into three categories and adds a class to the body element to indicate the current topic:
body.vscode-light {
  color: black;
}

body.vscode-dark {
  color: white;
}

body.vscode-high-contrast {
  color: red;
}
Webviews can also access VS Code using CSS variables Theme color . These variable names are prefixed with vscode and replaced with -. For example, editor.foreground becomes var (- - vscode editor foreground).
View available topic variables Theme color reference . One more extend You can provide intelligent advice for variables.
debugging
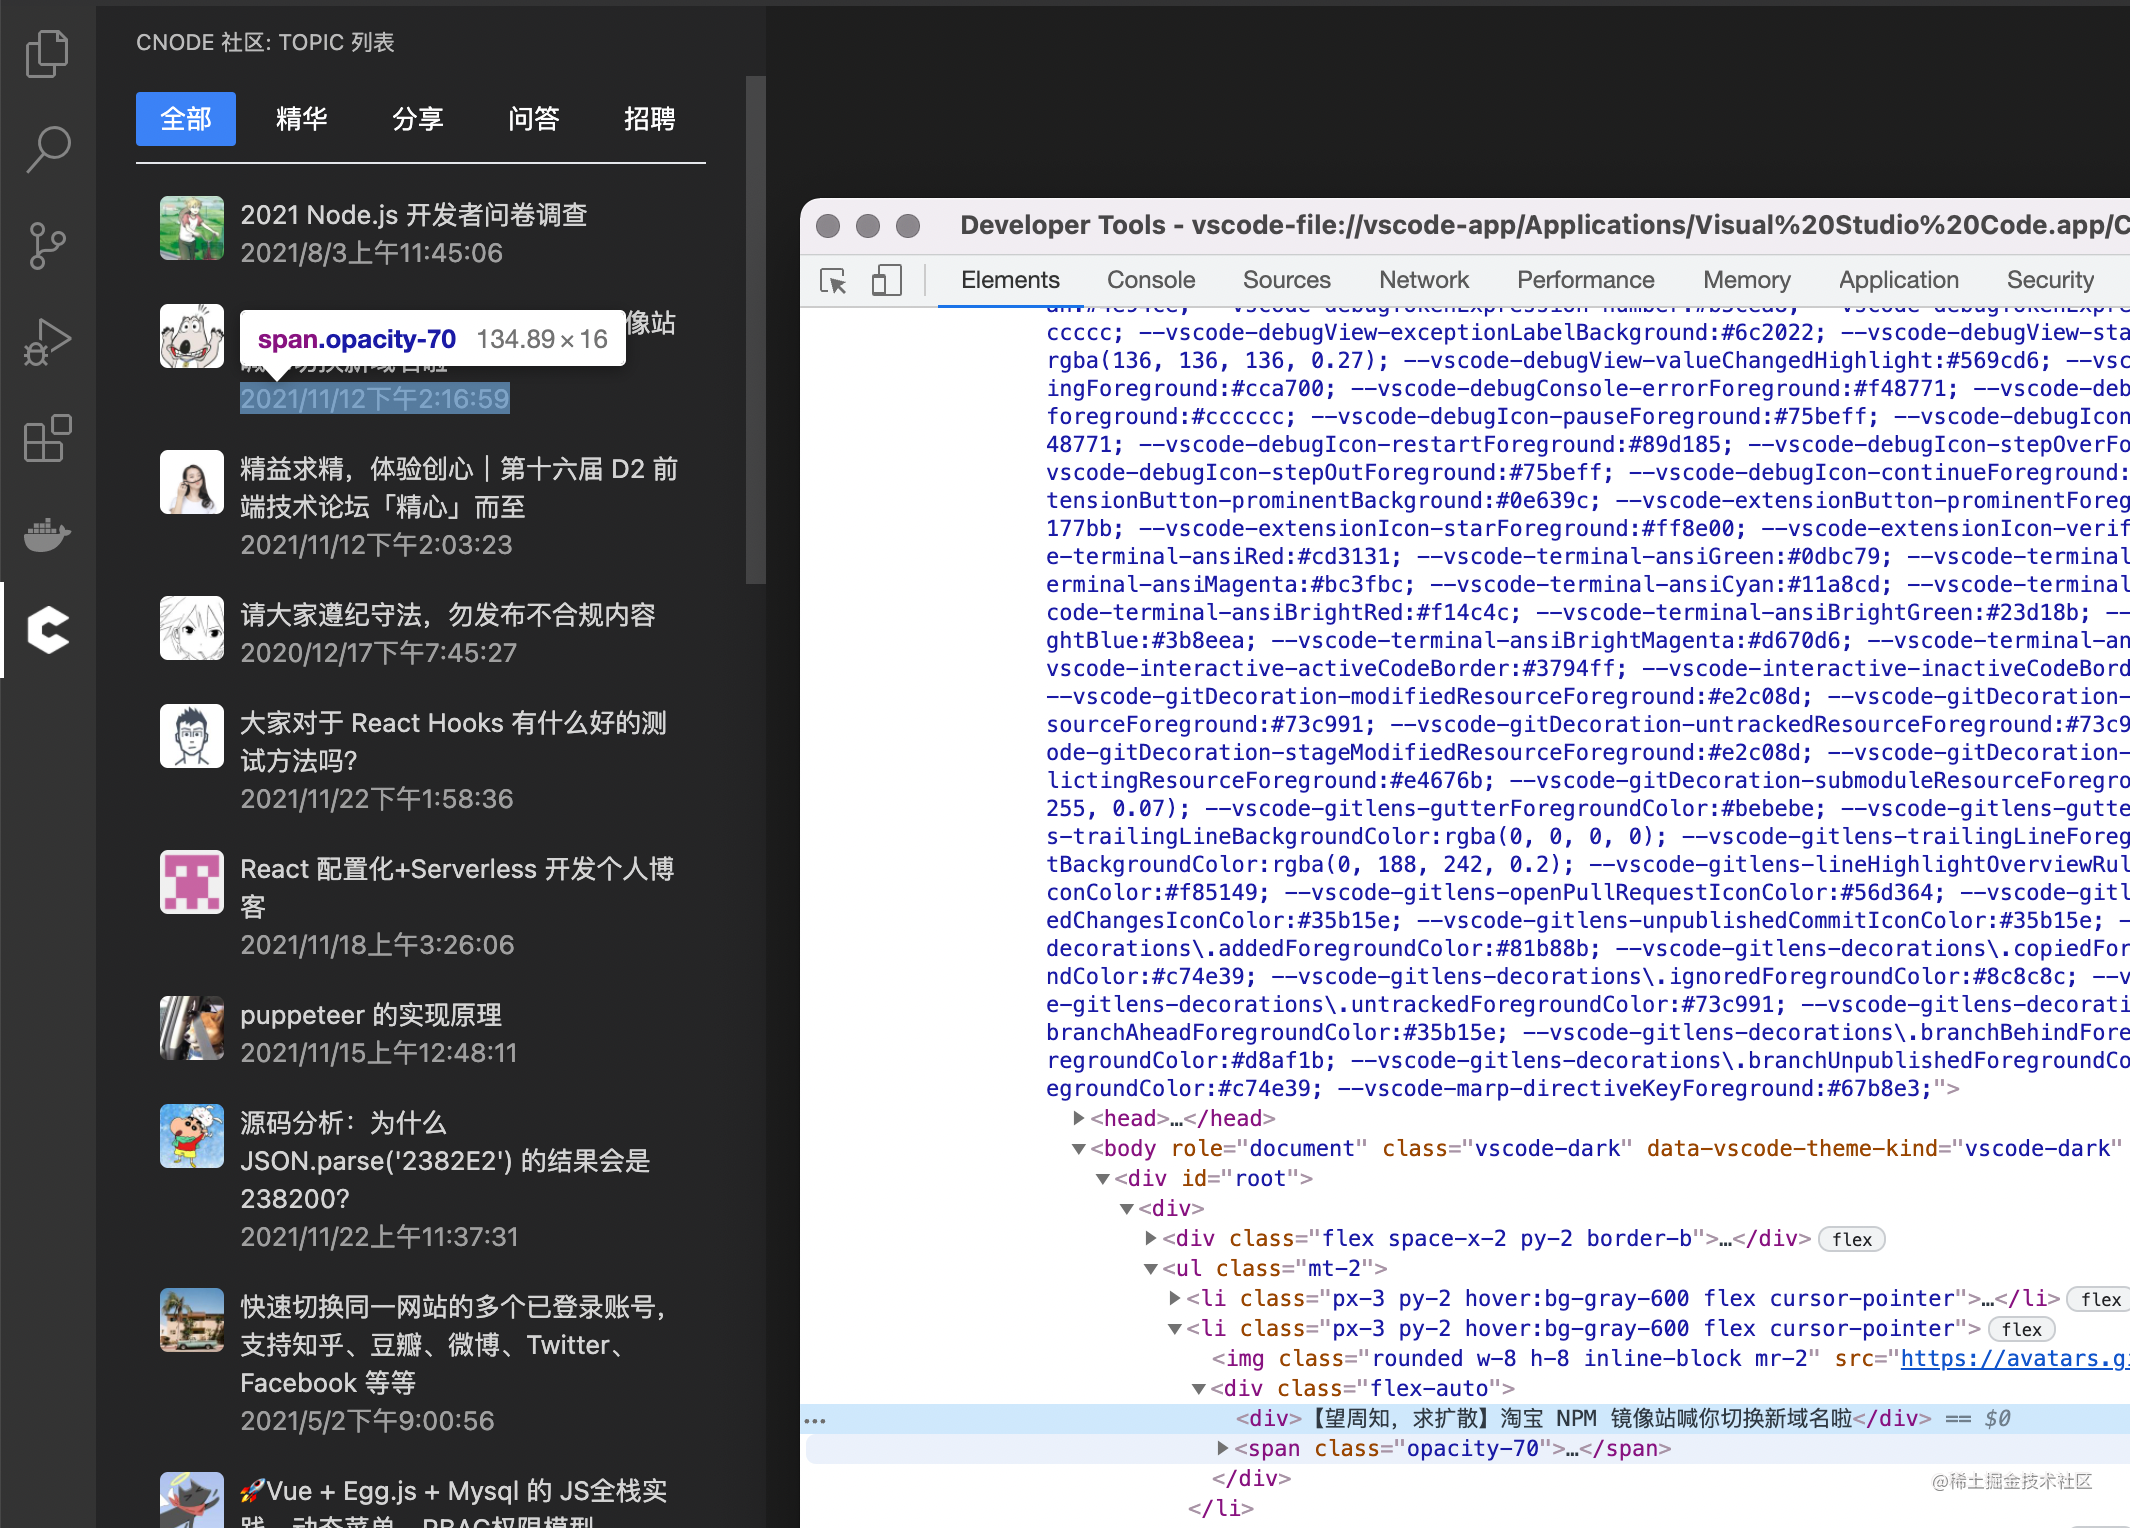
To debug Webview, you can't directly open the developer tool of VSCode. You can only see a < Webview > < / Webview > tag. You can't see the code. To see the code, you need to press Ctrl+Shift+P and then execute to open the Webview developer tool. The English version should be Open Webview Developer Tools:

It can also be seen from the above figure that the css variable of the current skin is injected into the html tag.
State retention
Unlike the browser tag, when the webview is moved to the background and displayed again, any state in the webview will be lost. Because webview is implemented based on iframe.
The best way to solve this problem is to make your webview stateless and save the state of webview through message passing.
state
In webview js, we can use vscode.getState() and vscode.setState() methods to save and restore JSON serializable state objects. When the webview is hidden, these states are saved even if the webview content itself is destroyed. Of course, when the webview is destroyed, the state will be destroyed.
serialize
By registering WebviewPanelSerializer, you can automatically restore your webview after VScode restart. Of course, serialization is actually based on getState and setState.
Registration method: vscode.window.registerWebviewPanelSerializer
retainContextWhenHidden
For webviews with very complex UI or state that cannot be saved and restored quickly, we can directly use the retain context when hidden option. After setting retainContextWhenHidden: true, even if the webview is hidden in the background, its status will not be lost.
Although retainContextWhenHidden is attractive, it requires high memory overhead. It is generally recommended to enable it when there is no way.
getState and setState are the preferred methods of persistence because their performance overhead is much lower than retainContextWhenHidden.
release
See my last article on publishing Write VS Code plug-in together: provide common code fragments for your team
Summary
This article helps us to familiarize ourselves with the api of webview by implementing VS Code version CNode. Of course, we can also add a comment system, create topics, and collect likes based on the user system.
Developing more complex functions only needs your imagination. For example:
last
Attach a copy of this plug-in Download address and Source code
At the same time, the development threshold of vscode extensions is not high. You are welcome to try or recommend interesting extensions in the comment area.
I hope this article is helpful to you. You can also refer to my previous articles or exchange your ideas and experiences in the comment area. Welcome to explore the front end together.