1, Introduction to echarts
It is an open-source visualization library implemented by JavaScript, which can run smoothly on PC and mobile devices, and is compatible with most current browsers (IE8/9/10/11, Chrome, Firefox, Safari, etc.), the bottom layer relies on vector graphics library ZRender, providing intuitive, interactive and customized data visualization charts.
ECharts provides conventional line chart, histogram, scatter chart, pie chart, K-line chart, box chart for statistics, map, thermal chart and line chart for visualization of geographic data, relationship chart, treemap, sunrise chart for visualization of relationship data, parallel coordinates for multi-dimensional data visualization, and BI And it supports the mix and match between diagrams.
2, Introduction to echarts
(1) Write the echartsDemo.html file and directly introduce it into the constructed echartsdemo file by means of tags
<html>
<head>
    <meta charset="utf-8">
    <!-- Introduce ECharts file -->
    <script src="echarts.min.js"></script>
</head>
</html>
(2) . draw a simple chart first
This is the style of the eckarts page shown later
<body>
    <!-- by ECharts Prepare a DOM -->
    <div id="main" style="width: 600px;height:400px;"></div>
</body>
(3) . initialize an instance of echarts with echarts.init method and generate a simple histogram with setOption method
<script type="text/javascript">
        // Initialize the echarts instance based on the prepared dom
        var myChart = echarts.init(document.getElementById('main'));

        // Specify configuration items and data for the chart
        var option = {
            title: {
                text: 'ECharts Introductory example'
            },
            tooltip: {},
            legend: {
                data:['Sales volume']
            },
            xAxis: {
                data: ["shirt","Cardigan","Chiffon shirt","trousers","High-heeled shoes","Socks"]
            },
            yAxis: {},
            series: [{
                name: 'Sales volume',
                type: 'bar',
                data: [5, 20, 36, 10, 10, 20]
            }]
        };

        // Use the configuration items and data you just specified to display the chart.
        myChart.setOption(option);
    </script>
(4) . in combination with (1), (2), (3), the complete code is as follows
<!DOCTYPE html>
<html>
<head>
    <meta charset="utf-8">
    <title>ECharts</title>
    <!-- Introduce echarts.js -->
    <script src="echarts.min.js"></script>
</head>
<body>
    <!-- by ECharts Prepare a Dom -->
    <div id="main" style="width: 600px;height:400px;"></div>
    <script type="text/javascript">
        // Initialize the echarts instance based on the prepared dom
        var myChart = echarts.init(document.getElementById('main'));

        // Specify configuration items and data for the chart
        var option = {
            title: {
                text: 'ECharts Introductory example'
            },
            tooltip: {},
            legend: {
                data:['Sales volume']
            },
            xAxis: {
                data: ["shirt","Cardigan","Chiffon shirt","trousers","High-heeled shoes","Socks"]
            },
            yAxis: {},
            series: [{
                name: 'Sales volume',
                type: 'bar',
                data: [5, 20, 36, 10, 10, 20]
            }]
        };

        // Use the configuration items and data you just specified to display the chart.
        myChart.setOption(option);
    </script>
</body>
</html>
The premise of running here is that echarts.min.js and the current echartsDemo.html are in the same level directory. Of course, you can also configure the absolute path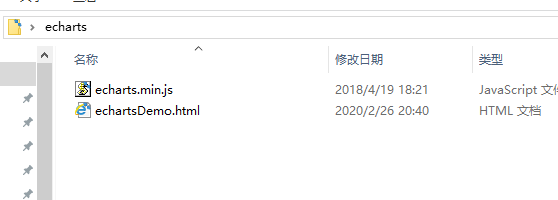
So you can run html and see the first eckarts diagram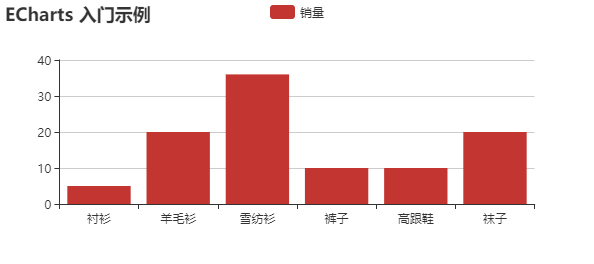
(3) If you don't want this kind of histogram, for example, if you want to replace the pie chart, use the Doughnut chart at the bottom of the official website,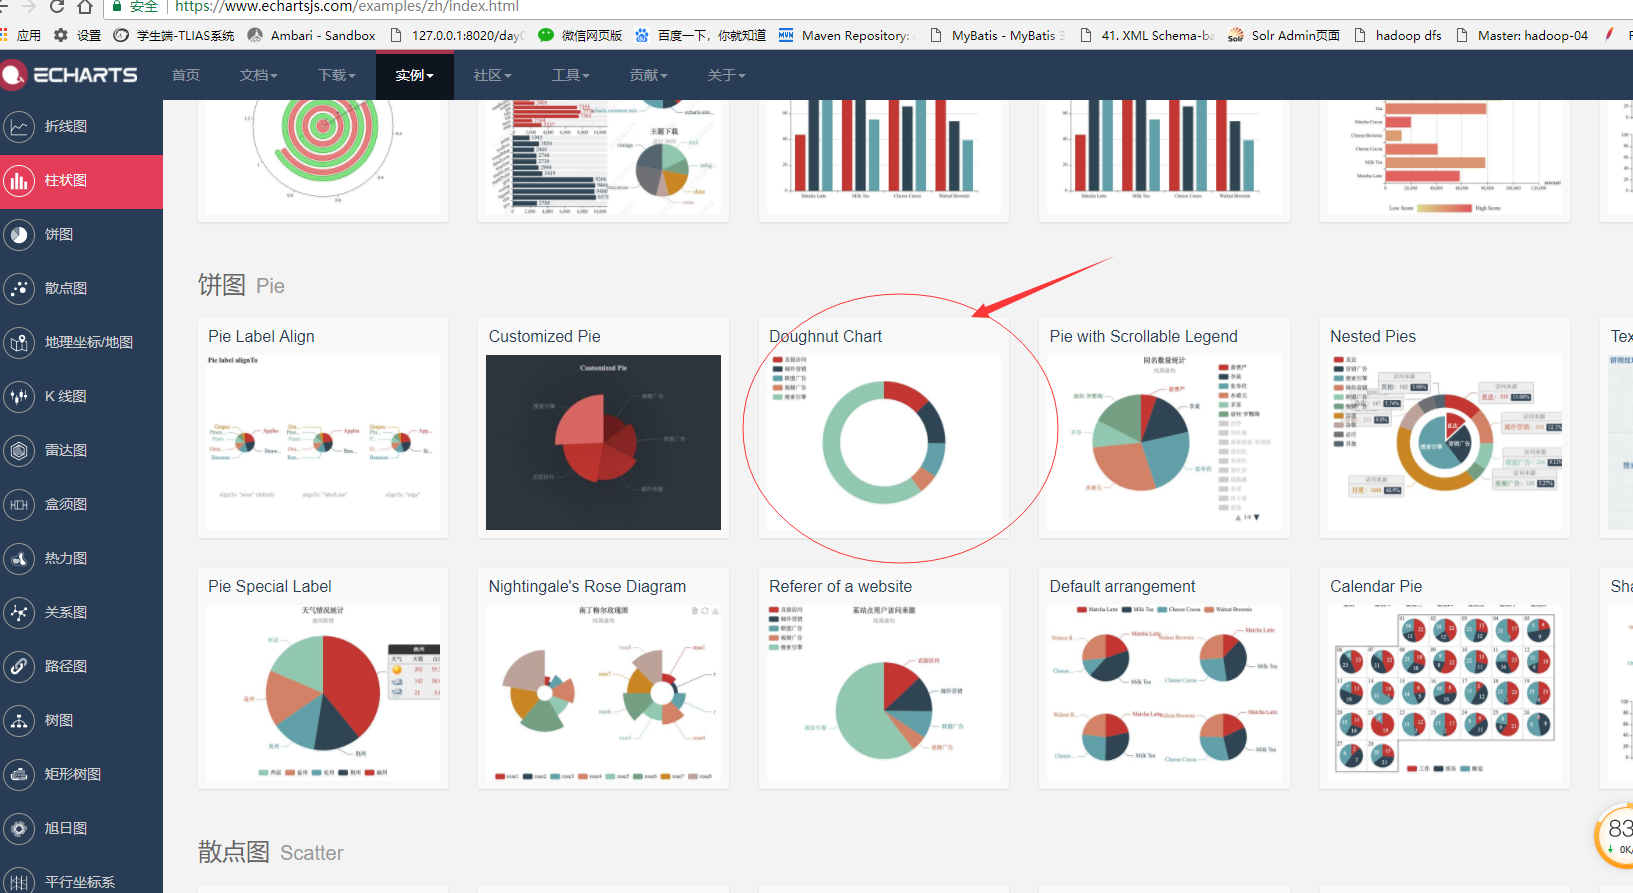
Click the icon, paste all the content on the left and replace the option content of the original echartsDemo.html. Running echartsDemo.html is a pie chart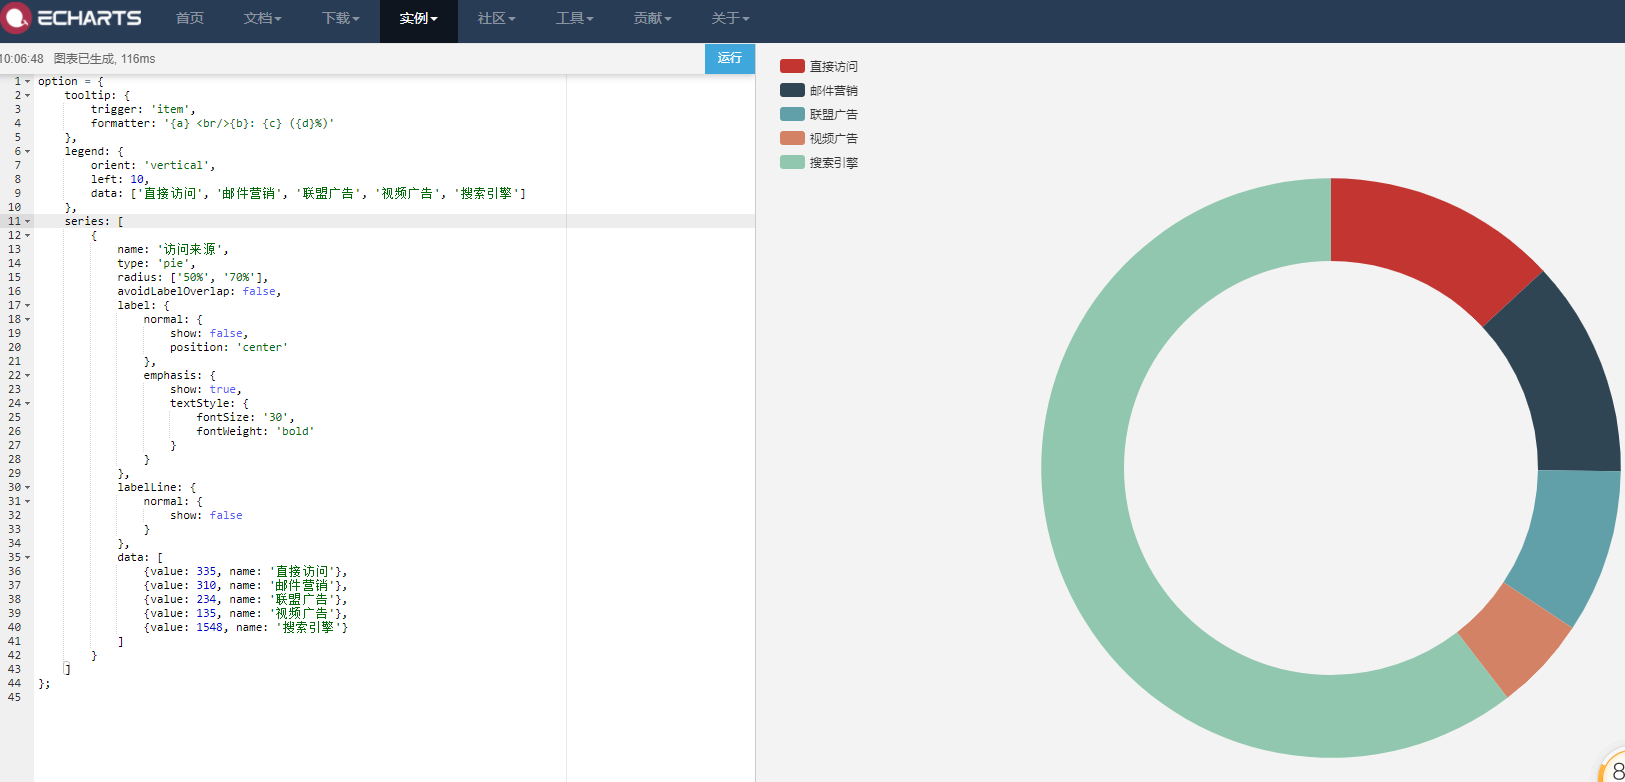
2, Getting background data of echarts
The data in the entry example is directly filled in setOption after initialization, but in many cases, the data needs to be loaded asynchronously and then filled in. It is very simple to update asynchronous data in ECharts. After the initialization of the chart, whenever you want to get the data asynchronously through jQuery and other tools, you can fill in the data and configuration items through setOption.
Update ing

