Preface:
After the transition from eclipse to Android studio, the introduction of third-party libraries has become relatively simple, no longer downloading the jar itself, but simply using a simple configuration message from build.gradle.The following:
compile 'com.voctex.banner:banner:1.0.0'In fact, Android studio configures this information, and when it build s, it downloads the corresponding library to the local reference on the jCenter server instead of downloading the package and re-referencing it on its own. A simple sentence of code can do a lot for us.
The next step is to upload our own library library to the jCenter server and make it easy for others to reference.
Dead work:
First of all, we should have a certain understanding of gradle, and a certain familiarity with Android studio, so that we can not always feel a lot of problems, but simple and direct success, basic work is still needed.Below I will use one of my items as chestnuts.
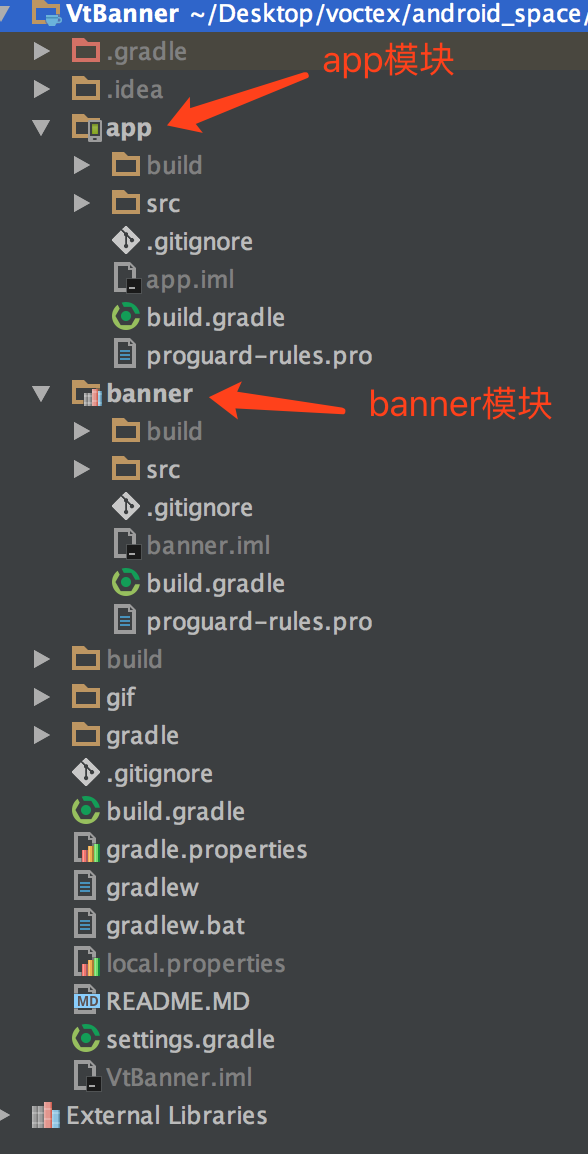
Start with a new app project, which has an app module by default, and then a new module, which acts as a module for library, as shown below
Then I need to register a mailbox that can be used internationally. After I tested it, neither QQ mailbox (@qq) nor NetEase mailbox (@163) will work. Others have never measured it. Someone said that to register Google mailbox (@gmail) is OK. Google is walled in the sky. Every time it is used, it is not the best choice. Then try itCheck Ali's mailbox (@aliyun) and find out.Next you'll use this mailbox.
After the mailbox has been registered, a Bintray account will be registered. There will be a pit here. Special note that Bintray will be searched directly to the official website, and then registered with the account of the registering organization. It will also be a one-month trial period. Here is a link to register a personal account:
https://bintray.com/signup/oss
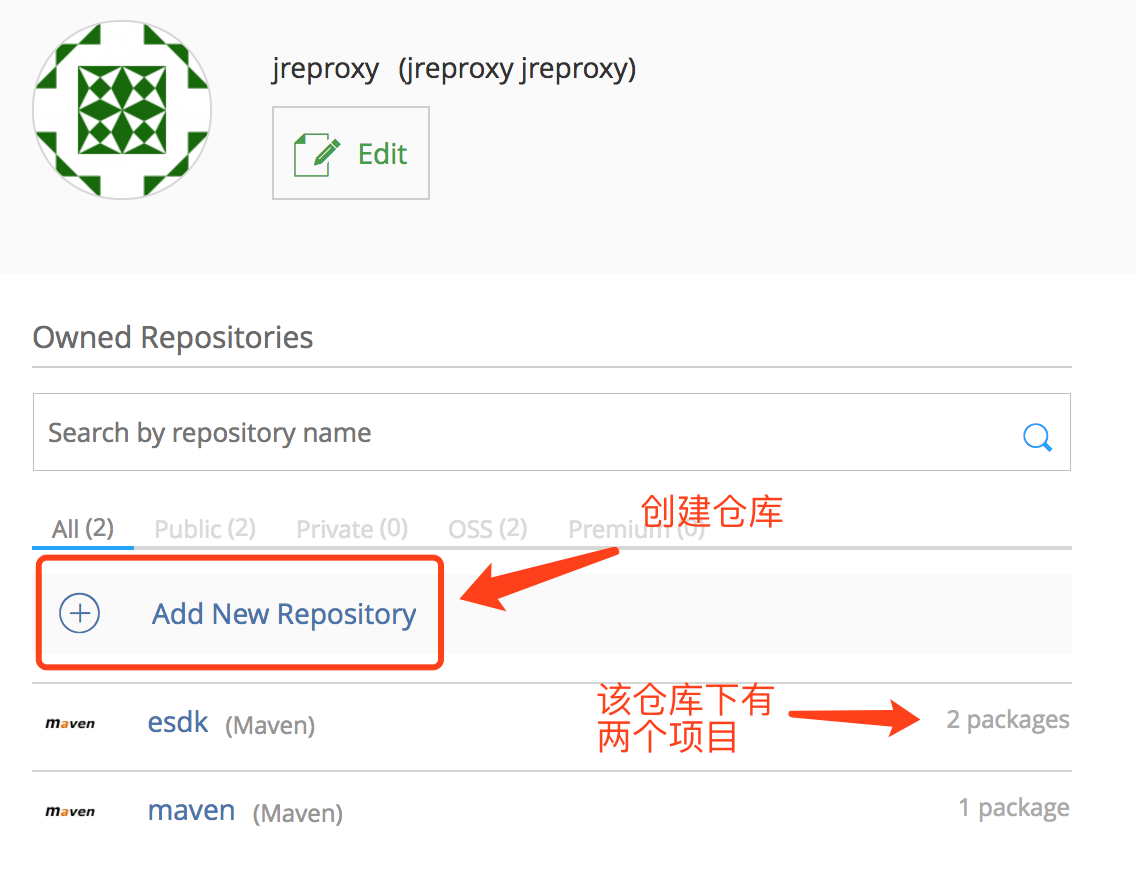
Create warehouse
Once you've entered Bintray, because you're a personal account, you can either set up your own organization or simply ignore it, because you're a personal developer, and I just ignore it.
The picture dividing line 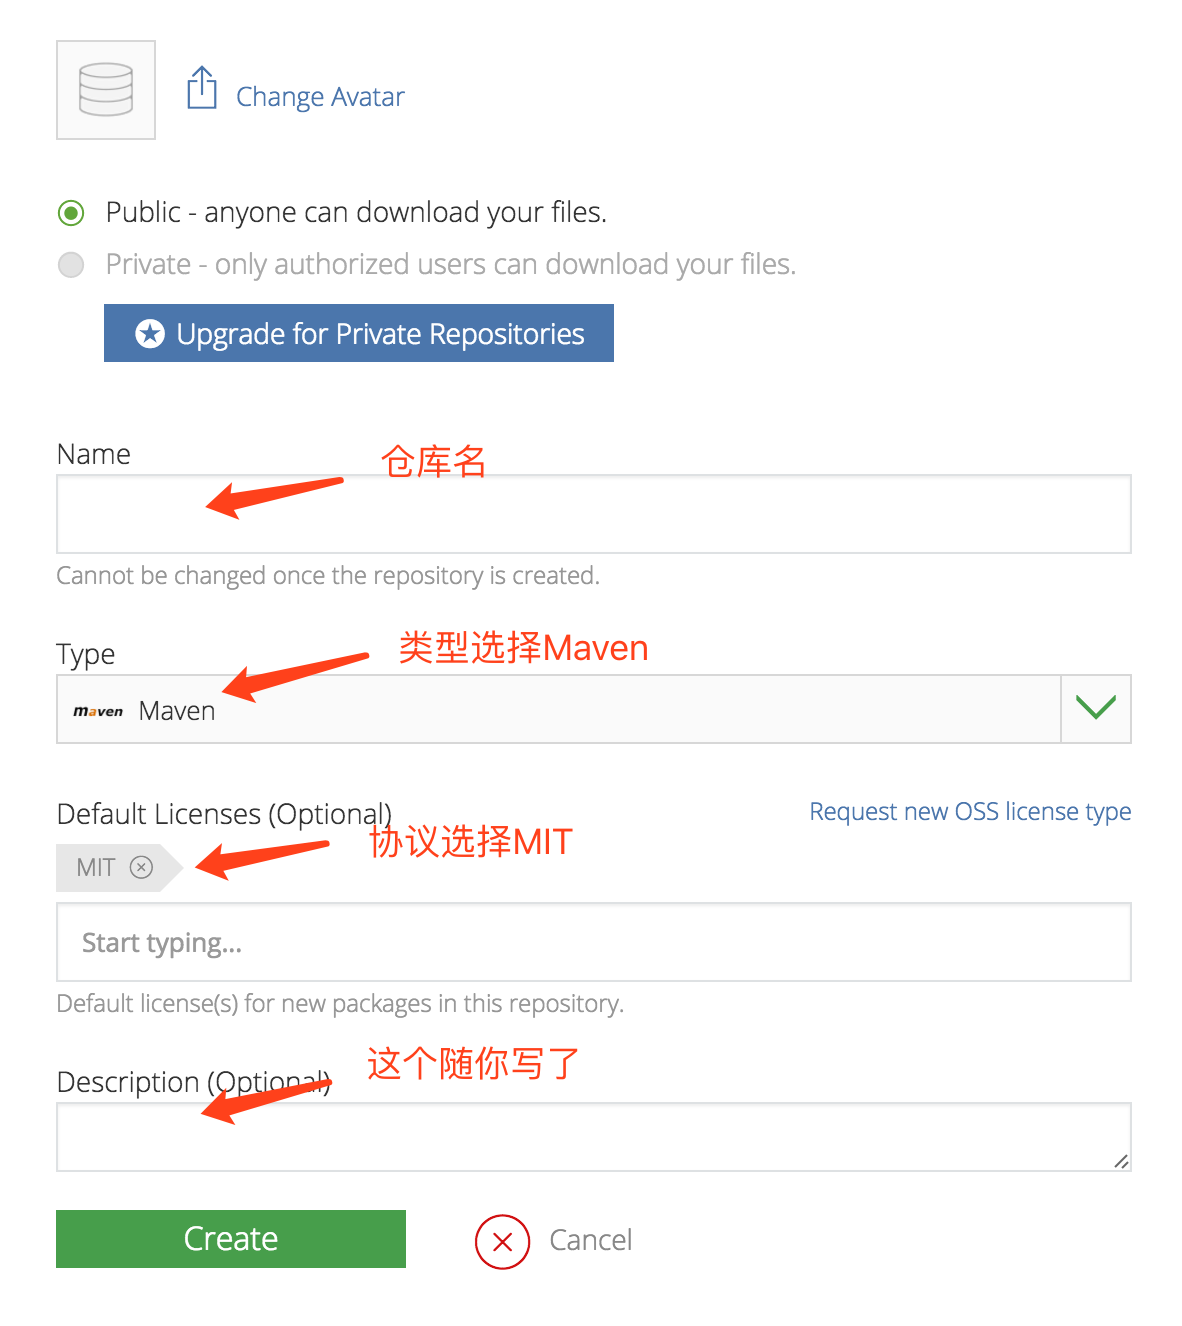
After a series of operations above, you will get an empty warehouse, with which you can upload our project. Of course, this is the next step.
Configure gradle
There are three files to configure, the build.gradle file in the project root directory, the build.gradle file in the library module root directory, and the local.properties in the project root directory.
1. build.gradle in the project root directory
buildscript {
    repositories {
        jcenter()
    }
    dependencies {
        classpath 'com.android.tools.build:gradle:2.2.3'
        classpath 'com.github.dcendents:android-maven-gradle-plugin:1.5'
        classpath 'com.jfrog.bintray.gradle:gradle-bintray-plugin:1.7.3'

        // NOTE: Do not place your application dependencies here; they belong
        // in the individual module build.gradle files
    }
}

allprojects {
    repositories {
        jcenter()
    }
}
2. The build.gradle configuration under the library module. There is a little bit of configuration information in this step. Just pay attention to those comments and change to your own information.
apply plugin: 'com.android.library'
//Plug-in unit
apply plugin: 'com.github.dcendents.android-maven'
apply plugin: 'com.jfrog.bintray'


def siteUrl = 'https://github.com/voctex/VtBanner'    // Git Project Home Page
def gitUrl = 'https://github.com/voctex/VtBanner.git' // Git repository url

Properties properties = new Properties()
properties.load(project.rootProject.file('local.properties').newDataInputStream())

version = "1.0.0" //Release Number
group = "com.voctex.banner" //Final reference form, such as compile'com.voctex.banner:banner:1.0.0', where banner is configured later

android {
    compileSdkVersion 24
    buildToolsVersion "24.0.2"
    resourcePrefix "vt_" // Randomly named

    defaultConfig {
        minSdkVersion 14
        targetSdkVersion 24
        versionCode 1
        versionName "1.0"

    }
    buildTypes {
        release {
            minifyEnabled false
            proguardFiles getDefaultProguardFile('proguard-android.txt'), 'proguard-rules.pro'
        }
    }
}

dependencies {
    compile fileTree(include: ['*.jar'], dir: 'libs')
    compile 'com.android.support:appcompat-v7:24.2.1'
    compile 'com.github.bumptech.glide:glide:3.7.0'
}

bintray {
    user = properties.getProperty("bintray.user")
    key = properties.getProperty("bintray.apikey")
    pkg {
        repo = 'maven'//Name of the repository you created yourself, just like the repository you created on Bintray
        name = 'vtbanner'//Name uploaded to JCenter, final reference name
        websiteUrl = siteUrl
        vcsUrl = gitUrl //This seems necessary, I tried to pass an empty string as if it was unsuccessful
        licenses = ['MIT']//It can't be written freely, it can only be the license type selected when the warehouse was created
//        UserOrg ='mumusalibrary'//organization name created by oneself
        publish = true // Is it a public project that others can refer to

        version {
            name = '1.0.0'//Version name, as if already configured above
            desc = 'voctex open library.'//Description, self-defined
            released  = new Date()
            vcsTag = 'v1.0.0'
            attributes = ['gradle-plugin': 'com.use.less:com.use.less.gradle:gradle-useless-plugin']
        }
    }
    configurations = ['archives']
}


install {
    repositories.mavenInstaller {
        // This generates POM.xml with proper parameters
        pom {
            project {
                packaging 'aar'
                // Add your description here
                name 'Android Banner'//Project Name
                description 'open library.'//Item Description
                url siteUrl
                // Set your license
                licenses {
                    license {
                        name 'MIT' //Consistent with previously defined agreements
                        url 'https://raw.githubusercontent.com/minggo620/Pluto-Android/master/LICENSE'
                    }
                }
                developers {
                    developer {
                        id 'voctex'        //Fill in the user name for bintray or github, where I fill in my GitHub name
                        name 'jreproxy'         //Name, here's the nickname on Bintray
                        email 'voctex@aliyun.com'//mailbox
                    }
                }
                scm {
                    connection gitUrl
                    developerConnection gitUrl
                    url siteUrl
                }
            }
        }
    }
}
task sourcesJar(type: Jar) {
    from android.sourceSets.main.java.srcDirs
    classifier = 'sources'
}
task javadoc(type: Javadoc) {
    failOnError false //Must be added to avoid errors
    source = android.sourceSets.main.java.srcDirs
    classpath += project.files(android.getBootClasspath().join(File.pathSeparator))
}
task javadocJar(type: Jar, dependsOn: javadoc) {
    classifier = 'javadoc'
    from javadoc.destinationDir
}
artifacts {
    archives javadocJar
    archives sourcesJar
}

javadoc {
    options{
        //If you have Chinese comments in your project, you must set the format to UTF-8, otherwise you will encounter garbled code
        encoding "UTF-8"
        charSet 'UTF-8'
        author true
        version true
        links "http://docs.oracle.com/javase/7/docs/api"
    }
}
3. local.properties information under the configuration project root directory
sdk.dir=/Users/yidont/Library/Android/sdk
bintray.user=jreproxy(Bintray Name)
bintray.apikey=xxx(You need to fill in your key,Need to go bintray Get it, as shown below)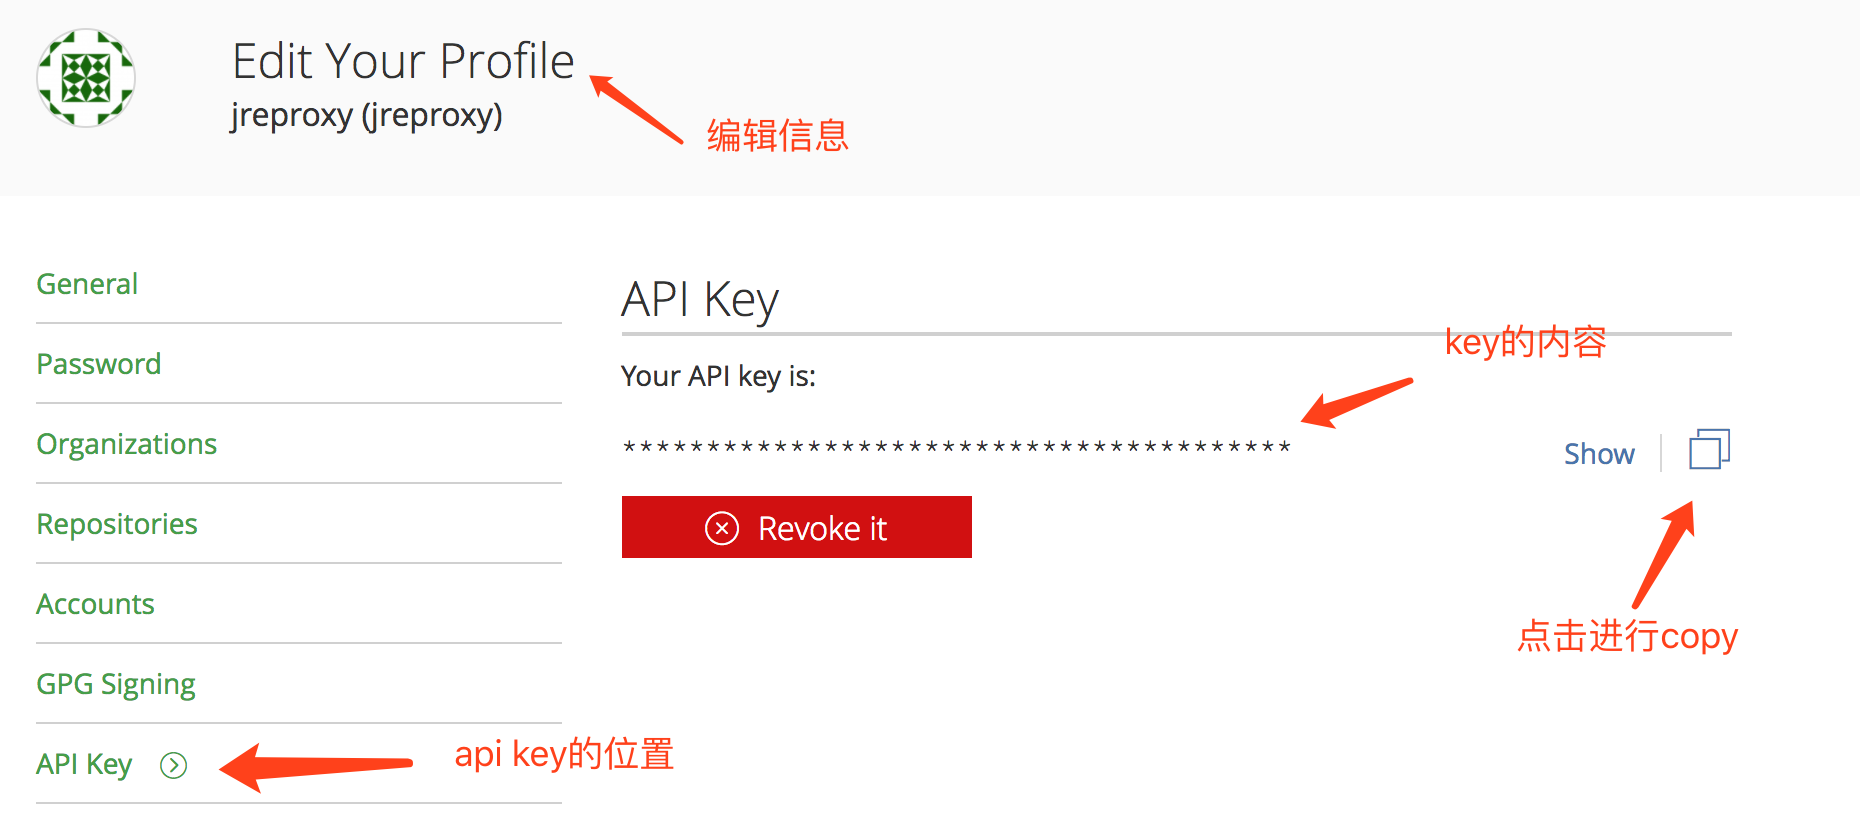
Execute the gradle command
Here's a quick introduction to some of the differences between executing commands on windows and mac systems, such as
(windows)
gradlew -v
(mac)
./gradlew -vBecause I'm using a mac computer, other people need to be aware of the differences.
Another important thing to note is that to compile individual modules, all modules will be executed by default each time you do not specify the module conveniently when executing the command, so make a good habit here.To operate on a separate module, add the module name, as follows
(All modules)
./gradlew assembleRelease
 (separate module)
./gradlew :app:assembleRelease
Then hit the gradle command on Terminal under Android studio, and execute it first
./gradlew :banner:installInstall something you need, then upload the project to the repository in Bintray and execute
./gradlew :banner:bintrayUploadThen wait patiently, until the word BUILD SUCCESSFUL appears, it means the upload is successful, then you can go to your Bintray to see your project, after entering the project there is the last step you need to do, that is, add to jCenter, and then wait for review, someone finished in 10 minutes, someone reviewed very slowly, IIt usually takes half a day to be audited successfully.
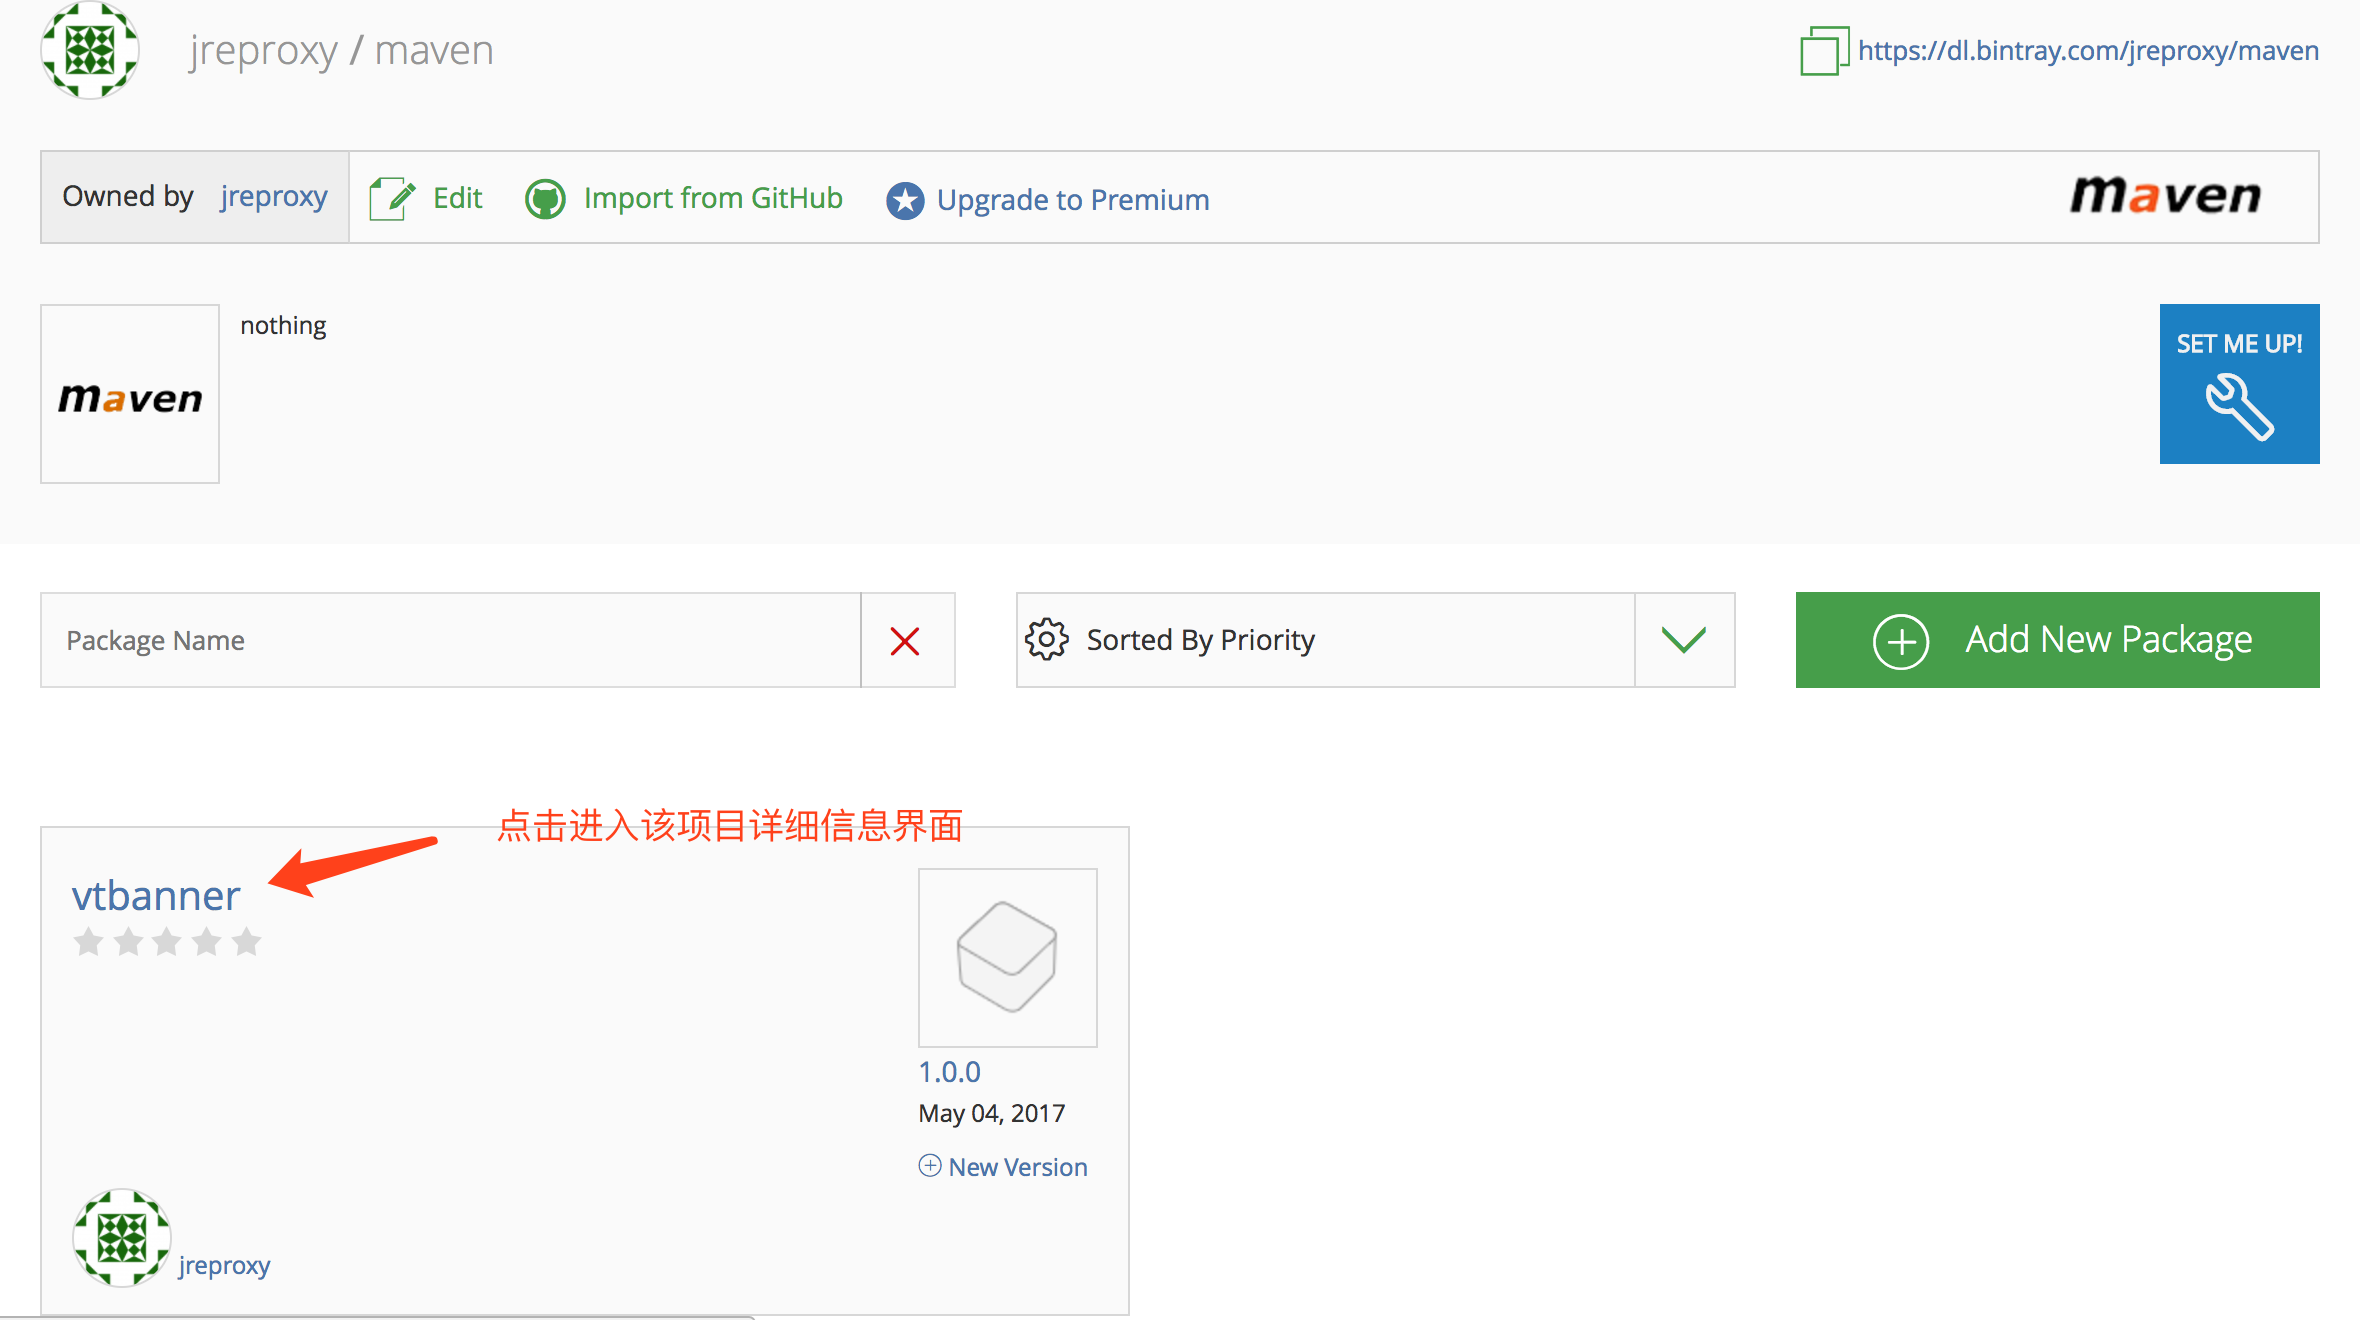
The picture dividing line 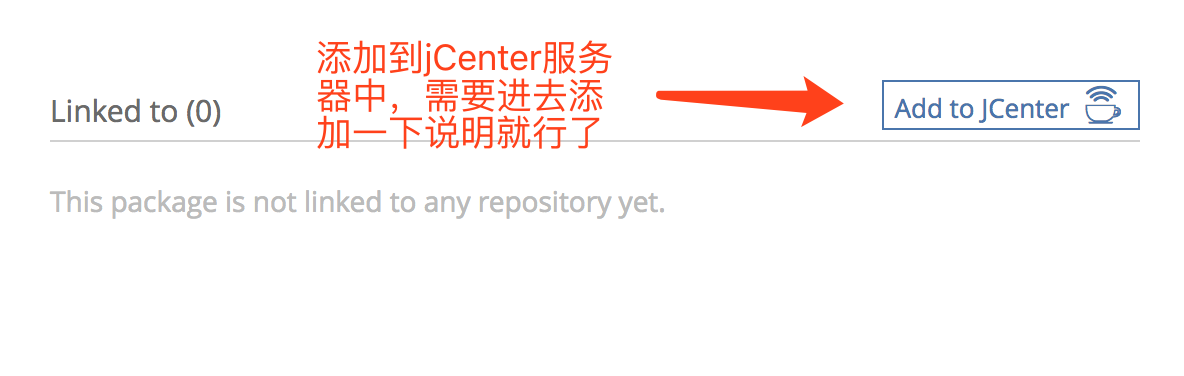
The picture dividing line 
Last
It's a long way to go. It's basically very simple. It's so easy to upload your encapsulated library to jCenter that it looks a little tall in an instant.Of course, I just want to share my experience, so others can learn it easily.