concept
Workflow products use activiti a lot. They come with a set of UI, which can be used directly to design processes. Here is a brief summary of its steps:
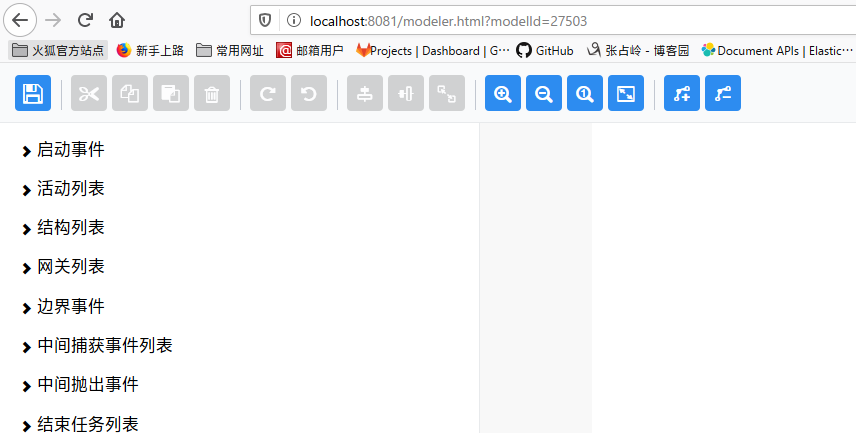
1 design model
2 publish as process. A model can publish multiple versions of process
3. Establish a process instance and instance task. A process can establish multiple parallel instances
4 approve an instance task
5 you can view the real-time process instance status
Deployed in the project
Add reference
   annotationProcessor  'org.projectlombok:lombok:1.18.2' //You need to reference lombok like this after gradle 5.0
    compileOnly 'org.projectlombok:lombok:1.18.2'
    testAnnotationProcessor 'org.projectlombok:lombok:1.18.2'
    testCompileOnly 'org.projectlombok:lombok:1.18.2'

    implementation 'org.springframework.boot:spring-boot-starter-jdbc'
    implementation 'org.springframework.boot:spring-boot-starter-web'
    implementation 'org.springframework.boot:spring-boot-starter-data-jpa'

    implementation 'org.activiti:activiti-diagram-rest:5.22.0'
    implementation 'org.activiti:activiti-modeler:5.22.0'
    implementation 'org.activiti:activiti-spring-boot-starter-basic:5.22.0'

    implementation 'org.springframework.boot:spring-boot-starter-jdbc'
    implementation 'mysql:mysql-connector-java'
    implementation 'org.assertj:assertj-core:3.3.0'
    implementation 'com.google.guava:guava:18.0'
    testImplementation 'com.h2database:h2:1.3.176'
    testImplementation('org.springframework.boot:spring-boot-starter-test')
Add startup file
import org.activiti.spring.boot.SecurityAutoConfiguration;
import org.springframework.boot.SpringApplication;
import org.springframework.boot.autoconfigure.SpringBootApplication;

@SpringBootApplication(exclude = {SecurityAutoConfiguration.class, org.springframework.boot.autoconfigure.security.servlet.SecurityAutoConfiguration.class,})
public class AvtivitiApplication {
    public static void main(String[] args) {
        SpringApplication.run(AvtivitiApplication.class, args);
    }

}
Add yml configuration
server:
  port: 8081

spring:
  application:
    name: activiti-demo
  datasource:
    driver-class-name: com.mysql.jdbc.Driver
    url: jdbc:mysql://localhost:3306/activiti?useUnicode=true&characterEncoding=utf-8&useSSL=false
    username: root
    password: root
  jpa:
    hibernate:
      ddl-auto: none
    show-sql: true

  activiti:
    check-process-definitions: false
    font:
      activityFontName: Song style
      labelFontName: Song style
Visit the model add page
After saving, data will be added to the model table act ﹣ re ﹣ model, and the act ﹣ Ge ﹣ byte array resource table will also generate object data, such as the image of the model and the XML file corresponding to the model.