Introduction:
Theoretically, we can also manually create an SSL security certificate, but the security certificate issued by ourselves is trusted by the browser, so we need the security certificate issued by the trusted certificate authority (CA). The general SSL security certificate issuing service requires payment and is expensive. However, in order to accelerate the popularization of https, EEF electronic outpost foundation, Mozilla foundation and University of Michigan have established a public welfare organization called ISRG (Internet Security Research Group), which has launched Let's Encrypt free certificate since 2015. This free certificate is not only free, but also very easy to use, so we can use the free certificate provided by Let's Encrypt to deploy https
Next, let's talk about the process of installing free https certificates using cerbot [my system is ubuntu system] ~ ~
1> Install cerbot first
Before use: please update the ubuntu image source
Recommended Ababa: https://developer.aliyun.com/mirror
mv /etc/apt/sources.list /etc/apt/sources.list.back

vi /etc/apt/sources.list
Use the command to copy the alicloud image source to this file
add-apt-repository ppa:certbot/certbot
apt update
apt install certbot
2> Use the following command to check whether the ccerbot has been successfully installed
certbot --version
As shown in the figure below, the installation is successful;

3> cerbot is installed successfully. Next, you need to generate ssl certificate
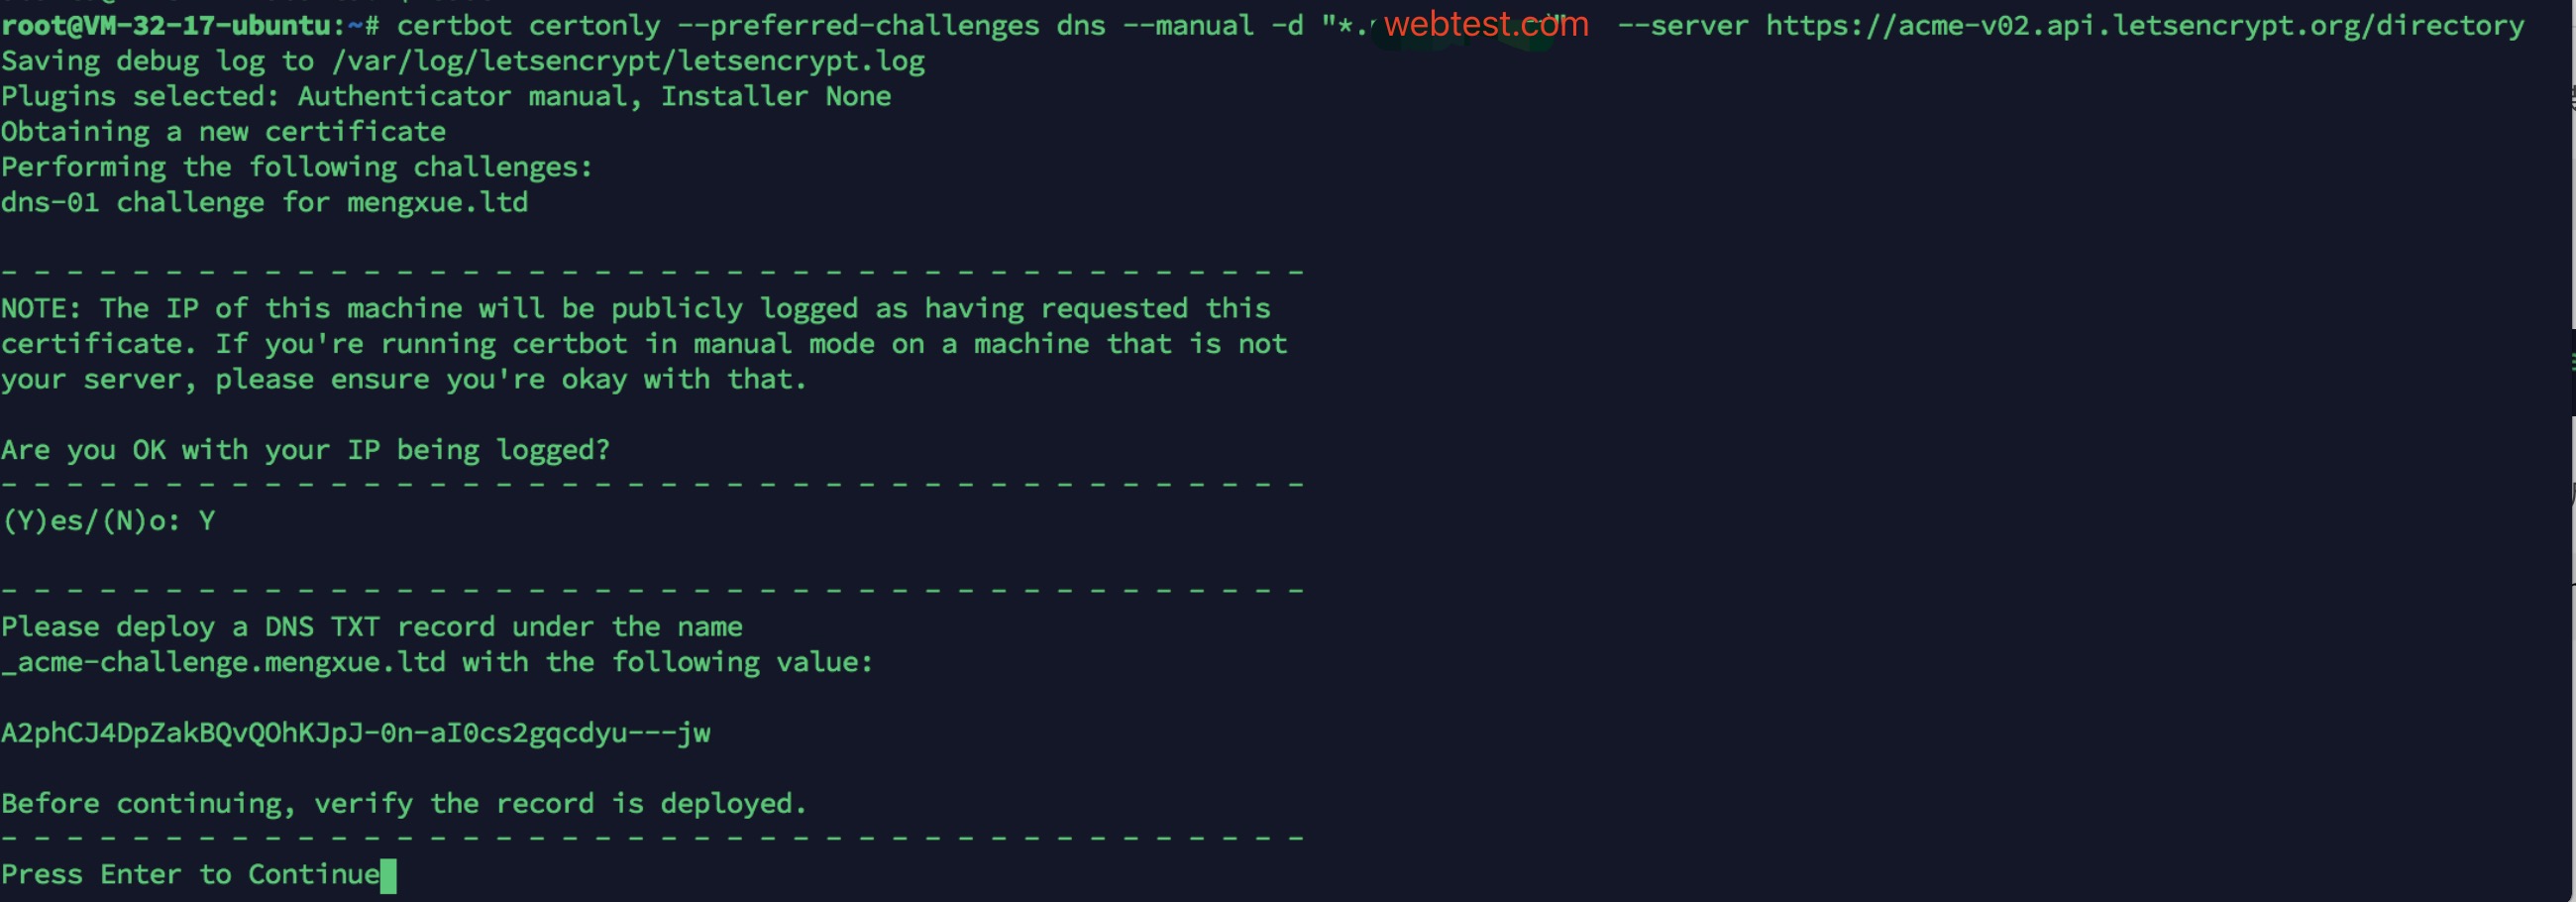
certbot certonly --preferred-challenges dns --manual -d "*.webtest.com" --server https://acme-v02.api.letsencrypt.org/directory
By executing the above command, the following results are obtained:

4> It should be noted that after obtaining this result, do not continue first. At this time, you need to resolve a TXT record under your domain name according to this prompt;

5> After joining, you can reopen a page and check whether the resolution is successful through the following command:
windows
nslookup -qt=TXT _acme-challenge.xx.com

ubuntu
nslookup  enter
set querytype=TXT  enter
_acme-challenge.webtest.com enter
Because my system is ubuntu, the following results are obtained after executing the above command:

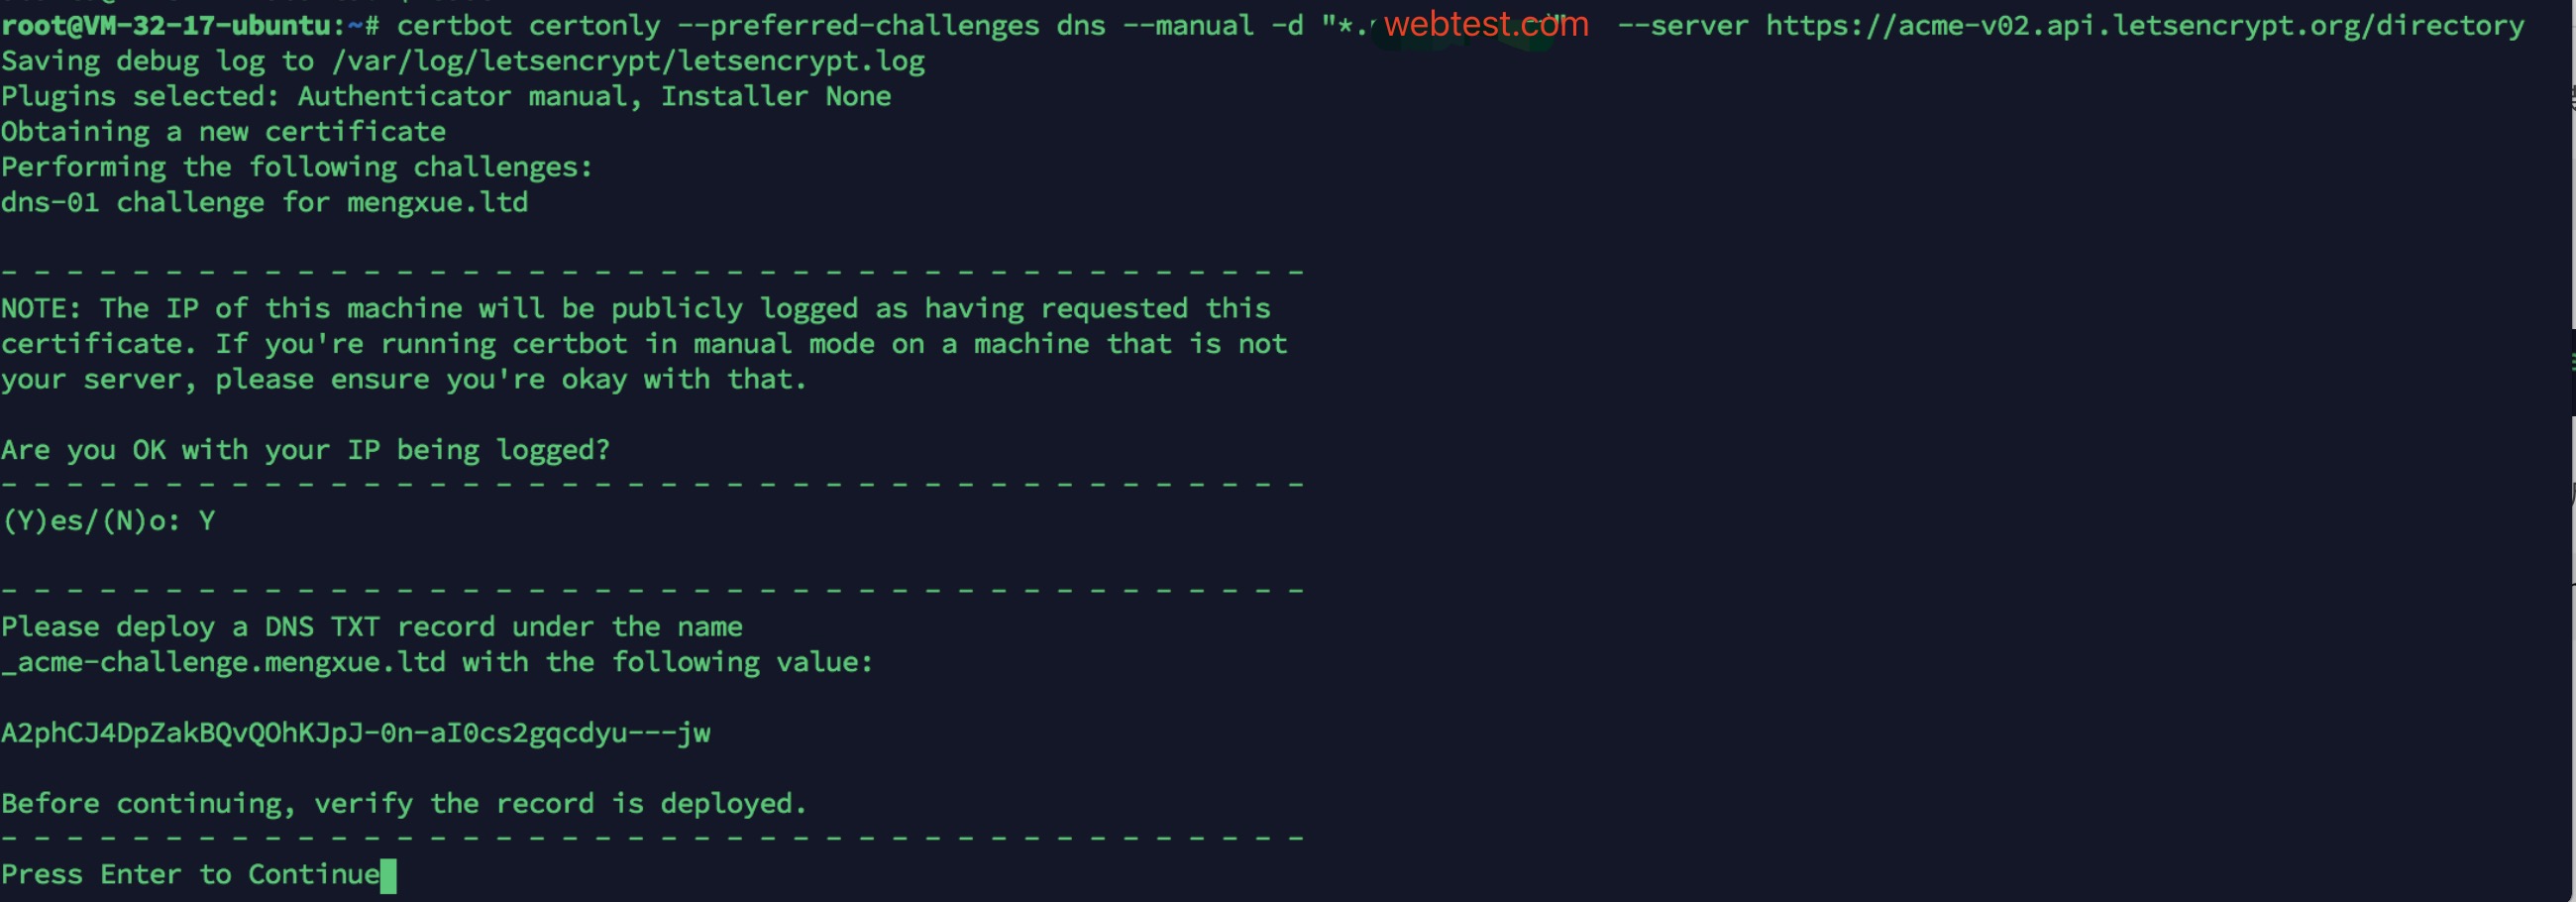
6> Next, go back to this place and click enter to verify:
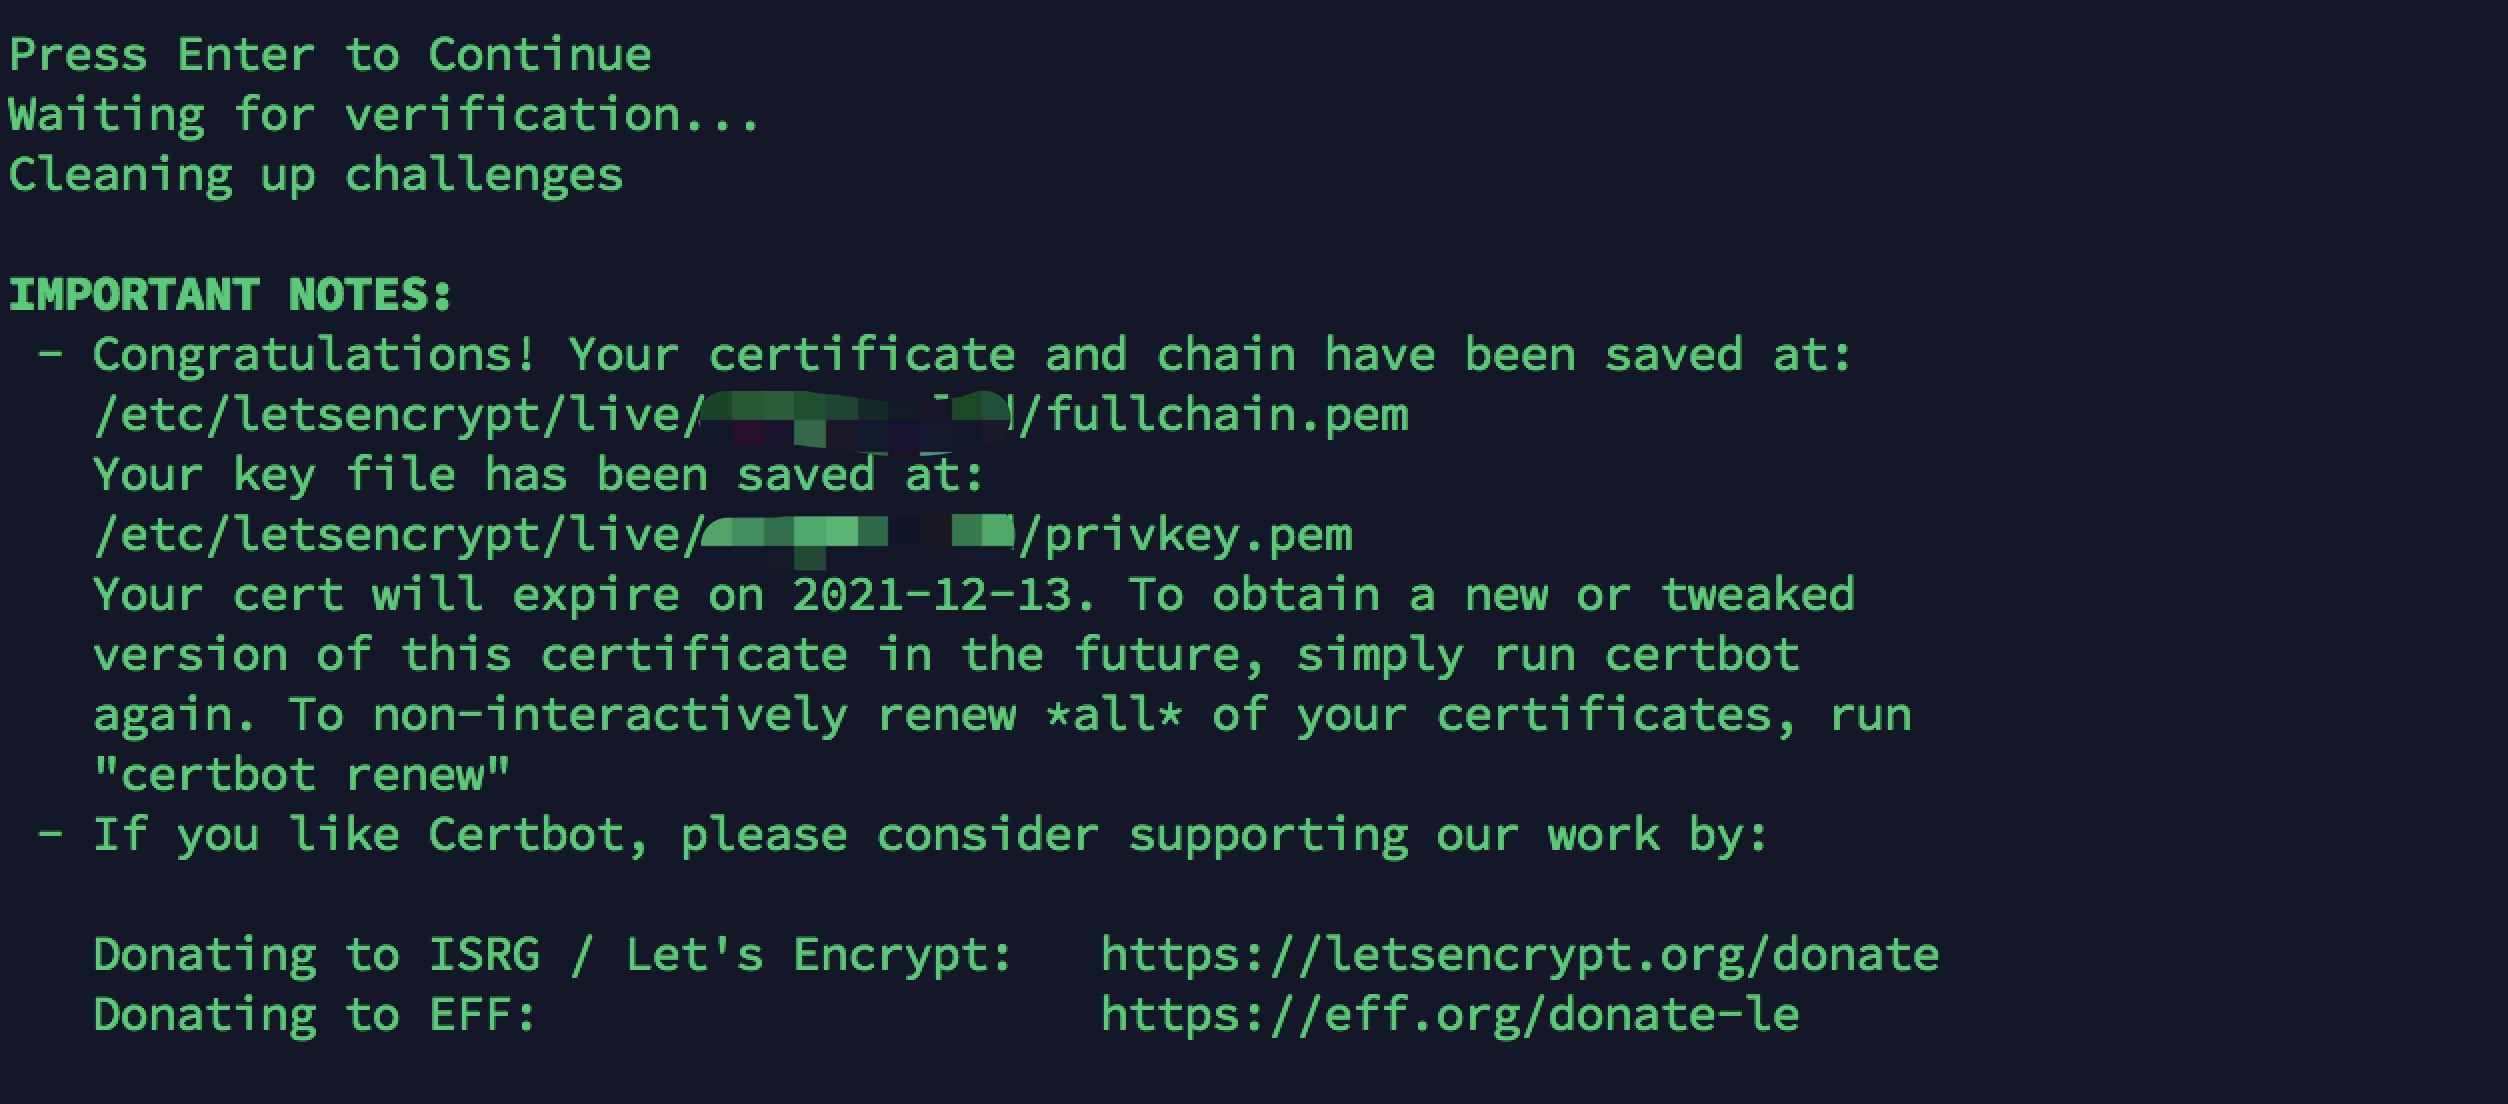
7> The certificate is finally obtained, as shown in the figure below, showing the specific location of the certificate and the validity period of the certificate (the validity period of the free certificate applied by cerbot is 90 days):

8> After applying for a certificate, you need to configure nginx to access it
nginx example:
server {
listen 80;

server_name test.webtest.com;

return 301 https://$server_name$request_uri;

}

server

{
listen 443 ssl;

server_name test.webtest.com;

index index.html index.php;

root /home/wwwroot/webtest;

include php56_ci.conf;
include extra.conf;

ssl on;
ssl_certificate /etc/letsencrypt/live/webtest.com/fullchain.pem; //Specify the server certificate path

ssl_certificate_key /etc/letsencrypt/live/webtest.com/privkey.pem; //Specify the server private key path

ssl_session_cache shared:SSL:50m;
ssl_session_timeout  30m;
ssl_protocols TLSv1 TLSv1.1 TLSv1.2;

ssl_ciphers 'ECDHE-ECDSA-AES256-GCM-SHA384:ECDHE-RSA-AES256-GCM-SHA384:ECDHE-ECDSA-CHACHA20-POLY1305:ECDHE-RSA-CHACHA20-POLY1305:ECDHE-ECDSA-AES128-GCM-SHA256:ECDHE-RSA-AES128-GCM-SHA256:ECDHE-ECDSA-AES256-SHA384:ECDHE-RSA-AES256-SHA384:ECDHE-ECDSA-AES128-SHA256:ECDHE-RSA-AES128-SHA256';
ssl_prefer_server_ciphers on;

location /static/ {
location ~ .*\.(php)?$

{
deny all;

}

}

location /static_m/ {
location ~ .*\.(php)?$

{
deny all;

}

}

location / {
if (!-e $request_filename) {
rewrite ^/(.*)$ /index.php/$1 last;

}

}

access_log  /home/www/logs/web_test_access.log;
error_log /home/wwwlogs/web_test_error.log;
}
END~~~~
This is the end of cerbot's application for a free certificate. By the way, after the certificate expires, we can manually regenerate the certificate or start a scheduled task to actively generate the certificate [specific methods will be updated later] ~ ~ ~