This installation of Mysql's EnOS version is 7.7

1. Download Mysql
First go to Mysql's website to download the installation package, web address https://dev.mysql.com/downloads/mysql/
It is recommended that you download the common version of Linux for easy administration of installation location and installation of multiple versions of MySQL on a single server. After downloading, upload the Mysql installation package to the server/usr/local/directory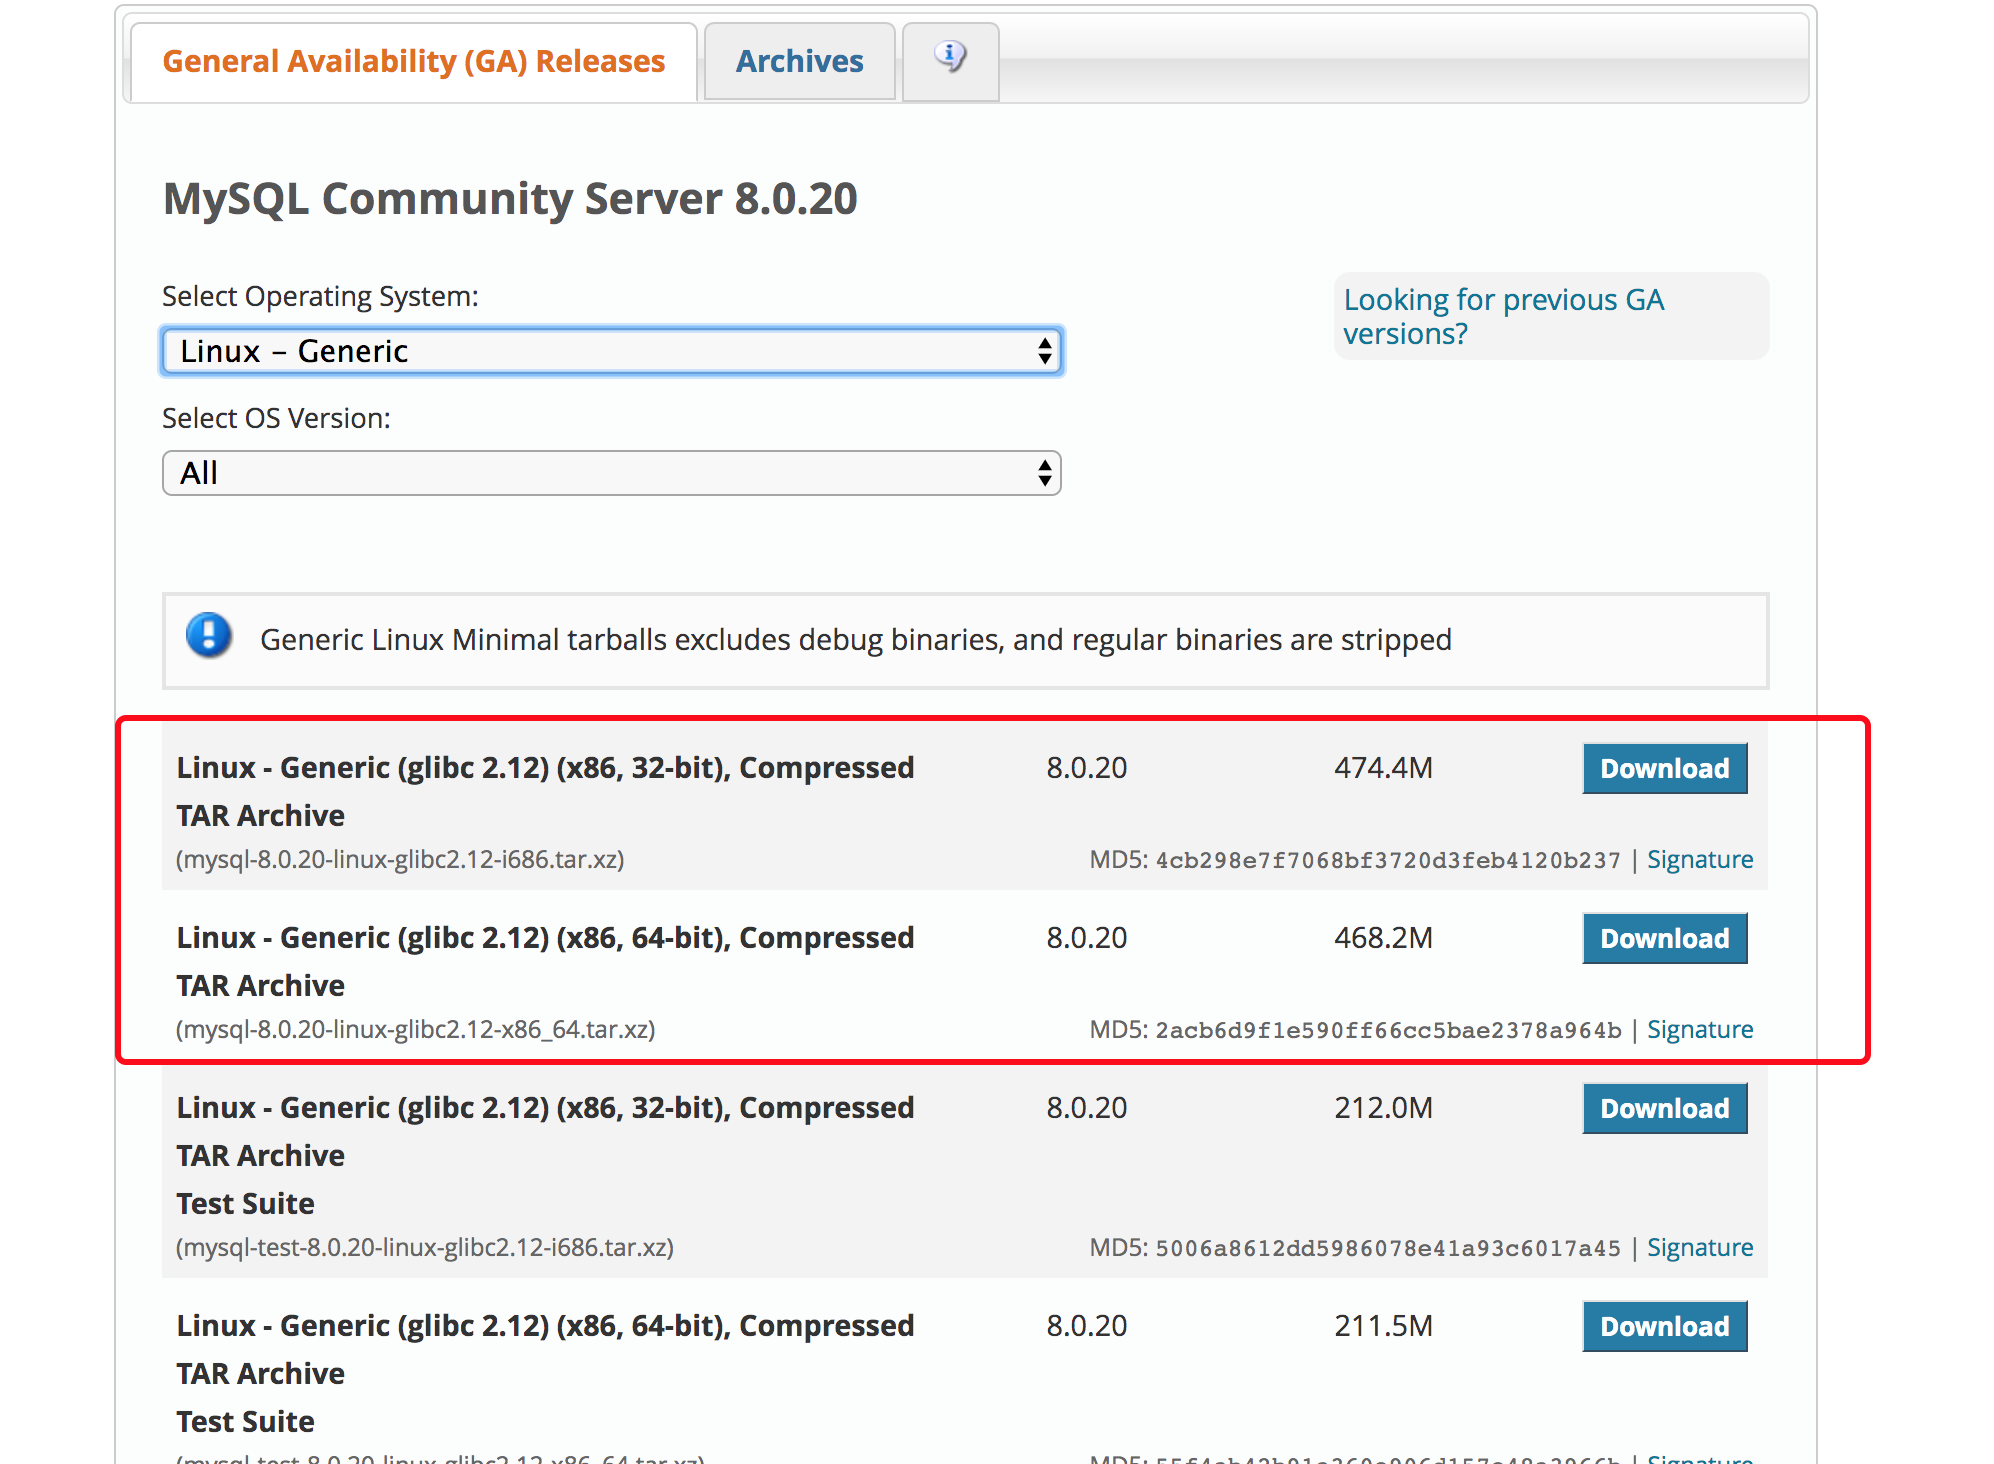
2. Create Mysql users and groups
groupadd mysql #Create mysql group
useradd -r -d /home/mysql -g mysql mysql #Create mysql user and specify group and default path
chown -R mysql:mysql /home/mysql #Change users and groups of Mysql default path to MySQL

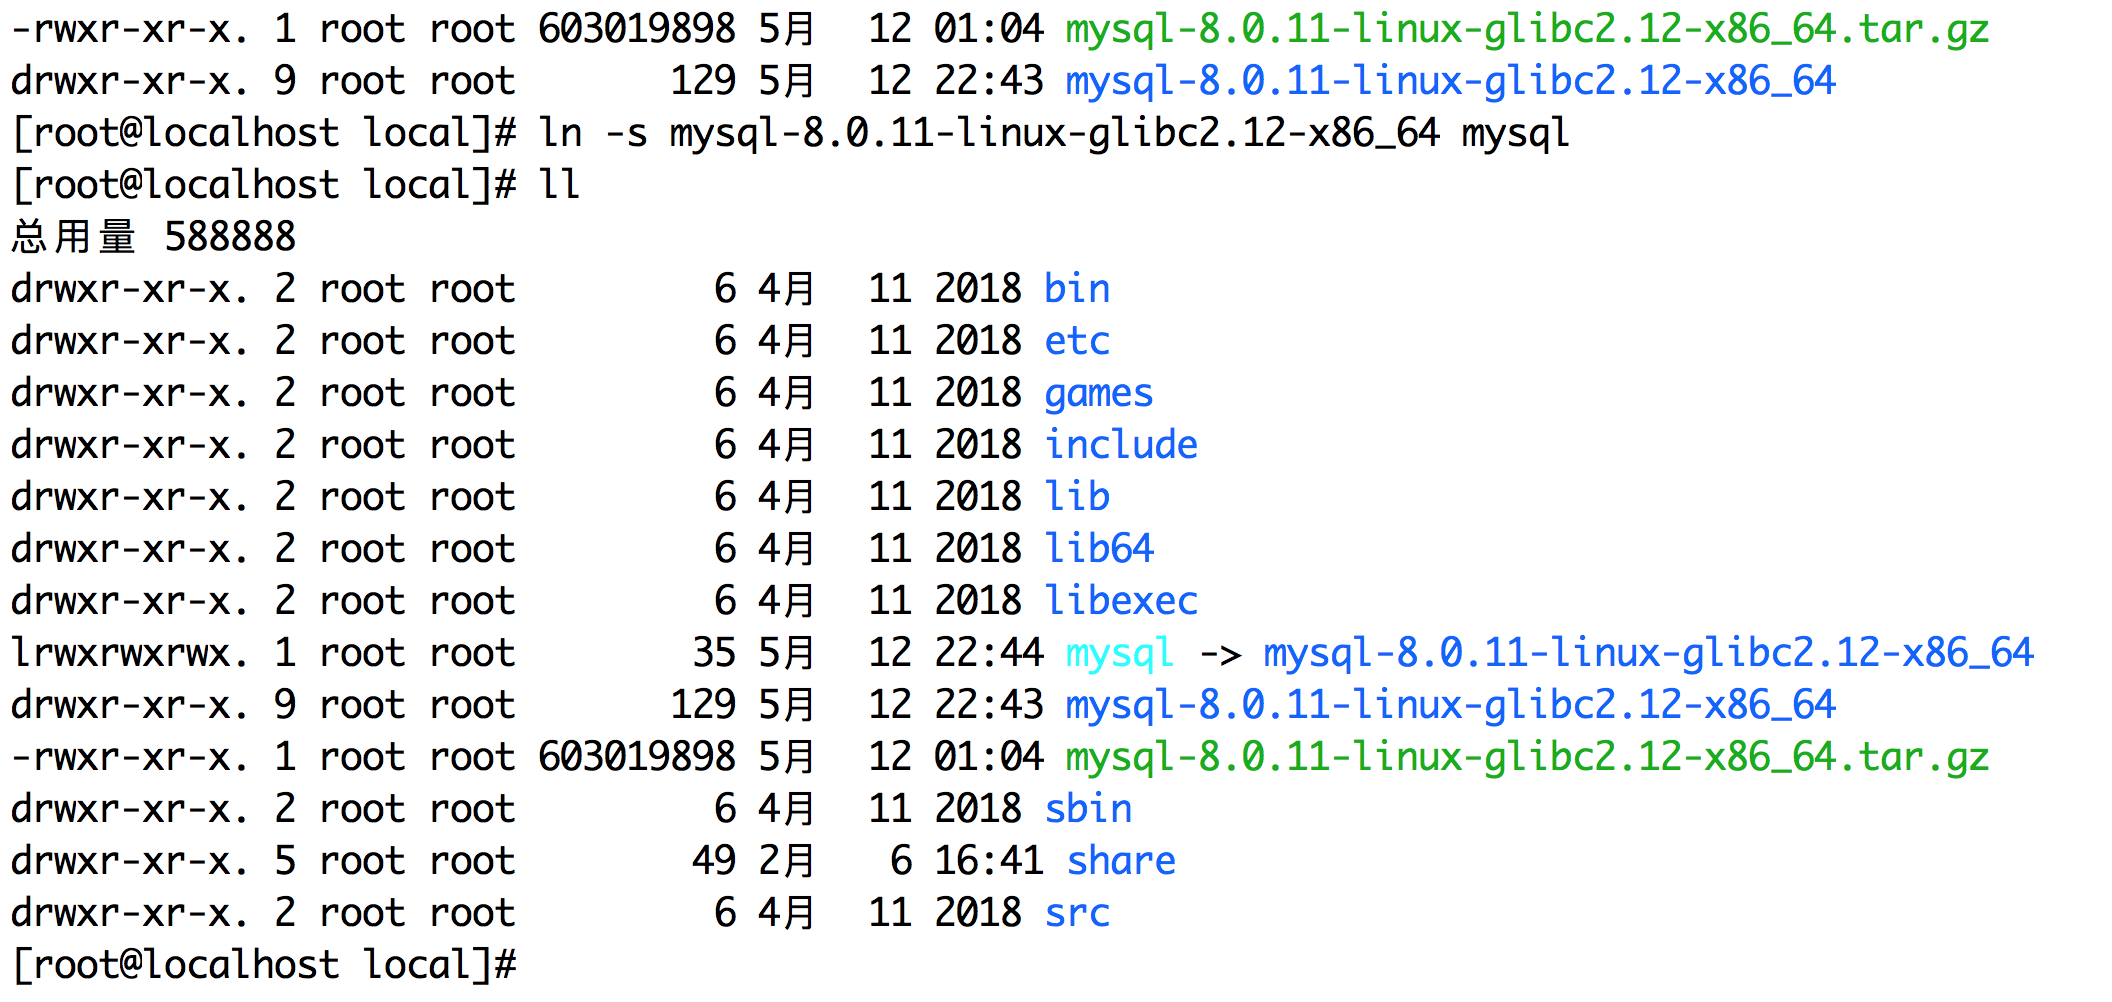
3. Unzip Mysql
tar -xvf mysql-8.0.11-linux-glibc2.12-x86_64.tar.gz #Unzip installation package
ln -s mysql-8.0.11-linux-glibc2.12-x86_64 mysql #Folder Add Soft Link as mysql
chown -R mysql:mysql /usr/local/mysql
4. Configure the environment for Mysql installation
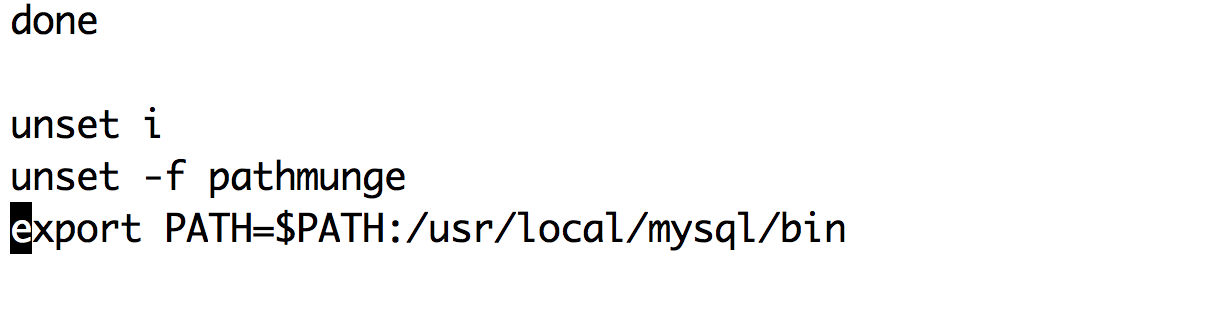
Use the root user to edit/etc/profile, add the following to the bottom, and execute source/etc/profile for the configuration to take effect
export PATH=$PATH:/usr/local/mysql/bin
Close the firewall when it is inactive
service firewalld stop

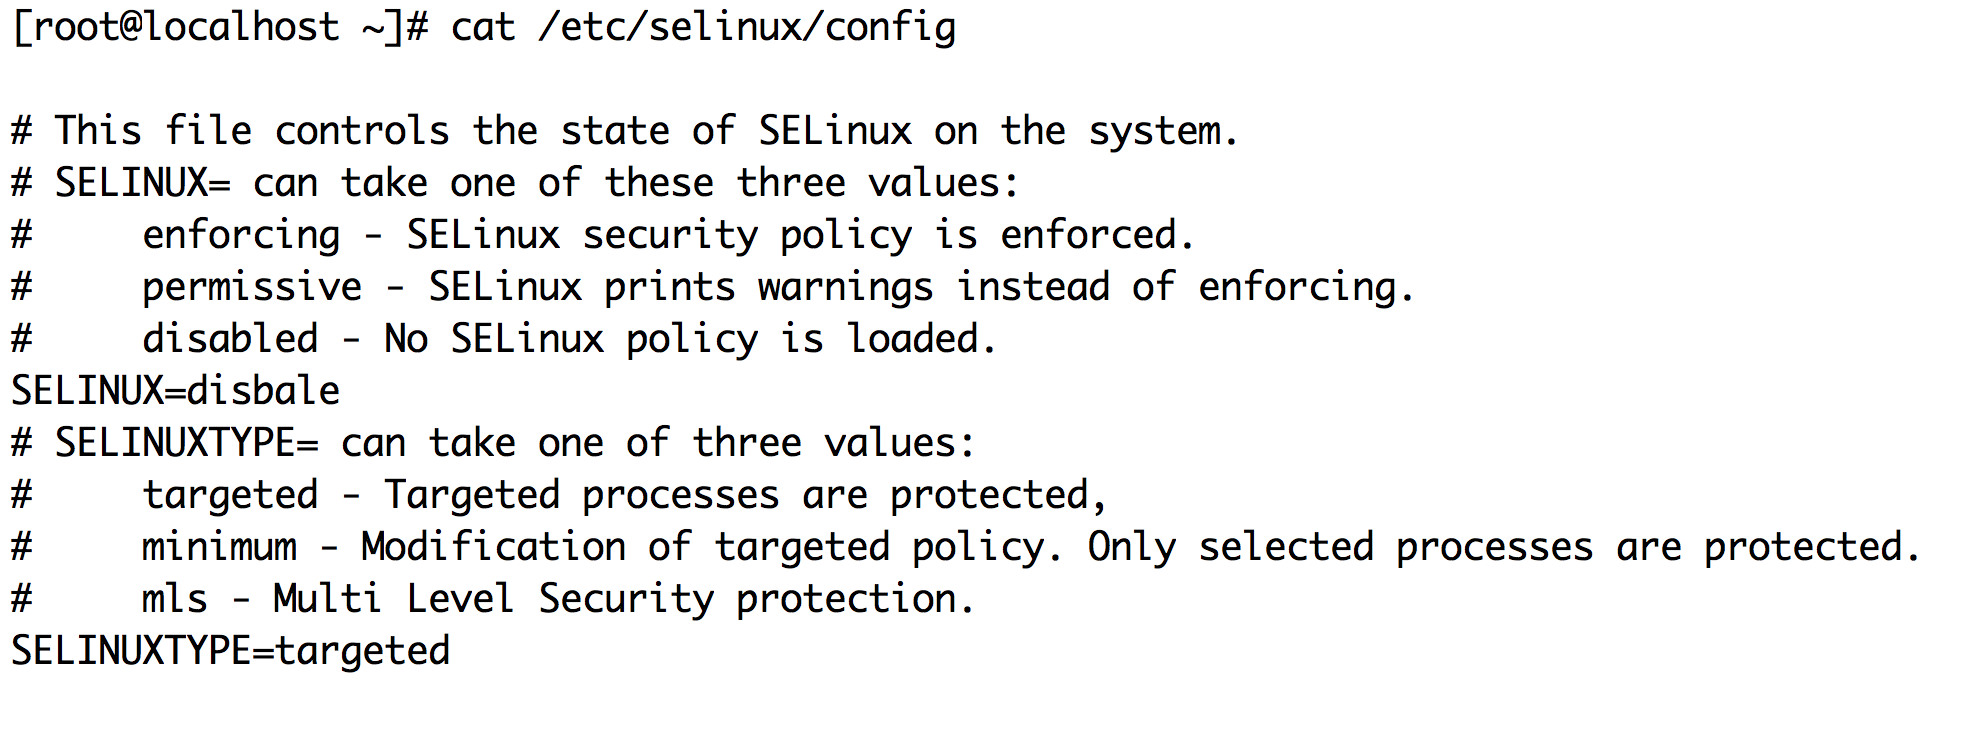
Close SELinux, edit/etc/selinux/config, and change selinux=enforce to disable
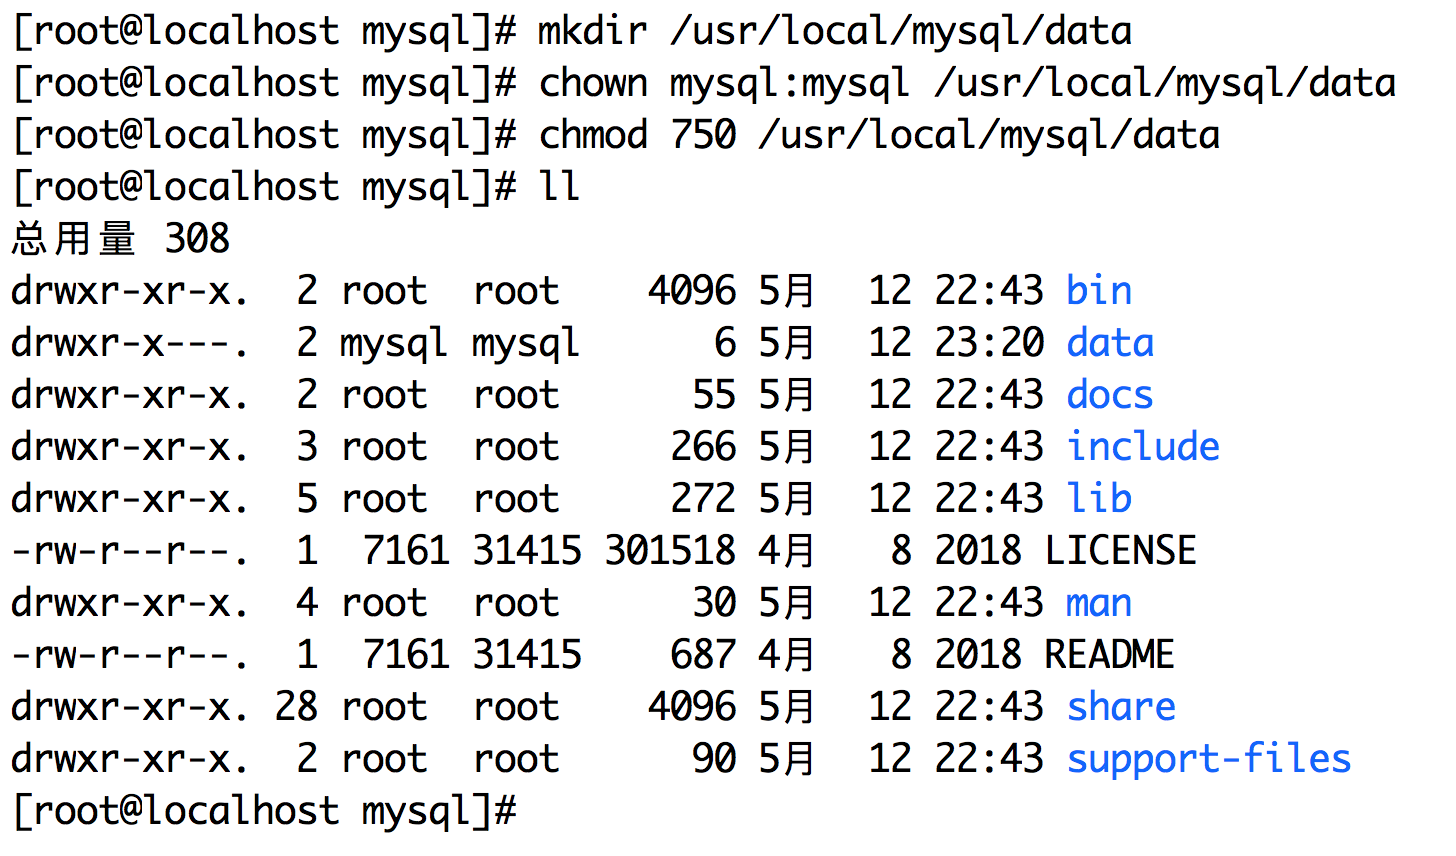
5. Create Mysql data directory
mkdir /usr/local/mysql/data #Create Data Catalog
chown mysql:mysql /usr/local/mysql/data #Change users and groups of the data directory to mysql
chmod 750 /usr/local/mysql/data #Change data directory permissions
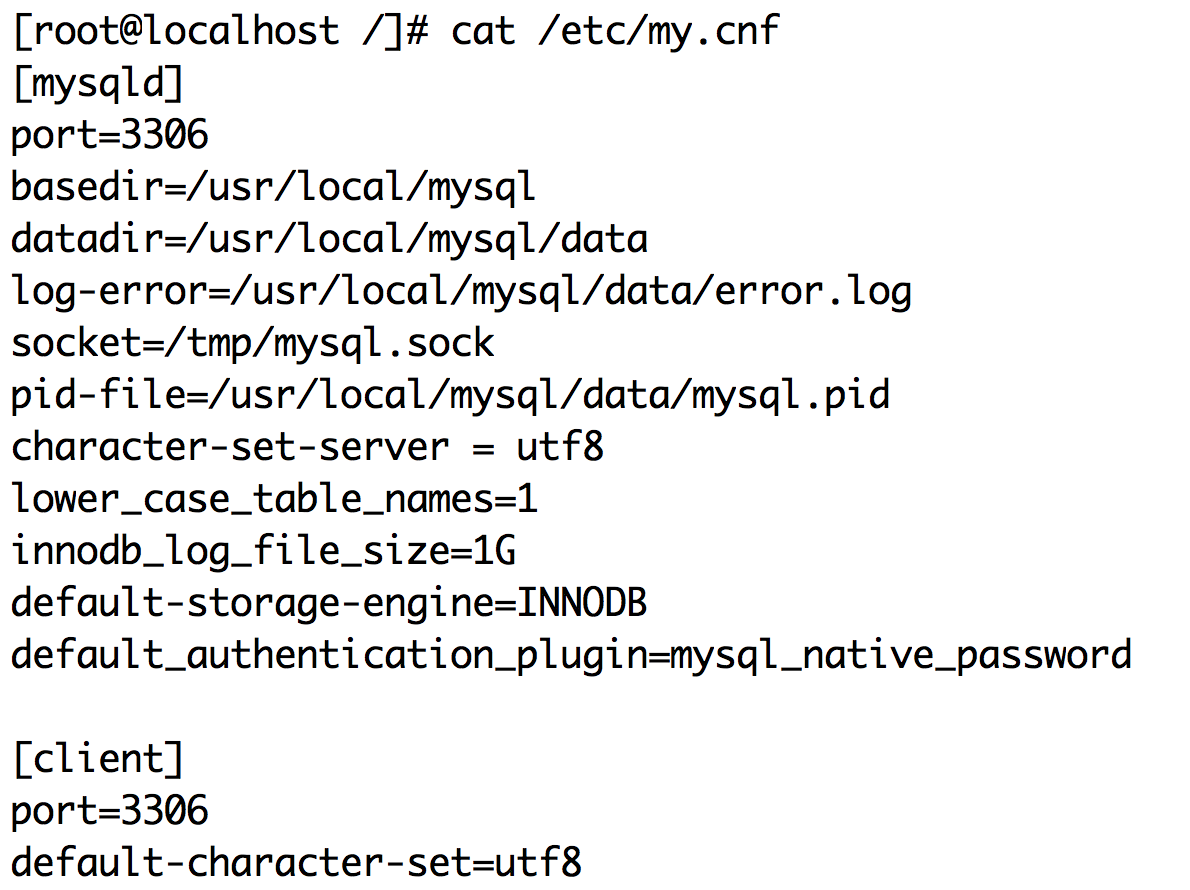
6. Configure my.cnf file
Create a new my.cnf configuration file and add the following
[mysqld]
port=3306
basedir=/usr/local/mysql
datadir=/usr/local/mysql/data
log-error=/usr/local/mysql/data/error.log
socket=/tmp/mysql.sock
pid-file=/usr/local/mysql/data/mysql.pid
character-set-server = utf8
lower_case_table_names=1
innodb_log_file_size=1G
default-storage-engine=INNODB
default_authentication_plugin=mysql_native_password

[client]
port=3306
default-character-set=utf8
7. Initialize Mysql
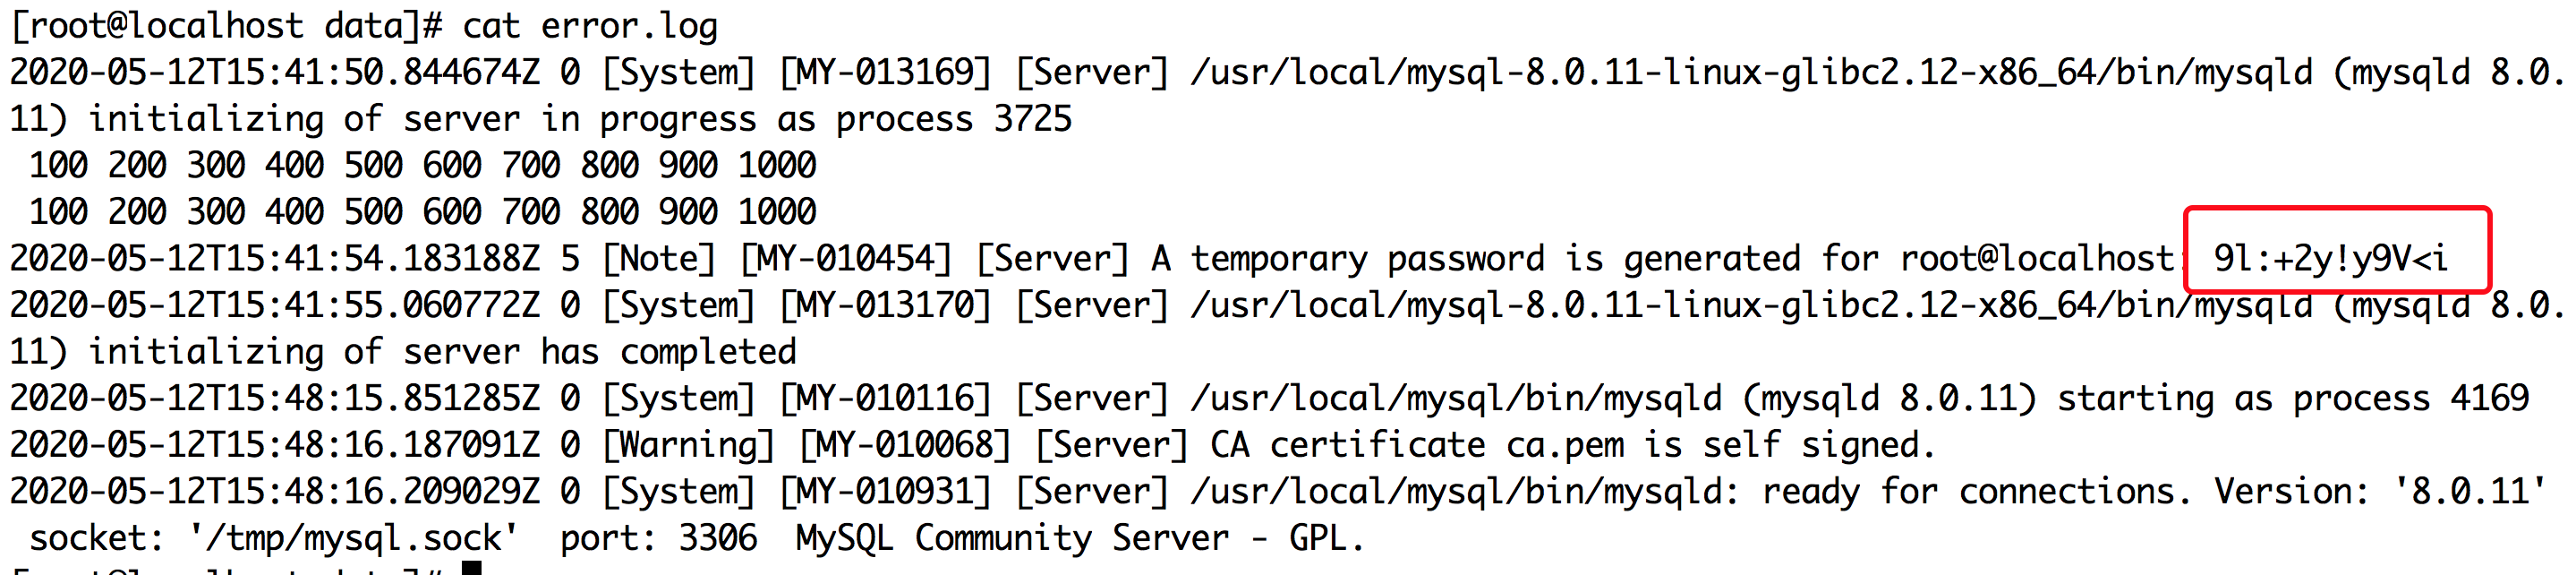
Execute the following command to initialize mysql, and look at/data/error.log at the end and show (mysqld 8.0.11) initializing of server has completed on behalf of Mysql initialization success
bin/mysqld --initialize --user mysql

8. Start Mysql
Start MySQL by executing support-files/mysql.server start, and you can see the process of MySQL after successful startup

9. Log on to Mysql
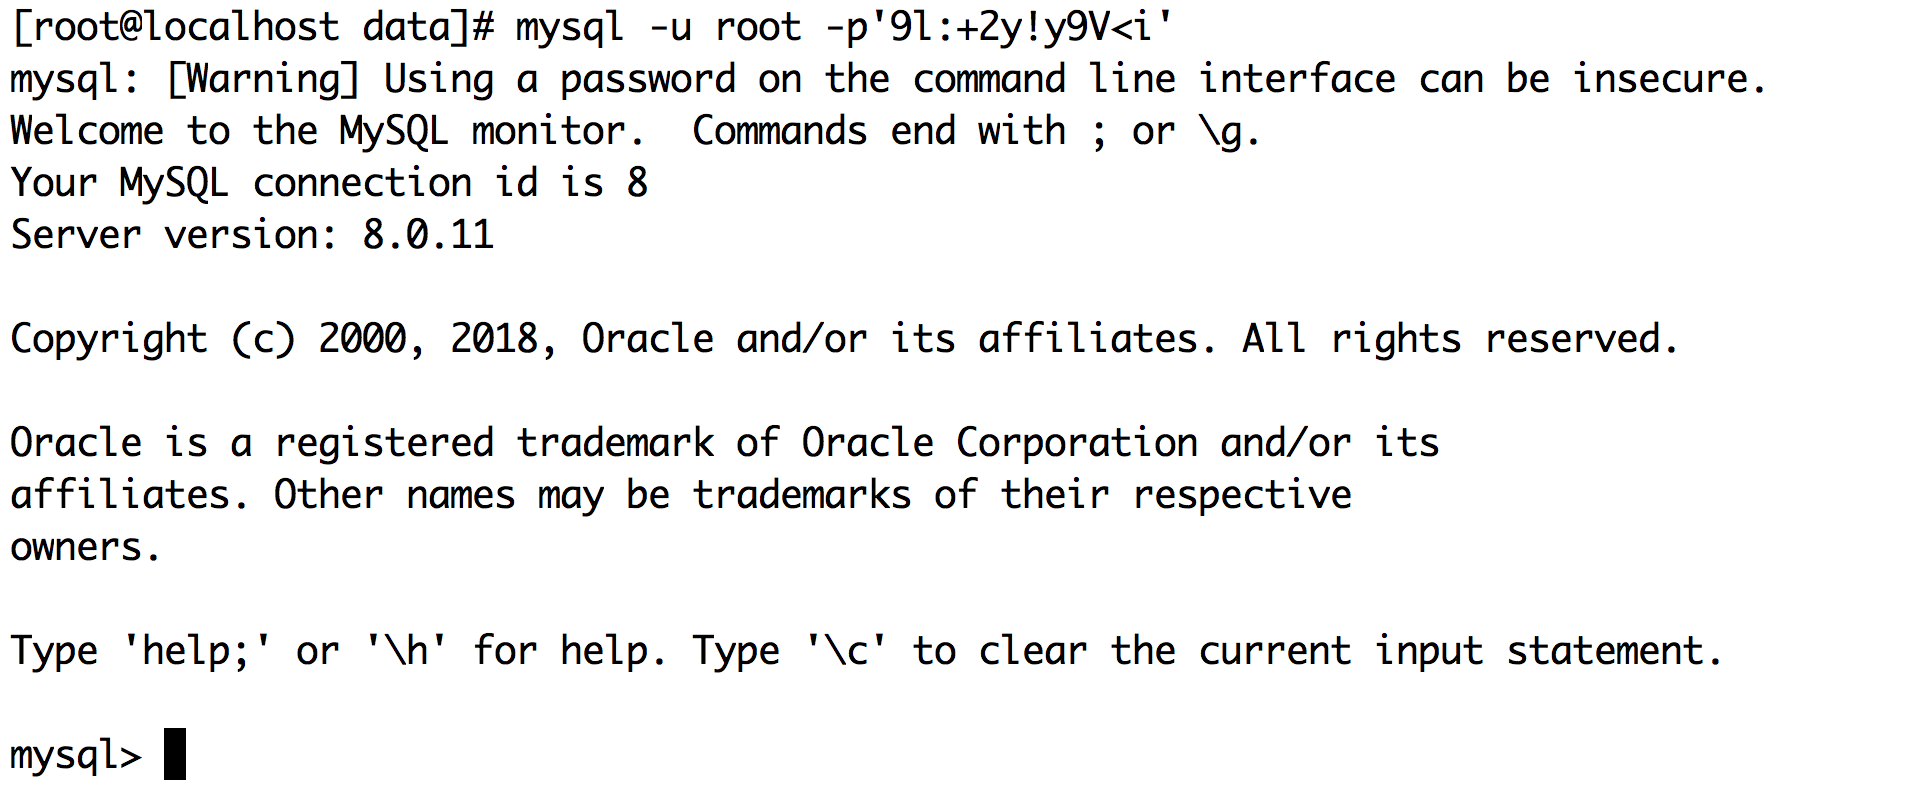
Obtain Mysql's initial password by viewing/data/error.log and log in to MySQL
mysql -u root -p
10. Modify the root user password
The password of the root user can be modified by the following statement
ALTER USER 'root'@'localhost' IDENTIFIED BY 'root_123';
Create users and grant privileges for remote logins
CREATE USER 'root'@'%' IDENTIFIED BY 'root_123';
GRANT ALL ON  *.*  TO 'root'@'%';
FLUSH PRIVILEGES;
This allows remote connections through tools such as navicat
11. Configure mysql startup
First copy mysql.server under / etc/init.d
cp support-files/mysql.server /etc/init.d/mysqld
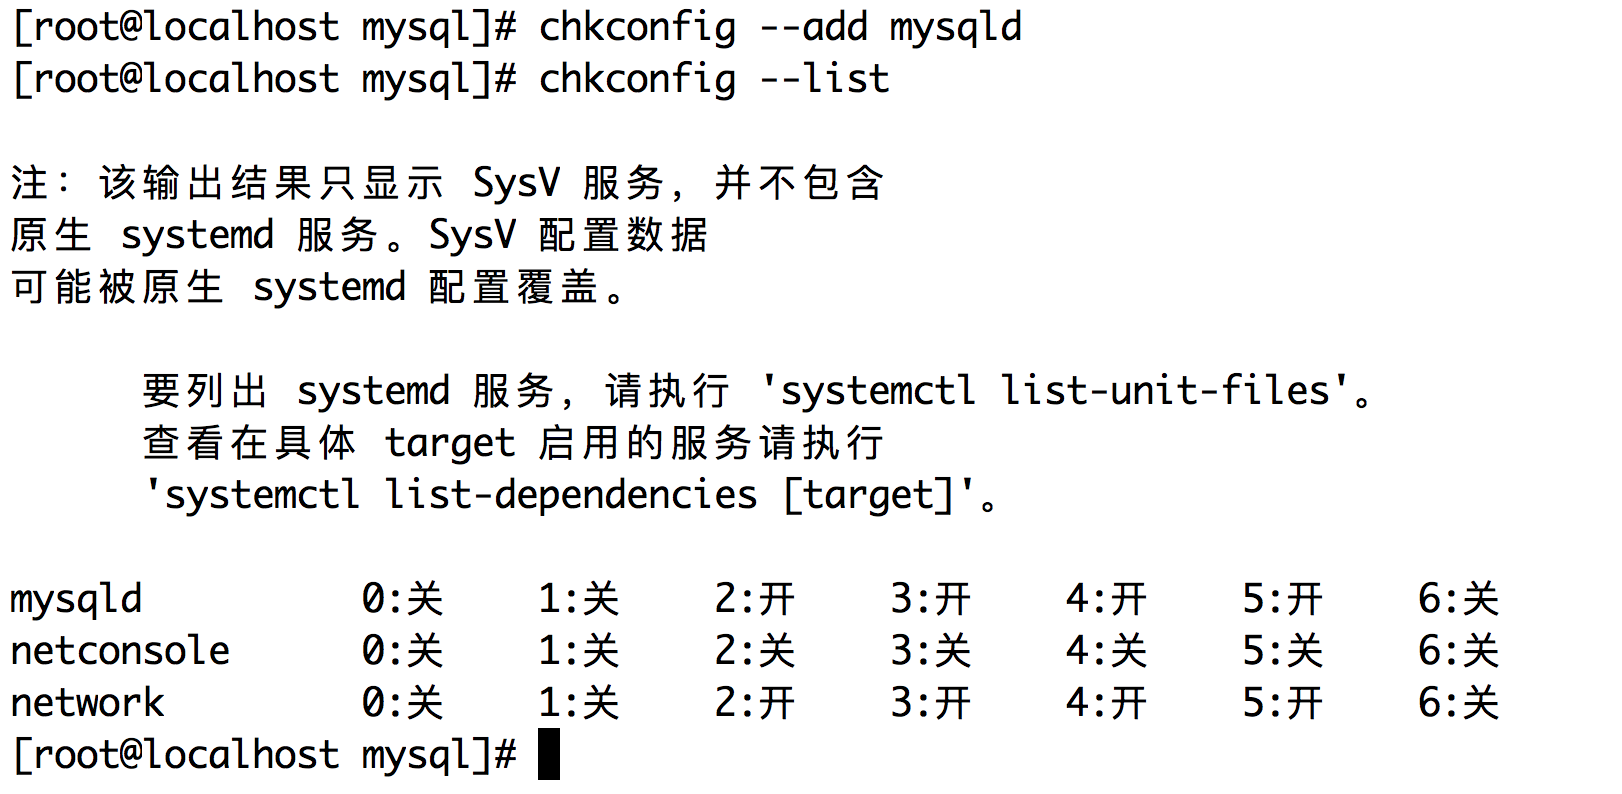
Add the mysql service to the list of boot-ups through chkconfig
chkconfig --add mysqld