sqoop installation deployment
The prerequisite for installing sqoop is that you already have a Java and Hadoop environment.
Download address: https://www.apache.org/dyn/closer.lua/sqoop/
Here we use: sqoop-1.4.7.bin__hadoop-2.6.0.tar.gz
1. sqoop installation and configuration
(1) Upload the installation package sqoop-1.4.7.bin_hadoop-2.6.0.tar.gz to the virtual machine
(2) Enter the uploaded installation package directory and unzip the sqoop installation package to the specified directory, such as:
tar -zxvf sqoop-1.4.7.bin__hadoop-2.6.0.tar.gz -C /opt/module/
After decompression, enter the extracted directory and change the name to sqoop
mv sqoop-1.4.7.bin__hadoop-2.6.0 sqoop
2. Set the sqoop environment variable
Command:
vi /root/.bash_profile
Add the following:
export SQOOP_HOME=/opt/module/sqoop
export PATH=$PATH:$SQOOP_HOME/bin
Make settings effective immediately:
source /root/.bash_profile
3. Modify the configuration file
The sqoop configuration file is similar to most big data frameworks. It is in the conf directory under the sqoop root directory.
Enter conf under sqoop
Command:
cd /opt/module/sqoop/conf
(1) Rename the configuration file sqoop-env-template.sh
mv sqoop-env-template.sh sqoop-env.sh
(2) Modify the configuration file sqoop-env.sh
Command:
vi sqoop-env.sh
Modify the following:
export HADOOP_COMMON_HOME=/opt/module/hadoop		//Hadoop installation directory
export HADOOP_MAPRED_HOME=/opt/module/hadoop		//Hadoop installation directory
export HIVE_HOME=/opt/module/hive					//hive installation directory
export ZOOKEEPER_HOME=/opt/module/zookeeper			//zookeeper installation directory
export ZOOCFGDIR=/opt/module/zookeeper				//zookeeper installation directory
4. Copy JDBC Driver
Upload the jdbc driver to the / opt/software directory.
Enter the directory where the jdbc driver is stored and copy the jdbc driver to the lib directory of sqoop
cp mysql-connector-java-5.1.37.jar /opt/module/sqoop/lib/
5. Verify Sqoop
After entering the sqoop installation directory, we can verify whether the sqoop configuration is correct through a command:
bin/sqoop help
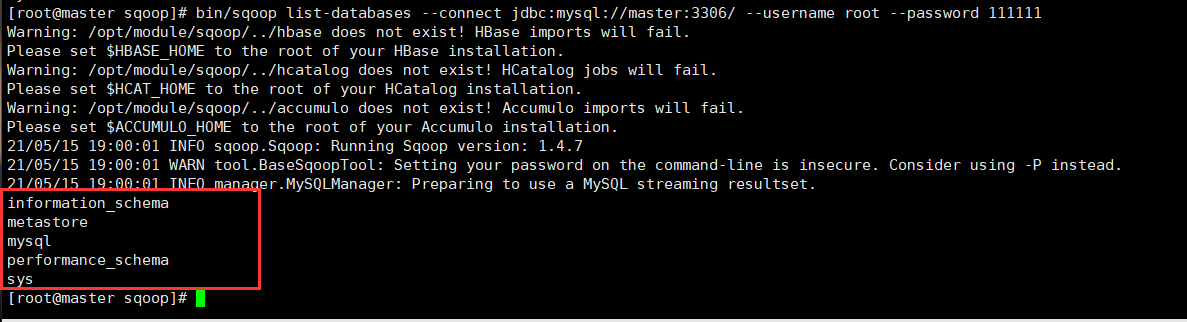
6. Test whether Sqoop can successfully connect to the database
Enter the sqoop installation directory and execute
bin/sqoop list-databases --connect jdbc:mysql://master:3306/ --username root --password 111111
The following output appears:
7. Transfer the data in hive to MySQL database through sqoop
7.1 hive table under construction
(1) First create a table in hive. The data type corresponds to the data type in MySQL
hive> create table student
    > (id varchar(50),name varchar(50),age int,school varchar(50),class varchar(50))
    > row format delimited fields terminated by ',';
As shown in the figure:

(2) Prepare data in a format corresponding to the table structure
Add the following contents to the student.txt file:
19308001,zhangsan,20,111111,222222
19308002,lisi,21,333333,444444
19308003,wangwu,20,555555,666666
19308004,liliu,20,777777,888888
19308005,zhangfei,21,999999,111111
Note: whatever is used as the separator, the comma is used here
Then upload it to / opt/software
(3) Import txt file data into hive
load data local inpath '/opt/software/student.txt' into table student;
# inpath is the path where txt files are stored
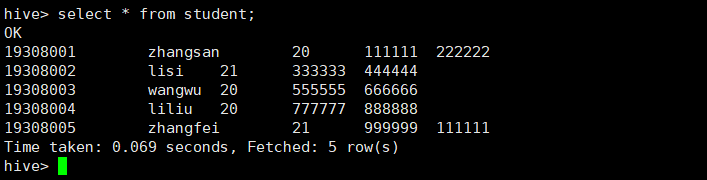
(4) View data in table
hive> select * from student;
As shown in the figure:
7.2 creating tables in MySQL
Log in to MySQL
mysql -uroot -p
(1) Create a database
mysql> create database hive;
(2) Using hive database
mysql> use hive;
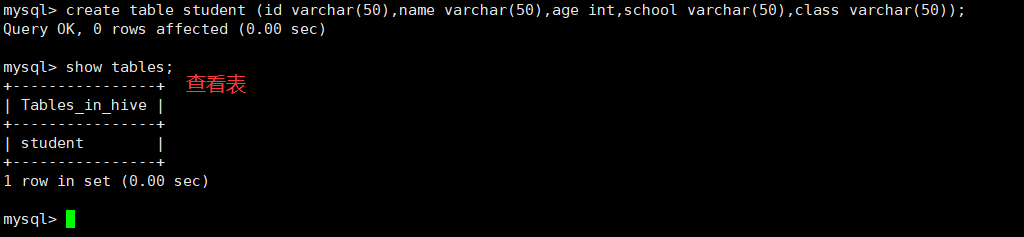
(3) Create table in database
mysql> create table student (id varchar(50),name varchar(50),age int,school varchar(50),class varchar(50));
As shown in the figure:
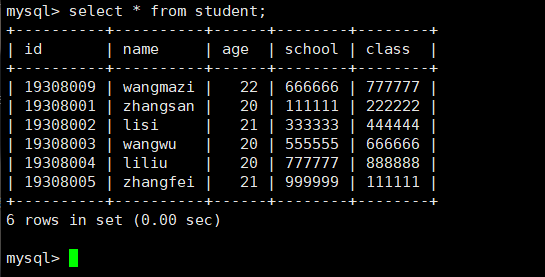
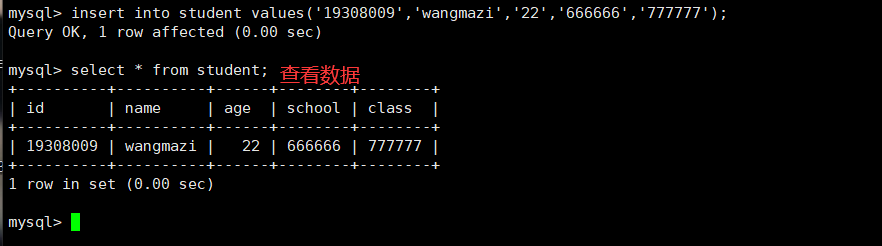
(4) Add a piece of data
mysql> insert into student values('19308009','wangmazi','22','666666','777777');
As shown in the figure:
7.3 sqoop transfers data from hive to MySQL
Enter the / opt/module/sqoop/bin directory and execute the command
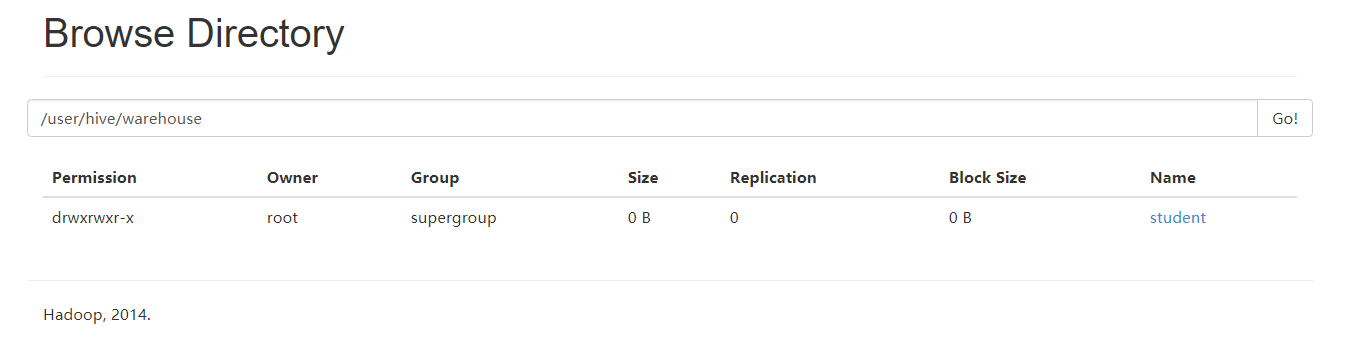
[root@master bin]# sqoop export --connect jdbc:mysql://master:3306/hive --username root --password 111111 --table student --num-mappers 1 --export-dir /user/hive/warehouse/student --input-fields-terminated-by ','

//explain
//master:3306/hive     						 Hive refers to the database in MySQL
--export-dir /user/hive/warehouse/student 	Directory to export data
--input-fields-terminated-by ',' 			What delimiters are used to split fields when exporting data
--table student 							Export to MySQL Which table do you want
The location of the table created by hive on hdfs is: / user/hive/warehouse/student
As shown in the figure:
After success, enter the MySQL database to query the data
As shown in the figure: