I. Preface
We may not use internationalization very often, but we still have to do it where we need it. Today, let's look at how to configure internationalization in our web development, so that our websites can display different forms according to the language. This article continues with the previous one. SpringBoot Take-off Series - Web Development (V) On this basis, international configuration is carried out.
II. Internationalization Configuration
2.1 Automatic Configuration in Springboot
springboot has automatically configured components to manage international resource files:
@ConfigurationProperties(prefix = "spring.messages")
public class MessageSourceAutoConfiguration {

    /**
     * Comma-separated list of basenames (essentially a fully-qualified classpath
     * location), each following the ResourceBundle convention with relaxed support for
     * slash based locations. If it doesn't contain a package qualifier (such as
     * "org.mypackage"), it will be resolved from the classpath root.
     */
    private String basename = "messages";
    //Our configuration files can be placed directly under the classpath to call messages.properties;

    @Bean
    public MessageSource messageSource() {
        ResourceBundleMessageSource messageSource = new ResourceBundleMessageSource();
        if (StringUtils.hasText(this.basename)) {
            //Setting the base name of the internationalized resource file (removing the language country code)
            messageSource.setBasenames(StringUtils.commaDelimitedListToStringArray(
                    StringUtils.trimAllWhitespace(this.basename)));
        }
        if (this.encoding != null) {
            messageSource.setDefaultEncoding(this.encoding.name());
        }
        messageSource.setFallbackToSystemLocale(this.fallbackToSystemLocale);
        messageSource.setCacheSeconds(this.cacheSeconds);
        messageSource.setAlwaysUseMessageFormat(this.alwaysUseMessageFormat);
        return messageSource;
    }
From the source code above, we can see that our internationalized resource file can be named messages.properties directly. springboot will be automatically identified. In fact, it is equivalent to adding a spring.messages.basename=messages in the configuration file. If we specify an xxxx. properties as an internationalized file, then we specify
Spring. messages. basename = XXXX is all right. springboot automatically finds properties that start with xxxx. According to language and country code, it finds corresponding xxxx_zh_CN. properties (Chinese_China), xxxxx_en_US. properties (English_US) to select the resource value as the value to be rendered in the current page.
2.2 Adding resource files
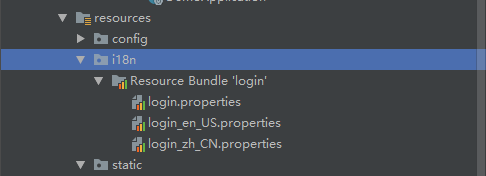
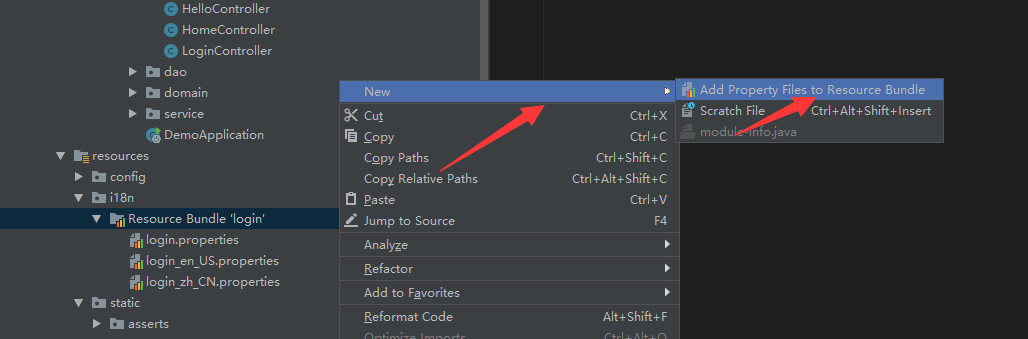
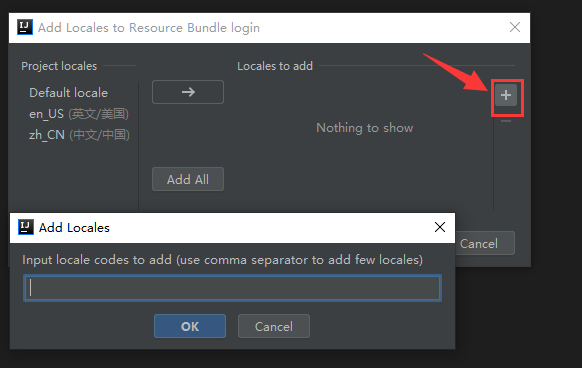
We create a new folder named i18n, and add three configuration files in it: login. properties (default configuration without language selection), login_zh_CN.properties (Chinese language configuration), login_en_US.properties (English language configuration), the default format is: file name_region_language. properties; IDEA also generates files when we name them like this. It will help us to identify this is an international configuration package, automatically converted into the following mode, with a resource Bundle'login'folder attached, right-click on this folder, you can easily add other language configurations:
Write the configuration in three configuration files:
login.properties:
login.btn = landing~
login.password = password~
login.remember = remember me~
login.tip = please log in~
login.username = username~
login_zh_CN.properties:
login.tip = Log in
login.username = username
login.password = password
login.btn = login
login.remember = remember me
login_en_US.properties:
login.tip=Please sign in
login.username=Username
login.password=Password
login.btn=Sign in
login.remember = Remember Me
Then we add the following configuration to our main profile application.properties to enable our custom resource file:
spring.messages.basename=i18n.login
2.3 Add login page
Here we add a login page to test with the previous thymeleaf syntax:
<!DOCTYPE html>
<html lang="en"  xmlns:th="http://www.thymeleaf.org">
    <head>
        <meta http-equiv="Content-Type" content="text/html; charset=UTF-8">
        <meta name="viewport" content="width=device-width, initial-scale=1, shrink-to-fit=no">
        <meta name="description" content="">
        <meta name="author" content="">
        <title>Signin Template for Bootstrap</title>
        <!-- Bootstrap core CSS -->
        <link  th:href="@{/webjars/bootstrap/4.0.0/css/bootstrap.css}" rel="stylesheet">
        <!-- Custom styles for this template -->
        <link  th:href="@{/asserts/css/signin.css}" rel="stylesheet">
    </head>
    <body class="text-center">
        <form class="form-signin" action="dashboard.html" th:action="@{/user/login}" method="post">
            <img class="mb-4" th:src="@{/asserts/img/bootstrap-solid.svg}" src="asserts/img/bootstrap-solid.svg" alt="" width="72" height="72">
            <h1 class="h3 mb-3 font-weight-normal" th:text="#{login.tip}">Please sign in</h1>
            <!--judge-->
            <p style="color: red" th:text="${msg}" th:if="${not #strings.isEmpty(msg)}"></p>
            <label class="sr-only" th:text="#{login.username}">Username</label>
            <input type="text"  name="username" class="form-control" placeholder="Username" th:placeholder="#{login.username}" required="" autofocus="">
            <label class="sr-only" th:text="#{login.password}">Password</label>
            <input type="password" name="password" class="form-control" placeholder="Password" th:placeholder="#{login.password}" required="">
            <div class="checkbox mb-3">
                <label>
                      <input type="checkbox" value="remember-me"/> [[#{login.remember}]]
                </label>
            </div>
            <button class="btn btn-lg btn-primary btn-block" type="submit" th:text="#{login.btn}">Sign in</button>
            <p class="mt-5 mb-3 text-muted">© 2017-2018</p>
            <a class="btn btn-sm" th:href="@{/index.html(lang='zh_CN')}">Chinese</a>
            <a class="btn btn-sm" th:href="@{/index.html(lang='en_US')}">English</a>
        </form>
    </body>

</html>
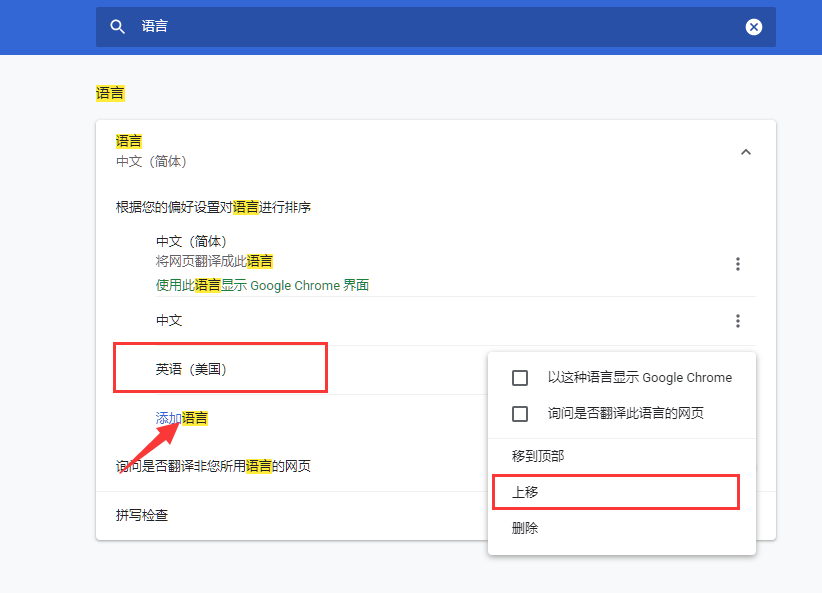
# login.username} will get the value we configure directly from the international resource file. It will switch to different language configurations according to different languages. By default, it will be judged by the language of the browser. We can set the language of the browser to see the effect, search the language in the settings of Google Browser, and then add an English language. Set the language order to set the preferred language, as follows:
We can also look at the request header part sent by the browser to determine whether the language was set successfully:
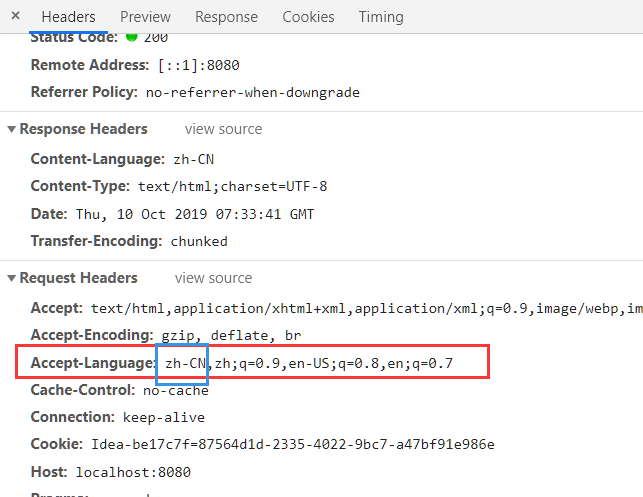
2.4 Custom Language and Culture Parser
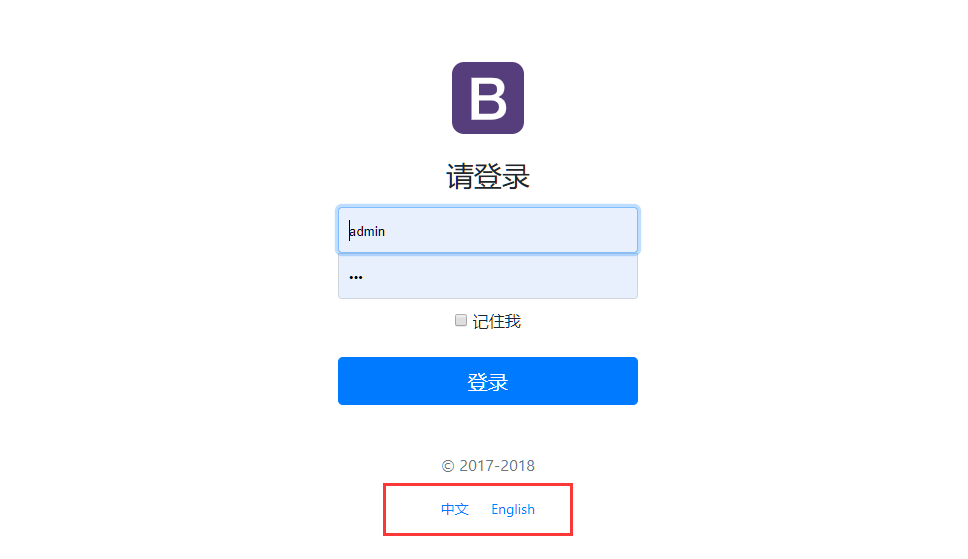
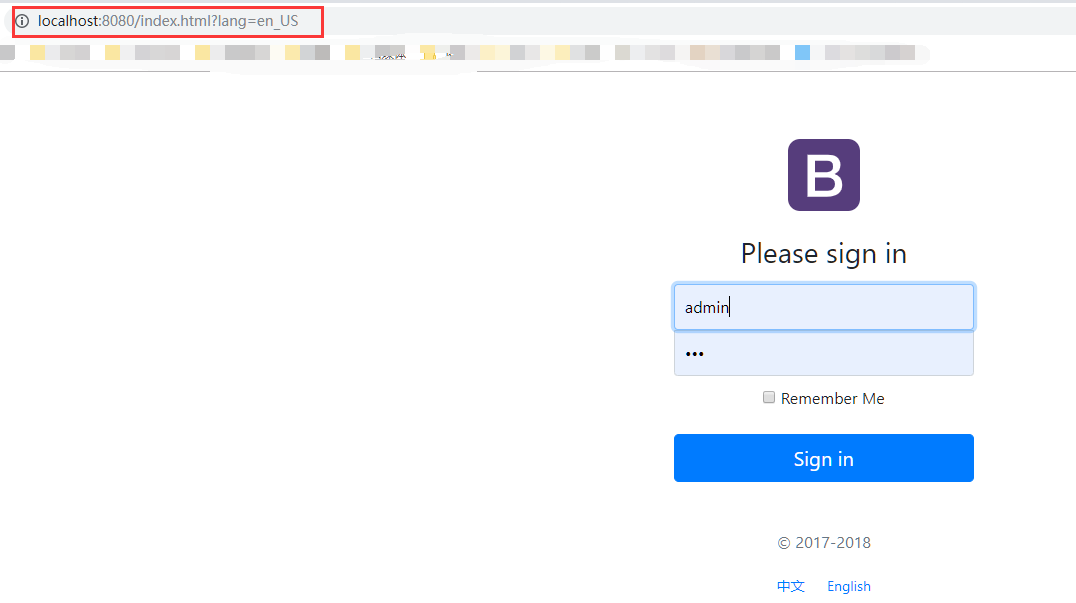
From the top, we can see that the default is to parse the language and culture from the request header. We can set our own parser, such as parsing the language in the query parameters of accessing the page. The bottom is our login page. We can add two buttons. When clicking the button, we can jump back to the index.html page and attach a lang parameter:
You can view the source code of the web page. The links we generated are as follows:

html key code, generated with thymeleaf, can also be written by hand:
<button class="btn btn-lg btn-primary btn-block" type="submit" th:text="#{login.btn}">Sign in</button>
<p class="mt-5 mb-3 text-muted">© 2017-2018</p>
<a class="btn btn-sm" th:href="@{/index.html(lang='zh_CN')}">Chinese</a>
<a class="btn btn-sm" th:href="@{/index.html(lang='en_US')}">English</a>
Add our own parser My Locale Resolver, get Lang from the request parameters, and set different locales according to the value of lang:
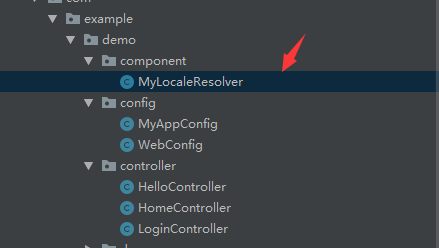
package com.example.demo.component;

import org.springframework.util.StringUtils;
import org.springframework.web.servlet.LocaleResolver;

import javax.servlet.http.HttpServletRequest;
import javax.servlet.http.HttpServletResponse;
import java.util.Locale;

public class MyLocaleResolver implements LocaleResolver {
    @Override
    public Locale resolveLocale(HttpServletRequest httpServletRequest) {
        String lang = httpServletRequest.getParameter("lang");
        Locale locale = Locale.getDefault();
        if(!StringUtils.isEmpty(lang)){
            String[] parts = lang.split("_");
            locale = new Locale(parts[0],parts[1]);
        }
        return locale;
    }

    @Override
    public void setLocale(HttpServletRequest httpServletRequest, HttpServletResponse httpServletResponse, Locale locale) {

    }
}
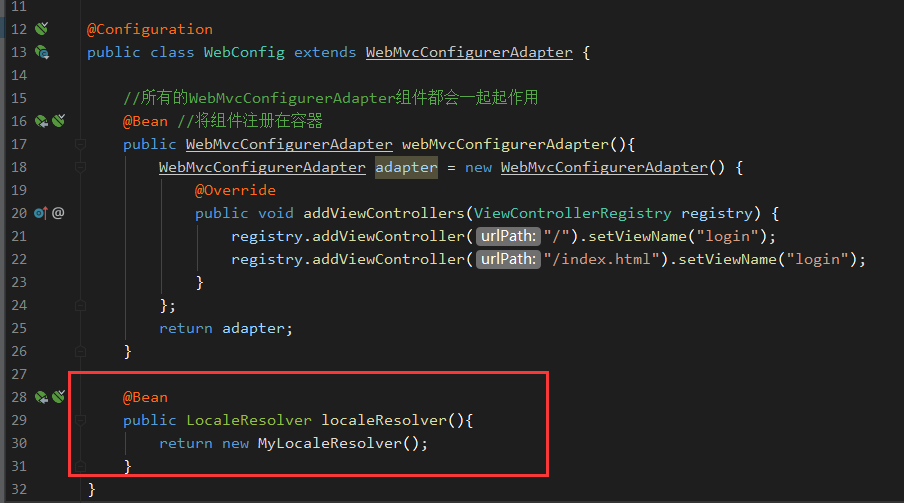
Add the following code to WebConfig and add the MyLocaleResolver to the container. springboot finds a new instance of LocaleResolver and uses the parser:
Just recompile and start up. Click on different languages and jump over different links to show different languages:
Three, summary
The internationalization configuration in spring boot is relatively simple, although we rarely use it in our daily life, it is necessary to understand it.