It is a note collation of personal learning practice (imitating the shangshangyitong project in Silicon Valley). It may not be deep, but it is indeed effective and feasible.
Nacos section
Nacos installation
- What I suggest and I use is direct download: https://github.com/alibaba/nacos/releases
1.1 enter the official website and click download
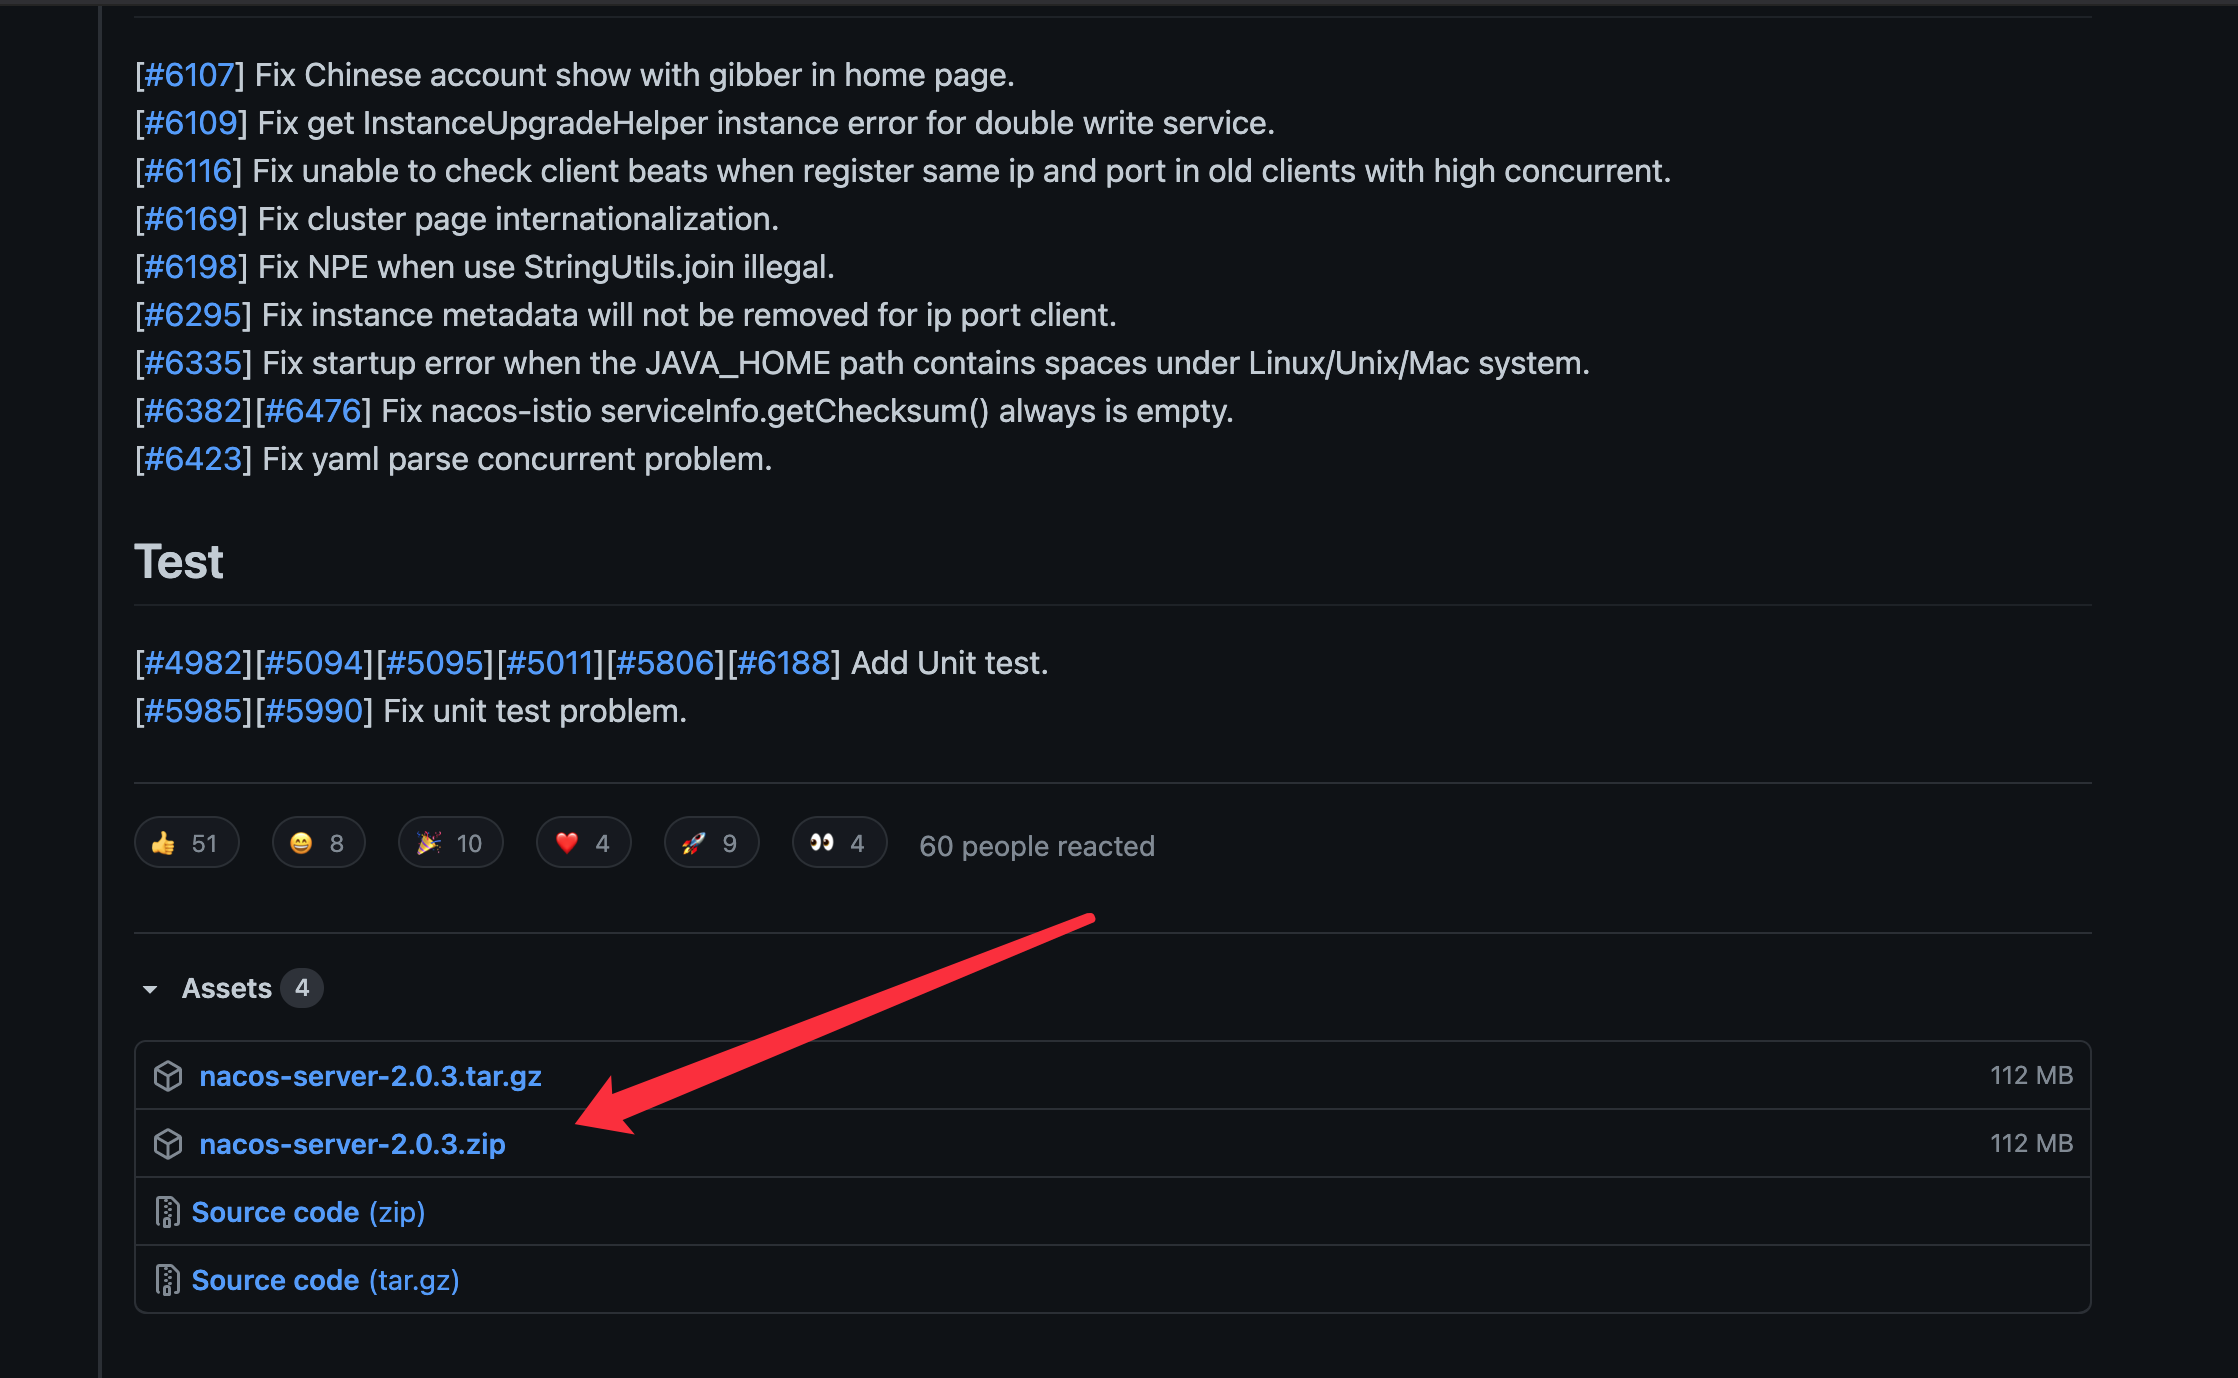
1.2 the installation is completed after decompressing locally. My directory is / Library/Nacos
2. You can also use the source code construction method, which is also the first download method given in the official manual https://nacos.io/zh-cn/docs/quick-start.html
But maybe I'm not good at learning, and I don't know how to implement the source code construction, because there is no bin directory and no starup.sh, so the startup method is different. Maybe I don't know more about it. So finally, I use the direct download method here.
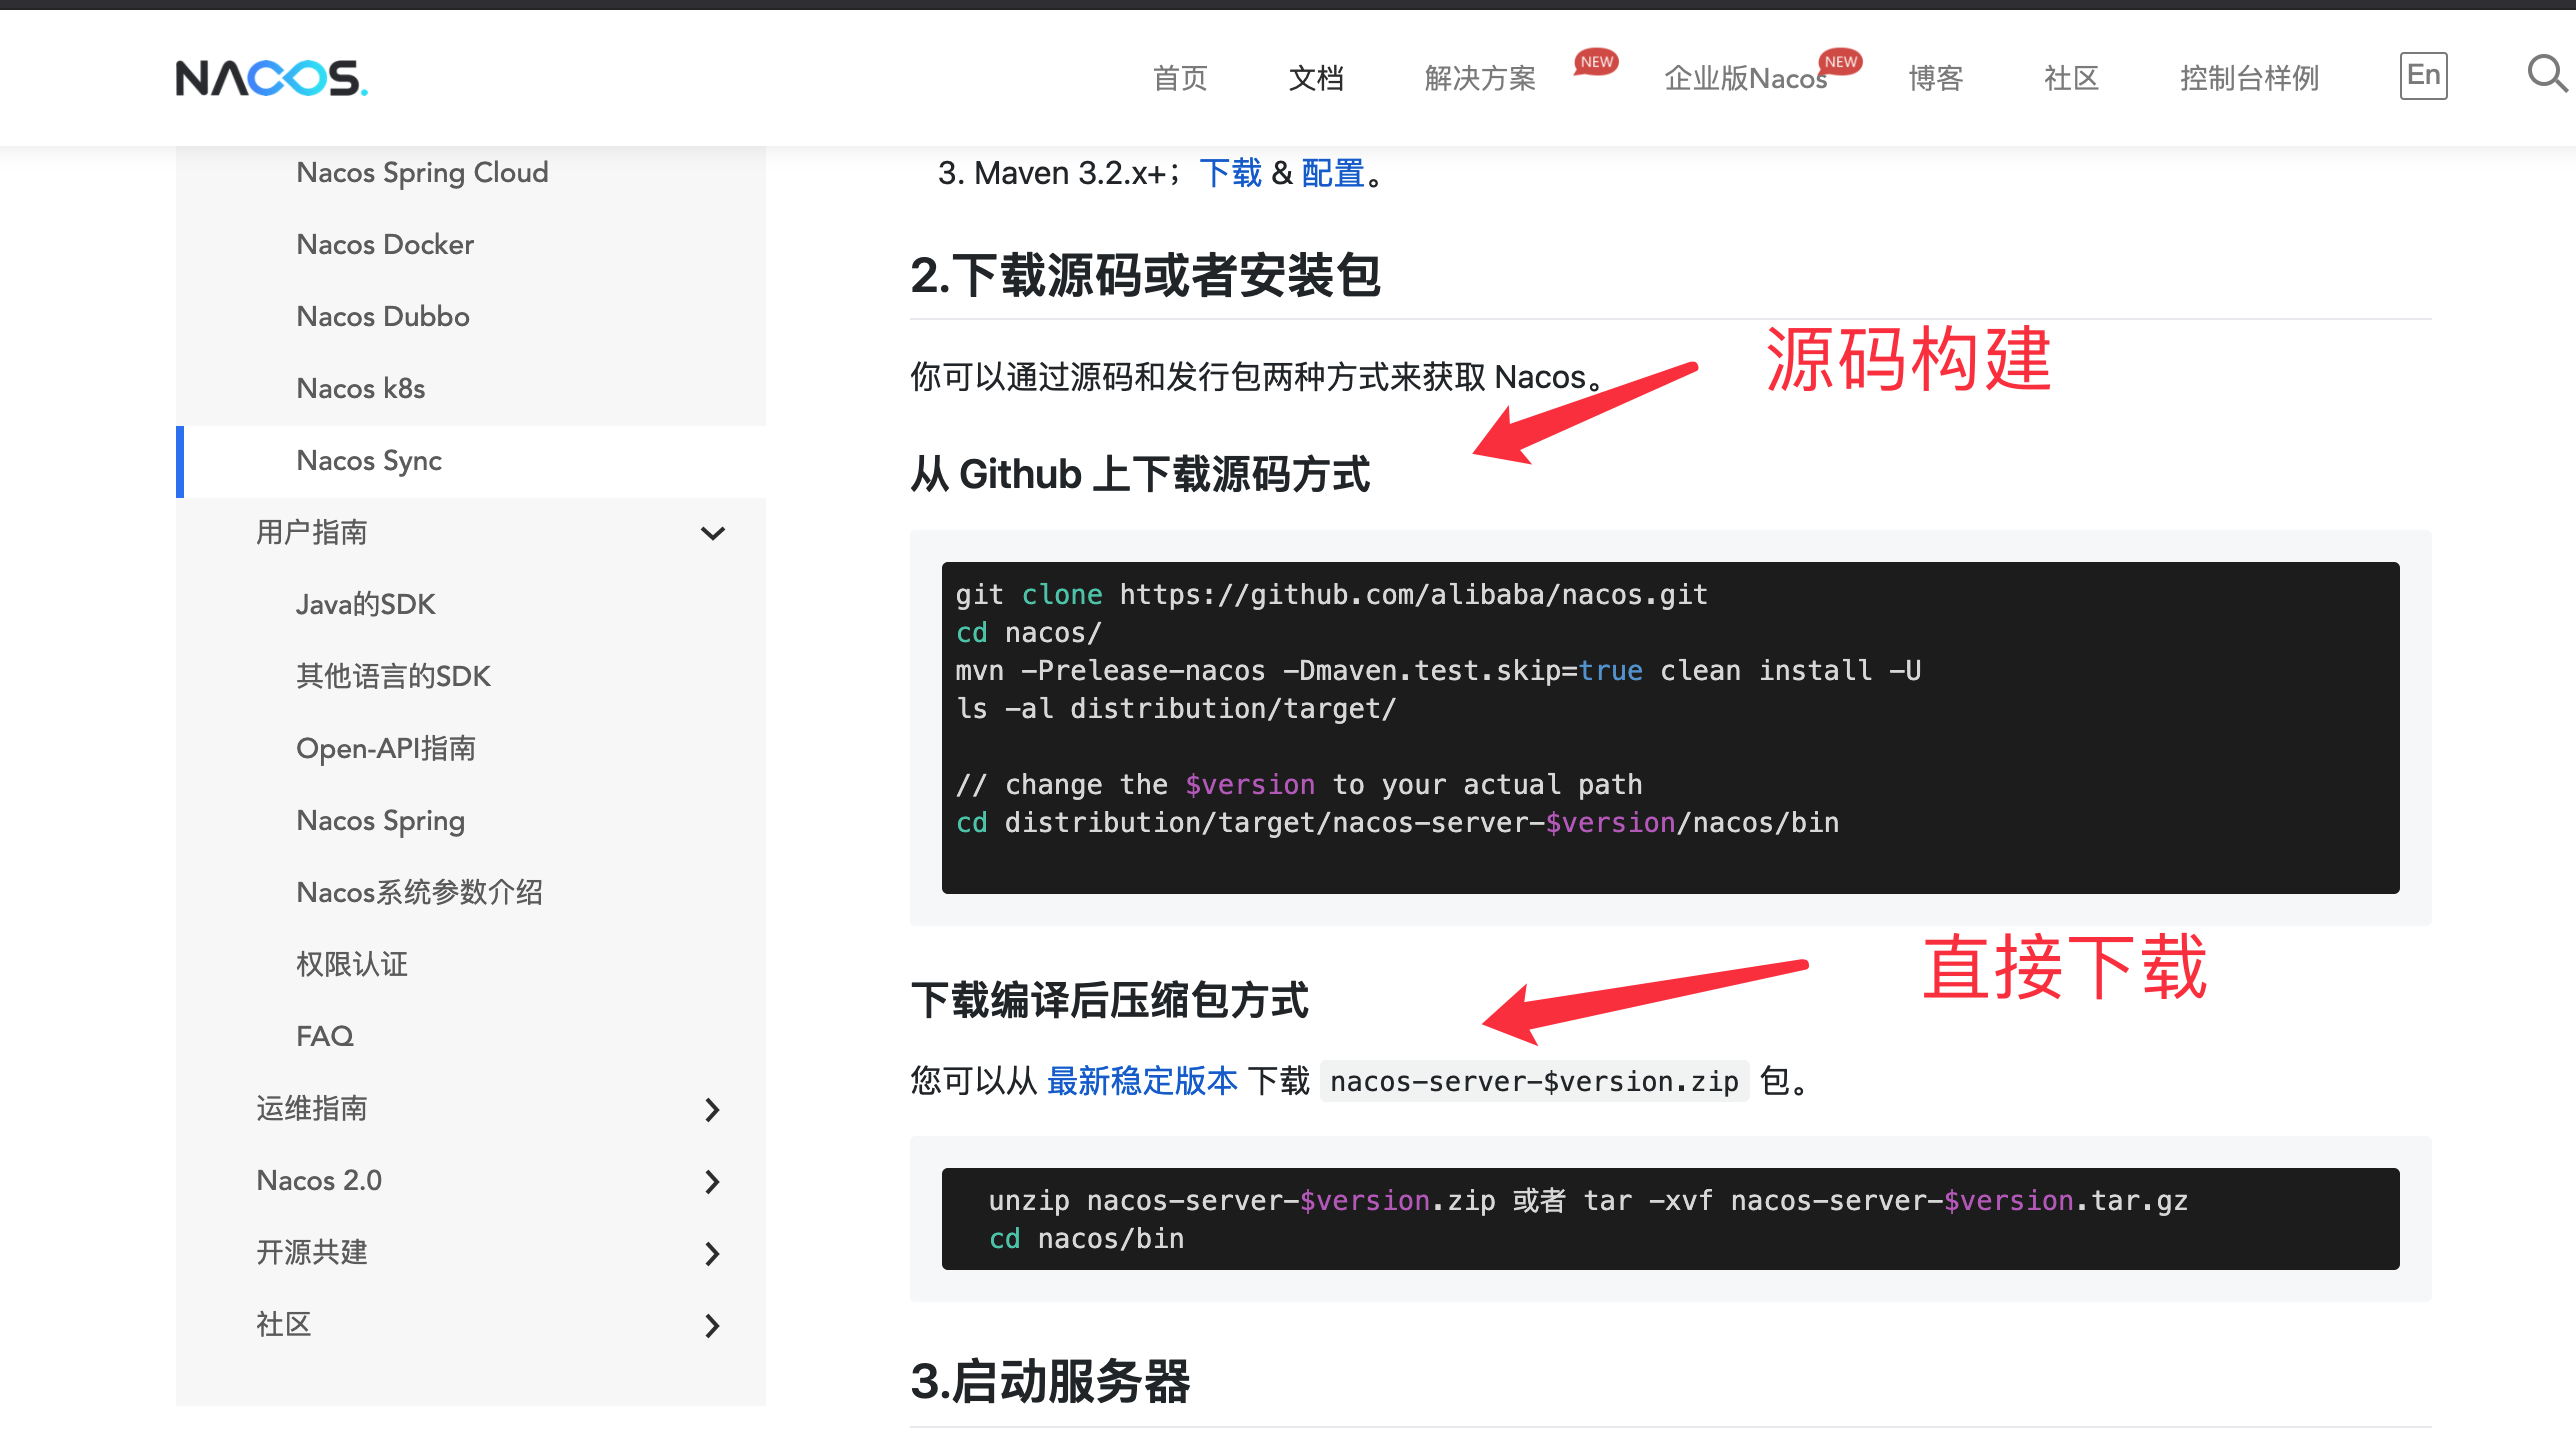
Nacos operation
- Use terminal to enter the / nacos/bin page under the installation directory (I am / Library/Nacos/bin)
- Just run the code sh startup.sh -m standalone
The whole is shown in the figure below:
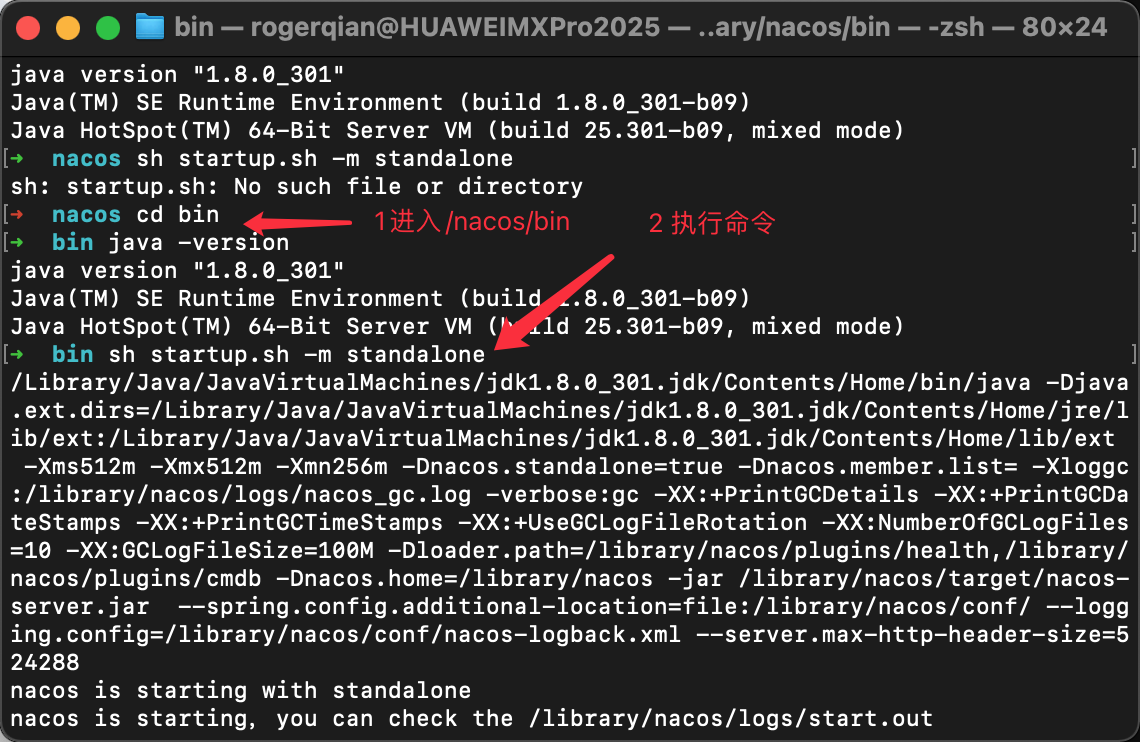
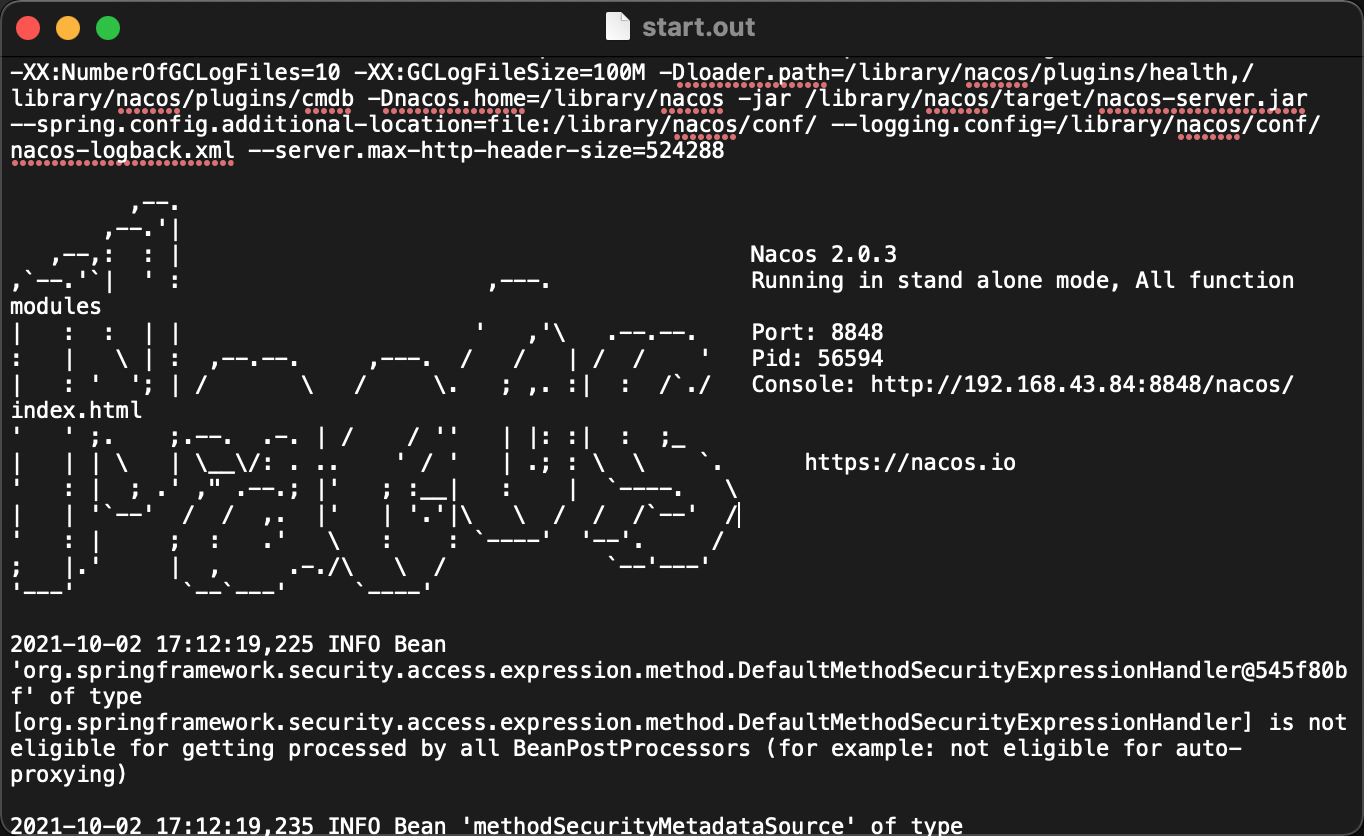
In fact, I thought Nacos didn't start successfully, but it has actually succeeded
Because you can view the log in / nacos/logs/start.out, you can see:
- Close and use sh shutdown.sh
Problems encountered and solved during Nacos startup
- One is the way to build the source code at the beginning. git clone brought the code locally. It was found that there was no bin directory and the official and blog startup methods (i.e. the above commands) could not be used, so it adopted the way of direct download to solve the problem.
- I've also encountered an error report before, to the effect that I can't find the Java path according to the path (Nacos needs the Java environment), but I can find it according to the path. There's no problem checking in ~ /. bashrc. Finally, it's solved.
2.1 possible causes (not sure)
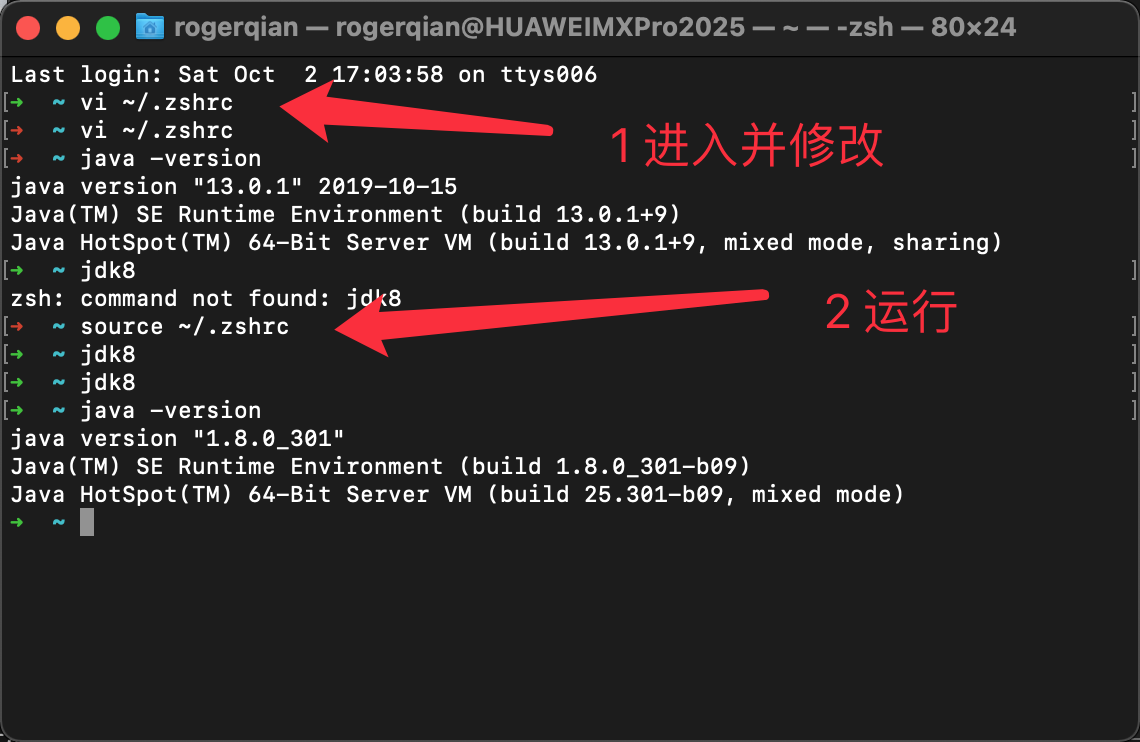
Because I use oh my zsh, that is, zsh, instead of bash (now the Mac is zsh? I used to call me to change zsh every time when I used bash), I have to change ~ /. zshrc instead of the original bashrc
2.2 modification method
2.2.1 terminal, vi ~/.zshrc
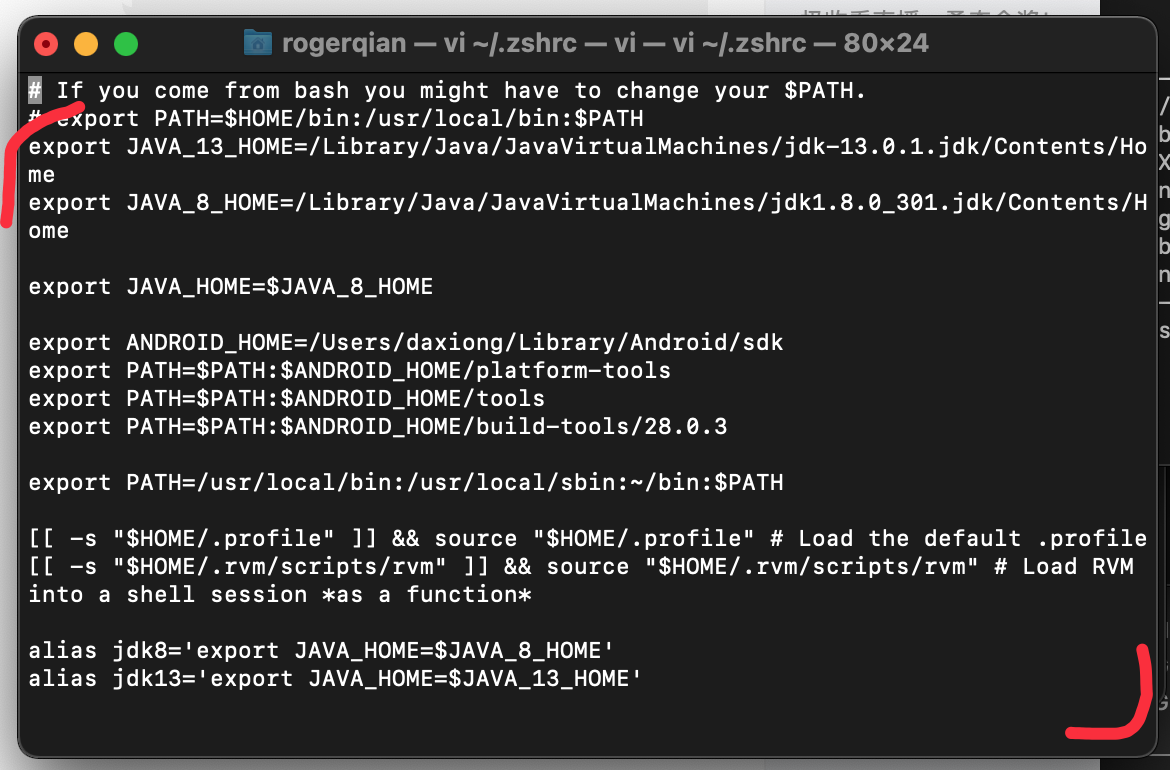
2.2.2 move the cursor to the appropriate position, press i to enter, and then paste cmd+v directly copied in bashrc.
After 2.2.3, esc: wq saves and exits
2.2.4 last source ~/.zshrc
In addition, after modification, entering jdk8 in terminal will become jdk8, and entering jdk13 will become jdk13. There should be no problem with any version of nacos
See the figure for details:
Springboot section
Introduce dependency
- Introduce dependencies in the pom file of the service module that needs the gateway
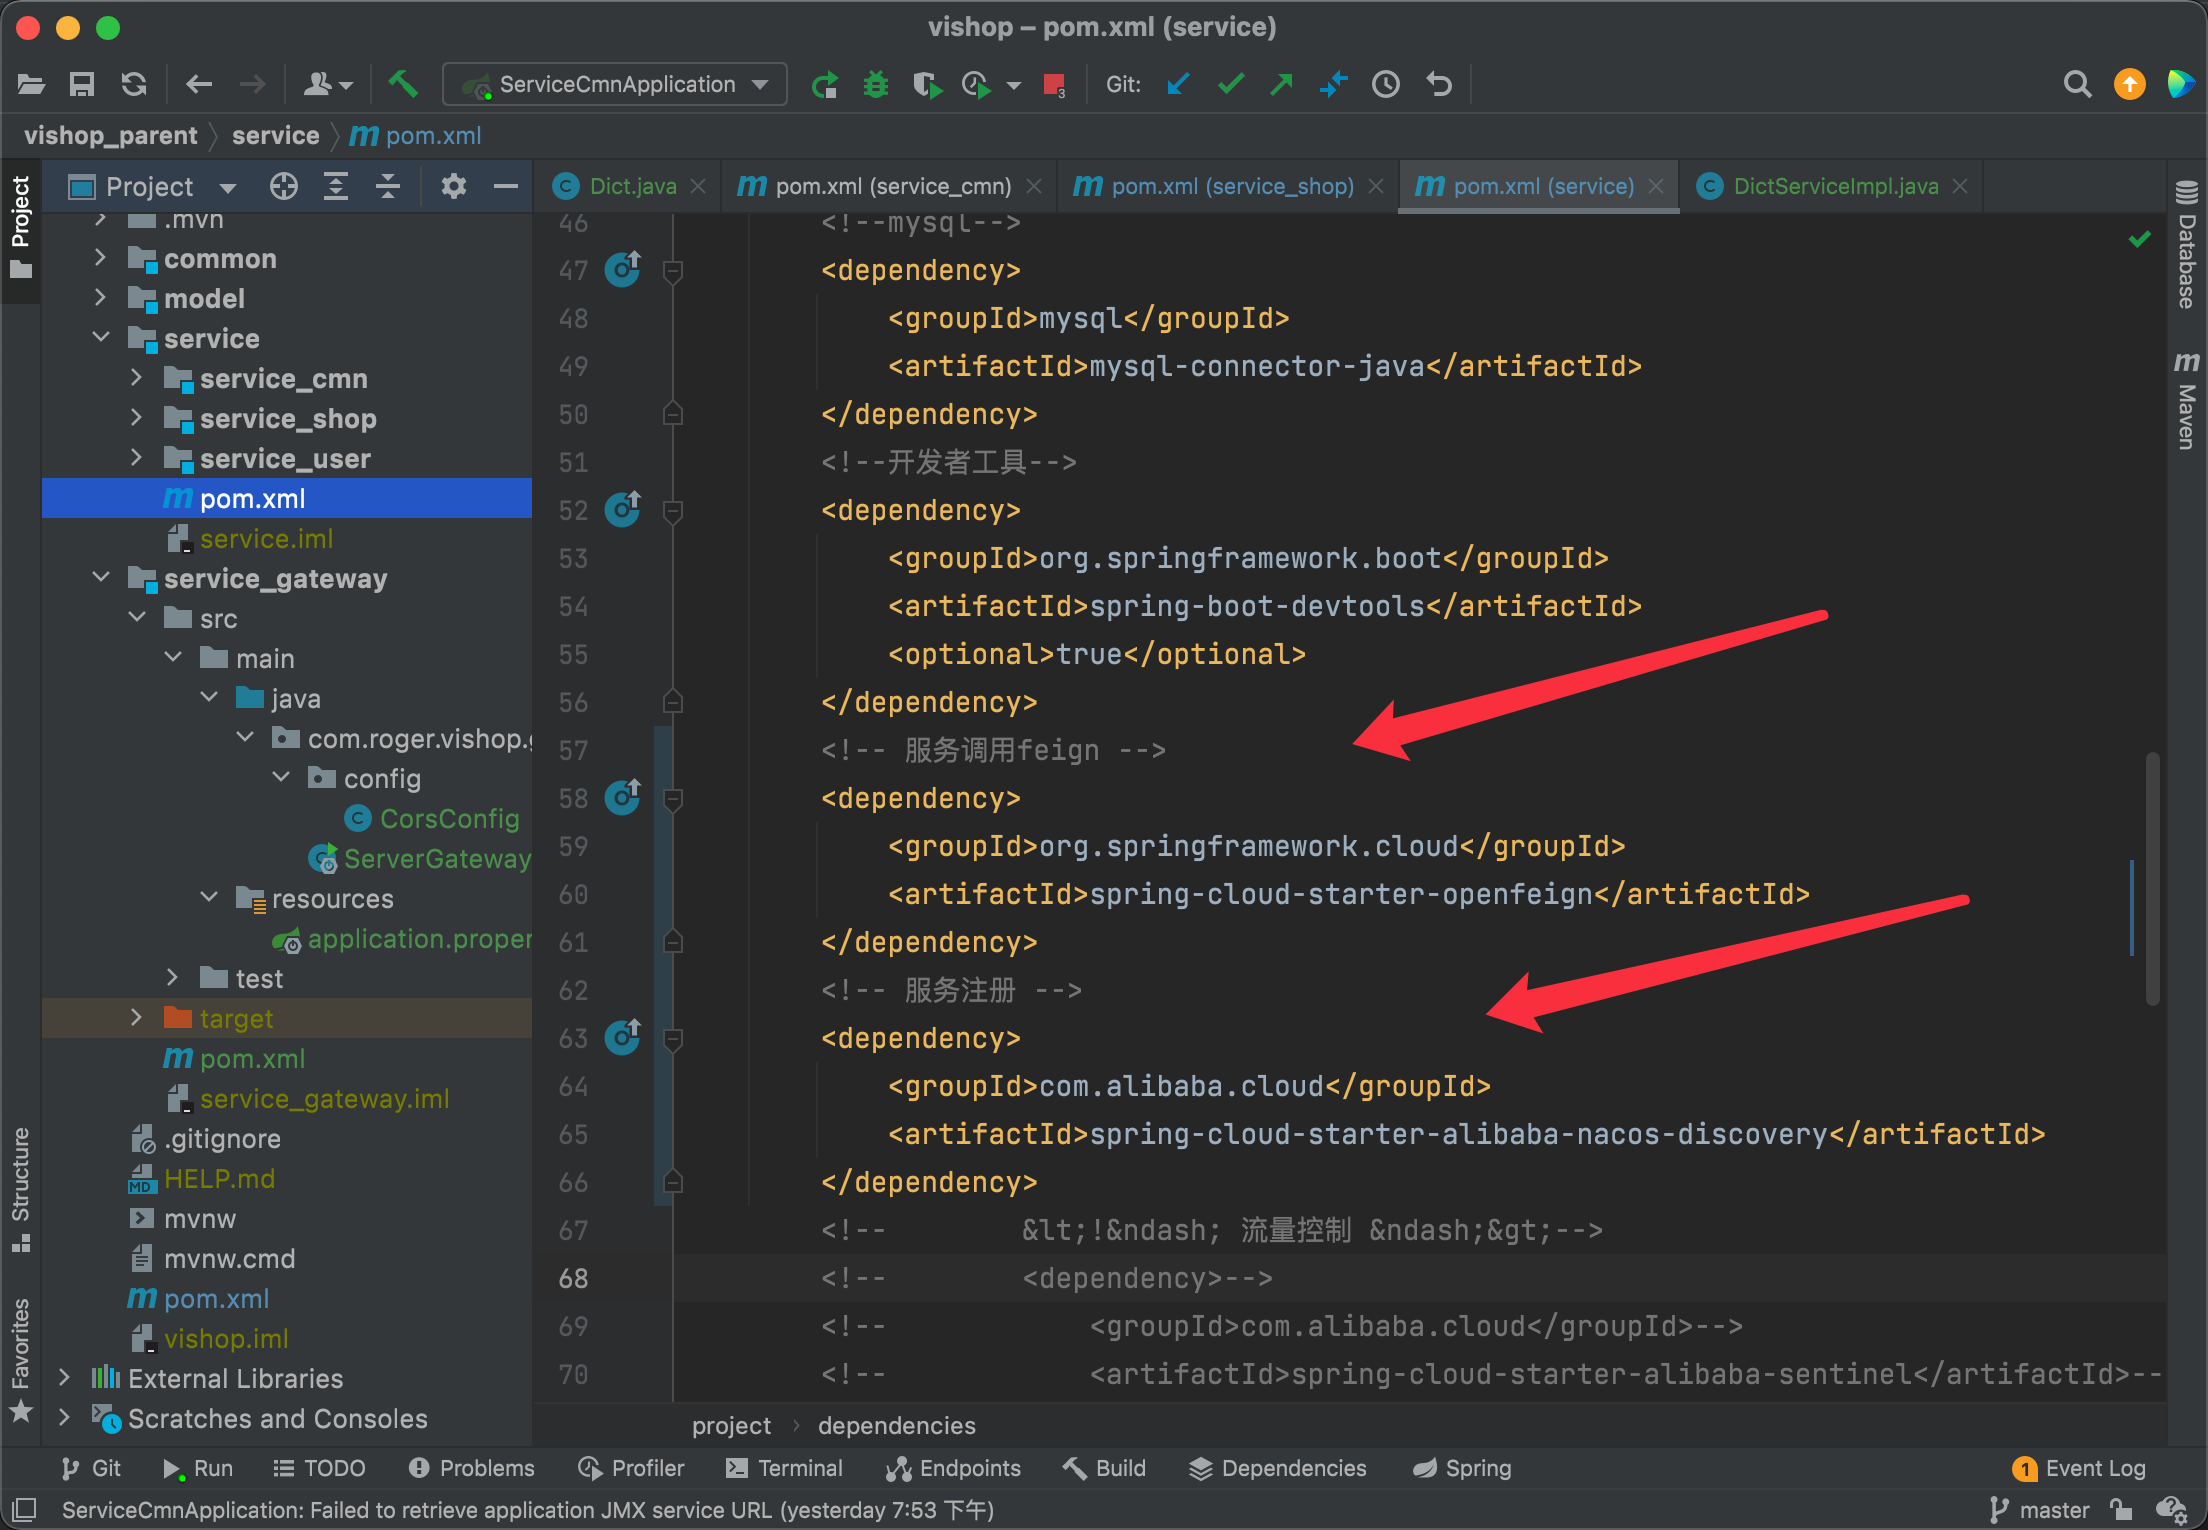
<!-- Service call feign -->
<dependency>
    		<groupId>org.springframework.cloud</groupId>
   			<artifactId>spring-cloud-starter-openfeign</artifactId>
</dependency>
 <!-- Service registration -->
<dependency>
    		<groupId>com.alibaba.cloud</groupId>
    		<artifactId>spring-cloud-starter-alibaba-nacos-discovery</artifactId>
</dependency>
- Create a gateway module and add related dependencies
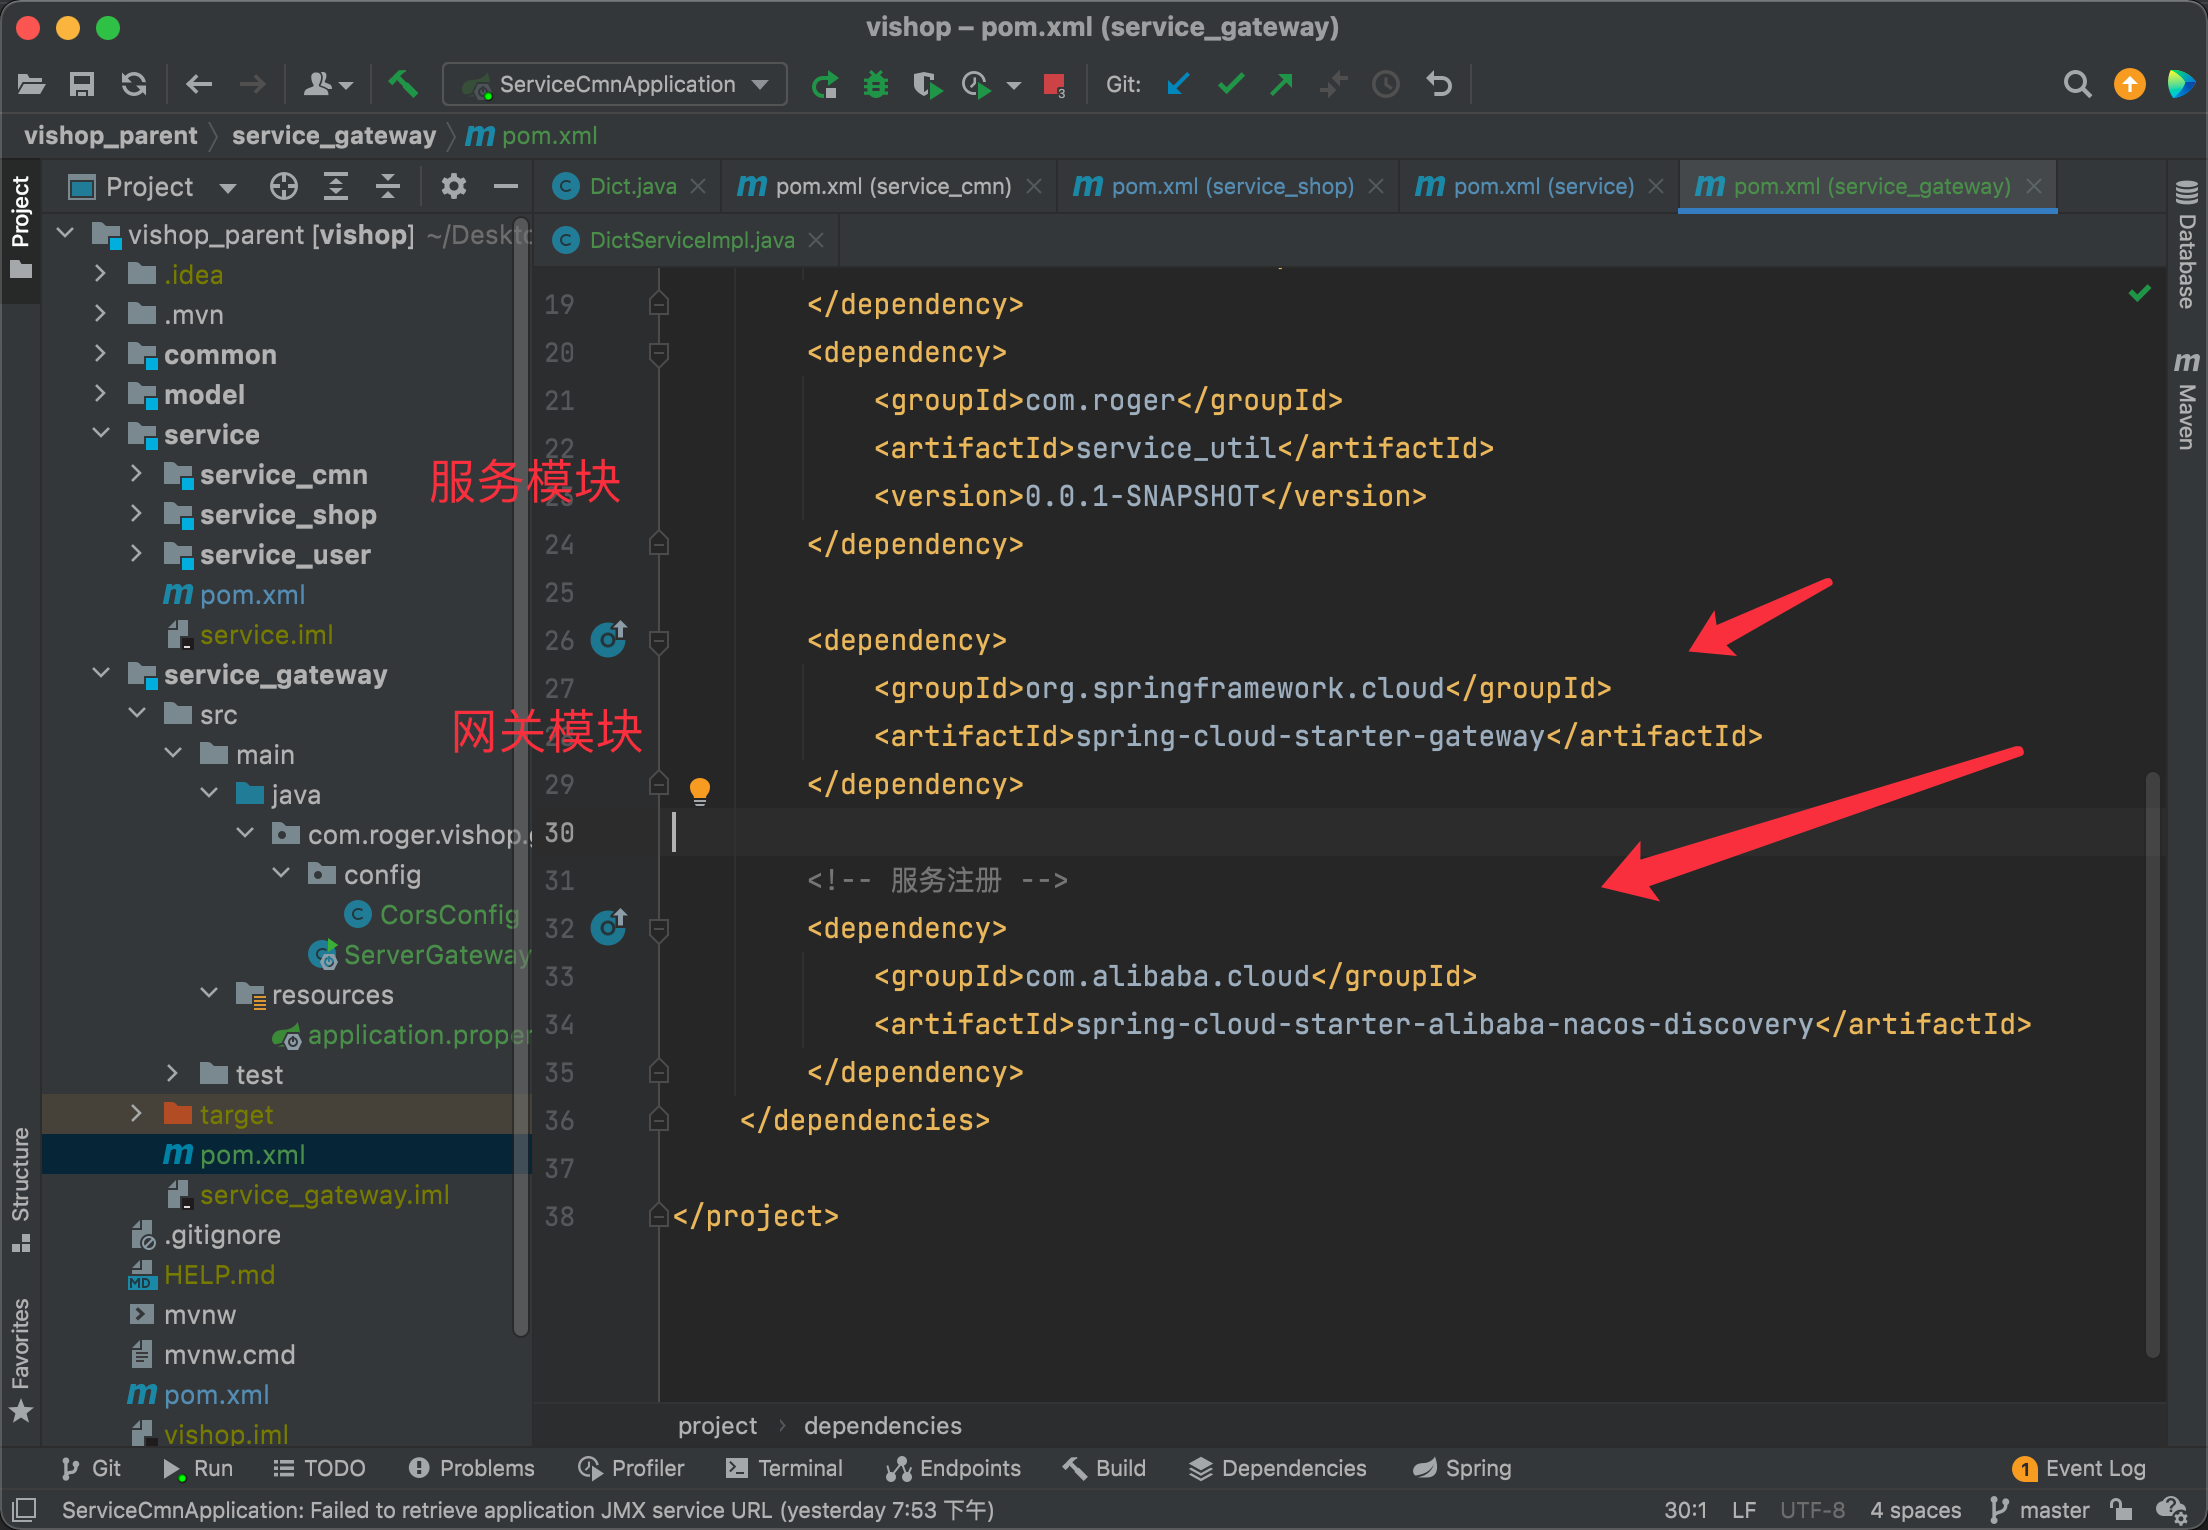
<dependency>
            <groupId>org.springframework.cloud</groupId>
            <artifactId>spring-cloud-starter-gateway</artifactId>
</dependency>

<!-- Service registration -->
<dependency>
            <groupId>com.alibaba.cloud</groupId>
            <artifactId>spring-cloud-starter-alibaba-nacos-discovery</artifactId>
</dependency>
Simple Gateway configuration
-
The startup class is nothing special
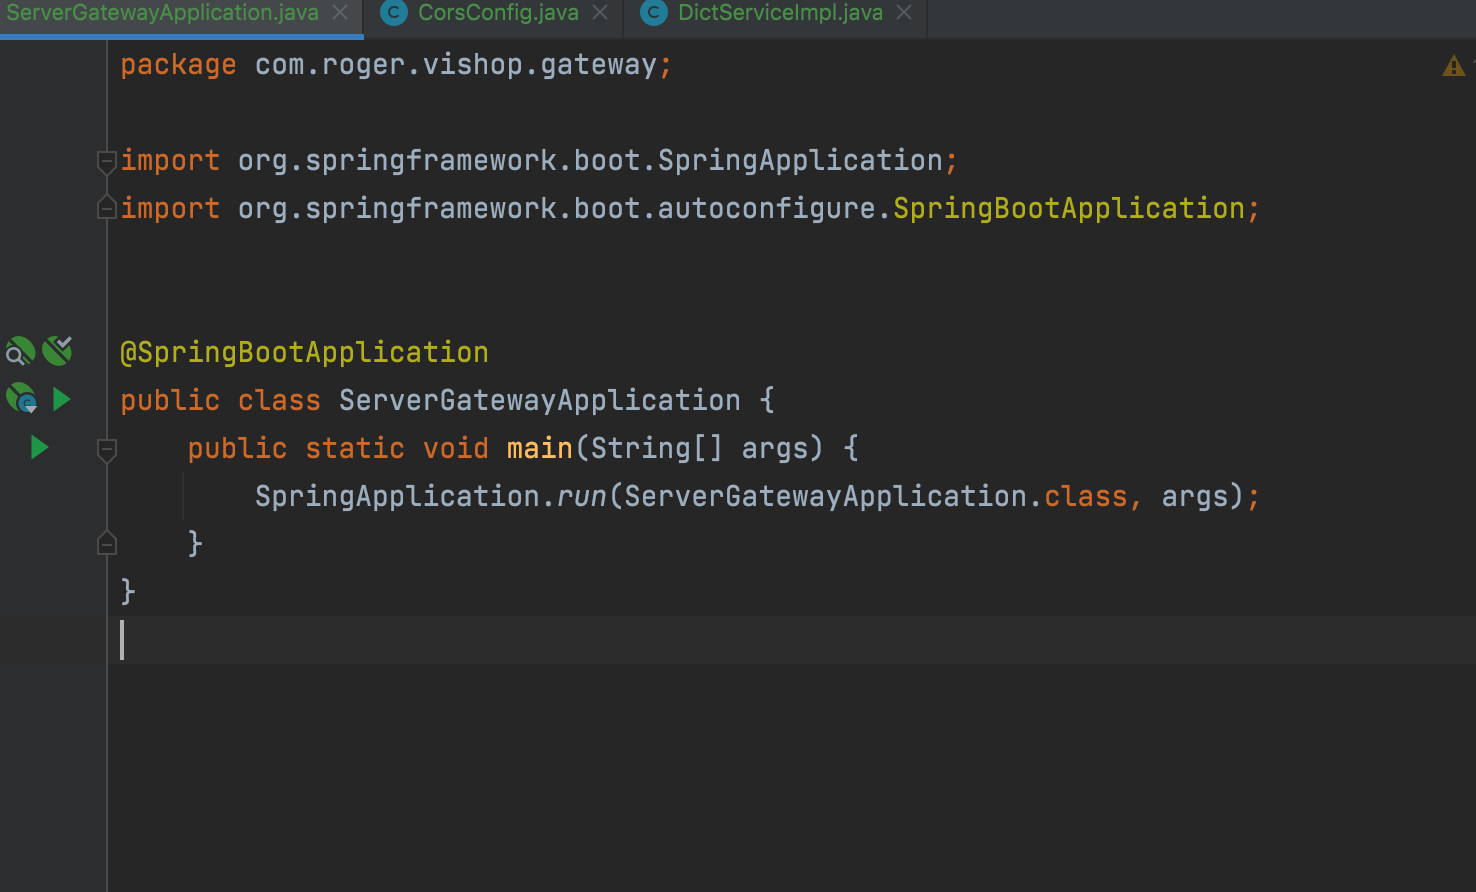
-
Simply add config
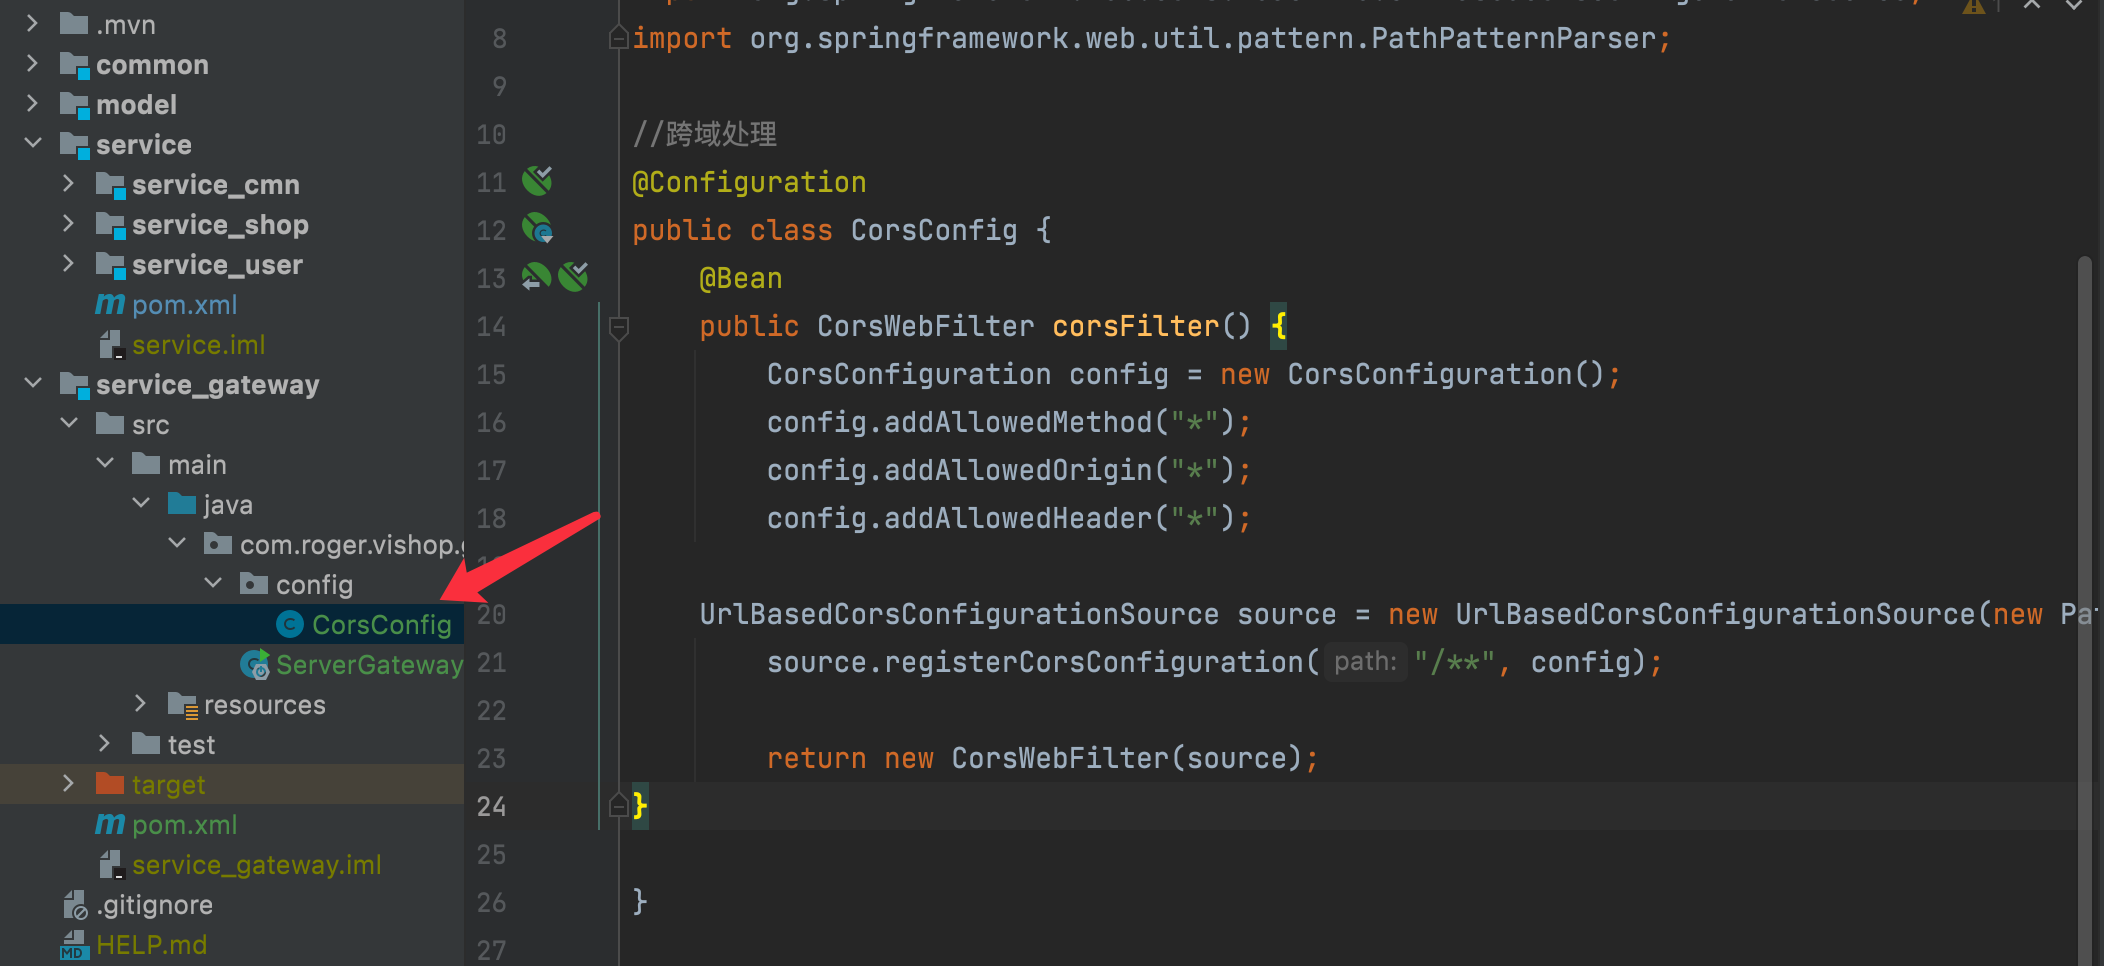
//Cross domain processing
package com.roger.vishop.gateway.config;

import org.springframework.context.annotation.Bean;
import org.springframework.context.annotation.Configuration;
import org.springframework.web.cors.CorsConfiguration;
import org.springframework.web.cors.reactive.CorsWebFilter;
import org.springframework.web.cors.reactive.UrlBasedCorsConfigurationSource;
import org.springframework.web.util.pattern.PathPatternParser;

@Configuration
public class CorsConfig {
    @Bean
    public CorsWebFilter corsFilter() {
        CorsConfiguration config = new CorsConfiguration();
        config.addAllowedMethod("*");
        config.addAllowedOrigin("*");
        config.addAllowedHeader("*");

    UrlBasedCorsConfigurationSource source = new UrlBasedCorsConfigurationSource(new PathPatternParser());
        source.registerCorsConfiguration("/**", config);

        return new CorsWebFilter(source);
}

}
- Configure application.properties
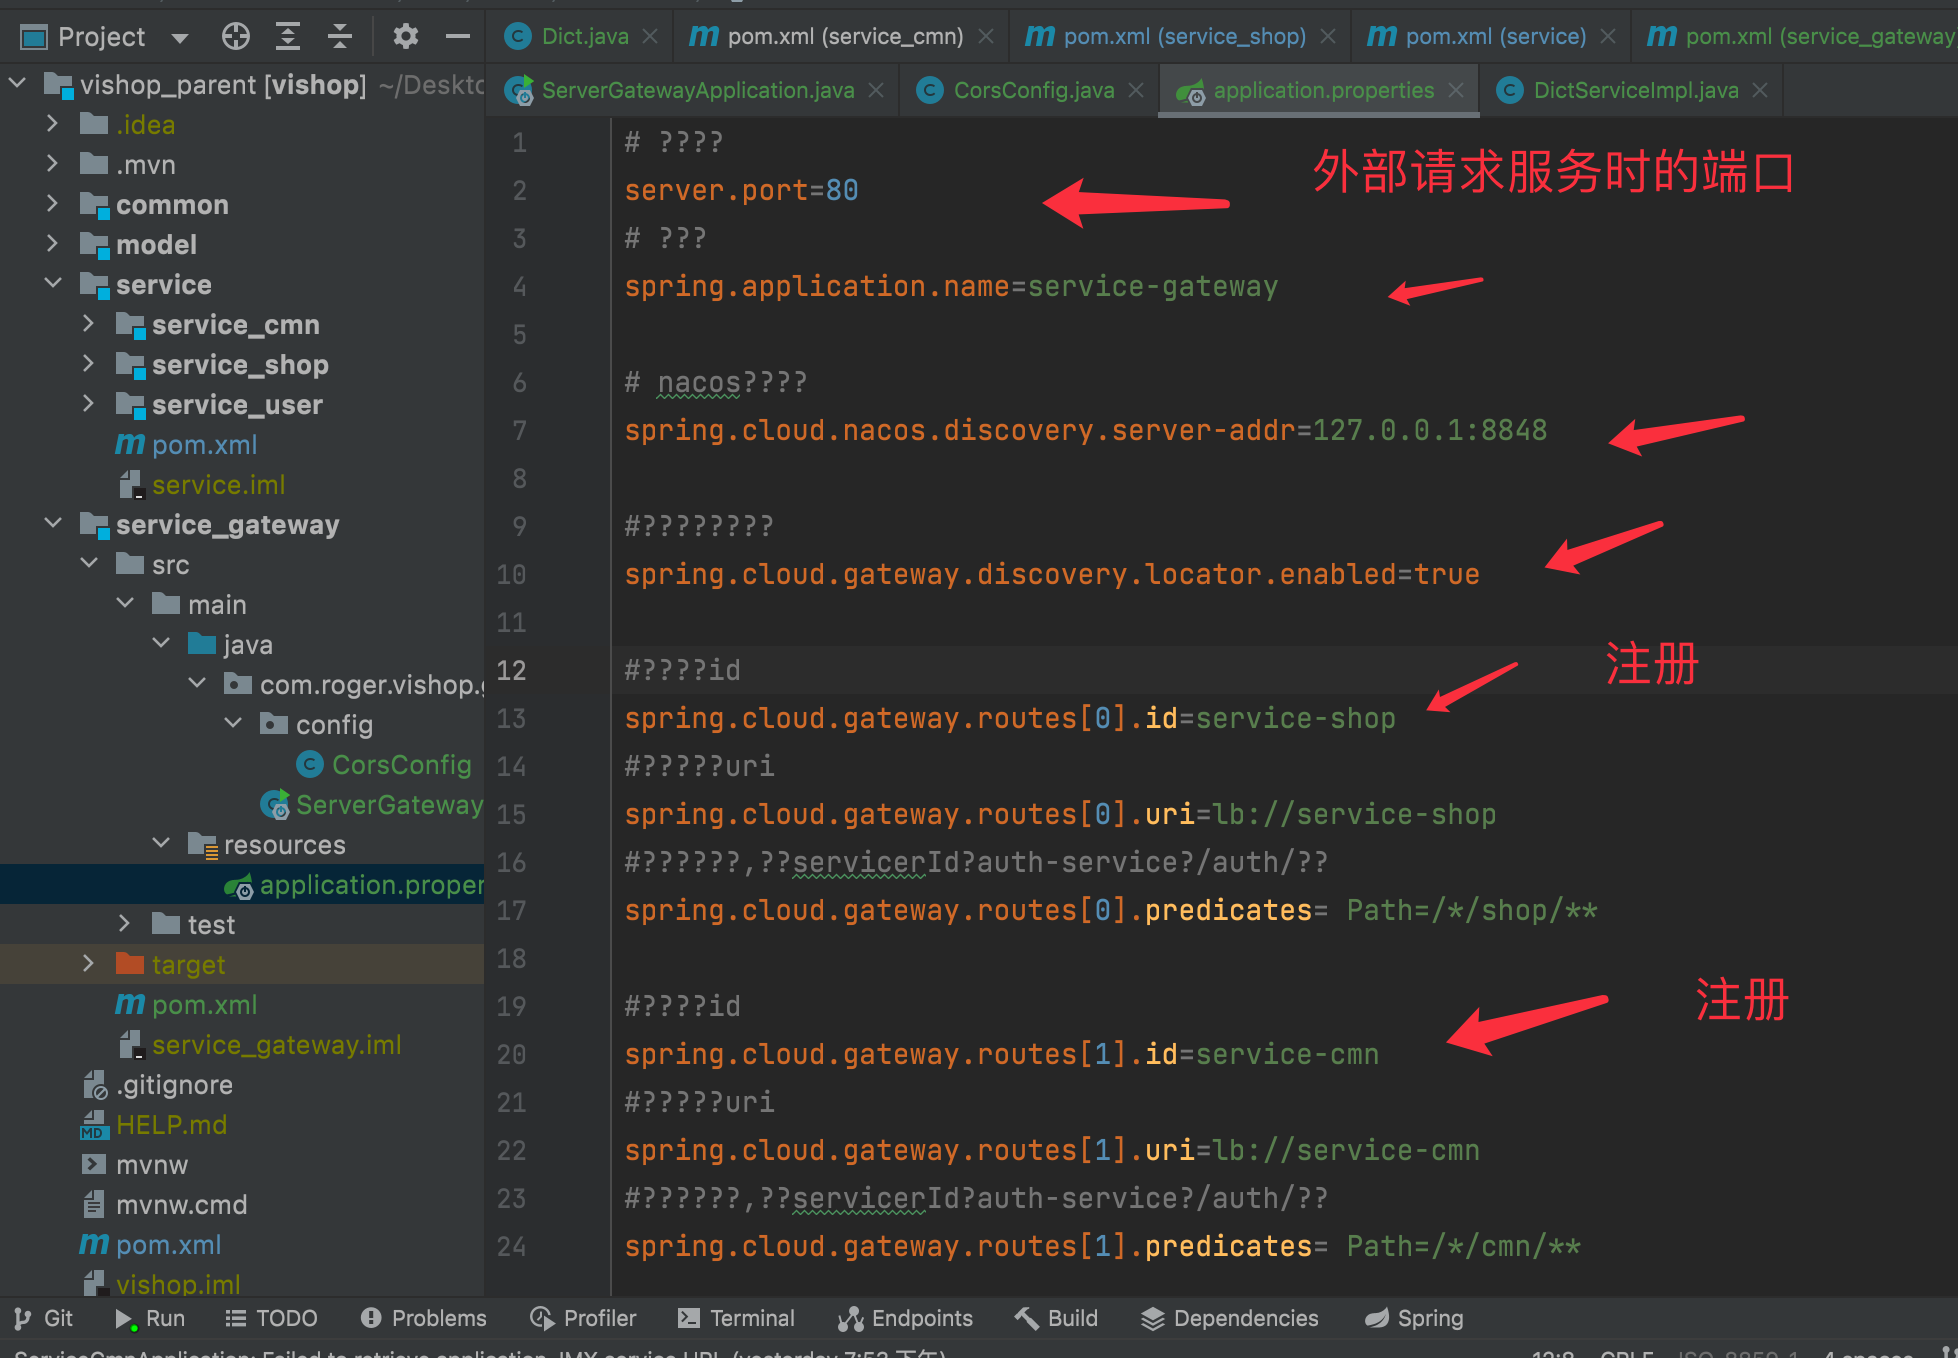
# ????
server.port=80
# ???
spring.application.name=service-gateway

# nacos????
spring.cloud.nacos.discovery.server-addr=127.0.0.1:8848

#????????
spring.cloud.gateway.discovery.locator.enabled=true

#????id
spring.cloud.gateway.routes[0].id=service-shop
#?????uri
spring.cloud.gateway.routes[0].uri=lb://service-shop
#??????,??servicerId?auth-service?/auth/??
spring.cloud.gateway.routes[0].predicates= Path=/*/shop/**

#????id
spring.cloud.gateway.routes[1].id=service-cmn
#?????uri
spring.cloud.gateway.routes[1].uri=lb://service-cmn
#??????,??servicerId?auth-service?/auth/??
spring.cloud.gateway.routes[1].predicates= Path=/*/cmn/**
Simple service configuration
- Remove all @ CrossOrigin, add the @ EnableDiscoveryClient annotation in the startup class, and configure cross domain, which has been completed in CorsConfig.java above
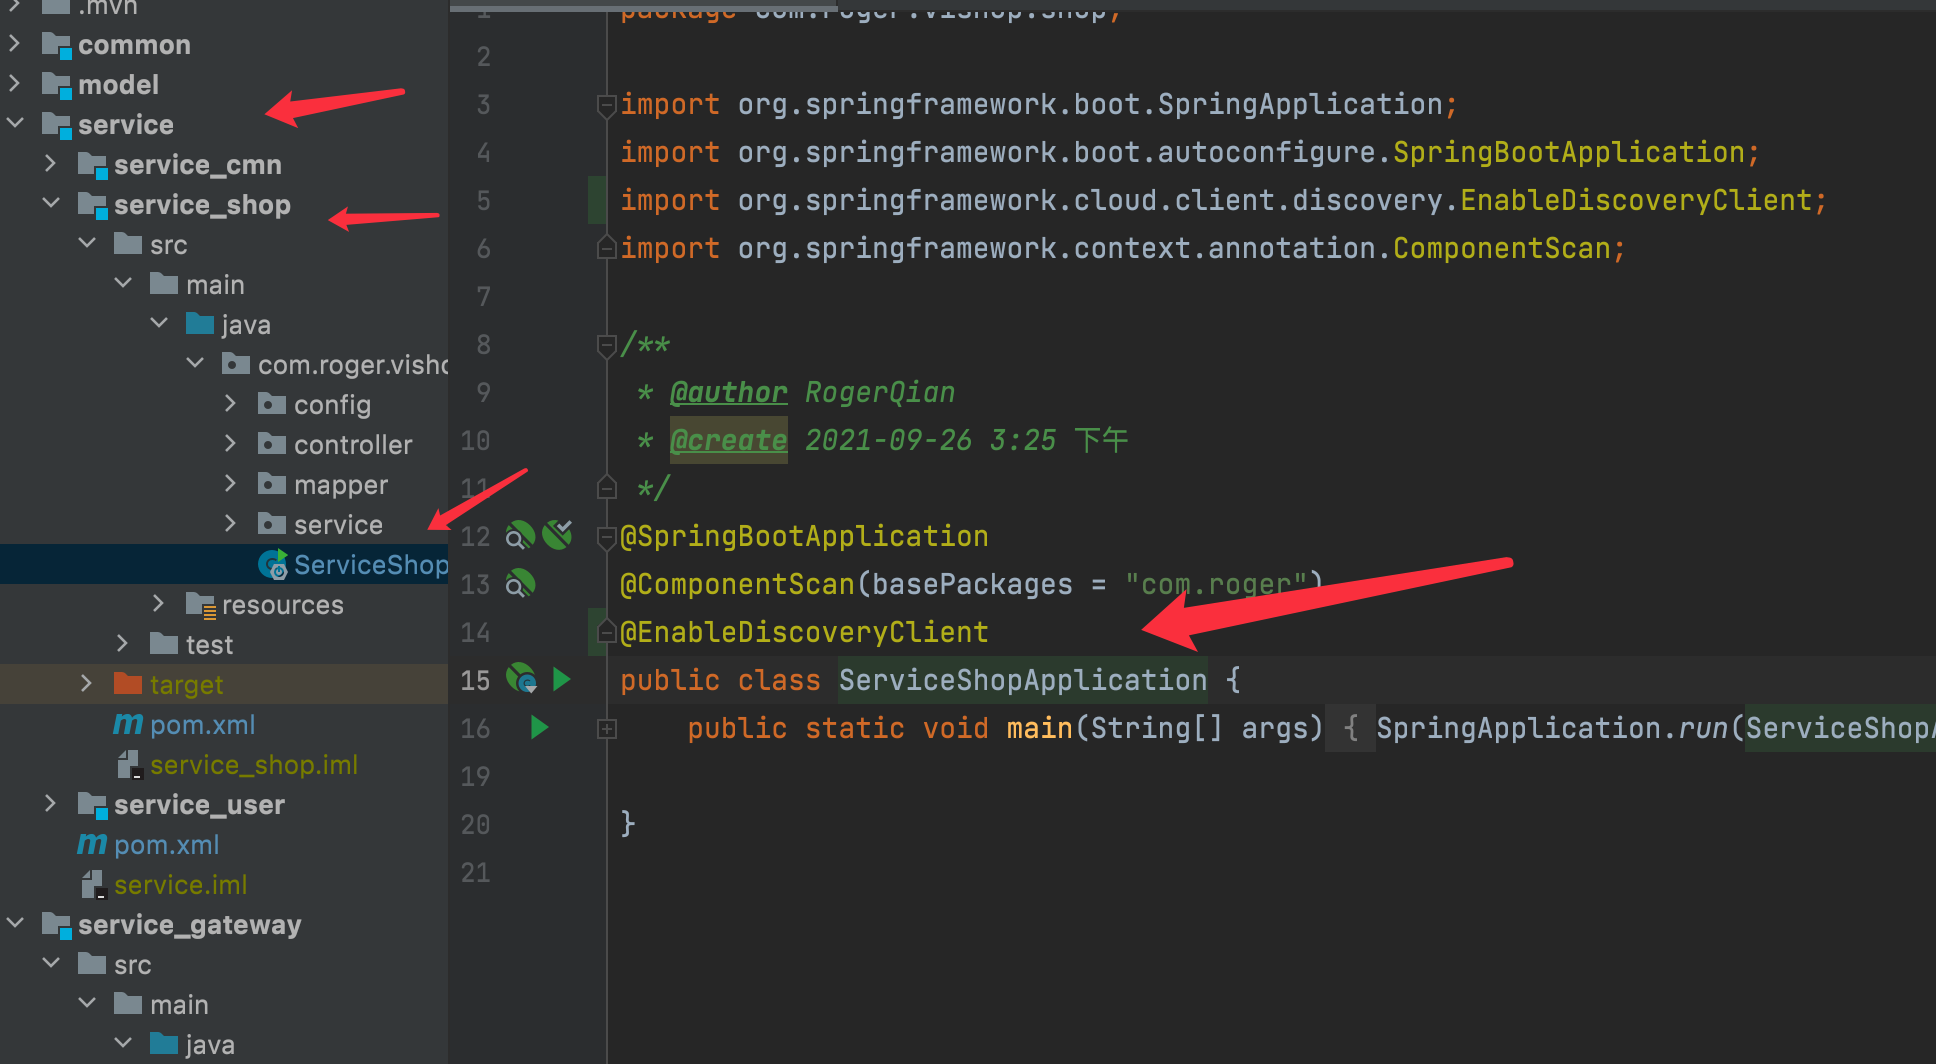
- Modify the application.properties of the service
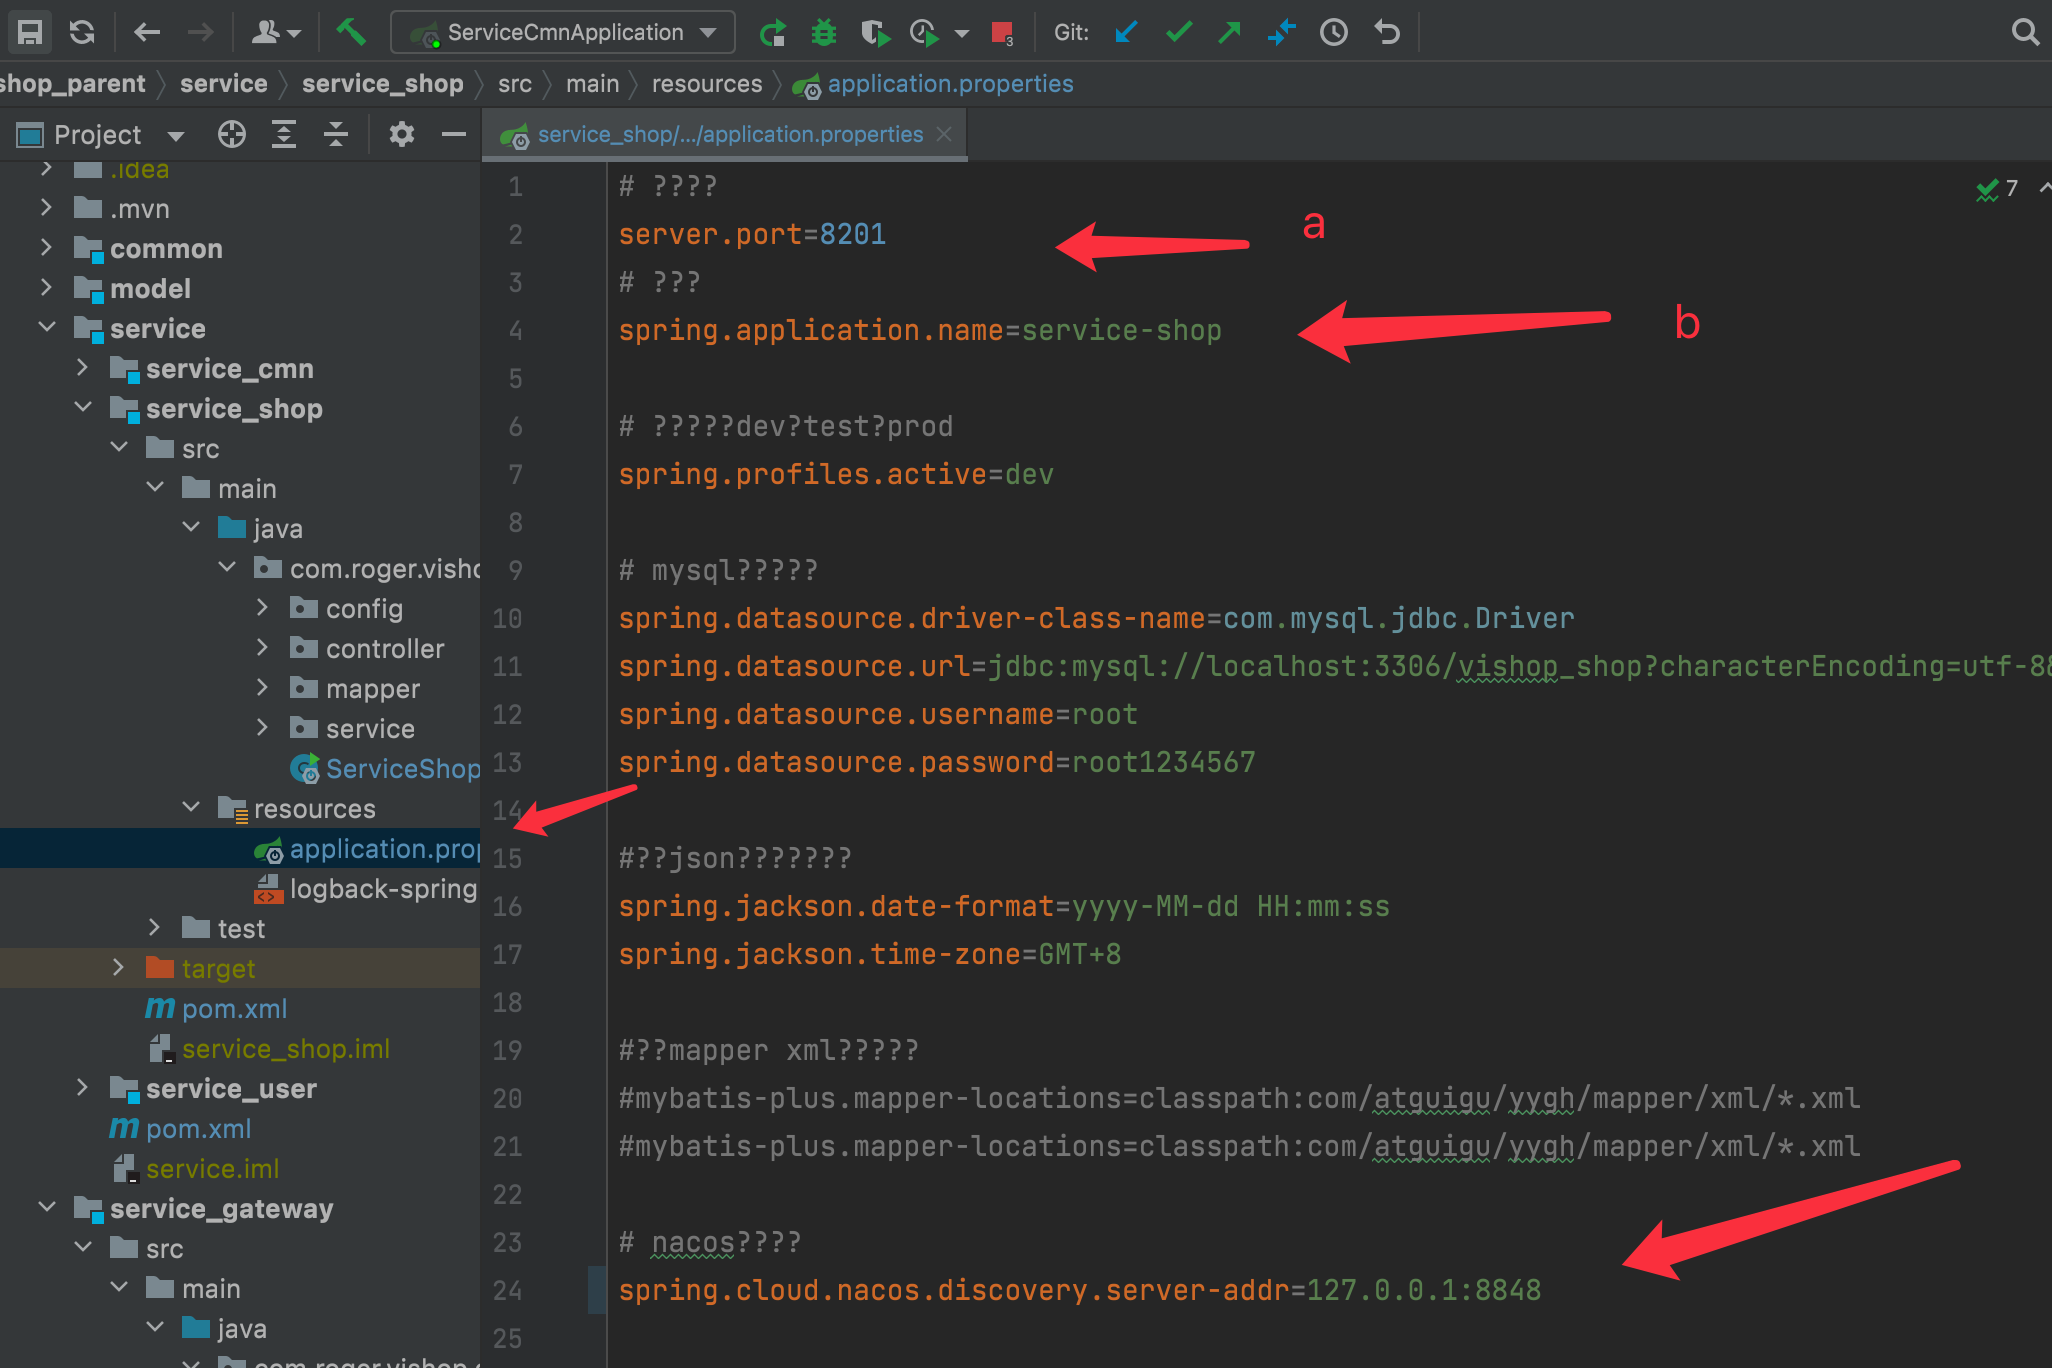
a is the specific service port. The request is sent to 80, and the gateway sends you to 8201
b the name of the service registered in the application should be the same as when configuring the gateway above
Service startup
- Start the gateway service, and then start the specific service
- Enter 127.0.0.1:8848/nacos/#/login (user name and password are both nacos) to view it
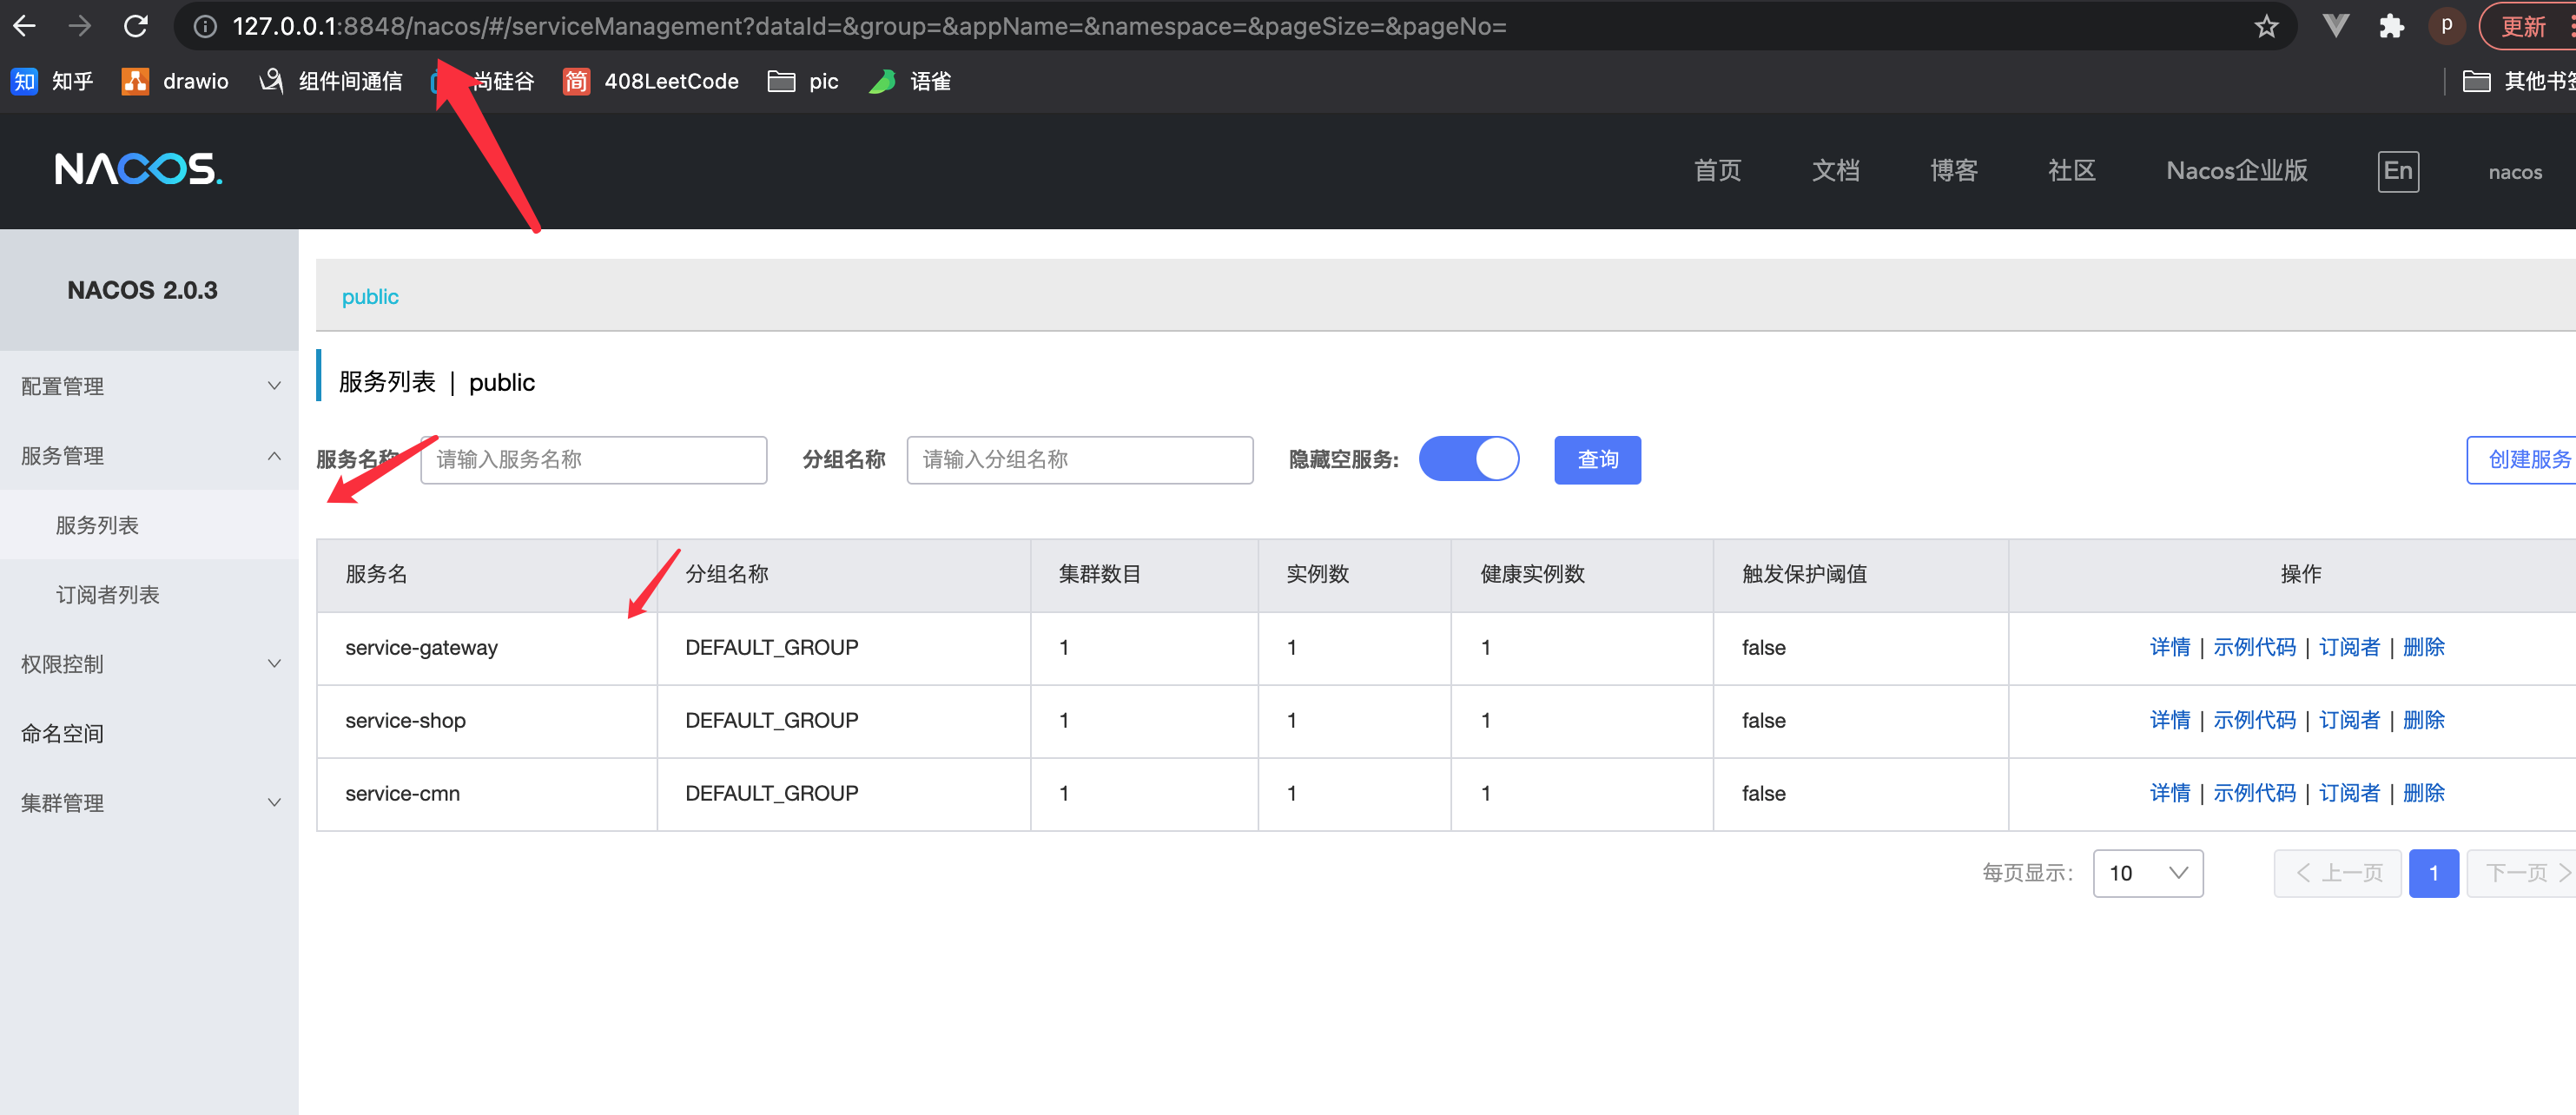
- I have no problems with other tests here (remember to send the request from the front end to port 80)