I. Java Template Engine
Template engine (hereinafter referred to as template engine for Web development) is designed to separate user interface from business data (content). It can generate documents in a specific format. Template engine for Web site will generate a standard HTML document.
In java, the main template engines are JSP, Thymeleaf, FreeMarker, and
Velocity et al.
Although template engine has been neglected with the rise and popularity of front-end and back-end separation, many old projects still use java template engine to render interface, and occasionally write some hands-on projects themselves, using template engine is faster than front-end and back-end separation.
This series will explain how SpringBoot integrates JSP, Thymeleaf and FreeMarker, respectively. As for Velocity, the high-level SpringBoot does not support Velocity anymore, so there will be no explanation here.
This article focuses on how Spring Boot integrates FreeMarker.
1. Spring Boot Integration FreeMarker
First of all, we need to introduce dependencies. In addition to the core web dependencies, we only need to introduce the statrer of freemarker.
<dependency>
    <groupId>org.springframework.boot</groupId>
    <artifactId>spring-boot-starter-web</artifactId>
</dependency>

<!--freemarker rely on-->
<dependency>
    <groupId>org.springframework.boot</groupId>
    <artifactId>spring-boot-starter-freemarker</artifactId>
</dependency>
Then there's the configuration file. The view file directory template-loader-path and file suffix under spring.freemarker node are mainly configured. If it is locally developed, cache can be set to false to close the cache and avoid restarting the service after modifying the file.
server:
  port: 10900

spring:
  profiles:
    active: dev
  freemarker:
    enabled: true #Whether freemarker is enabled
    template-loader-path: classpath:/templates/ #Set the loading path of the template, separated by commas
    suffix: .ftl #Setting the suffix of the template
    content-type: text/html
    check-template-location: true #Check whether the template location exists
    cache: false #Whether template caching is enabled
    charset: UTF-8 #Template encoding
    #Some common configurations
    allow-request-override: false #Whether the HttpServletRequest property is allowed to override (hide) the homonymous model properties generated by the controller
    allow-session-override: false #Whether the HttpSession property is allowed to override (hide) the model properties of the same name generated by the controller
    expose-request-attributes: false #Set the properties of all request s to be added to the model when merge arrives at the template
    expose-session-attributes: false #Whether to add HttpSession attributes to the model when merge template
    expose-spring-macro-helpers: true #Set whether to expose RequestContext to Spring's macro library in the form of spring MacroRequestContext
    prefer-file-system-access: true #Whether to load template from the file system first to support hot loading, default to true
Then create a new template directory under resoucres directory, new hello.ftl and mv.ftl files, respectively.
<h3>hello freemarker</h3>
<!DOCTYPE html>
<html lang="en">
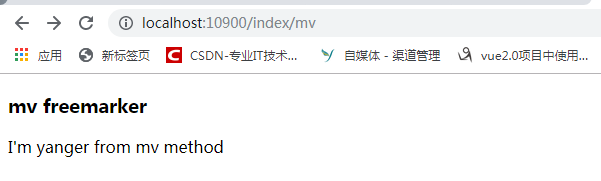
<h3>mv freemarker</h3>
<span>I'm ${name} from mv method</span>
</html>This article mainly talks about how to integrate FreeMarker, not too much about FreeMarker grammar, so only two simple html files are provided for demonstration.
Then we create a routing page of the Controller class, which is very simple, jumping hello pages, and carrying name=imyang jumping mv pages.
@Controller
@RequestMapping("index")
public class IndexApi {

    @RequestMapping("/hello")
    public String hello(){
        return "hello";
    }

    @RequestMapping("/mv")
    public ModelAndView mv(){
        ModelAndView mv = new ModelAndView("mv");
        mv.addObject("name","yanger");
        return mv;
    }

}
Start the project by visiting http://localhost:10900/index/hello and http://localhost:10900/index/mv, respectively. You can see that the page information can already be displayed.
Source address: https://github.com/imyanger/springboot-project/tree/master/p19-springboot-freemarker