Spring Boot must know
1, What is it? What can you do?
-
Is a rapid development of scaffolding
-
Role: quickly create independent, production level Spring based applications
SpringBoot is a framework based on Spring to improve efficiency. It can make coding simpler, configuration management simpler and deployment more convenient.
-
characteristic
- No WAR files need to be deployed
- Provides starter simplified configuration
- Automatically configure Spring and third-party libraries as much as possible
- Provide "production ready" functions, such as indicators, health check, external configuration, etc
- No code generation & no XML
2, Write the first SpringBoot application
- demand
- Integrate Spring MVC
- /test path (endpoint)
- Use Spring Initializr to quickly create Spring Boot applications
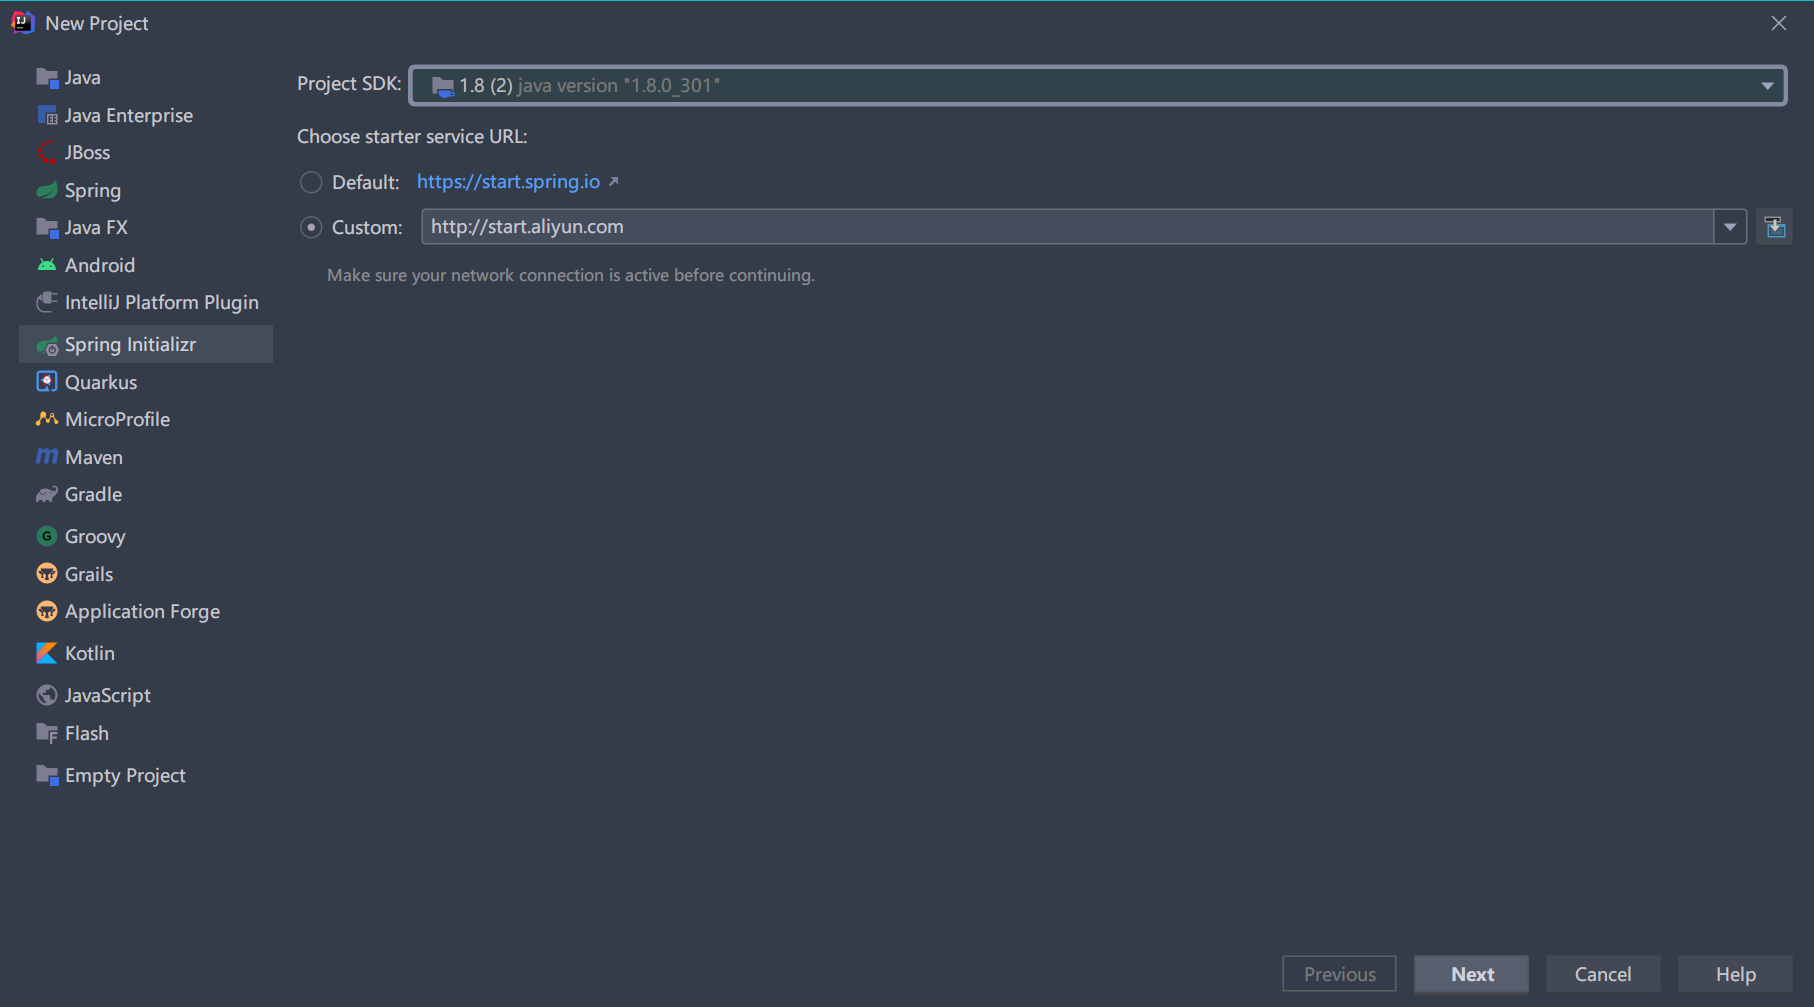
Select Spring Initializr on the left, JDK1.8 for SDK, and Custom http://start.aliyun.com You can speed up the download, and then click Next to create.
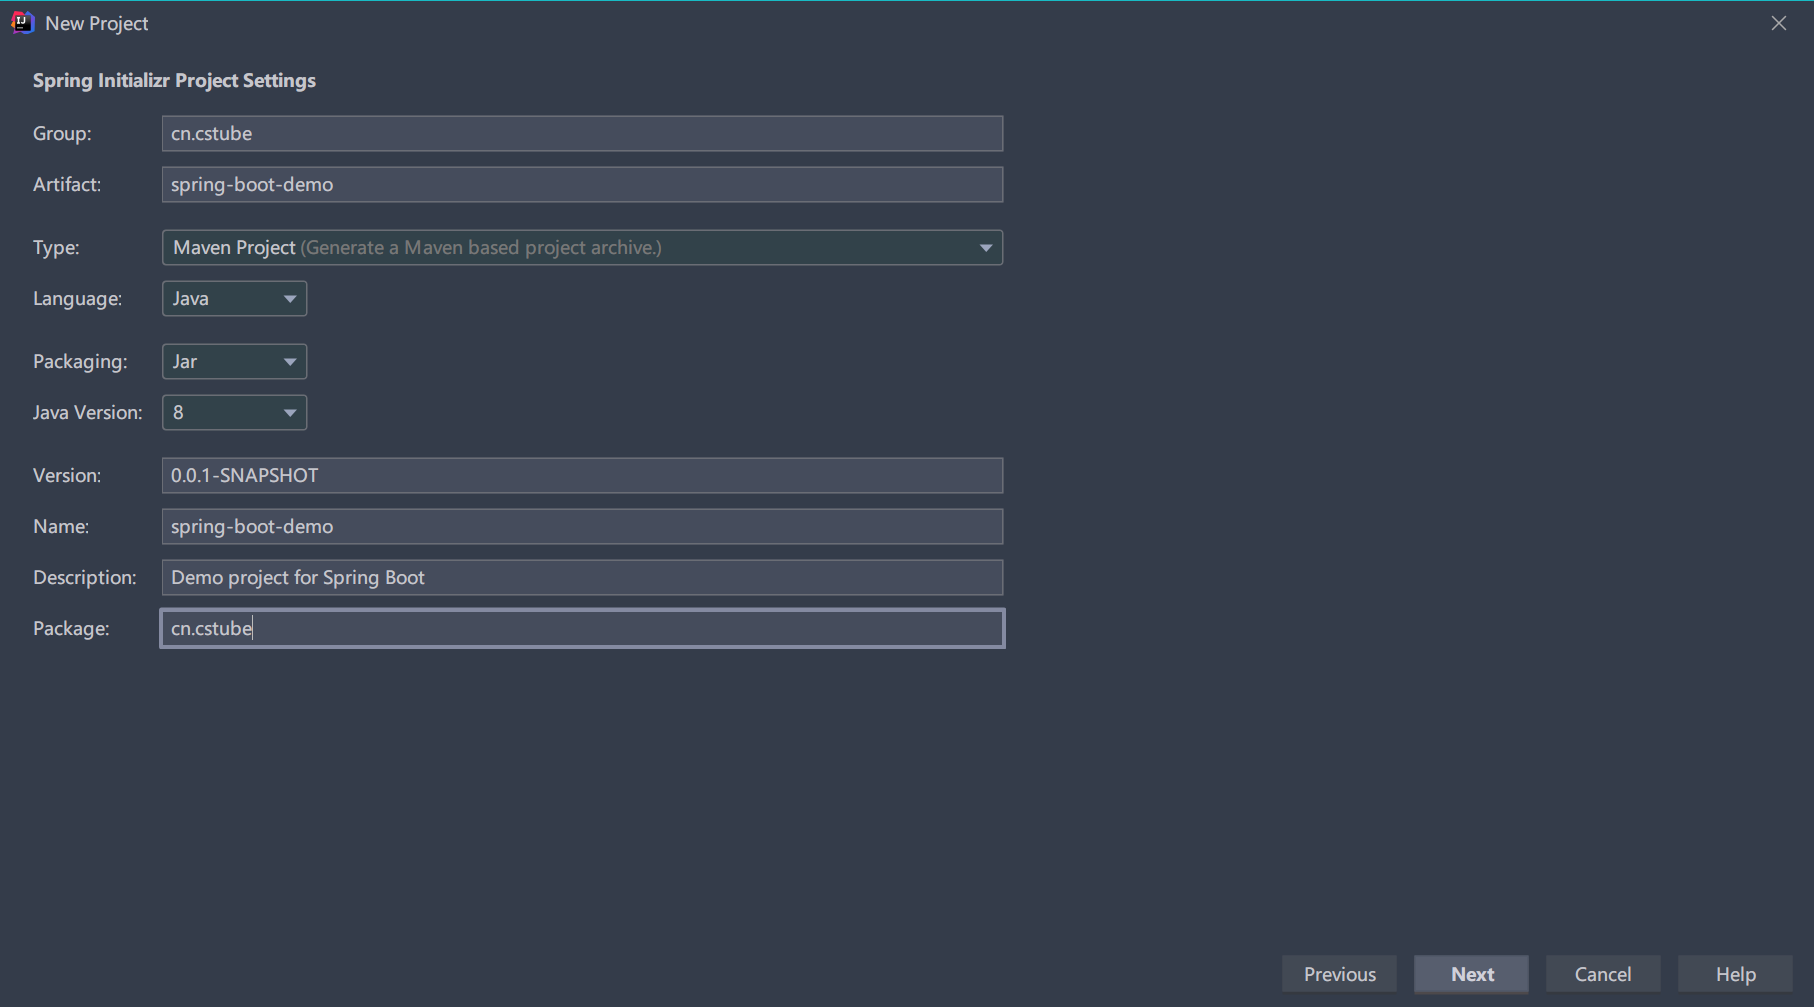
Fill in the unique identification of Group and project Artifact, and select Jar as the packaging method, which is also the packaging method officially recommended by Sprint. Select 8 for Java version, and click Next.

Select the latest version of Spring Boot and add Spring Web to integrate Spring MVC.

Fill in the name and address of the project and complete.

The generated project has actually integrated MVC.
Write the Test endpoint below and create the class TestController under the cn.cstube package.
package cn.cstube;

import org.springframework.web.bind.annotation.GetMapping;
import org.springframework.web.bind.annotation.RestController;

/**
 * @auther heling
 * @date 2021/9/29
 */
@RestController
public class TestController {

    @GetMapping("/test")
    public String test(){
        return "test";
    }
}
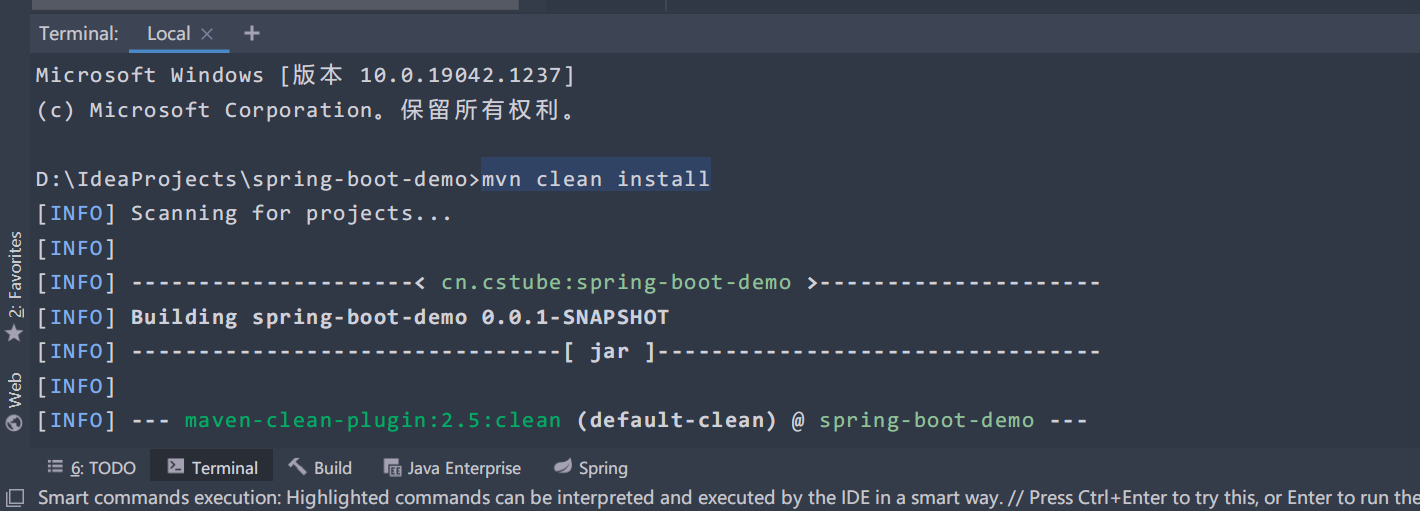
Before starting the project, use mvn clean install to ensure that the build is successful and then start it. The main purpose is to prevent the Jar package from failing to download completely, resulting in startup failure.
Finally, start the SpringBootDemoApplication class.

Visit localhost:8080/test in the browser and you can see that test can be returned.

The above is the startup in Idea. In the actual project deployment, we need to go to the target directory, find the executable jar package, and then execute java -jar spring-boot-demo-0.0.1-SNAPSHOT.jar. Similarly, normal results can be returned in the browser.

3, Application composition analysis of Spring Boot
- Dependency: pom.xml
<dependencies>
        <!--springmvc integration-->
        <dependency>
            <groupId>org.springframework.boot</groupId>
            <artifactId>spring-boot-starter-web</artifactId>
        </dependency>

        <!--Unit test support-->
        <dependency>
            <groupId>org.springframework.boot</groupId>
            <artifactId>spring-boot-starter-test</artifactId>
            <scope>test</scope>
        </dependency>
</dependencies>
- Startup class: Annotation
@SpringBootApplication represents this class as the startup class
@SpringBootApplication
public class SpringBootDemoApplication {
    //Startup class
    public static void main(String[] args) {
        SpringApplication.run(SpringBootDemoApplication.class, args);
    }

}
- Configuration: application.properties
# apply name
spring.application.name=spring-boot-demo
# Application service WEB access port
server.port=8080
- Static Directory: static files
It is mainly used to store static files, such as html and css files.
- templates Directory: template files
It is used to store template files because Spring MVC supports a variety of view formats, such as JSP, freemaker and other template engines. However, most applications are developed based on the separation of front and back ends, and there is basically no template engine in the future.
4, Spring Boot development three board axe
- Add dependency
If you want to integrate xxx in Spring Boot, you only need to add xxx dependency in pom.xml. For example, integrate JPA and Mybatis.
<!--        boot Officially available: spring-boot-starter-xxx-->
        <dependency>
            <groupId>org.springframework.boot</groupId>
            <artifactId>spring-boot-starter-data-jpa</artifactId>
        </dependency>

<!--        mybatis Unofficial starter:xxx-spring-boot-starter-->
        <dependency>
            <groupId>org.mybatis.spring.boot</groupId>
            <artifactId>mybatis-spring-boot-starter</artifactId>
            <version>2.2.0</version>
        </dependency>
- Write notes
Various annotations are added to the startup class
- Write configuration
Add various configurations in application.properties
5, Spring Boot Actuator
- What is it?
Spring Boot Actuator is a very important component in Spring Boot. It provides powerful monitoring capabilities for our applications. Today's applications are becoming more and more complex. We need some monitoring tools to help us record problems.
- How to integrate?
Add dependency
<dependency>
    <groupId>org.springframework.boot</groupId>
    <artifactId>spring-boot-starter-actuator</artifactId>
</dependency>
When you start the application, you can see that the actor exposes two endpoints.

Open localhost: 8080 / actor

click http://localhost:8080/actuator/health
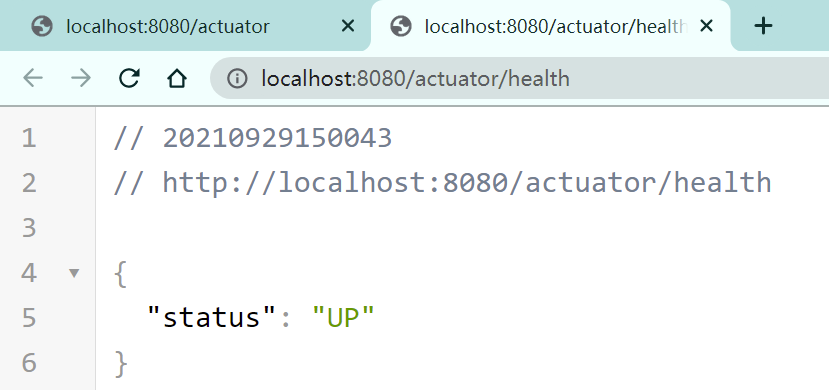
The health endpoint is a very important endpoint and will be used frequently in the future. The function is health check, that is, check the resources of the application. We need to add the configuration in the configuration file.
# apply name
spring.application.name=spring-boot-demo
# Application service WEB access port
server.port=8080

management.endpoint.health.show-details=always
Start the application. Open again http://localhost:8080/actuator/health

You can see that the disk resources are checked here. The disk size is 325G and the remaining space is 63.3G. If the remaining space is lower than the threshold, the disk is unhealthy.
status value:
- UP: normal
- DOWN: encountered a problem, not normal
- OUT_OF_SERVICE: the resource is not in use or should not be used
- UNKNOWN: I don't know
http://localhost:8080/actuator/info Is a description endpoint, which is mainly used to describe application information. For example, to add a configuration to a configuration file:
# Describe application
info.app-name=spring-boot-demo
info.author=heling
info.email=xxx@email
Start the application, and then access the info endpoint
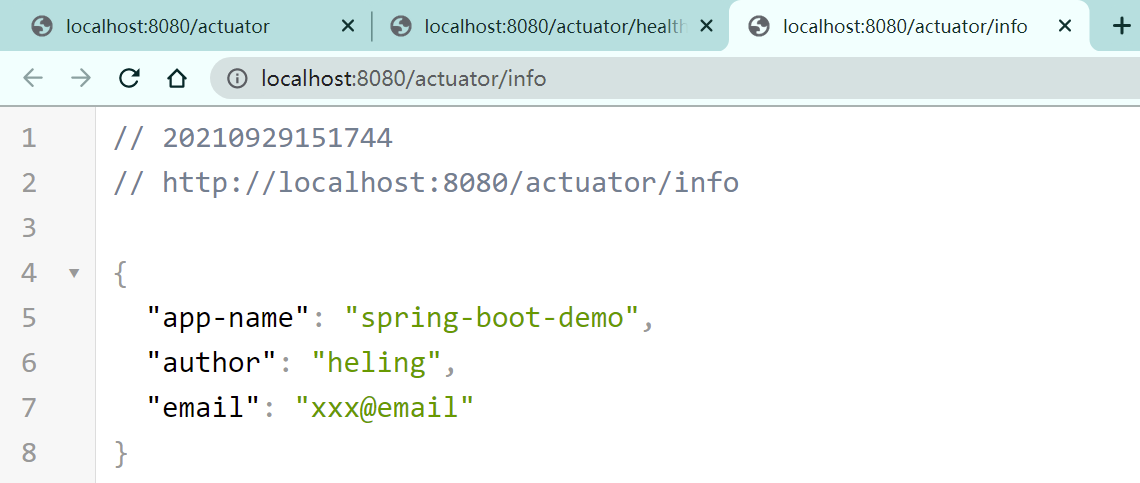
The following are the common monitoring endpoints of Spring Boot Actuator

Except for health and info, other endpoints are hidden. All endpoints can be activated by simply adding a configuration to the configuration file.
# Activate all actor endpoints
management.endpoints.web.exposure.include=*
Restart the application and refresh localhost: 8080 / actor to find that all endpoints have been activated. If you only want to activate individual endpoints, change the configuration, such as activating only metrics and health endpoints.
management.endpoints.web.exposure.include=metrics,health
6, Spring Boot configuration management
- Supported configuration formats
Spring Boot supports. yml or. yaml files in addition to. properties configuration files.
**Yet Anther Markup Language (. yml/.yaml) * * is a subset of JSON. The format is as follows
info:
  app-name: spring-boot-demo
  author: heling
  email: xxx@email
management:
  endpoint:
    health:
      show-details: always
  endpoints:
    web:
      exposure:
        include: metrics,health
server:
  port: 8080
spring:
  application:
    name: spring-boot-demo
It should be noted that the space after must not be missing. In addition, there is a strict indentation before each line.
In actual projects, the configuration file in. yml format is more recommended because it is more readable and more popular in the industry, and it can ensure the order of configuration reading.
-
Common methods of configuration management
-
configuration file
-
environment variable
For example, when changing always to ${home_env}
info:
  app-name: spring-boot-demo
  author: heling
  email: xxx@email
management:
  endpoint:
    health:
      show-details: ${SOME_ENV}
  endpoints:
    web:
      exposure:
        include: metrics,health
server:
  port: 8080
spring:
  application:
    name: spring-boot-demo
Then specify the environment variable when the application starts
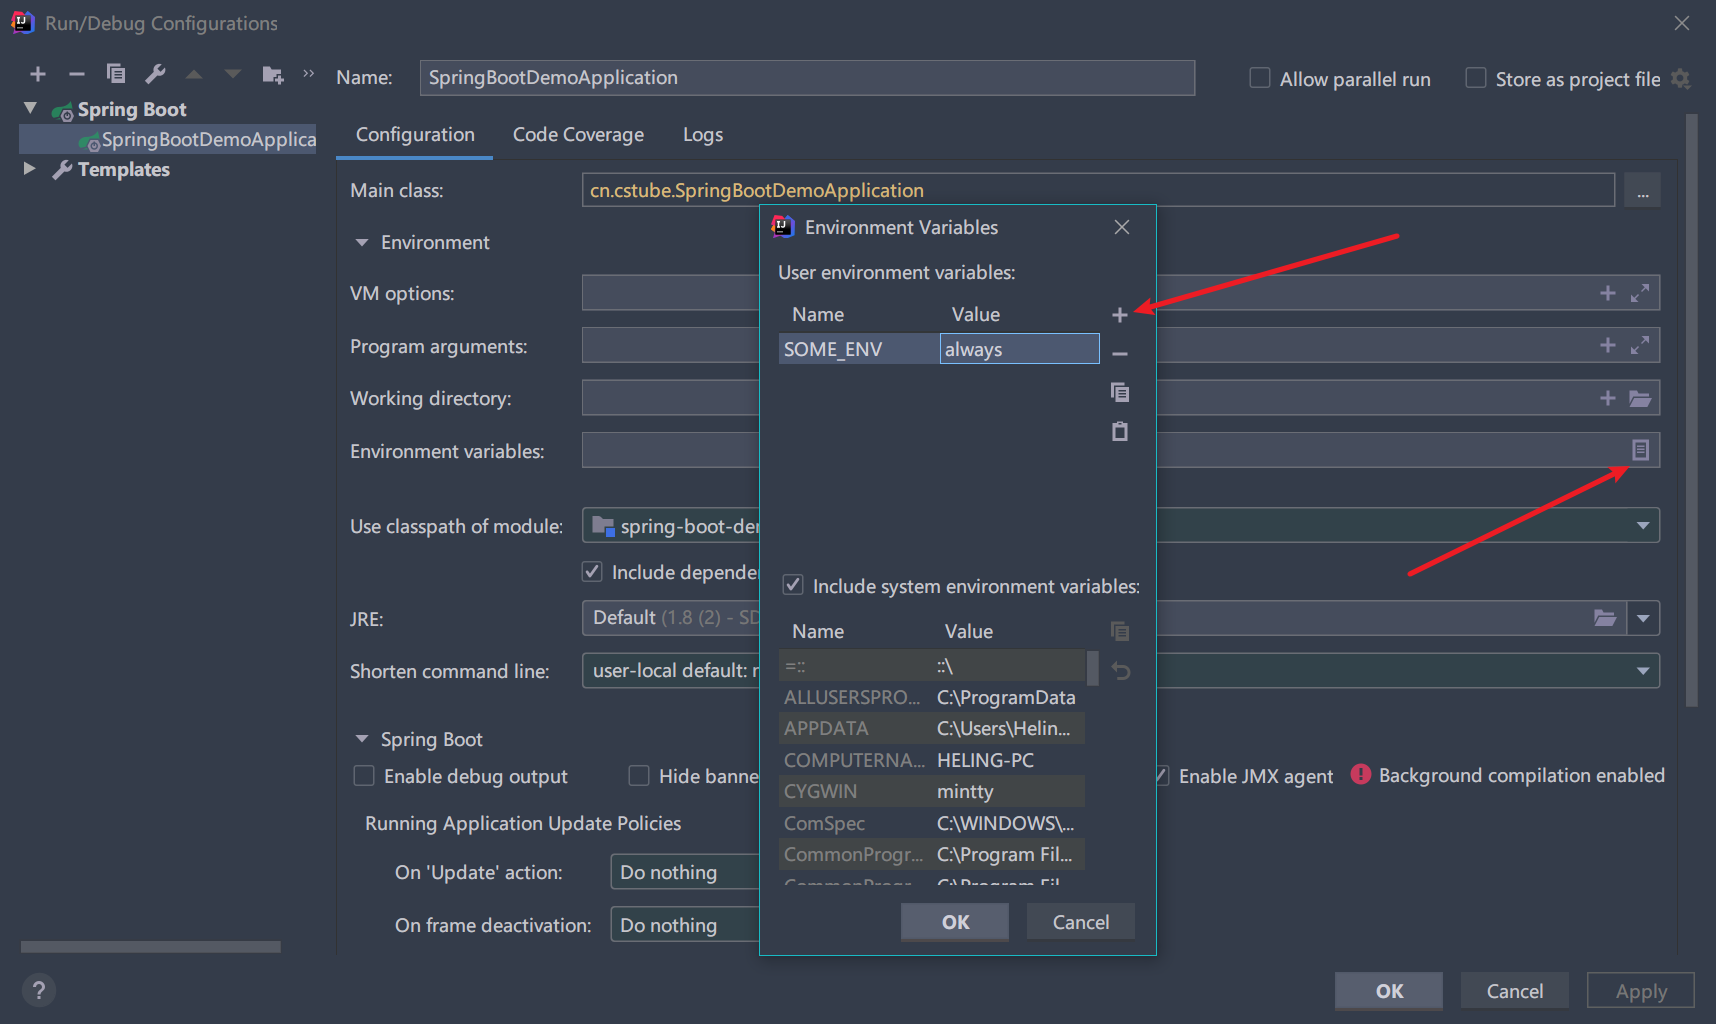
When you start the application, you can still show the details. However, when you rebuild the application, an error will be reported because the unit test cannot get the configuration in the idea. At this time, you can delete the test class or skip the unit test using mvn clean install -DskipTests. After building the application, use java -jar spring-boot-demo-0.0.1-SNAPSHOT.jar --SOME_ENV=always start the application.
-
External profile
Put the Jar package and the configuration file in the same directory, and then use the command to start the application. Spring Boot will read the configuration in the configuration file first, that is, the priority of the external configuration file is higher than that of the Jar package.
-
Command line parameters
For example, I want the Tomcat running port of the application to be 8081, but I don't want to write it in the configuration file. Just fill in -- server.port=8081 in the running configuration.
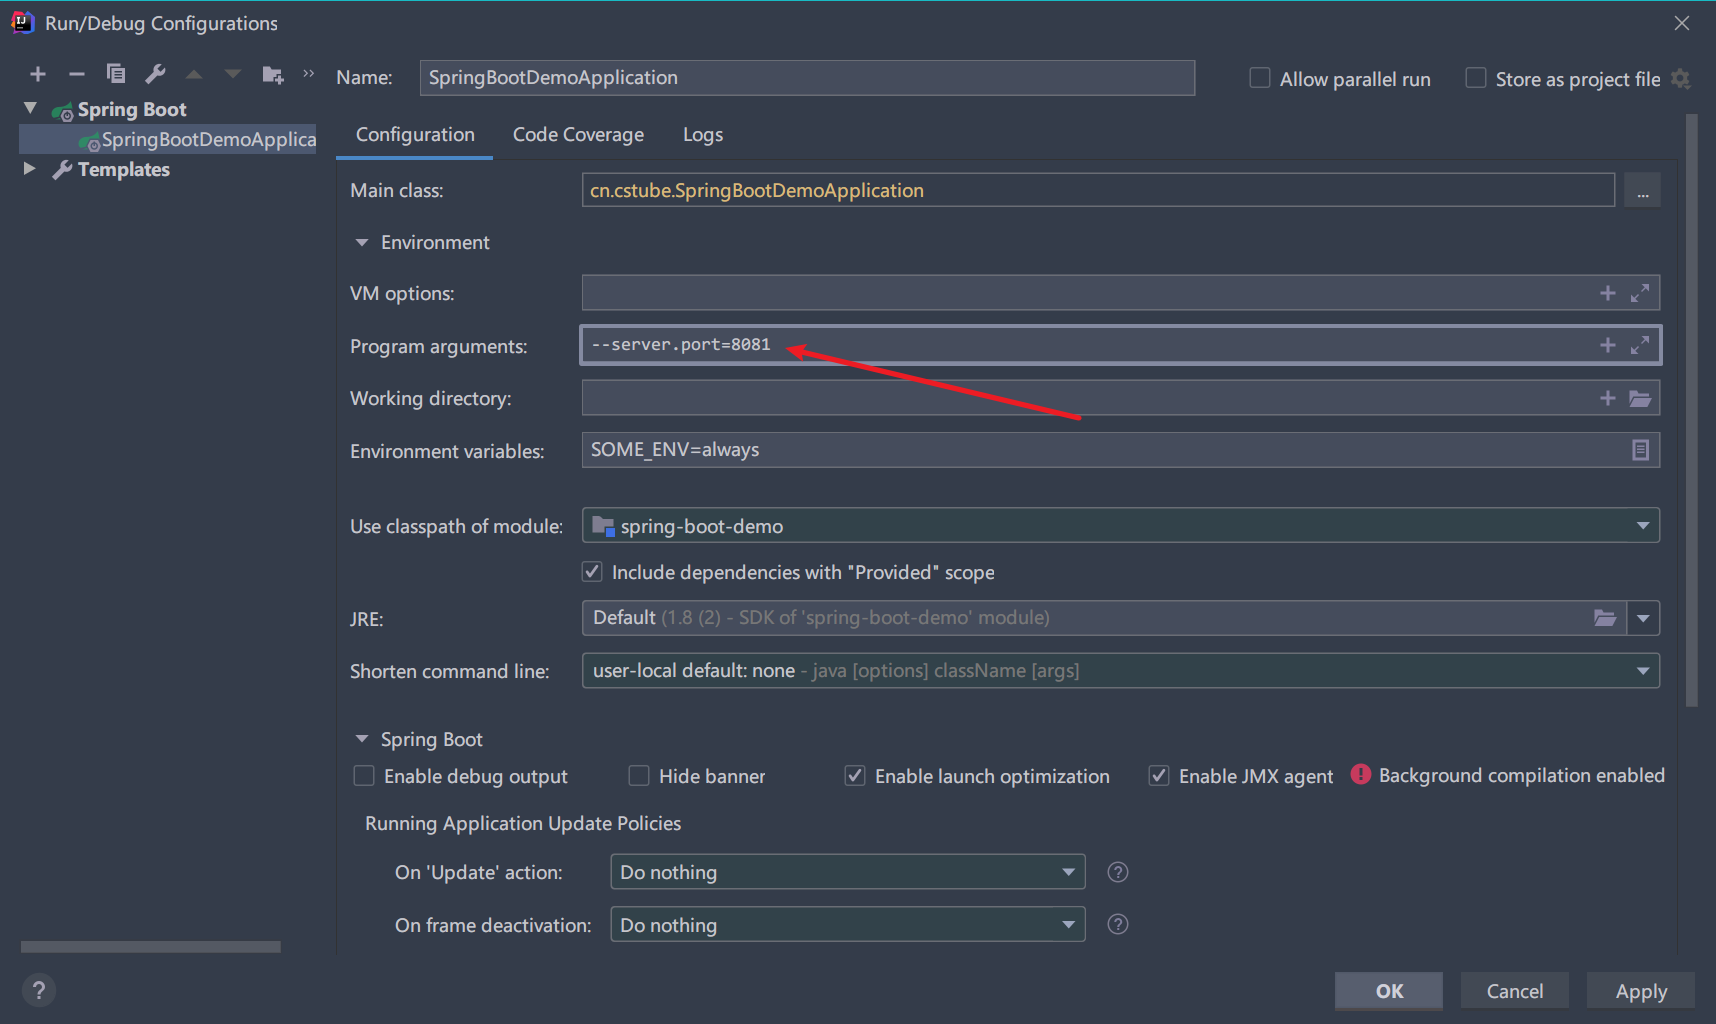
If you use the command to start the application, use java -jar spring-boot-demo-0.0.1-SNAPSHOT.jar -- server.port=8081 to start it.
-
7, Profile
- How to implement different configurations in different environments
In actual projects, we often need to use different configurations in different environments. For example, Tomcat in the development environment does not need performance tuning, but Tomcat in the production environment often needs to set some performance tuning parameters, such as maximum connections, maximum limits, etc. Profile can be used at this time.
- How do you use it?
If the application is configured in yml format, use hyphen in the configuration file to divide the configuration file into several segments,
# Configuration properties common to all environments
info:
  app-name: spring-boot-demo
  author: heling
  email: xxx@email
management:
  endpoint:
    health:
      show-details: ${SOME_ENV}
  endpoints:
    web:
      exposure:
        include: metrics,health
spring:
  application:
    name: spring-boot-demo
---
spring:
  config:
    activate:
      on-profile: dev
---
# The special attribute of profile=y, that is, the special attribute in a certain environment
# production environment
spring:
  config:
    activate:
      on-profile: prod

server:
  tomcat:
    threads:
      max: 300
    max-connections: 1000
If the application is started with dev, it will use segments 1 and 2. If it is started with prod, it will use segments 1 and 3. For example, start with prod

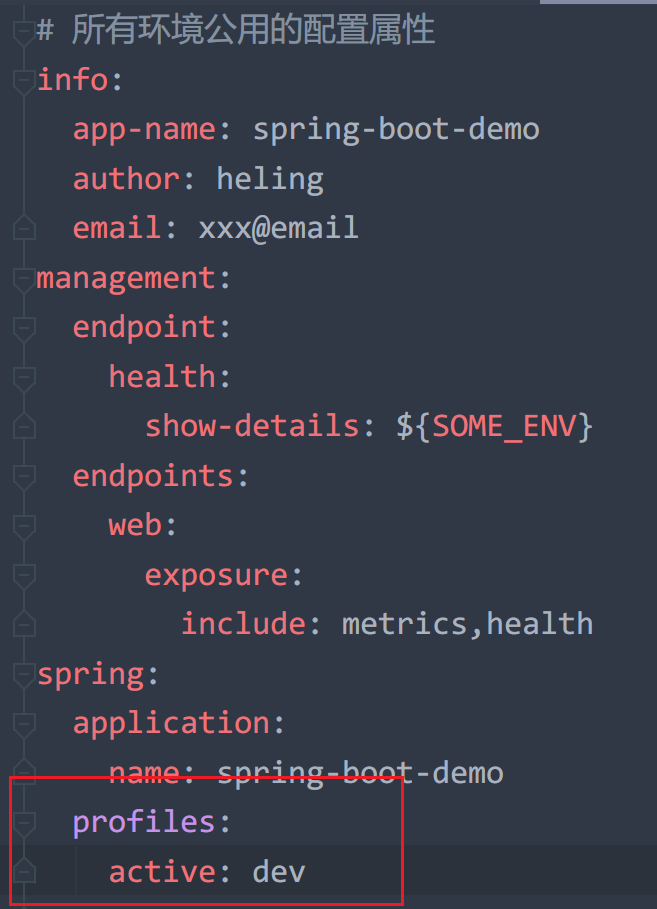
If you want to specify the boot environment in the configuration file, add the configuration
