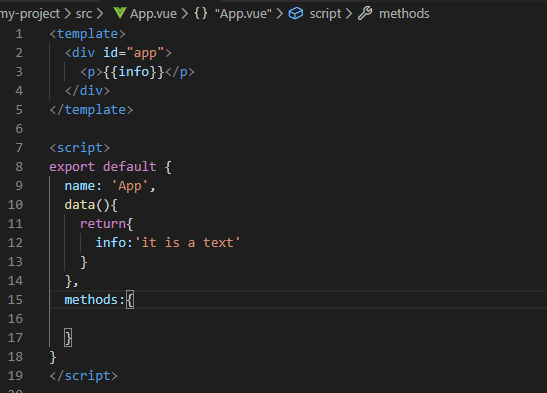
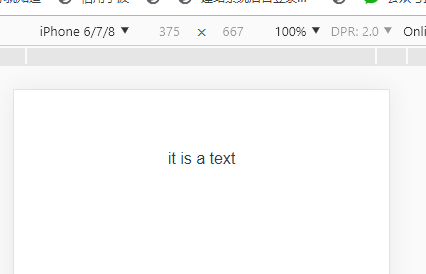
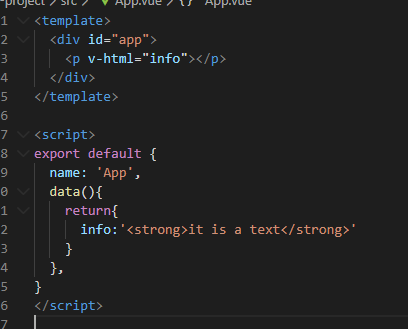
Use the v-html instruction to output HTML code:

The value in the HTML attribute should use the v-bind directive.
The following example judges the value of use. If it is true, use the style of class1 class, otherwise do not use the class:
<template>
  <div id="app">
    <label for="addBg">Change color</label>
    <input type="checkbox" id="addBg" v-model="use">
    <p v-bind:class="{'myClass':use}">This is a piece of text</p>
  </div>
</template>

<script>
export default {
  name: 'App',
  data(){
    return{
      use:false
    }
  },
}
</script>

<style scoped>
  .myClass{
    background:pink;
    color:lightblue;
  }
</style>

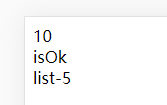
Vue.js provides full JavaScript expression support
<template>
  <div id="app">
    {{5+5}}<br/>
    {{ok?'isOk':'isNoOk'}}
    <div v-bind:id="'list-'+id">list-{{id}}</div>
  </div>
</template>

<script>
export default {
  name: 'App',
  data(){
    return{
      ok:true,
      id:5
    }
  },
}
</script>

<style scoped>

</style>
An instruction is a special attribute with a v-prefix.
Directives are used to apply certain behaviors to the DOM when the value of an expression changes.
Here, the v-if instruction determines whether to insert the p element based on the value of the expression seen (true or false). Here is an example:
<template>
  <div id="app">
    <p v-if="show">Will I show it?</p>
  </div>
</template>

<script>
export default {
  name: 'App',
  data(){
    return{
      show:true
    }
  },
}
</script>

<style scoped>

</style>

The parameter is indicated by a colon after the instruction. For example, the v-bind instruction is used to update HTML attributes in response:
<template>
  <div id="app">
    <a v-bind:href="url">this is a link</a>
  </div>
</template>

<script>
export default {
  name: 'App',
  data(){
    return{
      url:'http://www.baidu.com'
    }
  },
}
</script>

<style scoped>

</style>

Another example is the v-on instruction, which listens for DOM events:
<a v-on:click="doSomething">
A modifier is a special suffix specified with a half period. Used to indicate that an instruction should be bound in a special way.
For example, the. prevent modifier tells the v-on instruction to call event.preventDefault() on a triggered event:
<form v-on:submit.prevent="onSubmit"></form>
In the input input box, we can use the v-model instruction to implement bidirectional data binding:
<template>
  <div id="app">
    <input type="text" v-model="info">
    <p>{{info}}</p>
  </div>
</template>

<script>
export default {
  name: 'App',
  data(){
    return{
      info:'hello,cyy'
    }
  },
}
</script>

<style scoped>

</style>

The v-model instruction is used to create a two-way data binding on the input, select, textarea, checkbox, radio and other form control elements, and automatically update the values of the bound elements according to the values on the form.
Button events we can use v-on to listen for events and respond to user input.
The following example reverses the string after the user clicks the button:
<template>
  <div id="app">
    <p>{{info}}</p>
    <button v-on:click="textReverse">reverse text</button>
  </div>
</template>

<script>
export default {
  name: 'App',
  data(){
    return{
      info:'this is cyy test'
    }
  },
  methods:{
    textReverse(){
      this.info=this.info.split('').reverse().join('');
    }
  }
}
</script>

<style scoped>

</style>

Vue.js allows you to customize filters, which are used for some common text formatting. Indicated by "pipe character", the format is as follows:
<!-- In two braces -->
{{ message | capitalize }}

<!-- stay v-bind In command -->
<div v-bind:id="rawId | formatId"></div>
The filter function takes the value of the expression as the first argument.
The following example capitalizes the first letter of the input string:
<template>
  <div id="app">
    <p>{{info}}</p>
    <p>{{info|capitalize}}</p>
  </div>
</template>

<script>
export default {
  name: 'App',
  data(){
    return{
      info:'this is cyy test'
    }
  },
  filters:{
    capitalize(val){
      if(!val) return;
      val=val.toString();//Conversion string
      return val.charAt(0).toUpperCase()+val.slice(1);
    }
  }
}
</script>

<style scoped>

</style>
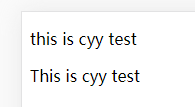
The filter can be connected in series:
{{ message | filterA | filterB }}
The filter is a JavaScript function, so you can accept parameters:
{{ message | filterA('arg1', arg2) }}
Here, message is the first parameter, the string 'arg1' will be passed to the filter as the second parameter, and the value of the arg2 expression will be evaluated and then passed to the filter as the third parameter.
Vue.js provides special abbreviations for two of the most commonly used instructions:
<!-- Complete grammar -->
<a v-bind:href="url"></a>
<!-- Abbreviation -->
<a :href="url"></a>
<!-- Complete grammar -->
<a v-on:click="doSomething"></a>
<!-- Abbreviation -->
<a @click="doSomething"></a>
When we add a new attribute to an observed object such as props or data, we cannot directly add it. We must use the Vue.set method.
The Vue.set method is used to add properties to an object. If the object to add the attribute is reactive, this method can ensure that the attribute is also reactive after it is created, and trigger the view update
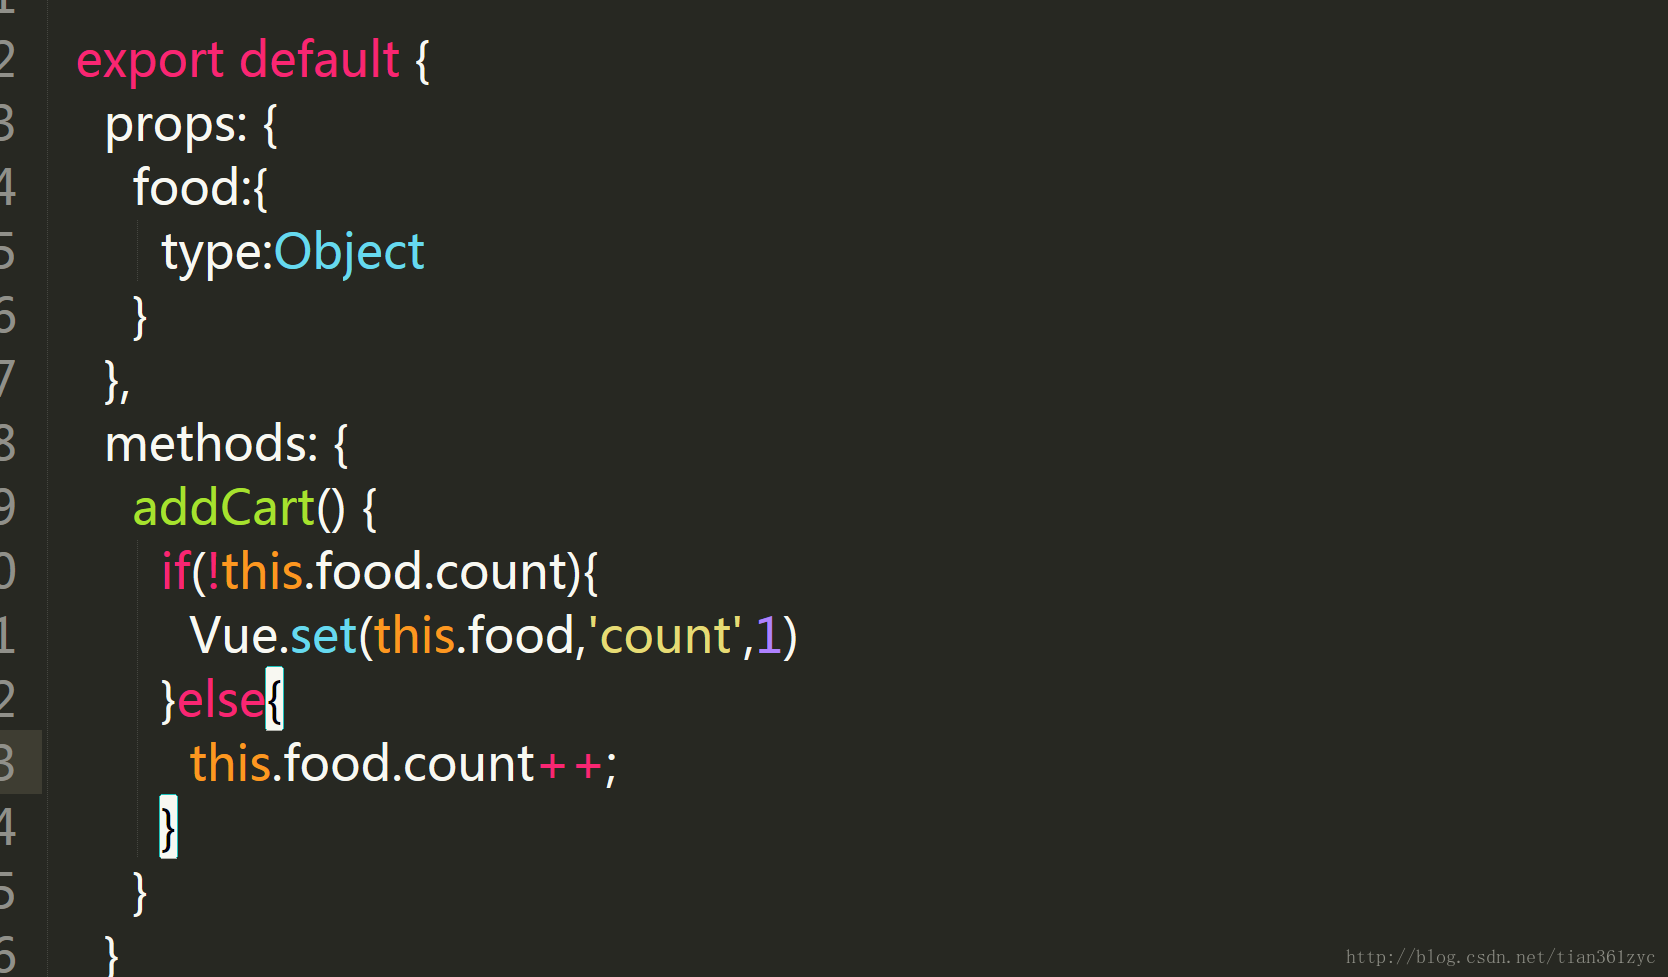
In this case, the food object does not have the count attribute. To add the count attribute to it, we must use the Vue.set method instead of writing it as this.food.count = 1