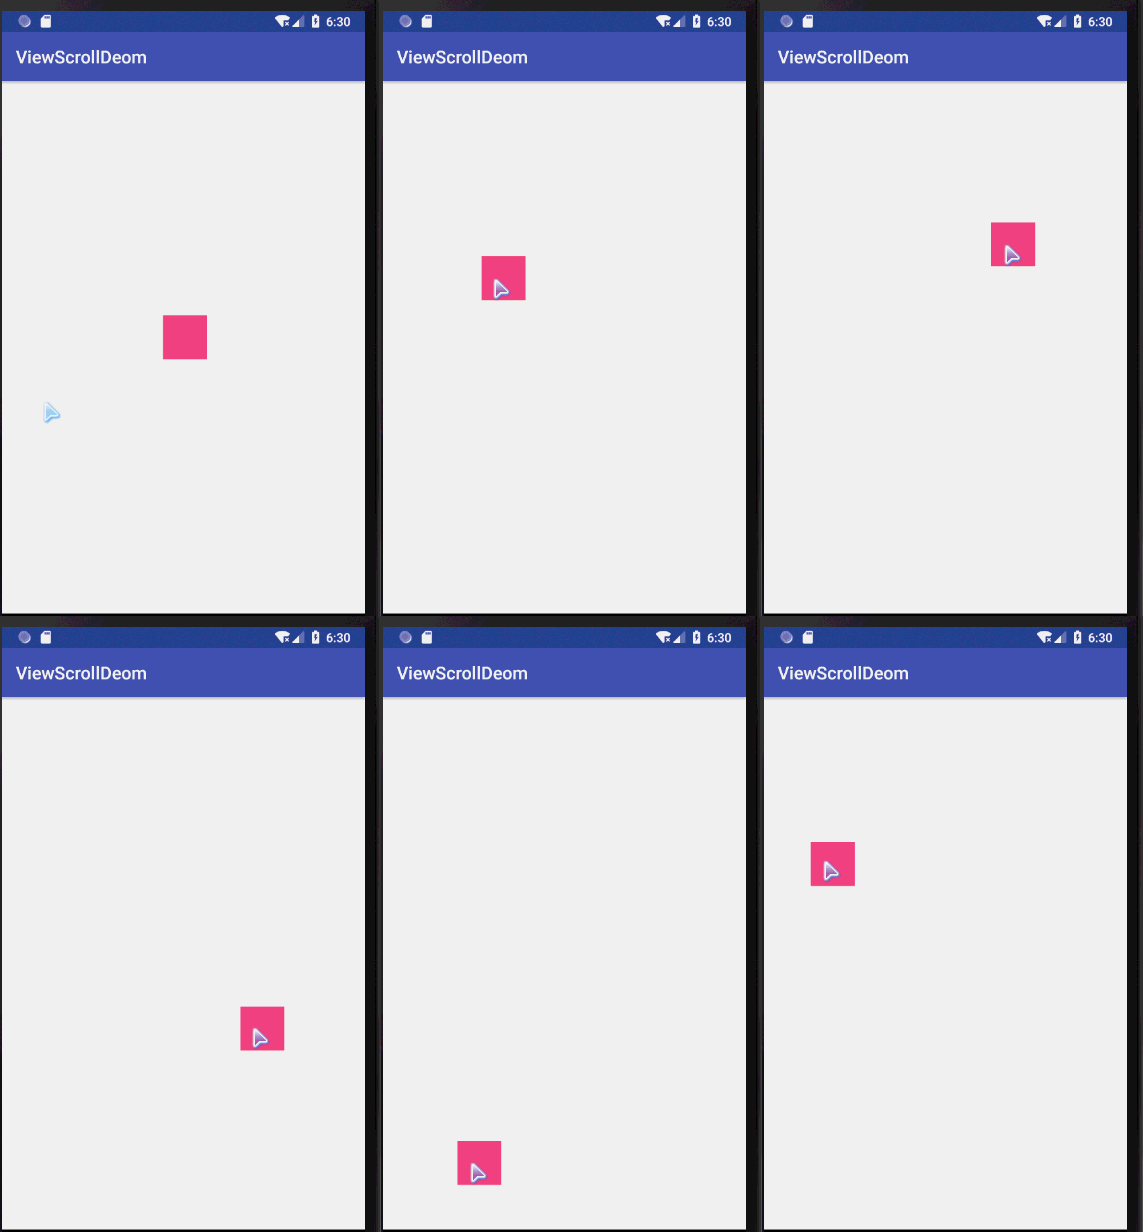
Method of realizing view sliding:
I. layout Method
When the View is drawn, the system calls layout (int, int, int r, int b) method to determine the specific location of the View. Since this is the case, we can also control the position of the View by calling layout(int l, int t, int r, int b) `method to modify the four attributes of left, top, right, and bottom.
First, we write a custom class inheritance view to override the onToucnEvent() method.
public class LayoutView extends View {

    private int lastX,lastY;

    public LayoutView(Context context, AttributeSet attrs) {
        super(context, attrs);
    }

    public LayoutView(Context context) {
        super(context);
    }

    @Override
    public boolean onTouchEvent(MotionEvent event) {
        int x = (int) event.getX();
        int y = (int) event.getY();

        switch (event.getAction()) {
            case MotionEvent.ACTION_DOWN:
                // Recording touch point coordinates
                lastX = x;
                lastY = y;
                break;
            case MotionEvent.ACTION_MOVE:
                // Calculating offset
                int offsetX = x - lastX;
                int offsetY = y - lastY;
                layout(getLeft() + offsetX, getTop() + offsetY, getRight() + offsetX, getBottom() + offsetY);
                break;
        }
        return true;
    }
}
Then LayouView is used in the layout, and the final effect is as follows:

OffetLeft AndRight and OffetTopAndBottom
These two methods are the encapsulation of the system to move the api up and down. After calculating the offset, only two methods need to be invoked to complete the rearrangement.
case MotionEvent.ACTION_MOVE:

   int offsetX = x - lastX;
   int offsetY = y - lastY;

   //Migration of left and right at the same time
   offsetLeftAndRight(offsetX);

   //Migration of top and bottom at the same time
   offsetTopAndBottom(offsetY);

break;
The offsetX here is the same as offsetY's method of calculation as the first one, so there's not much to explain here.
III. Layout Params
By changing the Layout Params layout parameters of the View, you can move the position of the View, where you usually modify the Margin attribute of the View. The code is as follows:
 private int lastX,lastY;

    ViewGroup.MarginLayoutParams params = (ViewGroup.MarginLayoutParams) getLayoutParams();

    @Override
    public boolean onTouchEvent(MotionEvent event) {
        int x = (int) event.getX();
        int y = (int) event.getY();

        switch (event.getAction()) {
            case MotionEvent.ACTION_DOWN:
                lastX = x;
                lastY = y;
                break;
            case MotionEvent.ACTION_MOVE:
                int offsetX = x - lastX;
                int offsetY = y - lastY;
                params.leftMargin = getLeft() + offsetX;
                params.topMargin = getTop() + offsetY;
                break;
        }

        return true;
}
ScrollTo and ScrollBy
The above method is to move the View itself, while the fourth method is to move the content of the View. If it is used in the View Group, it is to move all the sub-Views in the View Group.
Scroll To (x,y): Move to (x,y) this coordinate point
scrlollBy(dx,dy): The increment of movement is dx, dy.
case MotionEvent.ACTION_MOVE:

    int offsetX = x - lastX;
    int offsetY = y - lastY;

//The scroll method moves the parent layout of the View, so the child view moves relative to the parent layout, which is equivalent to the parent layout moving backwards.
    ((View)getParent()).scrollBy(-offsetX,-offsetY);

    break;
Scroller
Scroll itself can't slide View, it needs to cooperate with View's computeScroll method to use it.
//(1) Create Scroller classes
Scroller scroller =new Scroller(mContext);

//(2) Rewrite the computeScroll method
@Override
public void computeScroll(){
   // Judging whether Scroller sliding is completed
  if(mSroller.computeScrollOffset()) {

      scrollTo(mScroller.getCurrX().mScroller.getCurrY());
  // By redrawing, the system calls onDraw, and computeScroll is called in onDraw, so that it keeps looping until the Scroller completes execution.
      postInvalidate();
  }
}

 //(3) Call the startScroll method of the Scroller class to start the scrolling process
private void smoothScrollTo(int destX,int destY) {
    int scrollX=getScrollX();
    int delta = destX - scrollX;

     mSroller.startScroll(scrollX,0,delta,0,1000);
     invalidate();// This method must be called to notify View redrawing so that the computeScroll method is called.
}
The next step is to simulate the sliding process and rewrite the onTouchEvent method. The code is as follows:
    @Override
    public boolean onTouchEvent(MotionEvent event) {
        int x = (int) event.getX();
        int y = (int) event.getY();
        switch (event.getAction()){
            case MotionEvent.ACTION_DOWN:
                lastX = x;
                lastY = y;
                break;
            case MotionEvent.ACTION_UP:
                int offX = x - lastX;
                int offY = y -lastY;
                smoothScrollBy(-offX,-offY);
                break;
        }
        return true;
    }
Six, animation
The use of animation to realize the sliding of View is mainly achieved by changing the translationX and translationY parameters of View. The advantage of using animation is that the sliding effect is smooth.
1. Using Intermediate Animation
Define an animated xml file (R.anim.anim) and call it in the code, but fill this way is only the image of the mobile view, the real view does not move.
<?xml version="1.0" encoding="utf-8"?>
<set
    xmlns:android="http://schemas.android.com/apk/res/android"
    android:fillAfter="true">
    <translate
        android:duration="100"
        android:fromXDelta="0"
        android:fromYDelta="0"
        android:interpolator="@android:anim/linear_interpolator"
        android:toXDelta="100"
        android:toYDelta="100"/>
</set>
final Animation anim = AnimationUtils.loadAnimation(this, R.anim.anim);
targetView.startAnimation(anim);
2. Attribute animation
Property animation is very simple, just one sentence of code:
ObjectAnimator.ofFloat(targetView, "translationX", 0, 100).setDuration(100).start();