Create a LWC
- In the project you prepared earlier, right-click the lwc folder and select FDX: Create Lightning Web Component
- Enter file name bikeCard
- Save location under lwc folder
Three files, html, js, and xml, are automatically generated after successful creation (css is not actively created by default)
- Put the following code in the appropriate file
bikeCard.html
<template>
    <div>
        <div>Name: {name}</div>
        <div>Description: {description}</div>
        <lightning-badge label={material}></lightning-badge>
        <lightning-badge label={category}></lightning-badge>
        <div>Price: {price}</div>
        <div><img src={pictureUrl}/></div>
    </div>
</template>
bikeCard.js
import { LightningElement } from 'lwc';
export default class BikeCard extends LightningElement {
   name = 'Electra X4';
   description = 'A sweet bike built for comfort.';
   category = 'Mountain';
   material = 'Steel';
   price = '$2,700';
   pictureUrl = 'https://s3-us-west-1.amazonaws.com/sfdc-demo/ebikes/electrax4.jpg';
 }
bikeCard.js-meta.xml
<?xml version="1.0" encoding="UTF-8"?>
<LightningComponentBundle xmlns="http://soap.sforce.com/2006/04/metadata">
    <!-- The apiVersion may need to be increased for the current release -->
    <apiVersion>52.0</apiVersion>
    <isExposed>true</isExposed>
    <masterLabel>Product Card</masterLabel>
    <targets>
        <target>lightning__AppPage</target>
        <target>lightning__RecordPage</target>
        <target>lightning__HomePage</target>
    </targets>
</LightningComponentBundle>
- Save the file.
Component Profile
The html, css and js files are familiar to everyone. When you create a new lwc, an xml file will be generated automatically. This xml file is the configuration file. Take the following code as an example to explain the meaning of each tag in detail.
<?xml version="1.0" encoding="UTF-8" ?>
<LightningComponentBundle xmlns="http://soap.sforce.com/2006/04/metadata">
    <apiVersion>52.0</apiVersion>
    <isExposed>true</isExposed>
    <masterLabel>Product Card</masterLabel>
    <targets>
        <target>lightning__AppPage</target>
        <target>lightning__RecordPage</target>
        <target>lightning__HomePage</target>
        <target>lightningCommunity__Page</target>
    </targets>
    <targetConfigs>
        <targetConfig targets="lightning__RecordPage">
            <objects>
                <object>Product__c</object>
            </objects>
        </targetConfig>
    </targetConfigs>
</LightningComponentBundle>
< master Label >: The name that appears when we set up the app builder, if not, defaults to the name of the original component.
< targets >: Where can this lwc be used? There are many places we can refer to File See all the places you can use.
< isExposed >: As the name implies, this lwc is exposed based on what is in the label.
< targetConfigs >: Configure some content for separate use for different pages
There are many more tags https://developer.salesforce.com/docs/component-library/documentation/en/lwc/lwc.reference_ Configuration_ Detailed descriptions are available in the tags documentation.
Deploy LWC
- Authenticate with your Dev Hub org using SFDX: Authorize an Org from the Command Palette in VS Code. When prompted, accept the Project Default and press Enter to accept the default alias. If prompted to allow access, click Allow. - - Connect environment
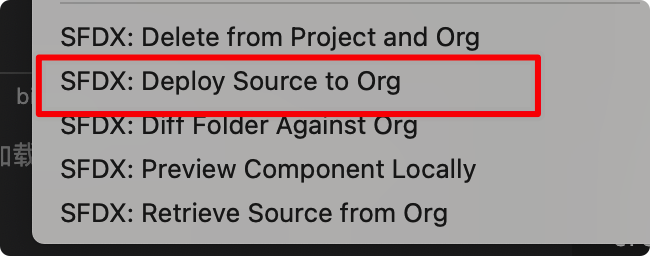
- Deploy the project files using SFDX: Deploy this Source to Org from the Command Palette in VS Code. ----- Right-click the lwc folder, select Deploy

Create a new page for the component
- Find Lightning App Builder in setup and select
- Create a new page
- Choose App Page, next all the way down, and choose the layout you want
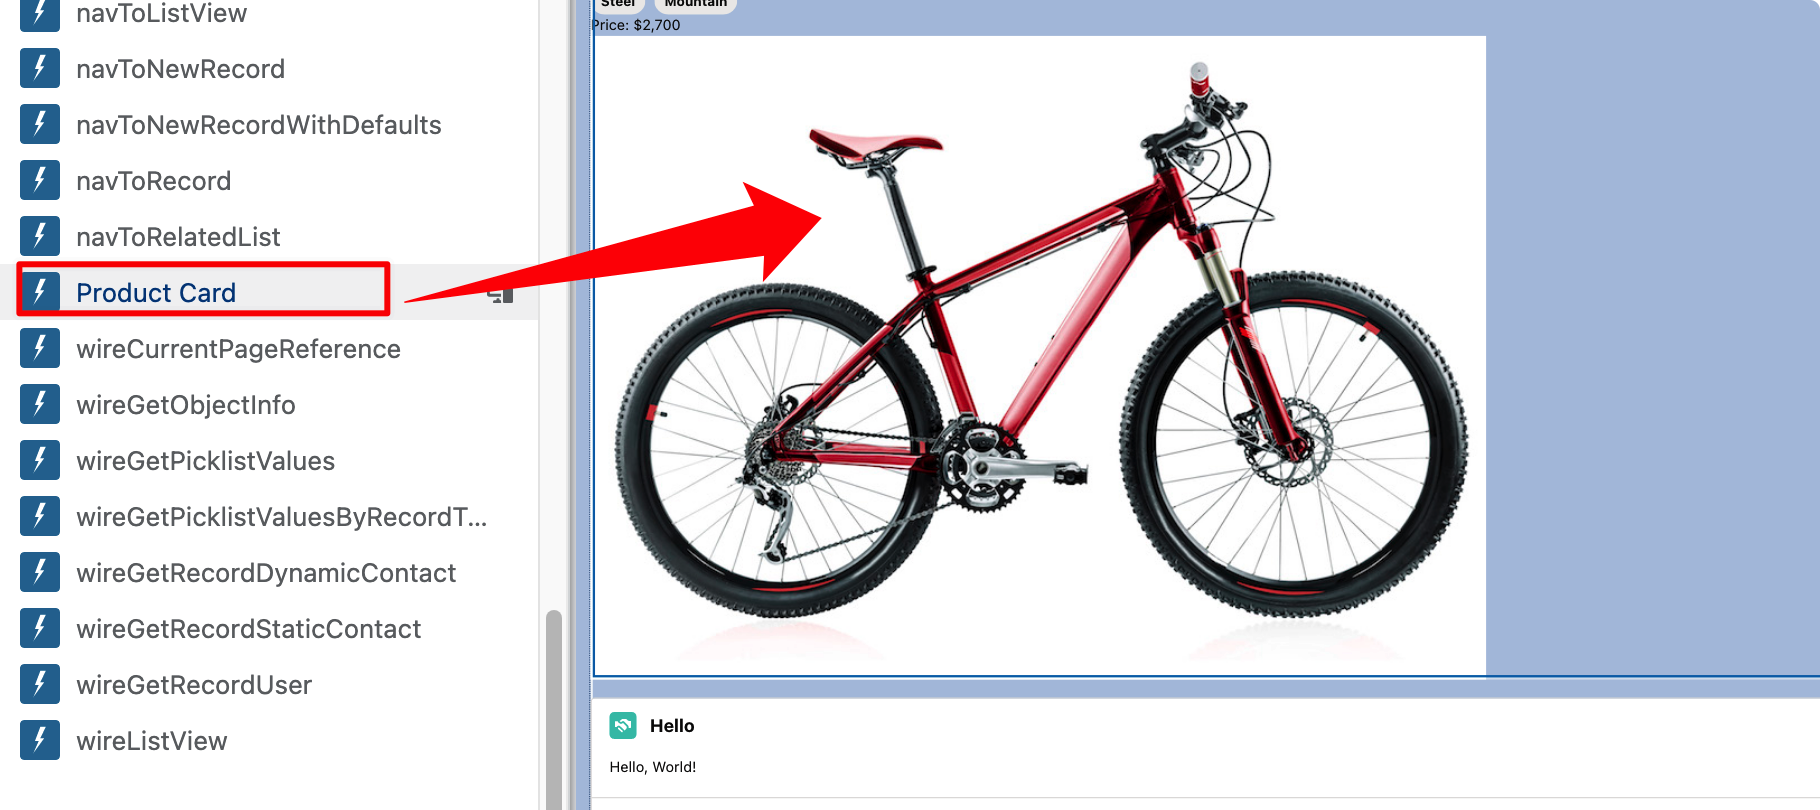
- In Lightning App Builder, scroll down the list of Lightning components on the left until you see the Product Card component.
- Drag the components onto the page to see our components.

As for how to save the activation page and display it on the page you want, this is admin's content.