1. Introduction of the experimental environment
- System: CentOS 5.5
- JDK : java-1.6.0-openjdk.x86_64
- Mysql : mysql-5.0.95-5.el5_9,mysql-server-5.0.95-5.el5_9
- PHP : php-cli-5.1.6-45.el5_11,php-5.1.6-45.el5_11,php-pdo-5.1.6-45.el5_11,
php-common-5.1.6-45.el5_11,php-mysql-5.1.6-45.el5_11,
php-ldap-5.1.6-45.el5_11 - Apache : httpd-2.2.3-92.el5.centos
- Sysstat : sysstat-7.0.2-13.el5
- Gnuplot: gnuplot-4.0.0-14.el5
- RUBiS : RUBiS-1.4.3.tgz https://git.oschina.net/LjxOS/RUBiS
- Deployment of apache server B ip: 192.168.0.2
Deploy mysql database A ip: 192.168.0.1
Deploy client Client client Client client Client client Client client Client client Client client Client client Client client Client client Client client Client client Client client Client client Client client Client client Client client Client - RUBiS location: / home/RUBiS
II. Deployment process
CentOS yum source servers are generally abroad, downloading speed is very slow, need to install mirror source address to change https://my.oschina.net/LinJunXin/blog/792522
- mysql database-server A
a. Install mysql database
yum install mysql-server-5.0.95-5.el5_9 -y
yum install mysql.i386 0:5.0.95-5.el5_9 -y
b. Install the monitoring software sysstat
yum install sysstat -y
Configure mysql user remote a c cess rights
#View mysql status
service mysqld status
#service mysql start
service mysqld start
#The first time you install mysql, you need to set a password
#PLEASE REMEMBER TO SET A PASSWORD FOR THE MySQL root USER !
#To do so, start the server, then issue the following commands:
#/usr/bin/mysqladmin -u root password 'new-password'
/usr/bin/mysqladmin -u root password 'new-password'
mysql -u root -p
Create new user rubis and enable it to connect to mysql server remotely or locally:
Command: CREATE USER'username'@'host' IDENTIFIED BY'your_password';
>> CREATE USER 'rubis'@'%' IDENTIFIED BY 'your_password';
>> CREATE USER 'rubis'@'localhost' IDENTIFIED BY 'your_password';

>> GRANT ALL PRIVILEGES ON *.* TO 'rubis'@'%';
>> GRANT ALL PRIVILEGES ON *.* TO 'rubis'@'localhost';
d. Initialize the rubis database
cd /home/RUBiS/database
mysql -urubis -pYour_password < rubis.sql
mysql -urubis -pYour_password rubis < regions.sql
mysql -urubis -pYour_password rubis < categories.sql
Apache Server B
Install apache, php, sysstat modules
#Install apache
yum install httpd-2.2.3-92.el5.centos -y

#Install php, php-mysql
yum install php-5.1.6-45.el5_11 -y
yum install php-mysql-5.1.6-45.el5_11 -y

#Install sysstat
yum install sysstat -y
b. Place RUBiS PHP code in apache server by establishing connections
ln -s /home/RUBiS/PHP /var/www/html/PHP
c. Modify the obsolete commands in the. php file in the php directory, mainly: $HTTP_POST_VARS to $_POST, $HTTP_GET_VARS to $_GET
cd /home/RUBiS/PHP/

grep -ci "HTTP_POST_VARS" *.php
grep -ci "HTTP_GET_VARS" *.php
sed -i "s/HTTP_POST_VARS/_POST/g" *.php
sed -i "s/HTTP_GET_VARS/_GET/g" *.php
d. Configure database parameters, open the / home/RUBiS/PHP/PHPPrinter.php file, and modify the getDatabaseLink function:
Fill in the three parameters of mysql_pconnect() as apache server ip, MySQL username and password in turn
e. Open apache service, check whether the configuration is successful, close or set up the firewall (in general, centos firewall only opens port 22)
service httpd start
chkconfig httpd on
#Close the firewall or port 80 is inaccessible
service iptables stop
chkconfig iptables off

#apache access rights
setenforce 0
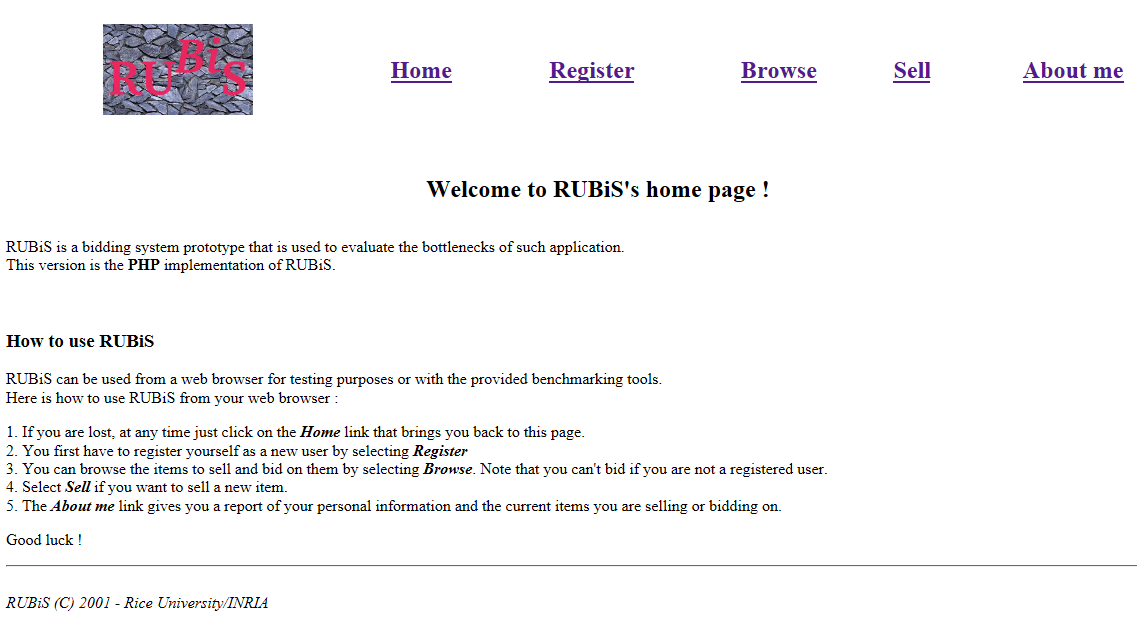
Browser: http://192.168.0.2/PHP/index.html If the following figure appears, the service configuration is successful:

Client Server C
client is mainly responsible for initiating simulation requests, monitoring the data of each node, generating test reports, and initializing the database.
Installation of monitoring and drawing software
yum install sysstat
yum install gnuplot
b. Modify the configuration file, / home/RUBiS/Client/rubis.properties
# HTTP server information
httpd_hostname = 192.168.0.2 #Modification 1: Change IP to PHP Server B
httpd_port = 80

+# C-JDBC server information
cjdbc_hostname = 192.168.0.1 #Modification 1: Change to IP of Database Server A

# Precise which version to use. Valid options are : PHP, Servlets, EJB
httpd_use_version = PHP #Modification 2: Change to PHP version

ejb_server = sci20
ejb_html_path = /ejb_rubis_web
ejb_script_path = /ejb_rubis_web/servlet

servlets_server = sci21
servlets_html_path = /Servlet_HTML
servlets_script_path = /servlet

php_html_path = /PHP
php_script_path = /PHP

# Workload: precise which transition table to use
workload_remote_client_nodes =
workload_remote_client_command = /usr/local/java/jdk1.3.1/bin/java -classpath /home/RUBiS/ edu.rice.rubis.client.ClientEmulator
#Modification 3: Modify the jdk path
#Modification 4: Modify RUBiS Simulator Path
workload_number_of_clients_per_node = 240

workload_transition_table = /home/RUBiS/workload/transitions.txt #Modification 5: Modify the corresponding path
workload_number_of_columns = 27
workload_number_of_rows = 29
workload_maximum_number_of_transitions = 1000
workload_number_of_items_per_page = 20
workload_use_tpcw_think_time = yes
workload_up_ramp_time_in_ms = 120000
workload_up_ramp_slowdown_factor = 2
workload_session_run_time_in_ms = 900000
workload_down_ramp_time_in_ms = 60000
workload_down_ramp_slowdown_factor = 3


#Database information
database_server = 192.168.0.1 #Modification 6: Change to IP of Database Server A

# Users policy
database_number_of_users = 10000

# Region & Category definition files
database_regions_file = /home/RUBiS/database/ebay_regions.txt #Modification 7: Modify the corresponding path
database_categories_file = /home/RUBiS/database/ebay_simple_categories.txt #Modification 8: Modify the corresponding path

# Items policy
database_number_of_old_items = 10000
database_percentage_of_unique_items = 80
database_percentage_of_items_with_reserve_price = 40
database_percentage_of_buy_now_items = 10
database_max_quantity_for_multiple_items = 10
database_item_description_length = 1024 #Amendment 9: Change to smaller, 1024

# Bids policy
database_max_bids_per_item = 20

# Comments policy
database_max_comments_per_user = 20
database_comment_max_length = 2048


# Monitoring Information
monitoring_debug_level = 0
monitoring_program = /usr/bin/sar
monitoring_options = -n DEV -n SOCK -rubcw
monitoring_sampling_in_seconds = 1
monitoring_rsh = /usr/bin/ssh
monitoring_scp = /usr/bin/scp
monitoring_gnuplot_terminal = jpeg
c. Modify the configuration file, / home/RUBiS/config.mk
##############################
#    Environment variables   #
##############################
JAVA_HOME=/usr/local/java/jdk1.3.1 #Modification 1: Set JAVA_HOME

JAVA  = $(JAVA_HOME)/bin/java
JAVAC = $(JAVA_HOME)/bin/javac
#JAVAC = /usr/bin/jikes
JAVACOPTS =
# +E -deprecation
JAVACC = $(JAVAC) $(JAVACOPTS)
RMIC = $(JAVA_HOME)/bin/rmic
RMIREGISTRY= $(JAVA_HOME)/bin/rmiregistry
CLASSPATH = .:/usr/local/java/jdk1.3.1/jre/lib/rt.jar:$(PWD)#Modification 2: Change to java path
JAVADOC = $(JAVA_HOME)/bin/javadoc
JAR = $(JAVA_HOME)/bin/jar

GENIC = ${JONAS_ROOT}/bin/unix/GenIC

MAKE = gmake
CP = /bin/cp
RM = /bin/rm
MKDIR = /bin/mkdir


# EJB server: supported values are jonas or jboss
EJB_SERVER = jonas

# DB server: supported values are MySQL or PostgreSQL
DB_SERVER = MySQL

%.class: %.java
        ${JAVACC} -classpath ${CLASSPATH} $<
Compiler client
#By this step, you should be able to compile successfully
cd /home/RUBiS
make client
e. Initialization of the database
cd /home/RUBiS
make initDB PARAM='all'
Several points need to be noted:
1) PARAM behind make initDB has five choices: all, generate all data; users, only generate users; items, only generate items; bids, generate bidding; comments, generate annotations.
2) Data can be written to the database if the changes in the PHP code mentioned earlier have been corrected.
3) When configuring rubis.properties, if the value of database_item_description_length is too large. There will be an error in Unable to Open URL http://.... The default value of the file is too large. It is recommended to change it to 1024.
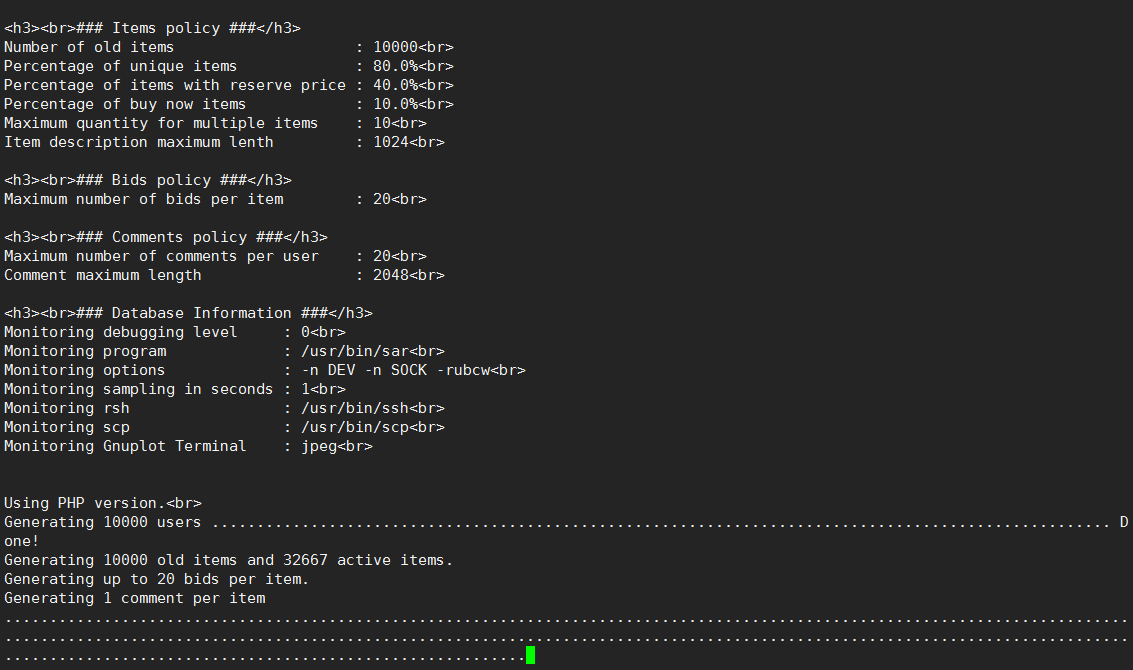
Initialize normal operation as follows:

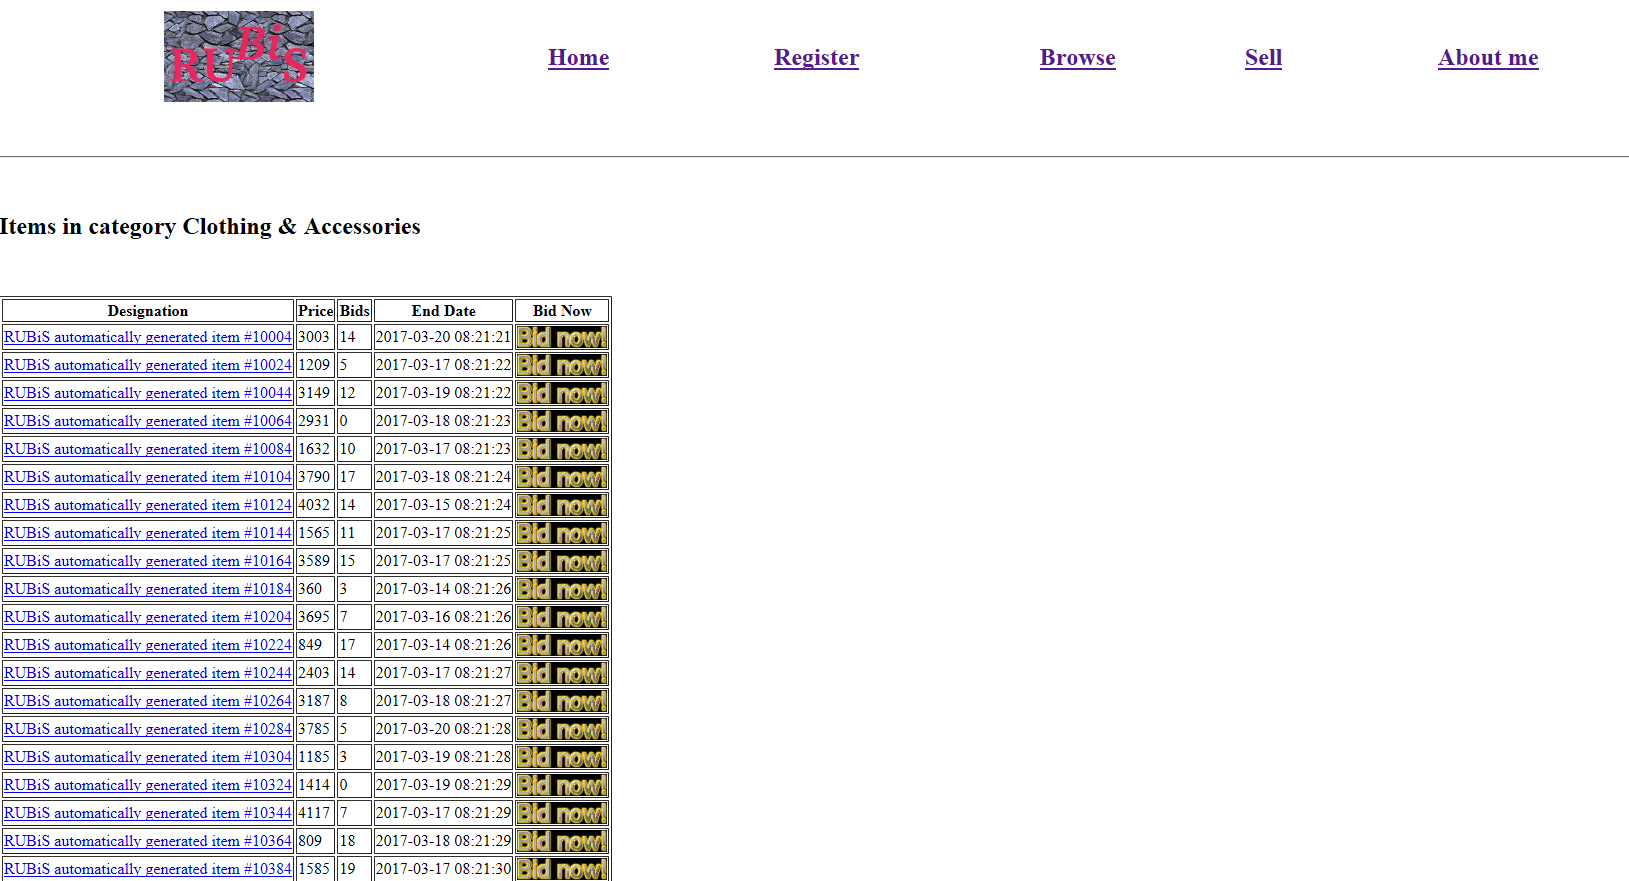
After initialization, the website will display the product information normally.


f. Start the simulator and the generated report will appear in the / home/RUBiS/bench / directory, requiring secret-free login
cd /home/RUBiS
make emulator
