Preface
(this project is based on Vue CLI and layout, but the layout of background system is basically the same.)
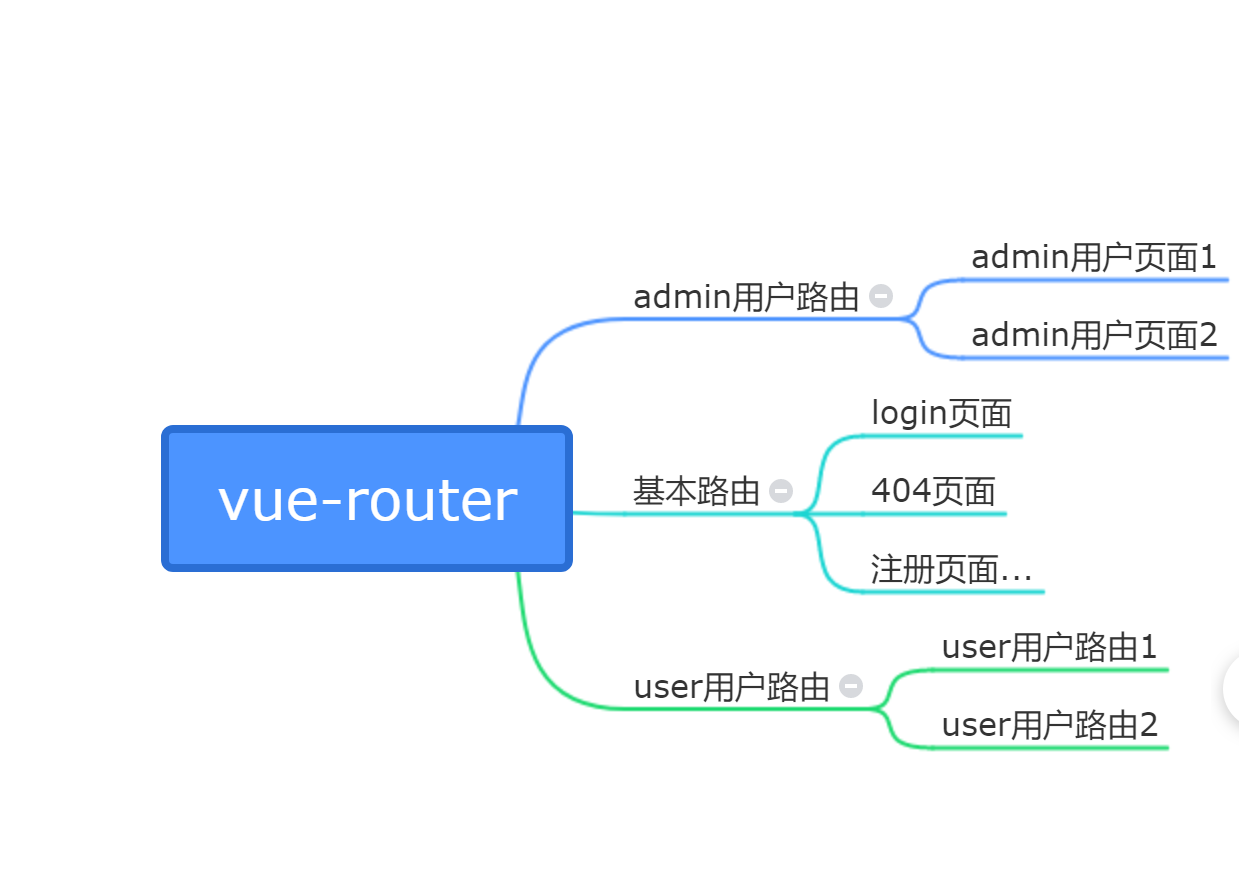
There is a requirement to modify the existing management background to present different menu bars (in fact, routes) according to different users, as shown in the following figure
thinking
1: First define the basic route, and then use router.addRoutes() to dynamically add related routes
2: Store user's routing information to localStorage
3: Reset route using router.matcher
Code
router.js file: define basic route, create initial route and define reset route function
import Vue from 'vue';
import Router from 'vue-router';

Vue.use(Router);

// Define basic route
export let routes = [
  {
    path: '/login',
    name: 'login',

    component: () => import('@/views/Login.vue')
  },
  {
    path: '*',
    name: 'notFound',
    component: () => import('@/views/404.vue')
  }
];

const createRouter = () => {
  return new Router({
    routes: routes
  });
};
//Create routing
let router = createRouter();

//Reset routing
export function resetRouter() {
  const newRouter = createRouter();
  router.matcher = newRouter.matcher; // the relevant part
}
login.vue file: use router.addRoutes() to dynamically add user routes
//Introduce reset routing method
import { resetRouter } from '../router';
export default {
	data(){
		return{

		}
	},
	methods:{
		//User login operation
		login(){
				//Define the user route. The user route here depends on the actual situation. It is encapsulated by the back end for the data itself
				let userRouter = [
				 path: '/',
				        name: 'home',
				        component: () => import('@/views/Home.vue'),
				        redirect: {
				          name: 'sales'
				        },
				        children: [
				        	{
				        		  path: 'sales',
						          name: 'sales',
						          component: () => import('@/views/Sales.vue'),
						          meta: {
						            name: 'Shopping guide management'
						          }
				        	}
					]
				]
			//Add user route to local
			localStorage.setItem('userData', JSON.stringify(userRouter ));
			//You should reset the route before adding it
			resetRouter()
			//Add user route
			this.addRoutes(userRouter)
		}
	},
	logout(){
		//Route should be reset when user exits
		resetRouter()
		//Delete route data
		  localStorage.removeItem('userData');
	}
}
Note: the purpose of storing the user route locally is that when the user opens the web page for the second time, he / she can not log in again. According to the information in localStorage, the user can directly generate the route as follows
1: app.vue
export default {
	data(){
		return{

		}
	},
	methods:{
		initLogin(){
			if (!localStorage.getItem('userData')) {
		        //If not, adjust to login page
		        this.$router.push({ name: 'login' });
		      }else{
		      	//Initialize route if any
		      	this.initRouter(JSON.parse(localStorage.getItem('userData')))
			  }
		},
		initRouter(userData){
			//The code here is the same as the login code in login.vue. The only difference is
			1: userRouter stay login.vue It's returned by the backend. Here it is localStorage Get inside
			2: There is no need to call resetRouter(),Because it's the beginning
		}
	}

}
Here, a user routing permission based on Vue router is basically completed, and the rest is just the display of the page menu bar. There are many ways to do it, but the basic idea is to save the user router (vuex, Vue observable, I recommend the latter, unless there is a lot of shared data, it is enough to use observable), and then go to the for loop Every item is OK. I won't write it here

