RISCV gem5 FS(Full System)
In the Supporting RISC-V Full System Simulation in gem5 newly published by carrv in the year of 21, the configuration of Full System is newly added for gem5, which is helpful to help RISC-V do relevant research on gem5. I've been learning gem5 and riscv recently. I've encountered some problems in the configuration environment. My specific environment is also different from the official one, so record it. This paper mainly describes how to run the whole system simulation of riscv on gem5.
Paper reference address: https://carrv.github.io/2021/papers/CARRV2021_paper_7_Yuen.pdf
Official configuration reference address: https://gem5.googlesource.com/public/gem5-resources/+/refs/heads/develop/src/riscv-fs/
1. Explain
Provides configuration instructions for creating a riscv disk image and the riscv boot loader (BBL)
A gem5 script is included to run riscv Linux full system emulation. The boot loader bbl is also compiled with the Linux kernel and device tree.
The disk image used is based on busybox and UCanLinux . Mainly from here.
Overall directory structure:
riscv-fs/
  |___ gem5/ 						# gem5 source code (cloned here)
  |
  |___ riscv-disk 					# The built disk image will be placed here
  |
  |___ riscv-gnu-toolchain 			# Cross compiled riscv tool chain
  |
  |___ riscv64-sample 				# UCanLinux source code
  |			     |__linux				# linux source code
  |				 |__busybox				# busybox source code
  | 			 |__riscv-pk 			# riscv proxy kernel source code (bbl)
  | 			 |__RootFS 				# Root file system of disk image
  |
  |
  |
  |___ README.md 					# This README file
2. RISCV tool chain installation
Install the required libraries
#	Installation dependency
sudo apt-get install autoconf automake autotools-dev curl python3 libmpc-dev libmpfr-dev libgmp-dev gawk build-essential bison flex texinfo gperf libtool patchutils bc zlib1g-dev libexpat-dev
Clone riscv gnu tool chain source
#	Create folder first
mkdir riscv-fs
cd riscv-fs
git clone https://gitee.com/mirrors/riscv-gnu-toolchain.git
cd riscv-gnu-toolchain
qemu download is slow, so remove it
Refer to the blog: https://blog.csdn.net/yushulx/article/details/108796831
git rm --cached qemu
git submodule update --init --recursive
If you remove qemu, you don't need the following command. An error will be reported, but it doesn't matter. It doesn't affect
git checkout 88b004d4c2a7d4e4f08b17ee32d2
Change the prefix to your directory
./configure --prefix=/opt/riscv
compile
make linux -j$(nproc)
Update the environment variable, add the following code at the end of. bashrc and update
export PATH=$PATH:/opt/riscv/bin/
3. Install gem5
Official reference https://www.gem5.org/getting_started/
#	Return to the riscv FS directory
cd ../
#	Here you can refer to other blogs to download the original code and configure the dependent environment
git clone https://gem5.googlesource.com/public/gem5
compile
cd gem5
scons build/RISCV/gem5.opt -j$(nproc)
4,UCanLinux
Clone UCanLinux source
#	Go back to the riscv FS directory
cd ../
git clone https://github.com/UCanLinux/riscv64-sample
Next, build the bbl and disk image
4.1 Linux kernel
Clone the latest LTS Linux kernel (v5.10):
cd riscv64-sample/
git clone --depth 1 --branch v5.10 https://git.kernel.org/pub/scm/linux/kernel/git/stable/linux.git
Configure and compile the kernel:
cd linux
Copy the kernel configuration (previously cloned) from the riscv64 sample directory
cp ../kernel.config .config
Configure kernel and compile
make ARCH=riscv CROSS_COMPILE=riscv64-unknown-linux-gnu- menuconfig
#You will enter a graphical interface. Just exit and save. Be sure to save!

Save directly and exit.
make ARCH=riscv CROSS_COMPILE=riscv64-unknown-linux-gnu- all -j$(nproc)
result:
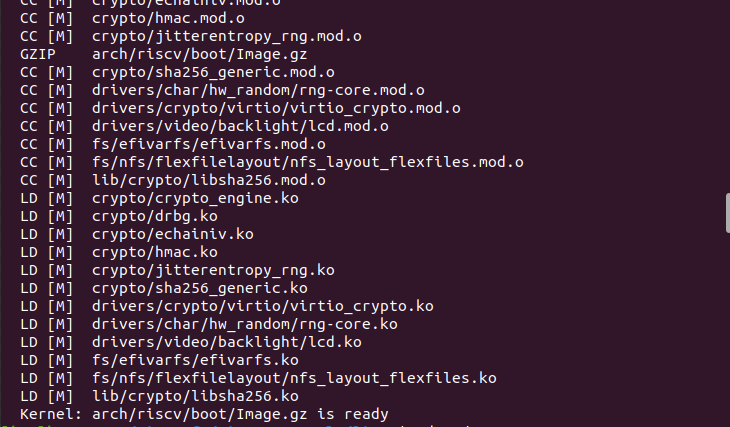
This should generate a vmlinux in the linux directory. Can be in here Download the pre built RISC-V 5.10 linux kernel.
4.2 boot loader (bbl)
To build the boot loader, clone the RISCV proxy kernel (pk) source, which is an application execution environment and also contains the bbl source.
#	Return to the riscv64 sample directory
cd ../
git clone https://github.com/riscv/riscv-pk.git

cd riscv-pk

mkdir build
cd build

apt-get install device-tree-compiler
compile
../configure --host=riscv64-unknown-linux-gnu --with-payload=../../linux/vmlinux --prefix=/opt/riscv/
make -j$(nproc)

chmod 755 bbl
#	optional: strip the bbl binary
riscv64-unknown-linux-gnu-strip bbl
Where make -j$(nproc) results in
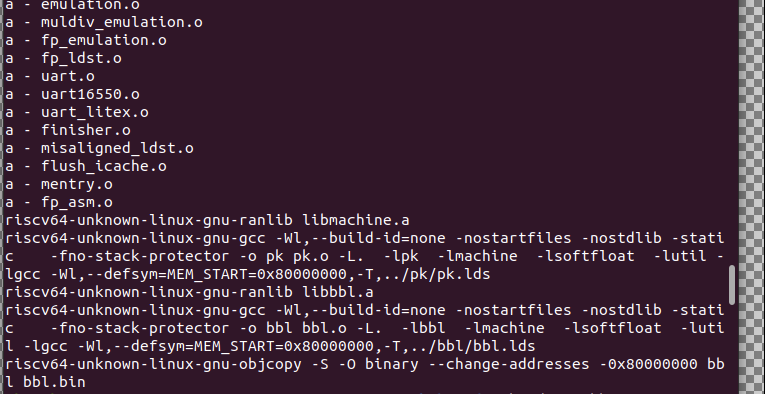
This will generate a boot loader binary file bbl with the linux kernel in the riscv PK / build directory. A pre built copy of this bootstrap binary, available in here Download the linux kernel.
4.3 Busy Box
Clone and compile busybox:
# Return to the riscv64 sample directory
cd ../..
git clone git://busybox.net/busybox.git
cd busybox
git checkout 1_30_stable  # checkout the latest stable branch
make menuconfig			#Similarly, a graphical interface will be displayed, and you can exit and save directly. The following is the same.
cp ../busybox.config .config	# Optional
make menuconfig
make CROSS_COMPILE=riscv64-unknown-linux-gnu- all -j$(nproc)
result:
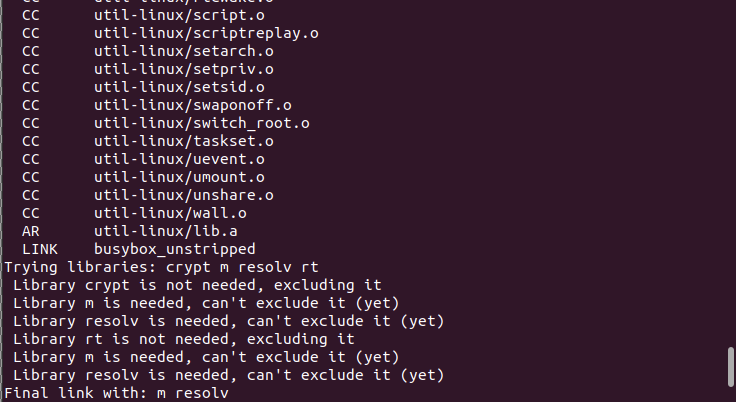
make CROSS_COMPILE=riscv64-unknown-linux-gnu- install
4.4 root file system of disk image
Next, we will set up a root file system:
# Return to the riscv64 sample directory
cd ../
mkdir RootFS
cd RootFS

# Copy linux tools / binaries from busbybox (created above)
cp -a ../busybox/_install/* .

# Install the module from the linux kernel compiled above
cd ../linux/
make ARCH=riscv CROSS_COMPILE=riscv64-unknown-linux-gnu- INSTALL_MOD_PATH=../RootFS modules_install

#Install the library from the built-in tool chain above
cd ../RootFS
cp -a /opt/riscv/sysroot/lib  .

# Create an empty directory
mkdir dev home mnt proc sys tmp va
cd etc/network
mkdir if-down.d  if-post-down.d  if-pre-up.d  if-up.d

# by riscv structure m5 util And move it to the root file system #
cd ../../../../
cd gem5/util/m5
scons build/riscv/out/m5
cp build/riscv/out/m5 ../../../riscv64-sample/RootFS/sbin/
Note: the default cross compiler is riscv64 unknown Linux GNU -. You can use scons plus riscv.CROSS_COMPILE changes the cross compiler, for example:
scons riscv.CROSS_COMPILE=riscv64-linux-gnu- build/riscv/out/m5
4.5 disk image
Create a 512MB disk.
cd ../../../
dd if=/dev/zero of=riscv_disk bs=1M count=512
Create and mount the root file system on disk:
mkfs.ext2 -L riscv-rootfs riscv_disk

sudo mkdir /mnt/rootfs
sudo mount riscv_disk /mnt/rootfs

sudo cp -a riscv64-sample/RootFS/* /mnt/rootfs

sudo chown -R -h root:root /mnt/rootfs/
df /mnt/rootfs
sudo umount /mnt/rootfs
Disk image riscv_disk is ready. sure Here Download a pre built compressed disk image.
Note: if you need to resize a disk image after it is created, you can do the following:
e2fsck -f riscv_disk
resize2fs ./riscv_disk 512M
In addition, if you need to change the contents of the disk image, you can mount it as:
mount -o loop riscv_disk [some mount directory]
5. Running scripts using gem5
You can configure the riscv complete system and run the simulated gem5 script in configurations / example / riscv. Main script fs_linux.py requires the following parameters:
bbl: bbl (berkeley bootloader) binary with kernel (located in riscv64 sample / riscv PK / build / bbl)
Disk: the path of the disk image to be used (located in riscv64 sample / riscv_disk).
atomiccpu_type: cpu model.
num_cpus: number of cpu cores.
An example usage of this script is as follows:
./build/RISCV/gem5.opt configs/example/riscv/fs_linux.py --kernel=../riscv64-sample/riscv-pk/build/bbl --disk-image=../riscv64-sample/riscv_disk --cpu-type=AtomicSimpleCPU -n=1
result:
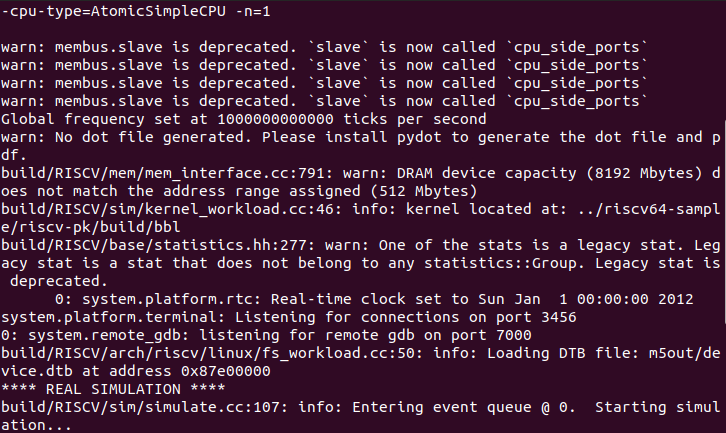
Note that the port: system.platform.terminal: Listening for connections on port 3456 is not the 7000 below
To interact with the console of the simulation system, you can use telnet,
telnet localhost 3456
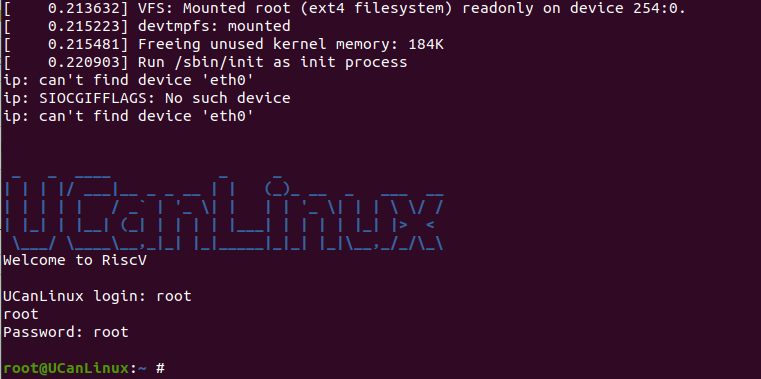
The following message appears:

Appears after pressing crtl +]
telnet>
Wait two seconds, press enter, and then wait a little longer
Another option is to use m5term provided by gem5.
cd gem5/util/term
make                         # compiling
./m5term localhost <port>    # launching the terminal
The default linux system based on this configuration has login and password, both of which are root