http://www.cnblogs.com/xfangs/
Welcome to comment below this article, Xiaofang needs encouragement and support!!!
This series of tutorials is for learning and communication only.
Views on the Final Realization Effect of Novel Reader The firstA blog post
Preface
In the last article, we implemented the basic functions of ViewPager. According to the plan, to make our e-book reading app, we need to use ViewPager to insert two-page views, one to display the current bookshelf and one to show different categories. In this section, we will implement classification options on pages marked find.
Involving components or frameworks: RecyclerView, Glide
First, layout
Similarly, here, Xiao Fang can only briefly introduce the basic usage of RecyclerView because of the limited level, involving more esoteric operation parts, and can do nothing about it.
 1 <?xml version="1.0" encoding="utf-8"?>
 2 <LinearLayout xmlns:android="http://schemas.android.com/apk/res/android"
 3     android:orientation="vertical" android:layout_width="match_parent"
 4     android:layout_height="match_parent">
 5
 6     <android.support.v7.widget.RecyclerView
 7         android:id="@+id/recyler_view_find_book"
 8         android:layout_margin="8dp"
 9         android:layout_width="match_parent"
10         android:layout_height="match_parent"/>
11
12 </LinearLayout>
Without complicated steps, we just need to add RecyclerView to one of the two previous ViewPager layouts to complete the entire list layout.
Of course, you may encounter some accidents.
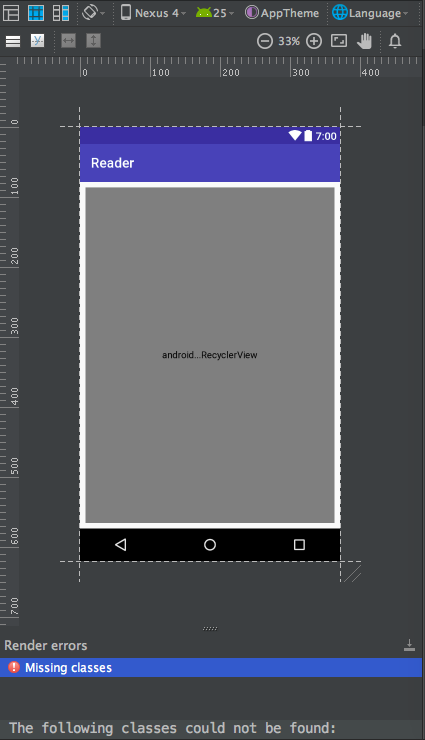
This means that we haven't introduced the RecyclerView library, entered the Design interface, found the RecyclerView from the component on the left, click, and the selection box will pop up.
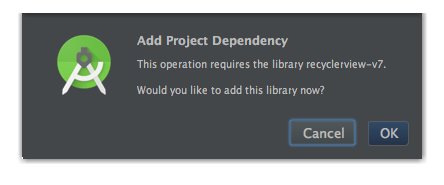
After adding the library, we can see that RecyclerView is displayed correctly on the interface.
Adapter
The main battlefield of our work is Fragment mentioned in the previous section, which is one of the two pages of ViewPager.
Review the code.
 1     public static class FindBooksFragment extends Fragment {
 2
 3         public FindBooksFragment() {
 4         }
 5
 6         @Override
 7         public View onCreateView(final LayoutInflater inflater, ViewGroup container,
 8                                  Bundle savedInstanceState) {
 9
10             View rootView = inflater.inflate(R.layout.pager_book_find, container, false);
11
12             return rootView;
13         }
14
15     }
As I said earlier, the onCreateView function is called when the ViewPager creates the page, so we initialize it here.
Before that, we need to complete the RecyclerView adapter. Similarly, the adapter plays the role of combining data and pages. Specifically, assuming that a list of items can be divided into three categories, we design layout for each of these elements, and then pass each item's data to the adapter. The adapter can choose the corresponding layout according to the data. Then show each item.
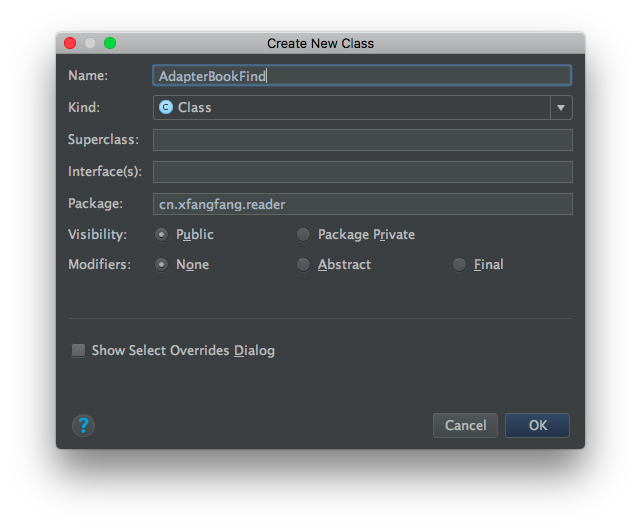
First, create a new class.
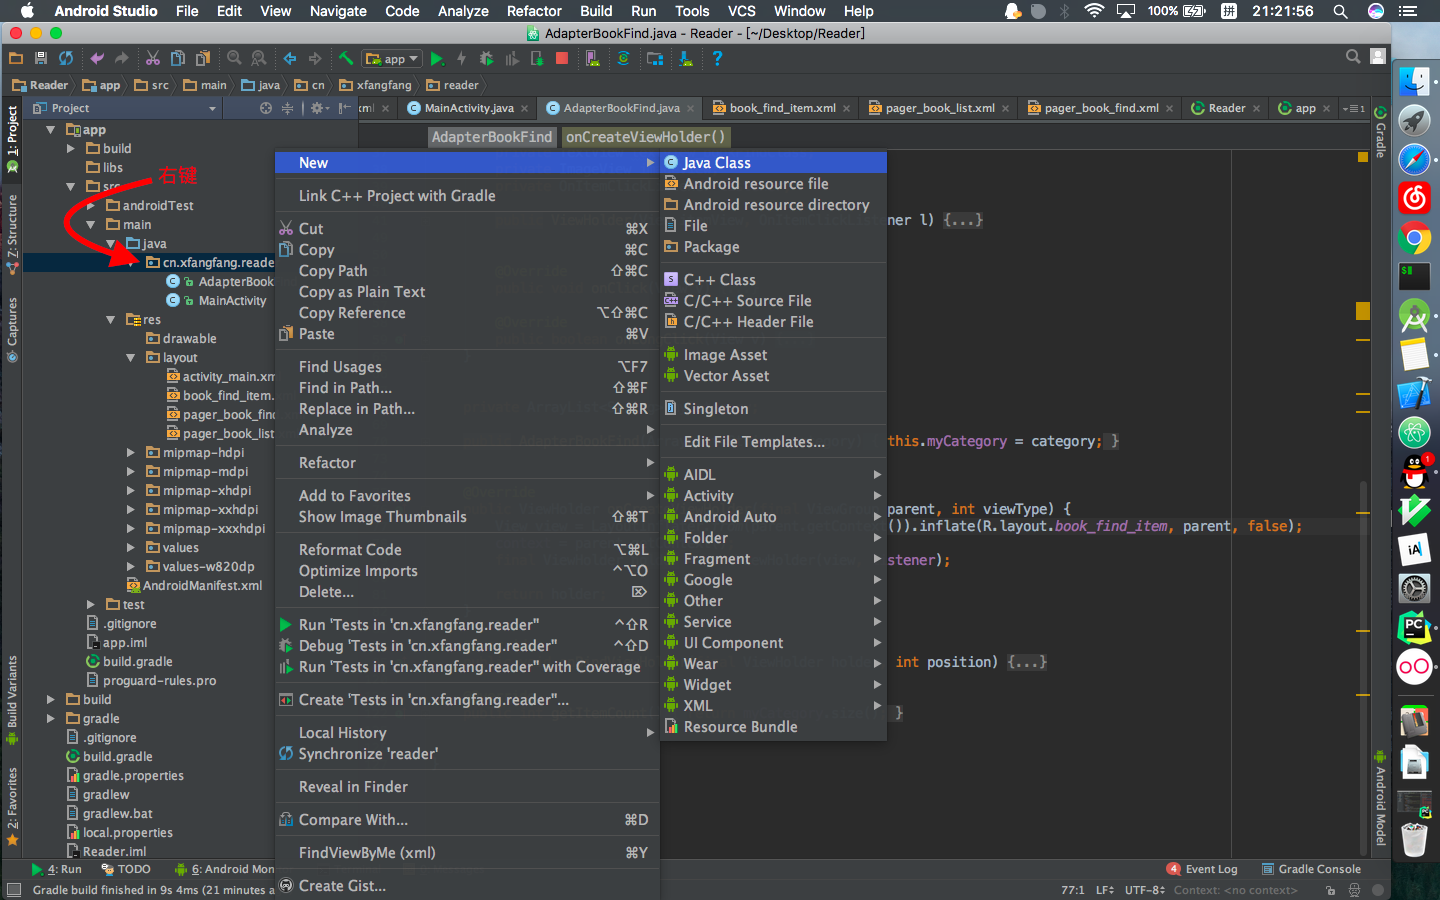
With regard to RecyclerView adapters, there are many blogs on the Internet that have described them. Look for a past article at will and get a general idea first.
. Search time...
After understanding this, we know that we need to write layout for list items, which is also mentioned indirectly in the previous section.
So, create a new layout file
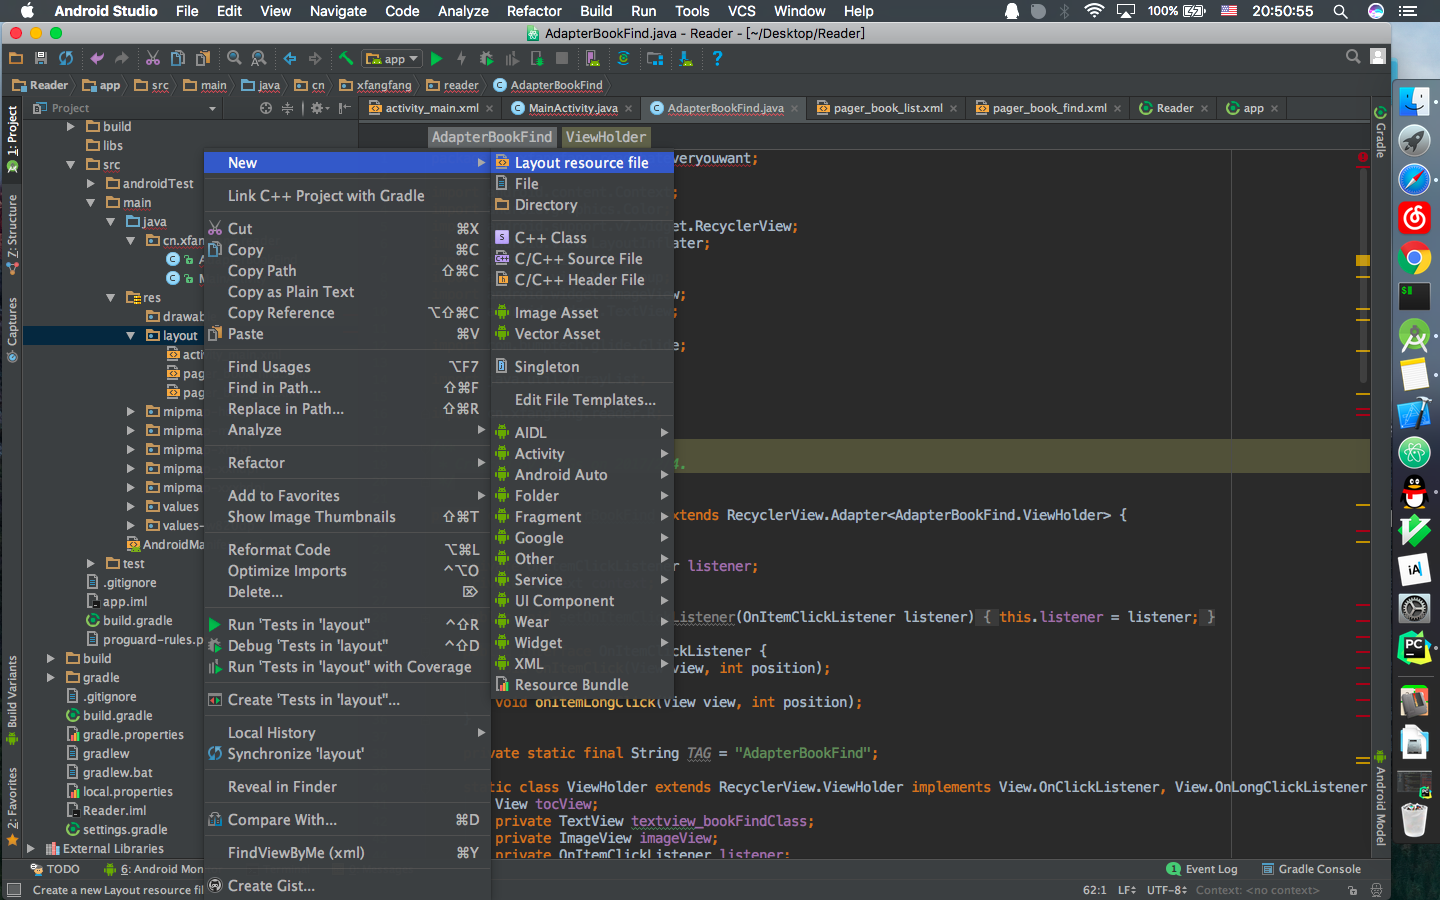
book_find_item.xml
 1 <?xml version="1.0" encoding="utf-8"?>
 2 <android.support.v7.widget.CardView xmlns:android="http://schemas.android.com/apk/res/android"
 3     xmlns:tools="http://schemas.android.com/tools"
 4     android:id="@+id/bookFind_cardview"
 5     android:layout_width="match_parent"
 6     android:layout_height="wrap_content"
 7     android:layout_margin="4dp"
 8     android:foreground="?android:attr/selectableItemBackground"
 9     android:clickable="true">
10
11     <ImageView
12         android:id="@+id/bookFind_image"
13         android:layout_width="match_parent"
14         android:layout_height="150dp"
15         android:scaleType="centerCrop"
16         tools:src="@color/cardview_dark_background"/>
17
18     <TextView
19         android:id="@+id/bookFind_class"
20         android:layout_width="match_parent"
21         android:layout_height="match_parent"
22         android:background="#00000000"
23         android:textColor="#FFFFFF"
24         android:textStyle="normal|bold"
25         android:textSize="14sp"
26         android:gravity="center"
27         tools:text="123"/>
28
29 </android.support.v7.widget.CardView>
Here, we use a new component, CardView, which reflects the latest Android design style, the right rounded corners, realistic shadows, click effects, and so on. There are many attributes to adjust.
In particular, the bold font in the above code, a new namespace tools, is declared on the outermost parts before using it.

Just type the first few letters, android studio will automatically complete.
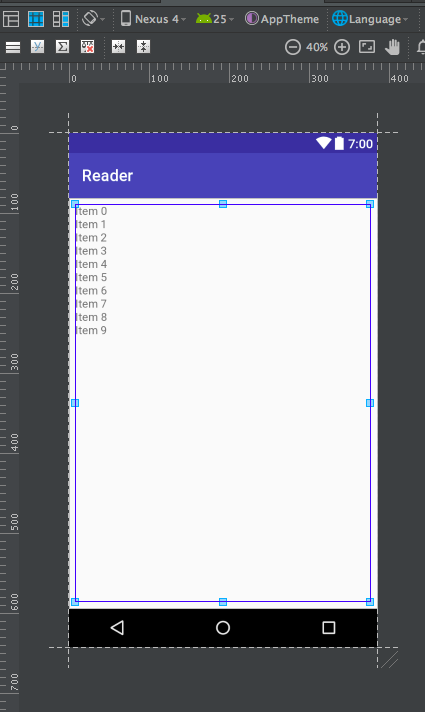
tools namespaces provide the effect of testing. The properties named after them are neglected during the running of the program. They are only used for test preview, which makes the development more convenient. The following is the result of our preview.
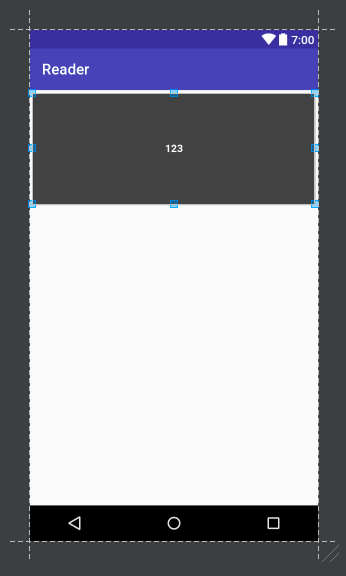
When the program runs, will it still look like this?
(Certainly not)
With the layout file in place, we can start writing the adapter.
First, we make an interface to get click events.
 1     private OnItemClickListener listener;
 2
 3     public void setOnItemClickListener(OnItemClickListener listener) {
 4         this.listener = listener;
 5     }
 6
 7     public interface OnItemClickListener {
 8         void onItemClick(View view, int position);
 9         void onItemLongClick(View view, int position);
10     }
Then create a new class in the adapter class.
 1     static class ViewHolder extends RecyclerView.ViewHolder implements View.OnClickListener, View.OnLongClickListener {
 2         View tocView;
 3         private TextView textview_bookFindClass;
 4         private ImageView imageView;
 5         private OnItemClickListener listener;
 6
 7         public ViewHolder(View itemView, OnItemClickListener l) {
 8             super(itemView);
 9             tocView = itemView;
10             textview_bookFindClass = (TextView) itemView.findViewById(R.id.bookFind_class);
11             imageView = (ImageView) itemView.findViewById(R.id.bookFind_image);
12             listener = l;
13             itemView.setOnClickListener(this);
14             itemView.setOnLongClickListener(this);
15         }
16
17
18         @Override
19         public void onClick(View v) {
20             if (listener != null) {
21                 listener.onItemClick(v, getAdapterPosition());
22             }
23         }
24
25         @Override
26         public boolean onLongClick(View v) {
27             if (listener != null) {
28                 listener.onItemLongClick(v, getAdapterPosition());
29             }
30             return false;
31         }
32     }
Perhaps slightly complex, the role of this class is to cache list items, the specific lower level of small East and West is not very clear, search the Internet, will not now learn to sell, welcome interested students to discuss together.
The ViewHolder class inherits from RecyclerView.ViewHolder. In order to achieve click monitoring, it has to access two interfaces, one is the click interface, the other is the long-click interface.
Starting with the constructor, I understand a little bit that the constructor receives two parameters, one for each View and one for each click listener. After initializing the component, set up the listener and pass the View and location to the excuse according to the interface settings previously set.
If it's not clear, copy the code first, and use it more often, then you'll understand.
Then, in the class AdapterBookFind, complete its constructor, which is set up on demand, where we need to pass the category name to the adapter and display it on each item, so we send a list of strings. You can also transmit the data you want to transmit according to your needs.
1     private ArrayList<String> myCategory;
2
3     public AdapterBookFind(ArrayList<String> category) {
4         this.myCategory = category;
5     }
Next we need to rewrite a function to get an instance of ViewHolder.
1     private Context context;
2     @Override
3     public ViewHolder onCreateViewHolder(final ViewGroup parent, int viewType) {
4         View view = LayoutInflater.from(parent.getContext()).inflate(R.layout.book_find_item, parent, false);
5         context = parent.getContext();
6         final ViewHolder holder = new ViewHolder(view, listener);
7
8         return holder;
9     }
Here, we declare a variable called context, initialize it, and list it later.
1     @Override
2     public int getItemCount() {
3         return myCategory.size();
4     }
Like the ViewPager adapter, we also need to rewrite the number of functions and return a value based on the data.
We're going to go to the last step, and we're going to set up a different content for each item in the list.
 1     @Override
 2     public void onBindViewHolder(final ViewHolder holder, int position) {
 3         holder.textview_bookFindClass.setText(myCategory.get(position));
 4
 5         switch (position) {
 6             case 0:
 7                 Glide.with(context).load(R.mipmap.ic_launcher).into(holder.imageView);
 8                 break;
 9             case 1:
10                 Glide.with(context).load(R.mipmap.ic_launcher).into(holder.imageView);
11                 break;
12             case 2:
13                 Glide.with(context).load(R.mipmap.ic_launcher).into(holder.imageView);
14                 break;
15             case 3:
16                 Glide.with(context).load(R.mipmap.ic_launcher).into(holder.imageView);
17                 break;
18             case 4:
19                 Glide.with(context).load(R.mipmap.ic_launcher).into(holder.imageView);
20                 break;
21             case 5:
22                 Glide.with(context).load(R.mipmap.ic_launcher).into(holder.imageView);
23                 break;
24             case 6:
25                 Glide.with(context).load(R.mipmap.ic_launcher).into(holder.imageView);
26                 break;
27             case 7:
28                 Glide.with(context).load(R.mipmap.ic_launcher).into(holder.imageView);
29                 break;
30             default:
31
32                 break;
33         }
34         holder.imageView.setColorFilter(Color.parseColor("#55555555"));
35
36     }
Because only two components in our layout file can represent the content of the data, TextView and ImageView.
The third line is to choose different strings according to different locations for settings, no difficulty.
Before we talk about switch, let's look at the last line.
holder.imageView.setColorFilter(Color.parseColor("#55555555"));
Set a color filter for the imageView, because I want to display a white text on the image, dull the image properly, and highlight the text.
The switch can also read, of course, but there's a strange thing, Glide.
Actually, it is not difficult to understand that the function of this switch is to select different files according to different locations for display. Of course, we can use the method of ImageView to set pictures, but ImageView can only set local or APK image resources. There is no way for network pictures or many unsupported image types (such as GIF), not only that, when the local map. When the film is bigger, there will inevitably be Carton phenomenon.
At this time, Glide appeared, it can quickly load all kinds of pictures, automatically compress the pictures according to the display size, the same sentence, if the incoming picture link can also load network pictures, and cache.
Glide.with(context).load(R.mipmap.ic_launcher).into(holder.imageView);
As shown in the above code, you can load an image in the APK resource. Here we only have one icon file, so we pass the icon file to the imageView.
However, if you just copy and paste the code into your project, your program should report an error, indicating that you did not find Glide, because Glide is not officially provided, we need to import it manually.
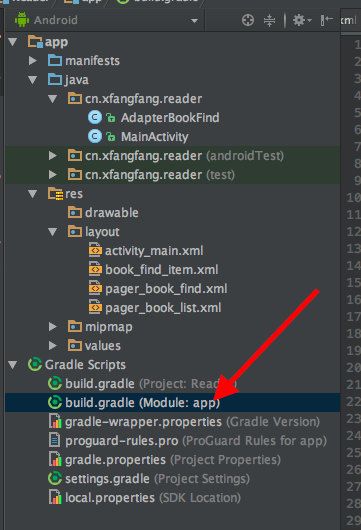
Find the file above.
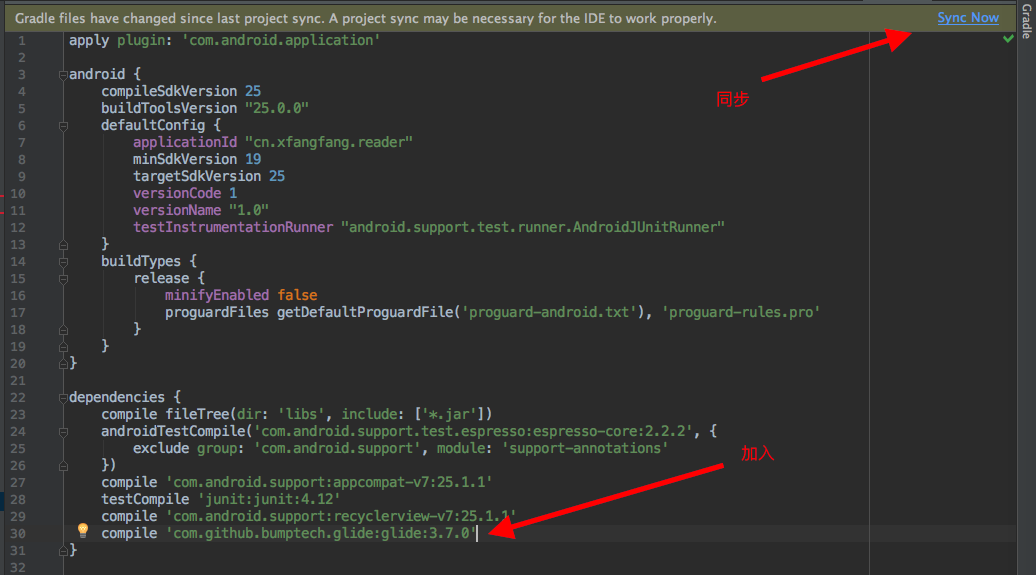
Add the last line and select Synchronization.
In this way, we introduced Glide.
integration
 1     public static class FindBooksFragment extends Fragment {
 2
 3         public FindBooksFragment() {
 4         }
 5
 6         private RecyclerView recyclerView;
 7         private StaggeredGridLayoutManager staggeredGridLayoutManager;
 8         private AdapterBookFind bookAdapterBookFind;
 9
10         @Override
11         public View onCreateView(final LayoutInflater inflater, ViewGroup container,
12                                  Bundle savedInstanceState) {
13
14             final ArrayList<String> bookClass = new ArrayList<>();
15             bookClass.add("//Fantasy ");
16             bookClass.add("//Knight errant ");
17             bookClass.add("//Urban ");
18             bookClass.add("//History ");
19             bookClass.add("//Game ");
20             bookClass.add("//Science fiction ");
21             bookClass.add("//Girl student ");
22             bookClass.add("//All ");
23
24             View rootView = inflater.inflate(R.layout.pager_book_find, container, false);
25             recyclerView = (RecyclerView) rootView.findViewById(R.id.recyler_view_find_book);
26
27             staggeredGridLayoutManager = new StaggeredGridLayoutManager(2, StaggeredGridLayoutManager.VERTICAL);
28             recyclerView.setLayoutManager(staggeredGridLayoutManager);
29             bookAdapterBookFind = new AdapterBookFind(bookClass);
30             recyclerView.setAdapter(bookAdapterBookFind);
31
32             bookAdapterBookFind.setOnItemClickListener(new AdapterBookFind.OnItemClickListener() {
33                 @Override
34                 public void onItemClick(View view, int position) {
35                     Log.e(TAG, "onItemClick: 111" );
36                 }
37
38                 @Override
39                 public void onItemLongClick(View view, int position) {
40                     Log.e(TAG, "onItemLongClick: 222" );
41                 }
42             });
43
44             return rootView;
45         }
46
47         private static final String TAG = "FindBooksFragment";
48
49     }
First initialize our list of strings. Staggered Grid Layout Manager is our list layout manager. Android provides three kinds of layout managers to achieve different list effects, multi-line lists, waterfall flow lists, different sliding directions can be set, you can Baidu other layout managers.
So in line 27-30, we set up a list manager and an adapter for RecyclerView, starting with line 32 and setting up a click listener for the adapter. Let's not set the function for the time being and use the log tool to output it to Android Monitor (log statement has shortcuts).
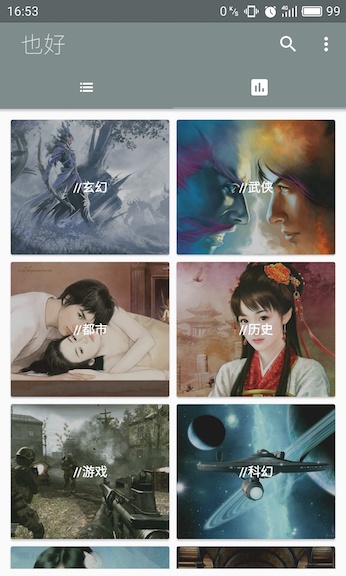
Effect
Running the program, you will see
We have completed a new section, now we can try to change different pictures, try to use network pictures (don't forget to join the network access rights).
The next article is about using litePal to complete the bookshelf. Please look forward to it!!!