Preface
This is a small example of react, hoping that through a small example, novices can better understand the centralized use of react, react-router 4.0, redux.
This is based on create-react-app To develop, a simple and fast way to create React web projects is to use the Create React App tool, equivalent to a react scaffold, which is developed and maintained by Facebook. If you haven't used create-react-app yet, you need to install it first. Then you can create a new project through it.
React Router4.0 It is called learning once and routing everywhere. Defining components through declarative programming models is the most powerful core function of React. React Router defines the most powerful core functions of navigation components for your application in a declarative manner. Whether Web App's browser bookmark URLs or React Native's navigation capabilities, React Router can be used whenever React is available.
Redux It is a tool for managing data-state (data state) and UI-state(UI state) in JavaScript applications. It is ideal for single page applications (SPAs) where state management becomes more and more complex over time. Ruan Teacher's Reux Course
Now let's take a look at the little demo after it's finished.

Start creating our app with create-react-app
Firstly, create-react-app is installed. Once installed, there is no need to install it again.
npm install -g create-react-app
If mac fails, remember to use sudo
After installation:
create-react-app react-plan
cd react-plan/
npm start
Installation will be a bit slow. Wait patiently.
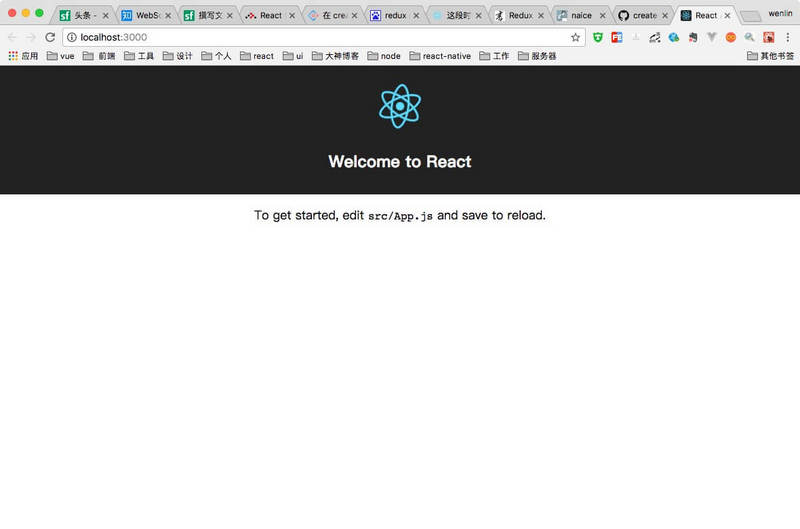
After installation, enter localhost:3000 in the browser address bar, and you can browse to the app you just created. This scaffold is very simple. The following figure
Code Start
After creating the application, we started to write our code, create a components folder under the src folder, create a home.js file under the folder, and then write the content of our home page.

Home page introduction component
src/components/home.js
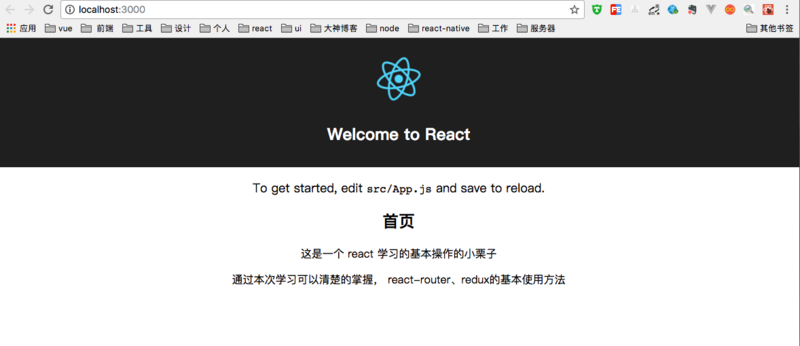
import React, { Component } from 'react'
class Home extends Component {
    constructor(props) {
        super(props);
    }
    render () {
        return (
            <div>
                <h2>home page</h2>
                <p>This is one react Chestnuts for the Basic Operation of Learning</p>
                <p>Through this study, we can clearly grasp it. react-router,redux Basic usage method</p>
                <br/>
                <br/>
                <br/>
            </div>
        )
    }
}
export default Home
After we have written home.js, let's introduce our app first.
Then introduce our home.js in src/App.js, and App.js becomes
src/App.js
import React, { Component } from 'react';
import logo from './logo.svg';
// Introducing homejs
import Home from './components/home.js'
import './App.css';

class App extends Component {
  render() {
    return (
      <div className="App">
        <div className="App-header">
          <img src={logo} className="App-logo" alt="logo" />
          <h2>Welcome to React</h2>
        </div>
        <p className="App-intro">
          To get started, edit <code>src/App.js</code> and save to reload.
        </p>
        // Using home components
        <Home />
      </div>
    );
  }
}
export default App;
After that, we can successfully write the home.js component. Is it very simple, is it very happy?
Complete all components in one go
Continue to create a plan. js (plan table), detail. js (plan details), pupop. js (add plan), js file and comment. CSS (component style) in the components folder. At this time, we do not involve routing jumps, just write all static components in one go.
tips: This is a small example. For convenience, I wrote all the component style files into comment.css. Now, when CSS is written, I remember to introduce it into App.js.
Add an import'. / components / comment. css'to src/App.js
src/components/comment.css
.main {
  padding: 10px;
  flex-direction: row;
  display: flex;
}
.NavBox {
    width: 250px;
    margin-right: 20px;
}
.listNav{
    text-align: center;
}
.listNav li {
    line-height: 40px;
}
.listNav li a {
    text-decoration: none;
}
.listNav li.active{
    background: #00a6f7;
}
.listNav li.active a{
    color: #fff;
}
.side{
    width: 100%;
}
.slist{
    font-size: 14px;
}
.addBtn {
    font-size: 14px;
    font-weight: normal;
    background: skyblue;
    display: inline-block;
    padding: 10px;
    margin-left:  10px;
    color: #ffffff;
    border-radius: 4px;
    cursor: pointer;
}
.slist li{
    padding: 10px;
    display: flex;
    flex-direction: row;
    justify-content: space-between;
    border-bottom: solid 1px cornflowerblue;
}

.slist li h3{
    font-weight: normal;
}

.slist li div span{
    text-decoration: underline;
    padding: 0 10px;
}
.popup{
    position: absolute;
    width: 100%;
    height: 100%;
    left: 0;
    top: 0;
    background: rgba(0, 0, 0, 0.6);
    display: flex !important;
    justify-content: center;
    align-items: center;
}
.popup .pbox {
    width: 50%;
    height: 320px;
    background: #ffffff;
    box-sizing: border-box;
    padding: 10px;
    position: relative;
}
.popup .pbox h4{
    font-size: 14px;
}
.popup .pbox input {
    margin: 10px 0 20px 0;
}
.popup .pbox input, .popup .pbox textarea{
    display: block;
    width: 100%;
    height: 32px;
    border: 1px solid skyblue;
    text-indent: 10px;
}

.popup .pbox textarea {
    resize: none;
    height: 100px;
    margin: 10px 0;
}

.popup .pbox .close {
    position: absolute;
    width: 30px;
    height: 30px;
    background: red;
    text-align: center;
    line-height: 30px;
    border-radius: 50%;
    color: #ffffff;
    right: -15px;
    top: -15px;
    transition: 0.5s;
    cursor: pointer;
}
.popup .pbox .close:hover{
    transform: rotate(180deg);
}
.popup .pbox .pBtn {
    display: flex;
    justify-content: center;
    padding-top: 20px;
}
.popup .pbox .pBtn span{
    padding: 10px 20px;
    background: skyblue;
    margin: 0 10px;
    font-size: 14px;
    color: #ffffff;
    border-radius: 4px;
    cursor: pointer;
}
.plant{
    line-height: 50px;
    position: relative;
}
.plant p{
    position: absolute;
    right: 0;
    top: 0;
    font-size: 14px;
    background: blue;
    height: 30px;
    line-height: 30px;
    padding: 0 10px;
    color: #fff;
}
.planlist{
    width: 100%;
    padding: 10px;
    border-collapse: collapse;
}
.planlist td, th{
    border: 1px solid blue;
    line-height: 32px;
    font-size: 14px;

}
.plan-delect{
    color: red;
    cursor: pointer;
}
.plan-delect:hover{
    color: blue;
    text-decoration: underline;
}
.plan-title{
    width: 80%;
}
Planning component
src/components/plan.js
import React, { Component } from 'react'

class Plan extends Component {
    constructor(props) {
        super(props);
    }
    render () {
        return (
            <div>
                <div className="plant">
                    <h3>Schedule</h3>
                    <p>Adding Plans</p>
                </div>
                <table className="planlist">
                    <thead>
                        <tr>
                            <th>Title</th>
                            <th>operation</th>
                        </tr>
                    </thead>
                    <tbody>
                        <tr>
                            <td className="plan-title">Plan 1</td>
                            <td className="plan-delect">delete</td>
                        </tr>
                    </tbody>
                </table>
            </div>
        )
    }
}

export default Plan;
When testing, change the import Home from'. / components / home. js'written by App.js to import Home from'. / components / plan. js', you can test the plan component. Is it simple? The following is the same.
Plan Details Component
src/components/detail.js
import React, { Component } from 'react'

class Detail extends Component {
    constructor(props) {
        super(props);
    }
    render() {
        return (
            <div style={{padding: '20px'}}>
                <h3>Details of the plan</h3>
                <p>id:  123</p>
                <p>Title: Test Title</p>
                <p>Content: Test Content</p>
            </div>

        )
    }
}
export default Detail
Adding Planning Components
src/components/popup.js
import React, { Component } from 'react'

class Pupop extends Component{
  constructor (props) {
    super(props)
    this.state = {
      id: '',
      title: '1',
      content: '1'
    }
  }
  render() {
    let self = this;
    return (
      <section className="popup" style={{display: 'block'}}>
        <div className="pbox">
          <span className="close">X</span>
          <div>
            <h4>Plan title</h4>
            <input value={this.state.title} placeholder="Please enter the title of the plan."/>
          </div>
          <div>
            <h4>Plan content</h4>
            <textarea value={this.state.content} placeholder="Please enter the content of the plan." rows="3"></textarea>
          </div>
          <div className="pBtn">
            <span>cancel</span>
            <span>confirm</span>
          </div>
        </div>
      </section>
    )
  }
}
export default Pupop
At last, all the components have been written. Now let's use routing to connect them all in series. Achieve click jump
Join routing
First remember to install the routing npm install react-router-dom history --save
history is a module used to jump js, which we will introduce later.
After installing the routing module, under src/components / we are adding a file testrouter.js to test the secondary routing. The content is very simple, which directly brings in the official network.
src/components/testrouter.js
import React, { Component } from 'react'
import {
  BrowserRouter as Router,
  Route,
  Link
} from 'react-router-dom'

const Topic = ({ match }) => (
  <div>
    <h3>{match.params.topicId}</h3>
  </div>
)

class TestRouter extends Component {
    constructor(props) {
        super(props);
        console.log(this.props)
    }
    render () {
        return (
            <div>
            <h2>Secondary routing</h2>
            <ul>
              <li>
                <Link to={`${this.props.match.url}/rendering`}>
                  //Rendering with React
                </Link>
              </li>
              <li>
                <Link to={`${this.props.match.url}/components`}>
                  //assembly
                </Link>
              </li>
              <li>
                <Link to={`${this.props.match.url}/props-v-state`}>
                  //Attribute v. State
                </Link>
              </li>
            </ul>

            <Route path={`${this.props.match.url}/:topicId`} component={Topic}/>
            <Route exact path={this.props.match.url} render={() => (
              <h3>Please choose a theme.</h3>
            )}/>
          </div>
        )
    }
}
export default TestRouter
Then make a little change to App.js, introduce all the required modules, and see the annotations.
src/App.js
import React, { Component } from 'react'
import {
  BrowserRouter as Router,
  Route,
  Link
} from 'react-router-dom'
import logo from './logo.svg'
// Introduce four module components
import Plan from './components/plan.js'
import Home from './components/home.js'
import Popup from './components/popup.js'
import TestRouter from './components/testrouter.js'
import Detail from './components/detail.js'
// Introducing Style Files
import './App.css'
import './components/comment.css'
// Introducing routing
import createHistory from 'history/createBrowserHistory'
const history = createHistory()
// Start Code
class App extends Component {
  constructor(props) {
    super(props);
  }
  render() {
    return (
      <div className="App">
          <div className="App-header">
            <img src={logo} className="App-logo" alt="logo" />
            <h2 className='App-title'>Welcome to React Plan</h2>
          </div>
          <div>
            // Routing configuration
            <Router history = {history}>
               <div className="contentBox">
                  // Writing navigation
                  <ul className="nav">
                    <li><Link to="/">home page</Link></li>
                    <li><Link to="/plan">Schedule</Link></li>
                    <li><Link to="/test">Secondary routing</Link></li>
                  </ul>
                  // Routing Matching
                  <div className="content">
                    <Route exact path="/" component={Home}/>
                    <Route path="/plan" component={Plan}/>
                    <Route path="/test" component={TestRouter}/>
                    <Route path="/detail/:id" component={Detail}/>
                  </div>
              </div>
            </Router>
          </div>
          <Popup/>
      </div>
    );
  }
}

export default App
It's not the end of the end: Okay, the routing is also well configured. Open the browser and you can jump happily when the code is correct. Then we add redux so that each component can manipulate the global data. I'll send it later. Reaction, react-router, redux may be best practices 2
github address If it's helpful, please click on start, hey hey