Presumably the reader's friends are Official announcement: Major updates to ReactNative Navigation Library This article learns that React Navigation, the official route navigation library recommended by React Native, has been updated to the 5th edition. It also learns about specific improvements and changes. Interested friends can read this article carefully to see the differences between the new and previous versions. The new version of React Navigation has changed a lot from previous versions, whether they are installation or integration methods and steps in the project, so follow this article. @[toc]
install
Use the following command to add the underlying dependencies of react navigation
yarn add @react-navigation/native
Add additional configuration dependency content using the following commands, such as react-native-gesture-handler, react-native-reanimated, and so on
yarn add react-native-reanimated react-native-gesture-handler react-native-screens react-native-safe-area-context @react-native-community/masked-view
If your React Native project version is above 0.60, the installation dependency is complete, and if the project version is below 0.60, use the react-native link command to automatically add the native project configuration. For the ios side, first make sure that you have installed Cocoapods correctly, then execute the following command to complete the dependency
cd ios; pod install; cd ..
Finally, at the bottom of your project entry file index.js, add the following code:
import 'react-native-gesture-handler';
Use StackNavigator
Before using StackNavigator. you need to add navigation to your project, wrap the entire entry file with NavigationContainer, as shown in the following sample code
import * as React from 'react';
import { NavigationContainer } from '@react-navigation/native';


const App = () => {
  return (
    <NavigationContainer>
      <RootStack.Navigator>
        <RootStack.Screen name='TabNav' component={TabScreen} />
        <RootStack.Screen name="Detail" component={DetailScreen} />
      </RootStack.Navigator>
    </NavigationContainer>
  );
}

export default App;
Next, because the stack navigation library has been separated as a separate dependency file since the React Navigation 4.x release, you want to add the dependency of StackNavigator
yarn add @react-navigation/stack
Next, we create a home file using stack navigator with the following code
import {
  createStackNavigator
} from '@react-navigation/stack'
const HomeScreen = ({ navigation }) => {
  return (
    <View style={{ flex: 1, alignItems: 'center', justifyContent: 'center' }}>
      <Text>HomeScreen</Text>
      <Button
        title="Go to Details"
        onPress={() => navigation.navigate('Detail')}
      />
    </View>
  )
}
const HomeStack = createStackNavigator();

const App = () => {
  return (
    <NavigationContainer>
      <HomeStack.Navigator>
        <HomeStack.Screen name='Home' component={HomeScreen} />
      </HomeStack.Navigator>
    </NavigationContainer>
  );
}
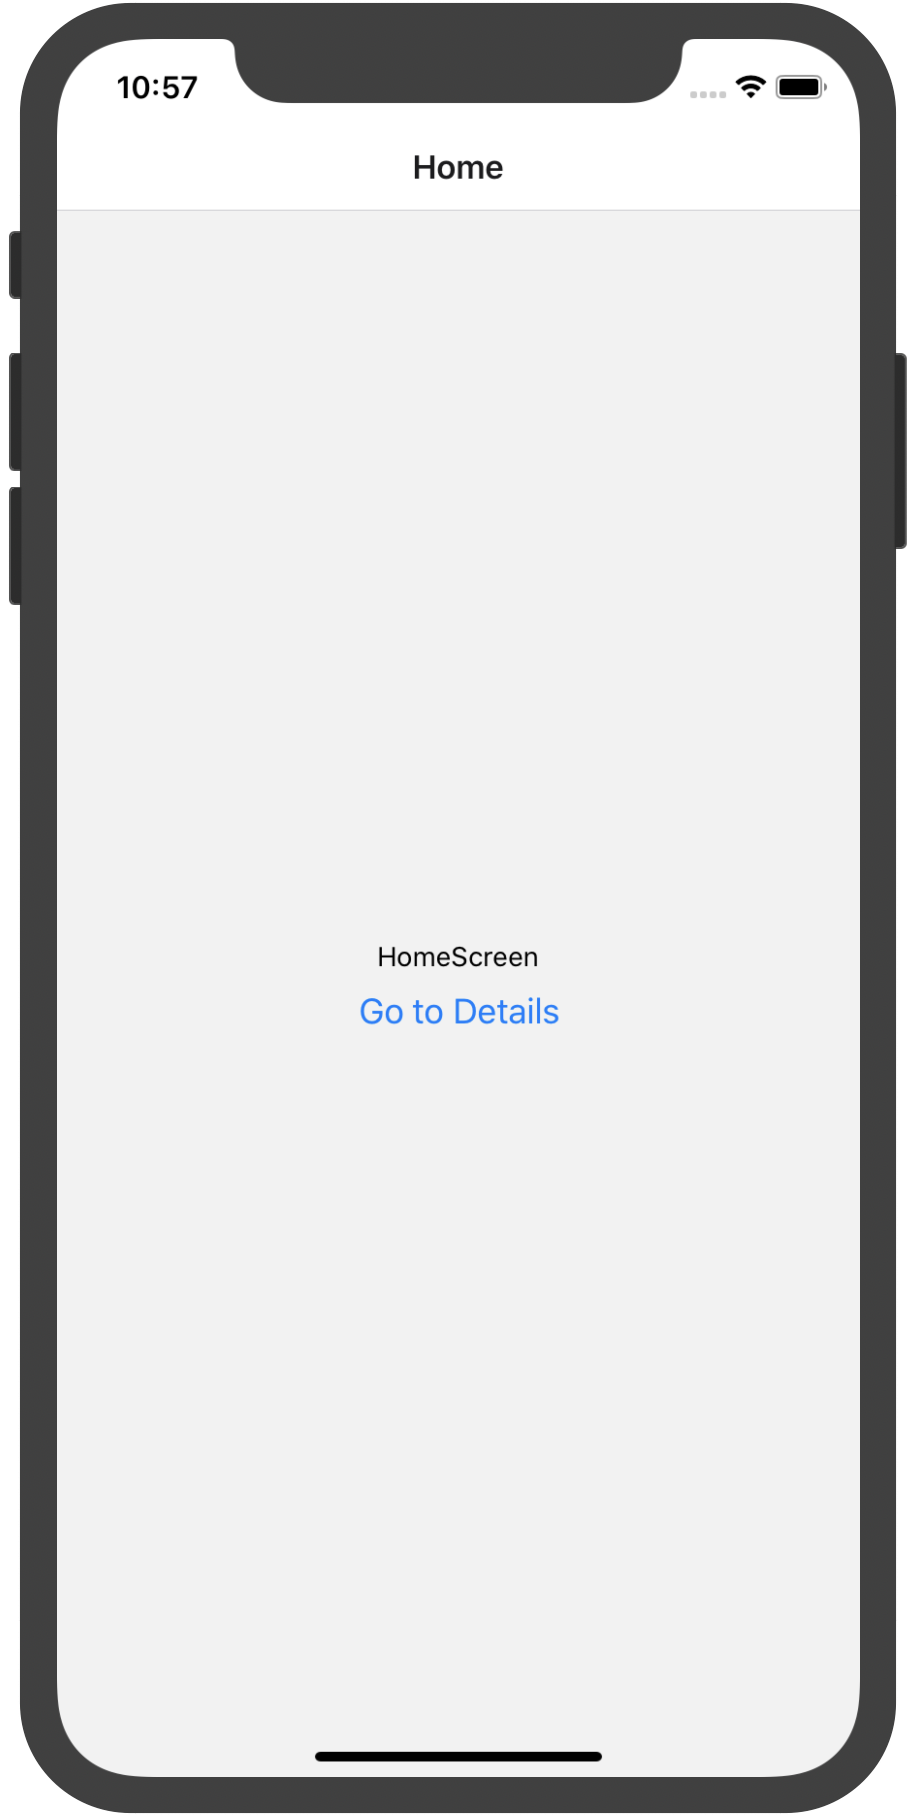 Take a look at this code:
<HomeStack.Screen
name='Home'
component={HomeScreen}
/>
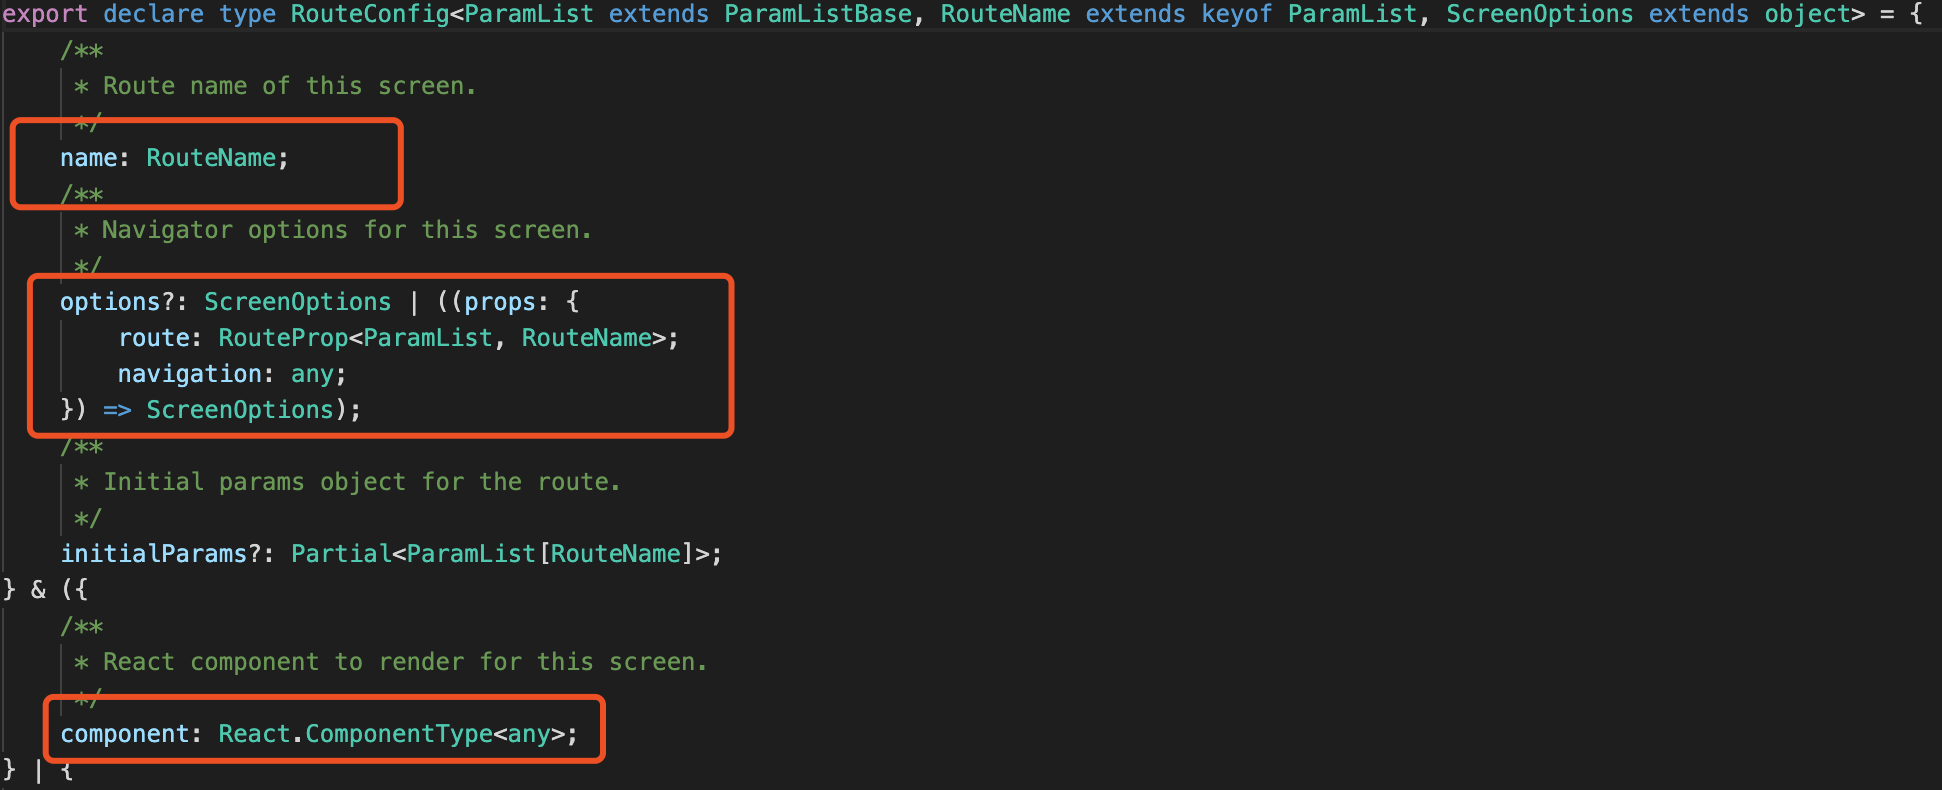
Use name to specify route name, use component to specify corresponding page of route, note that
Component attributes only accept components, not function components, such as the notation component={() => HomeScreen/>} is not allowed.
Let's take a look at the source code for the HomeStack.Screen configuration:
summary
The new navigation framework makes the specific way of navigation component, makes it easy to use for dynamic configuration, and has more extensible rows, such as screen option for custom configuration.
Welcome to my public number: Jun Wei said, regularly share dry technology and life insights, we will work together to fuel in 2020.