This article will provide you with a very simple application to understand the basics of React.js.
start
First we need to prepare a basic template. An HTML file containing React and ReactDOM libraries is as follows:
<html>
<head>
<script src="https://unpkg.com/react@15/dist/react.min.js"> </script><script src="https://unpkg.com/react-dom@15/dist/react-dom.min.js">
</script>
<script src="https://unpkg.com/babel-standalone@6.15.0/babel.min.js"></script>
</head>
<body>
    <div id="root"></div>
    <script type="text/babel">

    /*
    Add your code here
    */

    </script>
</body>
</html>
Because React uses JSX grammar, browsers can't understand JSX and need to convert JSX to JavaScript, so we added Babel.
There are two noteworthy points in the template:
1. <div id= "root"> is the entry point for the entire application, where the UI will be displayed.
2. <script type= "text/babel"> is where we write React.js code
assembly
All objects in React.js are components and exist as JavaScript classes. We can create a component by extending the React-Component class. Let's first create a Hello component.
class Hello extends React.Component {
    render() {
        return <h1>Hello world!</h1>;
    }
}
Then we can define the method of the component. In Hello components, we define only one method render()
In render(), we need to tell React what this component looks like.
In Hello, we return a < H1 > tag that contains the text of Hello world! <h1> JSX grammar is used here for tags.
We can use ReactDOM.render() to render Hello components:
ReactDOM.render(
    <Hello />,
    document.getElementById("root")
);
Put the above code in <script type="text/babel"> and run it with the following results:
data processing
There are two data types in React: props and state. Props are imported from outside and are not controlled by components. State is internal and can be changed by components
A component can change its state directly, but it cannot change its props directly.
Props
Hello components are not flexible enough to display only "hello world". An important function of components is that they can be reused, such as displaying different text. We can do it through props
ReactDOM.render(
    <Hello message="my friend" />,
    document.getElementById("root")
);
Message is a prop. In Hello, we can get the value of prop through this.props.message.
class Hello extends React.Component {
    render() {
        return <h1>Hello {this.props.message}!</h1>;
    }
}
Operation results:

Notice that {this.props.message}, we add a pair of curly braces to indicate that this is a JavaScript expression, either a plain text or an interpolation term.
Now we can reuse this component to display different text.
So what if we want the Hello component to change its text itself? We can use state to do this.
State
Another way that components store data is state. For props coming in from outside, components are not able to change directly, and state is possible.
If you want the data in your application to be changed, such as when a user clicks a button to display another piece of text, then the data must be stored in a component.
Initialize State
We can initialize state simply by calling this.state in the constructor() method of the component. In our example, state has only one attribute message.
class Hello extends React.Component {

    constructor(){
        super();
        this.state = {
            message: "my friend (from state)!"
        };
    }

    render() {
        return <h1>Hello {this.state.message}!</h1>;
    }
}
We need to call the super() method first, because this is initialized after the super() call.
Changing state
We just need to call this.setState() to change the state, and here we encapsulate it into an updateMessage method.
class Hello extends React.Component {

    constructor(){
        super();
        this.state = {
            message: "my friend (from state)!"
        };
        this.updateMessage = this.updateMessage.bind(this);  // !!!
   }
    updateMessage() {
        this.setState({
            message: "my friend (from changed state)!"
        });
    }
    render() {
        return <h1>Hello {this.state.message}!</h1>;
    }
}
Next we create a button to trigger the updateMessage() method. We can modify render() to add the button:
render() {
  return (
     <div>
       <h1>Hello {this.state.message}!</h1>
       <button onClick={this.updateMessage}>Click me!</button>
     </div>
  )
}
Here we bind a callback function, this.updateMessage, to the button click event onClick. When the button is clicked, the updateMessage method is triggered.
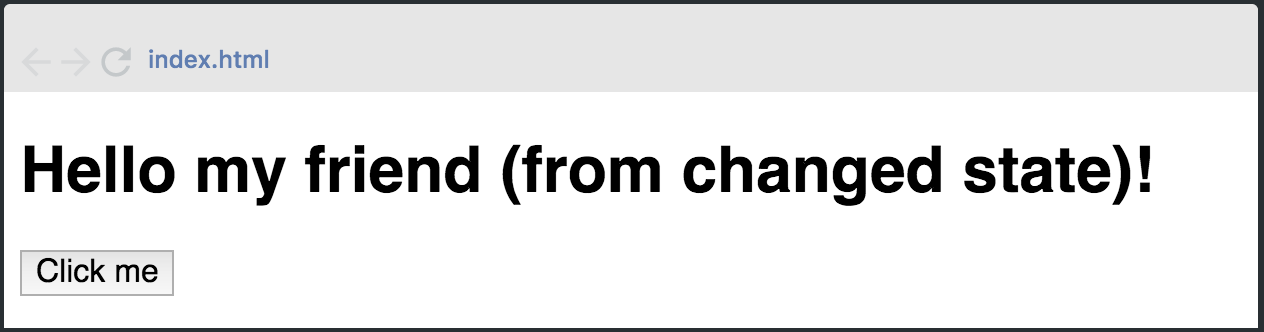
Below is all the code for the entire component:
class Hello extends React.Component {

    constructor(){
        super();
        this.state = {
            message: "my friend (from state)!"
        };
        this.updateMessage = this.updateMessage.bind(this);
    }
    updateMessage() {
        this.setState({
            message: "my friend (from changed state)!"
        });
    }
    render() {
         return (
           <div>
             <h1>Hello {this.state.message}!</h1>
             <button onClick={this.updateMessage}>Click me!</button>
           </div>
        )
    }
}
Operation results:
A simple React.js application is completed, which includes view rendering and data processing.
Thank you for reading!
Give me a compliment if you like it! ___________
Your encouragement is my greatest motivation!