catalogue
1, Tesseract OCR overview and environment configuration
(1) Introduction to Tesseract OCR
(2) Tesseract OCR installation
1. Program download and installation
2. Configure environment variables
3. Language configuration and program testing
2, Implementation of video caption extraction
1, Tesseract OCR overview and environment configuration
(1) Introduction to Tesseract OCR
Tesseract is an open source OCR (Optical Character Recognition) developed by HP Labs and maintained by Google Engine. Tesseract can handle many natural languages, such as English, Portuguese and so on. By 2015, it can support more than 100 written languages, and can easily master other languages through training and learning.
(2) Tesseract OCR installation
1. Program download and installation
Official website: https://github.com/tesseract-ocr/tesseract
Official documents: https://github.com/tesseract-ocr/tessdoc
Language pack address: https://github.com/tesseract-ocr/tessdata
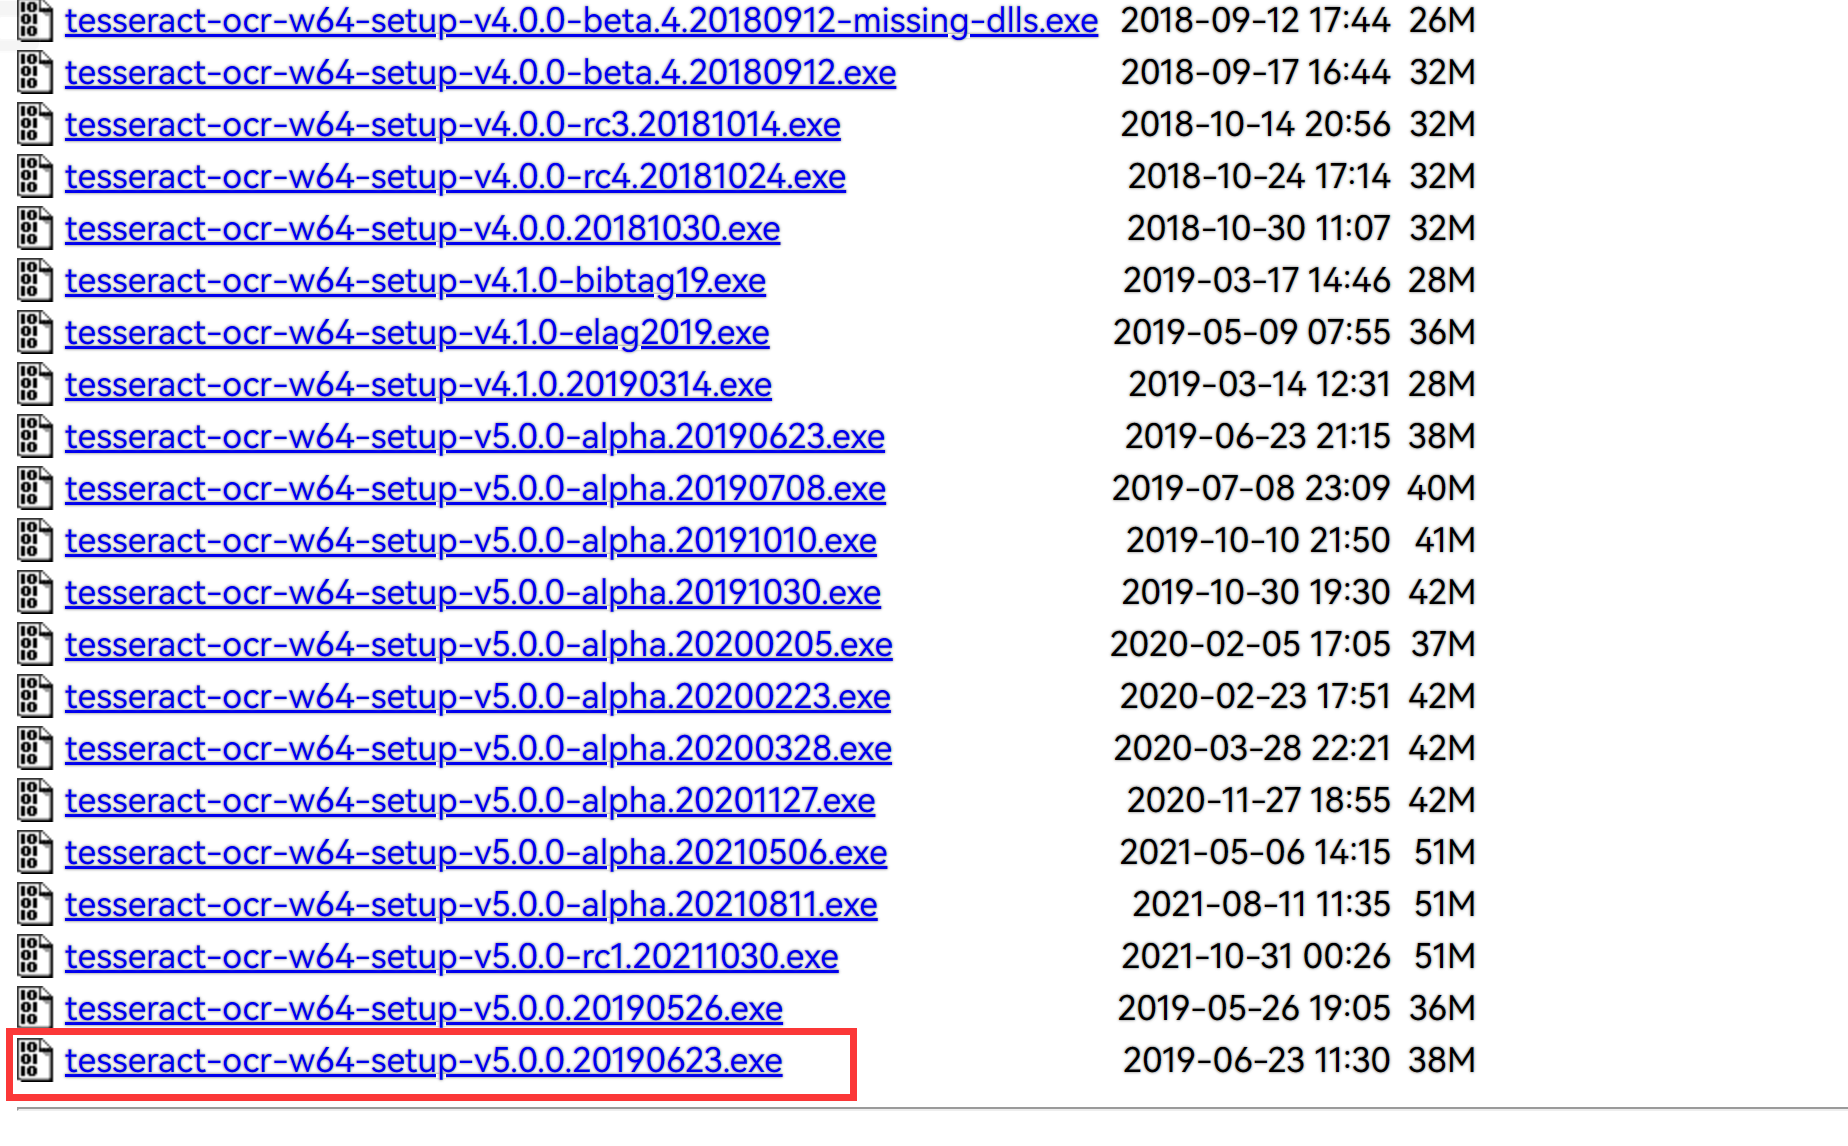
Download address: https://digi.bib.uni-mannheim.de/tesseract/
After entering the download page, download the official stable version with the file name of "tesseract-ocr-w64-setup-v5.0.0.20190623.exe".
After downloading, install on PC. During installation, pay attention not to have Chinese in the path to avoid problems.
During the installation process, you can select the language pack to install, such as simplified Chinese. However, the speed is slow. It is recommended to download the language pack through other channels and install it locally.
2. Configure environment variables
Press "Win+R" on the computer to open the command line, and enter "sysdm.cpl" to open the window for setting Path.
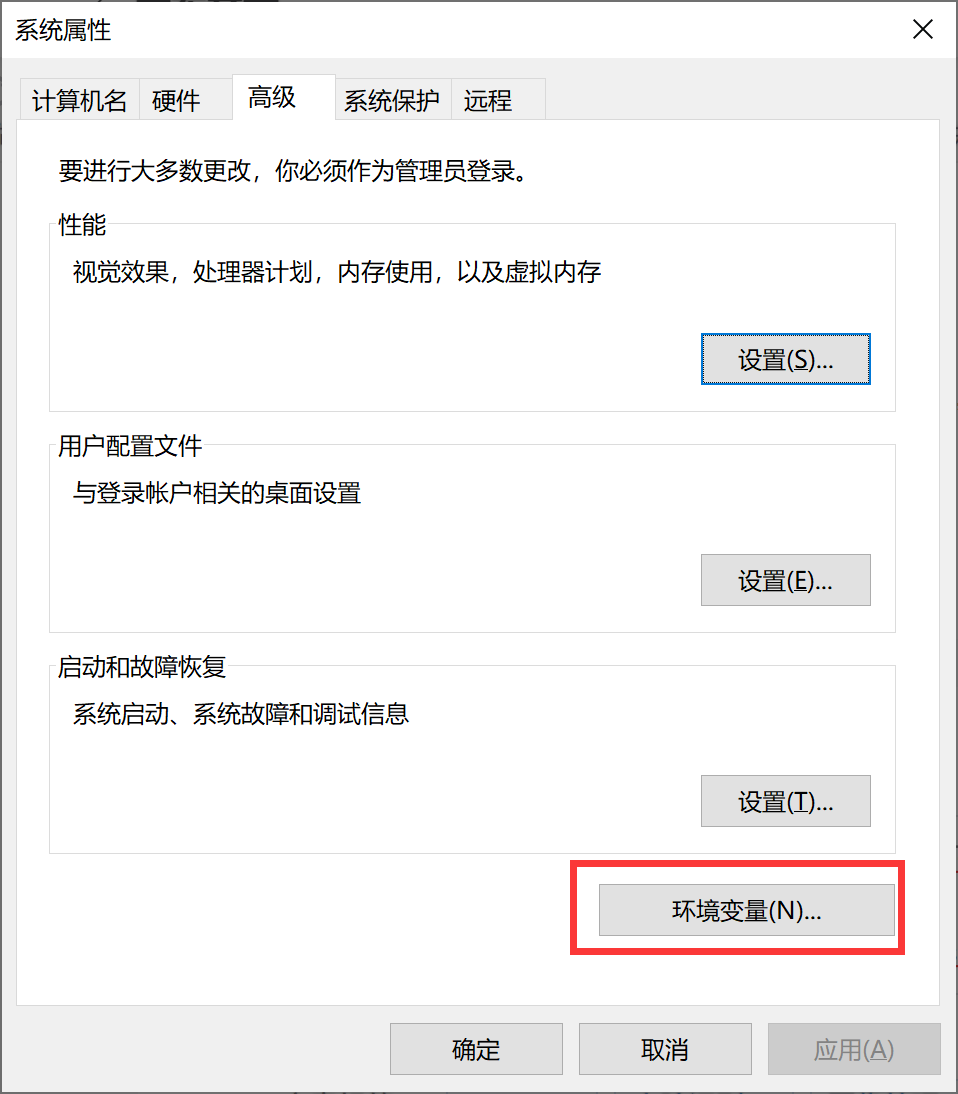
Select Advanced - environment variables.
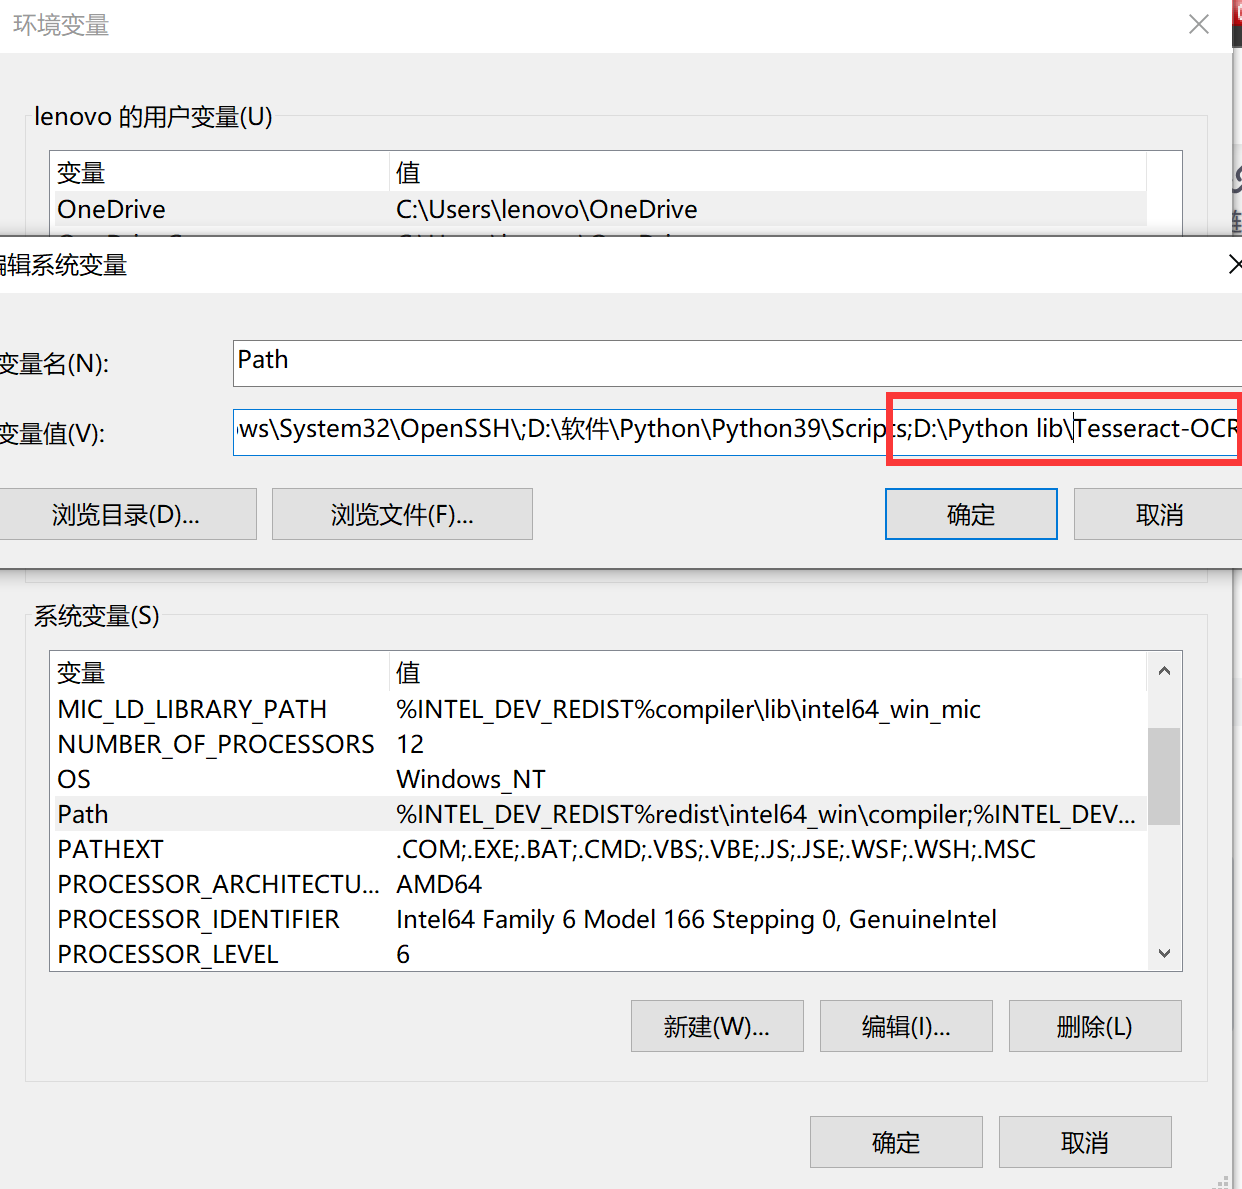
Add the installation path of Tesseract OCR to the path variable.
3. Language configuration and program testing
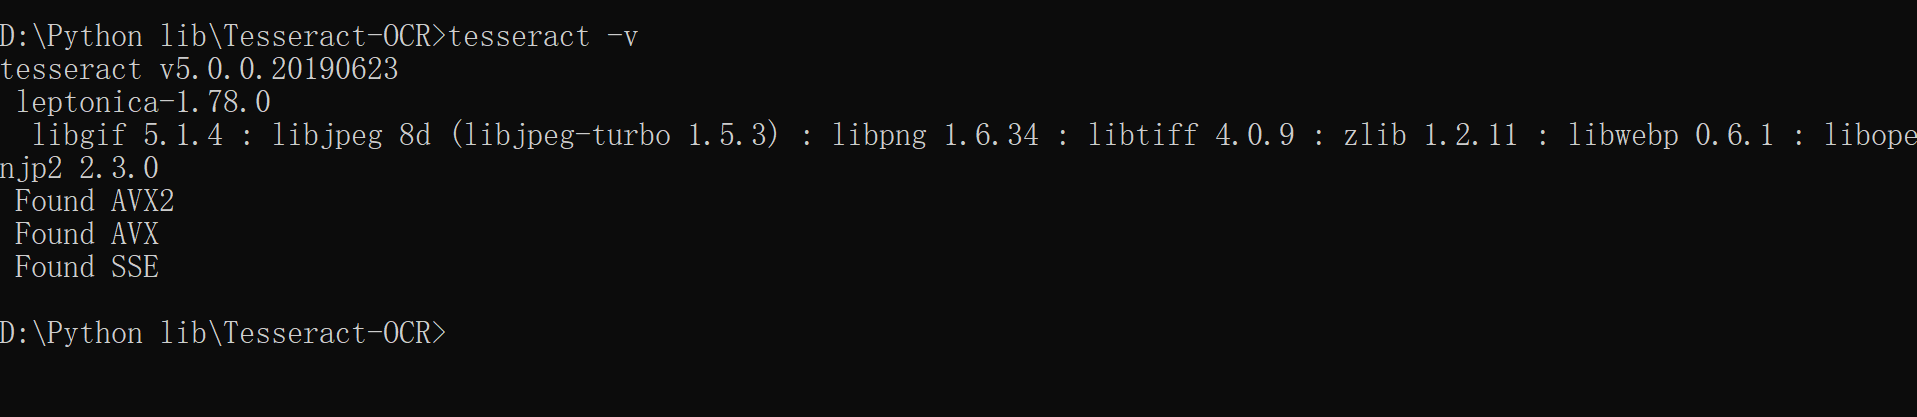
Copy the language file "chi_sim.traineddata" to the tessdata folder under the tessact OCR installation directory, so that the program language is displayed in Chinese. Open the command window under the Tesseract OCR installation directory and enter the "tesseract -v" command to detect the installation of Tesseract OCR.
The following figure prompts that the installation configuration is complete.
2, Implementation of video caption extraction
(1) Implementation principle
1. Read the video and obtain the video size to find the caption position
2. Capture the area where the caption is located and save it as a variable
3. Convert caption area to grayscale image
4. Binarization of the edge characteristic matrix of the caption area along the X-axis direction by cv2
5. The text recognition module in Tesseract OCR is used to recognize the processed caption area
6. Output the recognized subtitle text
(2) Code implementation
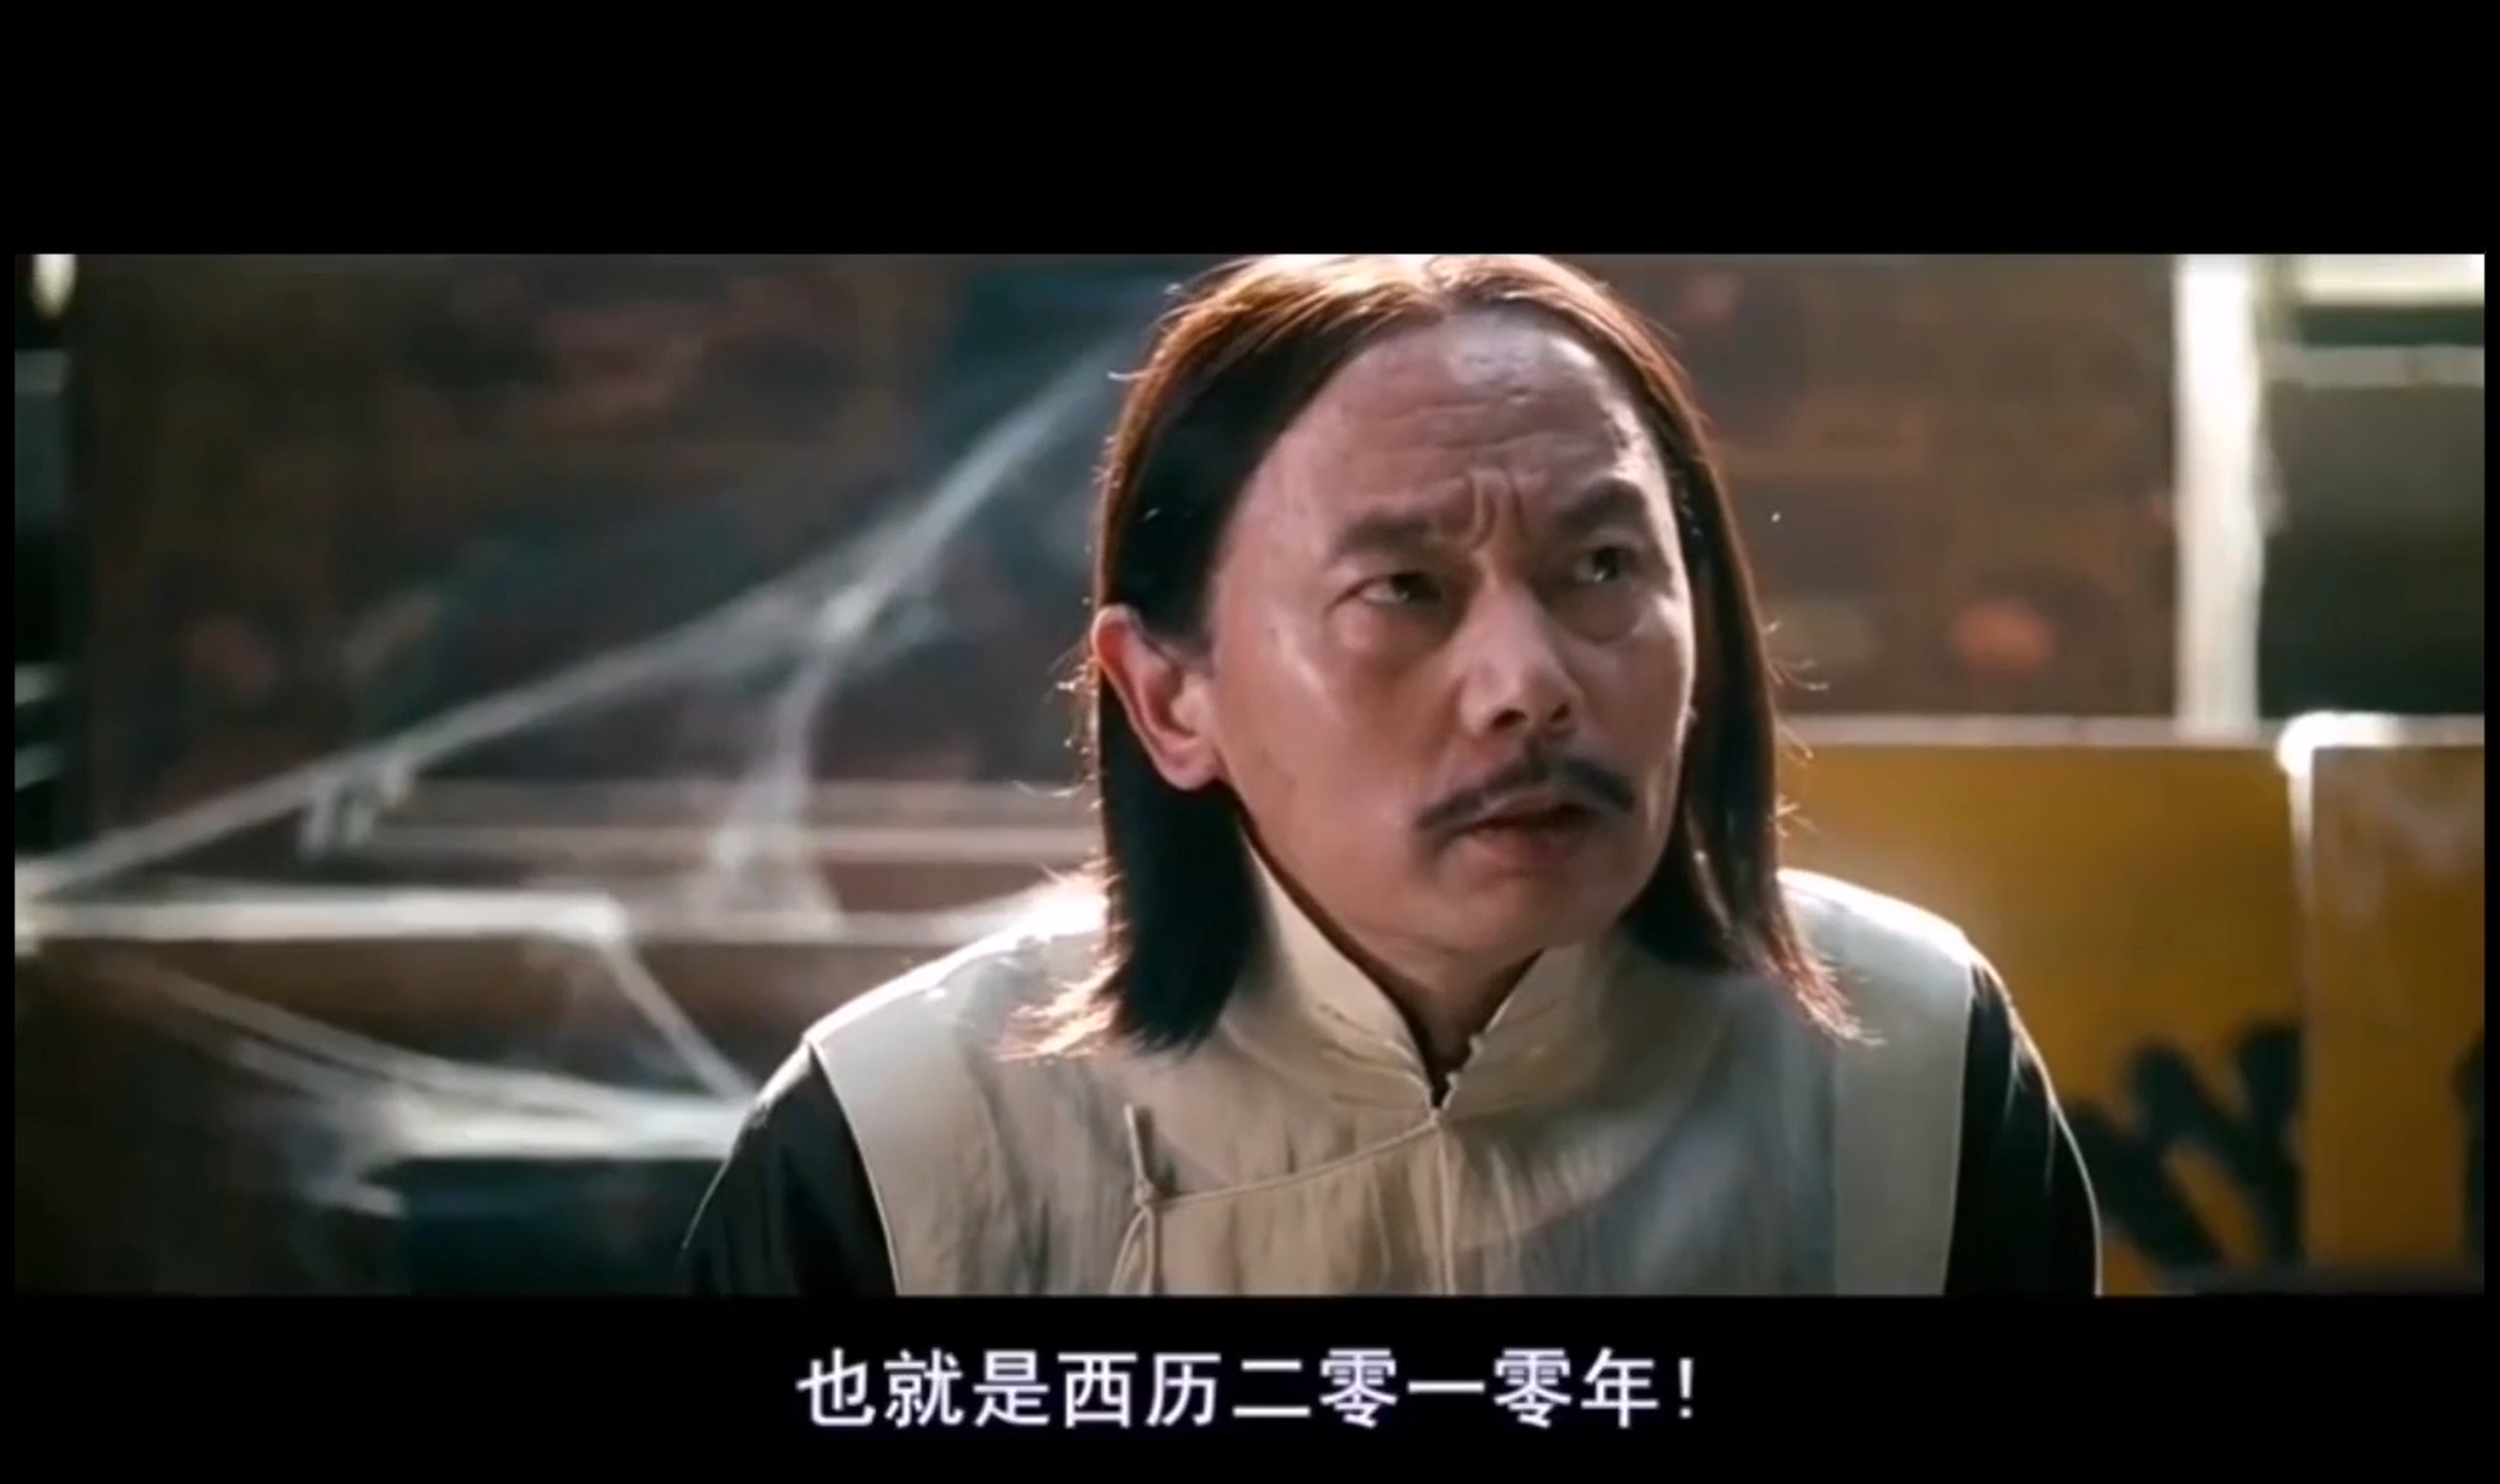
Select the clip of let bullets fly for recognition, and output subtitle information.
The following are video images:
The implementation code is as follows:
import pytesseract
import cv2
import numpy as np
from scipy import stats
import matplotlib.pyplot as plt
#Import third party libraries
if __name__ == '__main__':
path = "Let the bullet fly.mp4"
#Define the video path to read
cap = cv2.VideoCapture(path)
frame_count = int(cap.get(cv2.CAP_PROP_FRAME_COUNT))
print(frame_count)
#Calculate the number of frames of the video
i=0
#Defines the initial number of frames
while i<frame_count:
cap.set(cv2.CAP_PROP_POS_FRAMES, i)
_, frame = cap.read(i)
shape = frame.shape
print(shape)
#Output the size information of the video to be processed
img=frame[635:715, 100:1200]
#Resize screenshots
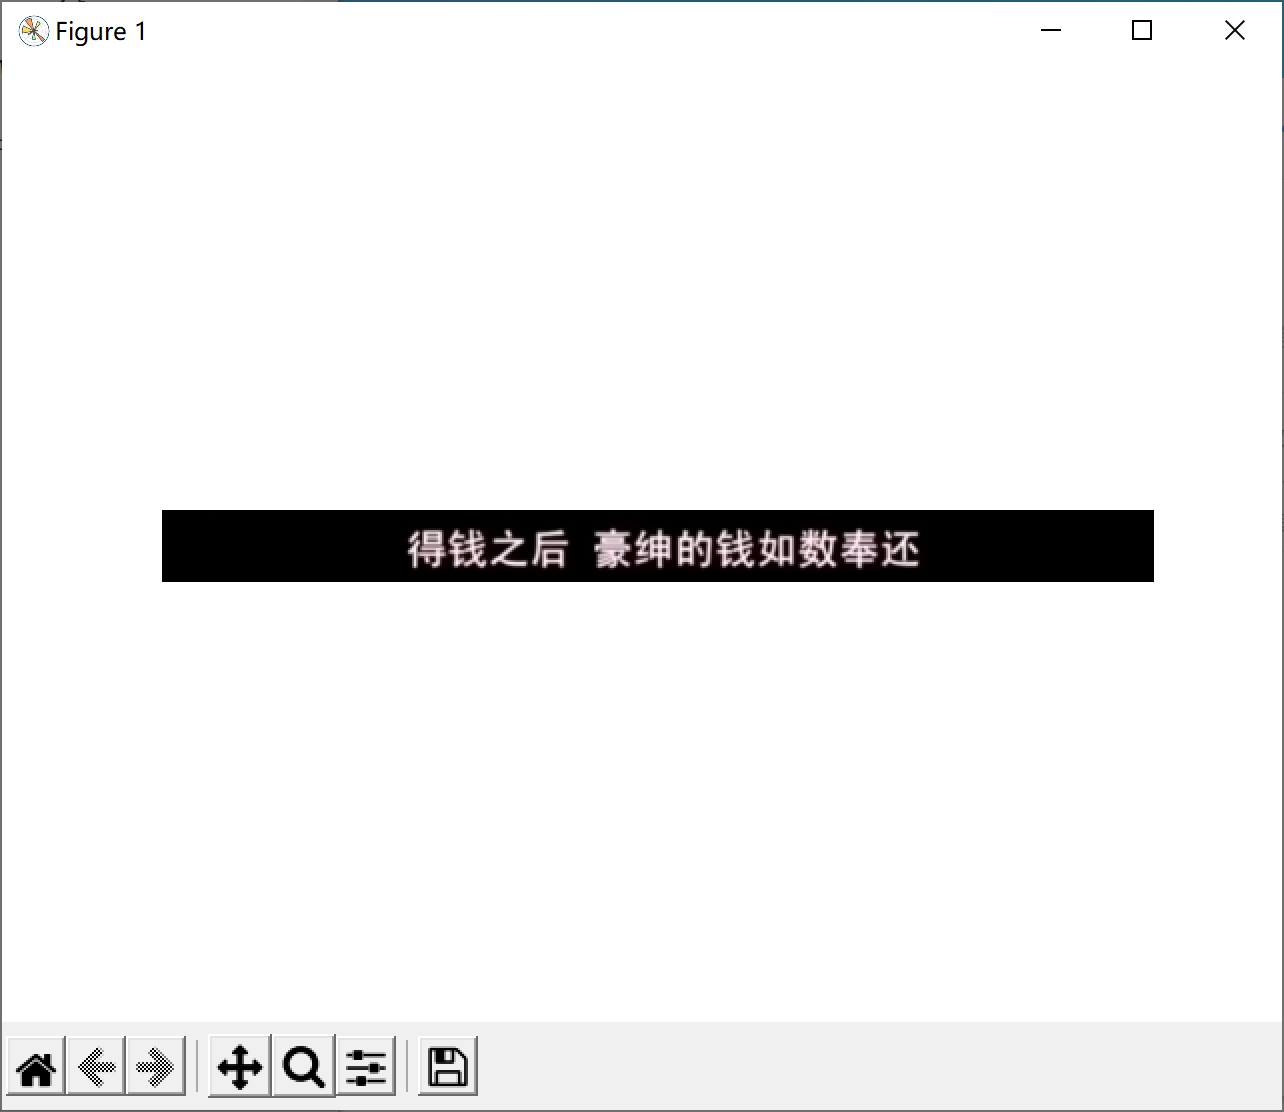
plt.imshow(img)
plt.axis("off")
plt.show()
#Display the captured picture
img = cv2.cvtColor(img, cv2.COLOR_BGR2GRAY)
#Convert the intercepted image into a grayscale image
#cv2.imshow("Frame-2:Gray", img)
#Display grayscale image
_, img= cv2.threshold(img, 220, 255, cv2.THRESH_BINARY)
# Image, threshold and maximum value of mapping. The algorithm used is generally cv2.thresh_binary
#cv2.imshow("Frame-3:Binary", img)
#Display grayscale image
tessdata_dir_config = '--tessdata-dir "D:\\Python lib\\Tesseract-OCR\\tessdata" --psm 7 -c preserve_interword_spaces=1'
#Select the module for character recognition
word = pytesseract.image_to_string(img,
lang='chi_sim',
#config=' --psm 7 -c preserve_interword_spaces=1')
config=tessdata_dir_config)
print(word)
#Output recognized text
i=i+24*5
#The number of frames to be recognized is defined and recognized every 120 frames
if cv2.waitKey(10) & 0xff == ord("q"):
break
#Set the action to stop the program
cap.release()
cv2.destroyAllWindows()
The output results are as follows:
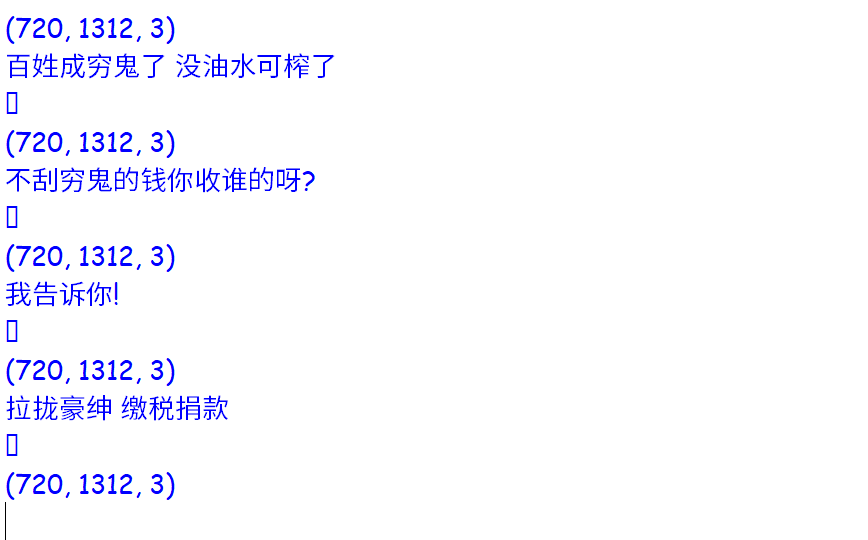
The effect and accuracy of character recognition are good.
3, Summary
When using the above code for subtitle recognition, it is necessary to constantly adjust the position of intercepting subtitles. Because different videos have different subtitle positions and different picture proportions, different parameters need to be used to identify different videos.
After several comparisons, it is found that the recognition effect is the best when the caption is in the center of the screenshot. And the recognition effect is the best when the caption does not overlap with the picture.

The second is to adopt different picture processing methods according to different caption types. For example, some subtitles are light and not pure white. At this time, edge binarization is easy to lead to incomplete subtitles and poor recognition effect.
Solution: before the final recognition, first output the grayed and binary caption screenshots to see the effects of the two, and then select the appropriate processing method. For example, in the second image below, the image above is grayed out and the image below is binarized. After binarization, the pictures are obviously missing and difficult to identify. Therefore, binarization can not be selected and only grayscale can be selected.
