The records of the previous articles are more general and have not been sorted out systematically. Then I want to sort out the learning process of these years by myself.This sticker is proof.
python: scripting languages, computers do not recognize high-level languages, so when we run a high-level language program, we need a "translator" to do the process of converting high-level languages into machine languages that the computer can understand.The process is divided into two categories: compilation and interpretation.python is an interpretive language that is built on a virtual machine and executes scripts by compiling them to pyc before interpreting them.
Opencv: The basic class library for image processing, which contains functions for image processing.The lower version of oepncv does not support python3, currently using opencv4.2.0+python3.7.2

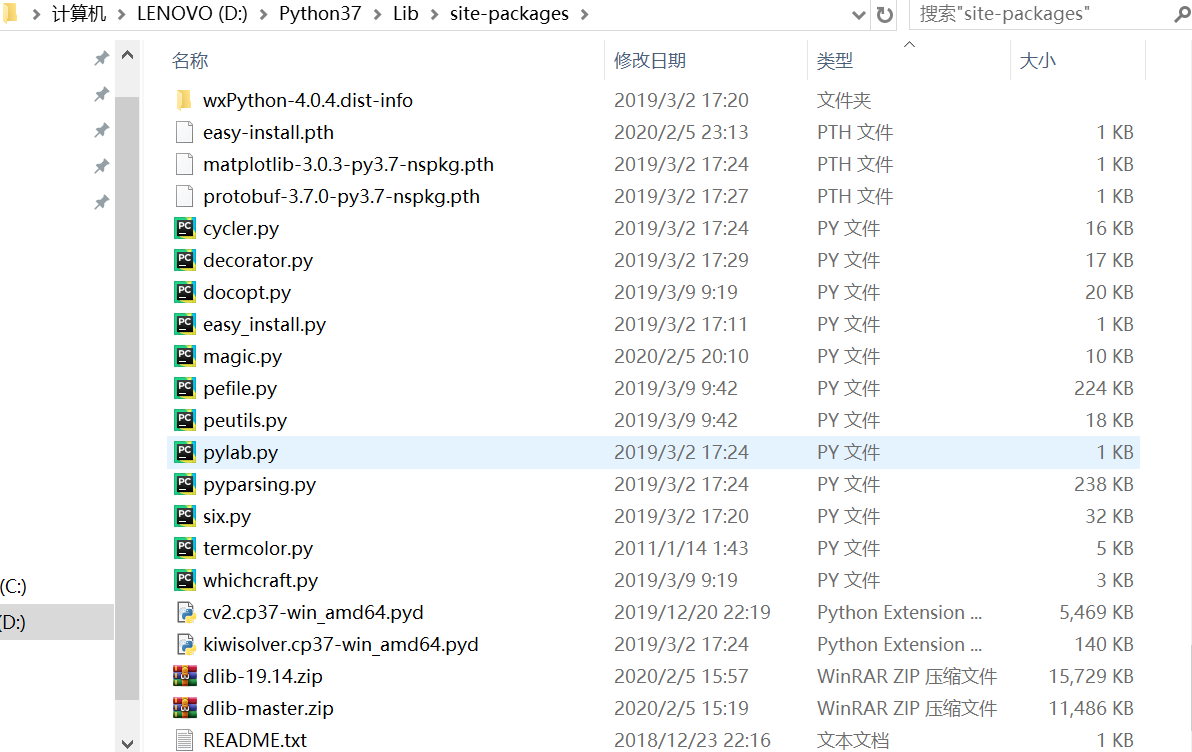
Call opencv with python and copy the pyd file compiled above to the site-packages directory.
View when using import cv2
opencv supports face detection in:
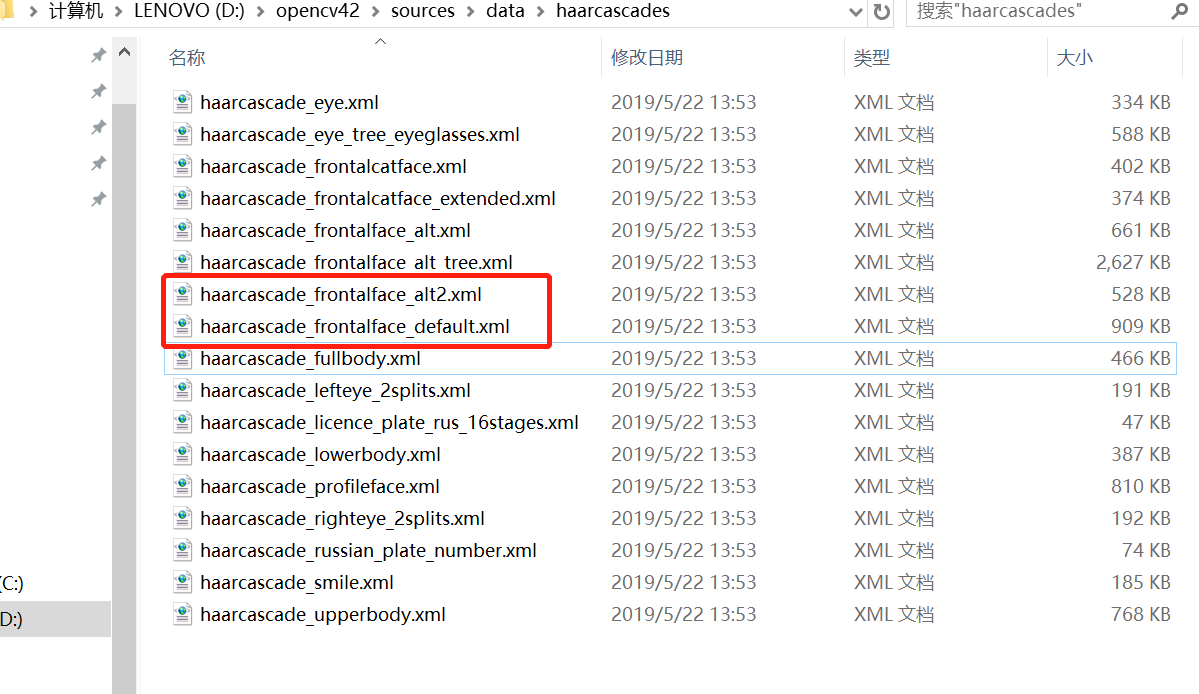
These two classifiers are common and simple classifiers, but face detection results are not good.
dlib: Face Recognition Class Library.It has good effect on face detection, face key point detection and expression detection.
Links to collect: http://dlib.net/files/
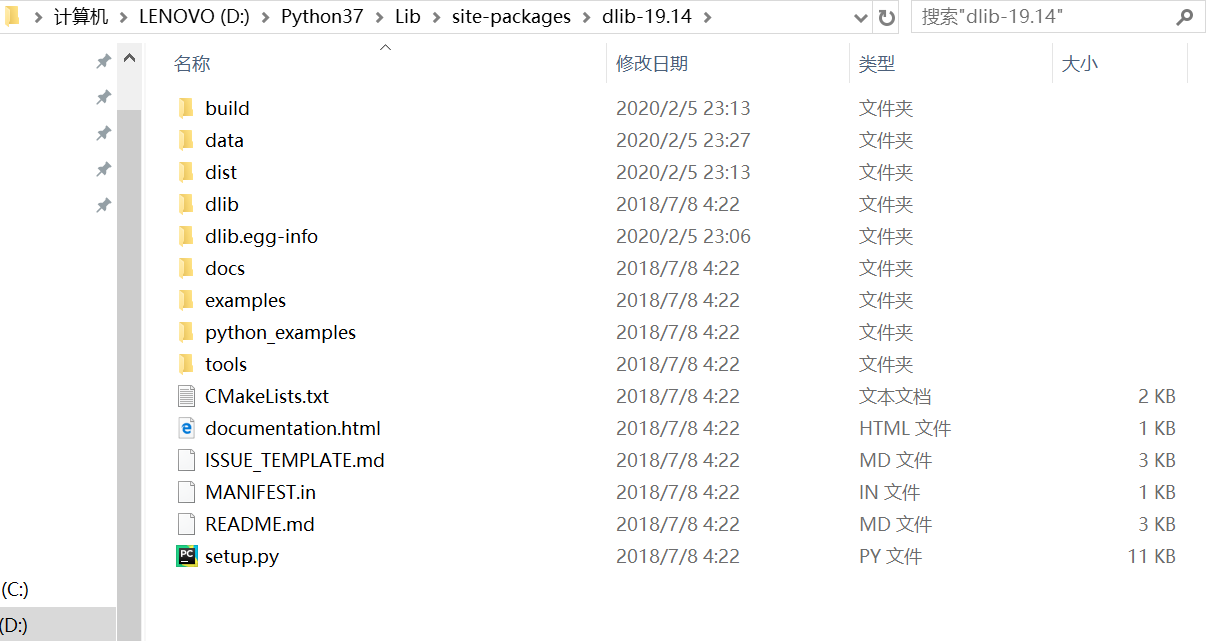
Install dlib:--Install opencv -- Install cmake (supports C++11 and above) -- Install boost (this does not know why) -- Install dlib(python setup.py install)
If you install visual studio 2015 on your computer, be sure to upgrade to the new 2015 update3, otherwise you will get an error.
Download dlib's training model data:
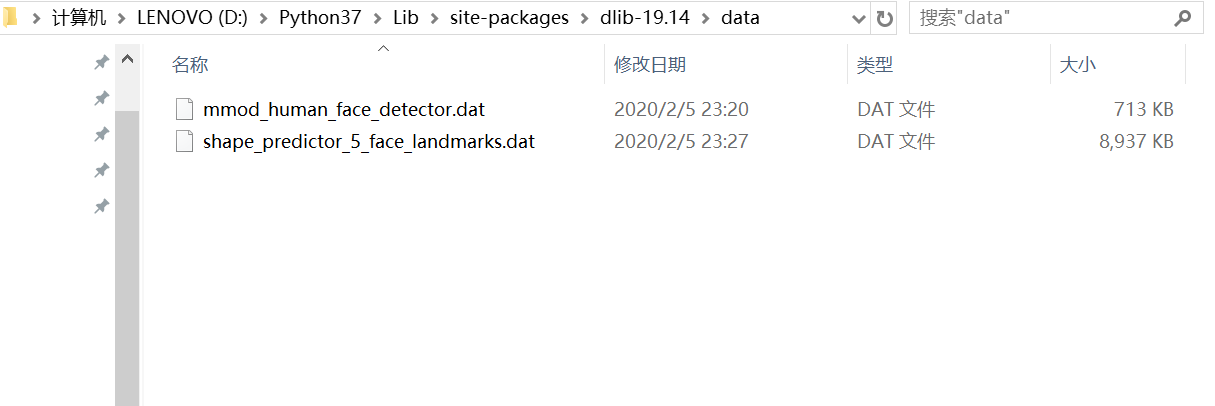
The network speed is slow. First two downloads are convolution integral face detection and one is 5-point face landmark key point.
In the actual test, we found that it has a good effect for turning on the computer camera, but it is not good for side face, bow and other effects, and dlib trains 80*80 faces, so small face detection is not good. Now we are learning to improve accuracy and speed optimization.
The code is simple, as follows:
# Reference examples
#_*_ coding:utf-8 _*_

import numpy as np
import cv2
import dlib

cap = cv2.VideoCapture(0)

# hog_face_detector = dlib.cnn_face_detection_model_v1(r'D:\Python37\Lib\site-packages\dlib-19.14\data\mmod_human_face_detector.dat')
detector = dlib.get_frontal_face_detector()

while 1:
    ret, img = cap.read()
    # Grayscale
    img_gray = cv2.cvtColor(img, cv2.COLOR_RGB2GRAY)
    # Face Count rects
    # face_rects = hog_face_detector(img, 0)
    face_rects = detector(img, 1)

    for index, face in enumerate(face_rects):
        print('face {}; left {}; top {}; right {}; bottom {}'.format(index, face.left(), face.top(), face.right(),
                                                                     face.bottom()))

        # Label a face in the picture and display it
        left = face.left()
        top = face.top()
        right = face.right()
        bottom = face.bottom()
        cv2.rectangle(img, (left, top), (right, bottom), (0, 255, 0), 2)

    cv2.namedWindow("img", 2)
    cv2.imshow("img", img)
    if cv2.waitKey(1) & 0xFF == ord("q"):
        break
opencv only processes one frame of an image in a video, not audio.
At this time, ffmpeg can be used for audio processing, ffmpeg has many command lines, the current gadget:
1. The main purpose is to achieve face coding by automatically tracking faces in a video.
2. Convert some unclear images/videos into clear videos.
At present, only the detection of the front face is good, in the active optimization.
If interest is the best teacher, shooting a small movie can save you time to type, haha.
The ffmpeg code is as follows:
# encoding: utf-8


import os
import subprocess
import cv2

def mkdir(path):
    path = path.strip()
    path = path.rstrip("\\")
    isExists = os.path.exists(path)
    if not isExists:
        os.makedirs(path)
        print (path + " Created successfully ")
    else:
        print (path + " directory already exists ")

def listfile(root):
    listfilename = []
    for dirpath, dirnames, filenames in os.walk(root):
        for file in filenames:
            if file.endswith('.mp4'):
                listfilename.append(os.path.join(dirpath, file))
    return listfilename

if __name__ == '__main__' :

    rootpth = r"E:\test\0"

    listmp4 = listfile(rootpth)

    mp3path  = rootpth + "\\" + "mp3"
    frszpath = rootpth + "\\" + "formatsize"
    oputpath = rootpth + "\\" + "output"

    os.mkdir(mp3path)
    os.mkdir(frszpath)
    os.mkdir(oputpath)

    # Separate audio signals from video
    for i in range(0,len(listmp4)):
        mp3name = mp3path + "\\" + listmp4[i].split('\\')[-1].split('.')[0]
        command = "ffmpeg -i" + " " + listmp4[i] + " " + \
                  "-vn" + " " + mp3name + ".mp3"
        print('cmd',command)
        subprocess.call(command, shell=True)
    print ("mp3 split done!")

    # Add black edge format to 9/16 for videos that do not match 9/16
    for k in range(0, len(listmp4)):
        cap = cv2.VideoCapture(listmp4[k])
        w = cap.get(cv2.CAP_PROP_FRAME_WIDTH)
        h = cap.get(cv2.CAP_PROP_FRAME_HEIGHT)
        if (w/h <= 0.56):
            frszname = frszpath + "\\" + listmp4[k].split('\\')[-1].split('.')[0]
            padstr  = str(w) + ":" + str(h) + ",pad=136:240:0:108:black"
            command = "ffmpeg -i" + " " + listmp4[k] + " " \
                      + "-vf scale=" + padstr + " " + frszname + ".mp4"
            print('cmd', command)
            subprocess.call(command, shell=True)
        cap.release()
    print("formatsize done!")

    # Video interpolation to 480P for improved picture sharpness
    for k in range(0, len(listmp4)):
        cap = cv2.VideoCapture(listmp4[k])
        w = cap.get(cv2.CAP_PROP_FRAME_WIDTH)
        h = cap.get(cv2.CAP_PROP_FRAME_HEIGHT)
        fourcc = cv2.VideoWriter_fourcc(*'XVID')  # Specify Encoder
        outname = oputpath + '\\' + listmp4[k].split('\\')[-1].split('.')[0] + '.mp4'
        out = cv2.VideoWriter(outname, fourcc, 30.0, (480, 640), True)  # Set Video Properties
        if (w/h > 0.56):
            while (cap.isOpened()):
                ret, frame = cap.read()
                if ret == True:
                    fes = cv2.resize(frame, (480, 640), interpolation=cv2.INTER_CUBIC)
                    out.write(fes)
                else:
                    break
            cap.release()
            out.release()
    print("convert done!")
In fact, it can be seen that the above-mentioned interpolation processing is only done using opencv, but the actual experimental results are not so good.Looks like you have to learn super resolution.
It took a week to get these things done. It's tiring to be idle while you're busy at work, but come on.
/*************************************** Gorgeous Split Line**********************/
Follow-up learning points:
The accuracy of side face and small face in face detection is improved.
Image single frame super resolution learning.
Operating speed optimization?Multi-threaded?The notebook is very hard.

