preface
prometheus is now a mainstream monitoring software. With the popularity of containers, prometheus is more and more widely used. I also have articles about prometheus earlier. However, unlike the traditional zabbix monitoring, prometheus web UI does not have login authentication, and sometimes it seems insecure. This article mainly explains how to add a login authentication interface for prometheus. In fact, the web UI of some services such as elasticsearch and consumer does not have login authentication, and can be implemented in the way of this article.
1. Implementation ideas
It is mainly implemented through nginx proxy forwarding. We can add a layer of authentication process before nginx forwarding to prometheus. Of course, if you have strong friends, you can also modify the source code of prometheus to add authentication mechanism.
1.1 nginx auth_basic mode
NGX of nignx_ http_ auth_ basic_ Module module realizes that the user name and password must be entered to access the nignx web page after authentication. We can use this feature to set up a proxy for prometheus.
The implementation method is relatively simple. You only need to add Auth in the nginx configuration file_ Basic related parameters are enough. There are many materials on the Internet, so I won't repeat them here.
1.2 nginx auth_request mode
Sometimes we need to customize a web login page as the login entry of our monitoring system, which can be combined with auth_request module.
auth_request principle:
(1) When auth_ When the route corresponding to the request returns 401 or 403, nginx will intercept the request and directly return the front-end 401 or 403 information;
(2) When auth_ When the route corresponding to the request returns 2xx status code, nginx will not intercept the request, but build a subrequest request and then request the interface of the real protected resource;
Implementation idea of login authentication:
(1) Access through nginx proxy prometheus. When visiting the home page for the first time, auth_ The request returns 401 to force it to jump to our customized login interface;
(2) In the login authentication interface, if the user name and password authentication are correct, a token is returned and redirected to the nginx home page;
(3) At this time, when you visit the home page again, you need to bring a token to verify that the token is correct, auth_ The request returns 200 and successfully forwards the prometheus monitoring page;
(4) If the token expires, you will return to the login page when logging in to the home page and authenticate the user name and password again.
2. Implementation code
2.1 nginx configuration file
Add the following configuration to the http {} section of the nginx configuration file
server {
  listen 0.0.0.0:9190;			 # Visit the home page portal
  location / {
    proxy_pass http://localhost:9090/;   # prometheus service listening port
    auth_request /auth;
    error_page 401 = @error401;
  }

  location @error401 {               # 401 will be forwarded to the login page
    add_header Set-Cookie "ORIGINURL=$scheme://$http_host;Path=/";
    return 302 /login;
  }

  location /auth {
   # internal;
    proxy_pass http://localhost:5000/auth; 	#  Backend token authentication
    auth_request off;
  }

  location /login {
    proxy_pass http://localhost:5000/login; 	#  Backend user name password authentication
    auth_request off;
  }

  location /static/rainbowhhy {   # This is very important. You need to customize a static file directory. This article is rainbowhy. Otherwise, it will conflict with the image file of prometheus, resulting in incomplete page loading of prometheus
  proxy_pass http://localhost:5000/static/rainbowhhy;
  auth_request off;
    }
}
2.2 login authentication
The login authentication part is implemented by flash
The code directory structure is as follows
├── profiles.json
├── readme.md
├── requirements.txt
├── run.py
├── static
│   └── rainbowhhy
│       ├── css
│       │   └── style.css
│       └── js
│           └── jquery-1.8.2.min.js
└── templates
    └── login.html
Installation package preparation
pip3 install flask==1.1.1
pip3 install flask-login==0.4.1
pip3 install werkzeug==0.16.0
2.2.1 password encrypted file
profiles.json, which saves the encrypted user name and password in JSON format
cat profiles.json
{"admin": ["pbkdf2:sha256:150000$8J65mjTc$db116dd4d5de7eff899d126bd57b4f73910afb1e57982a9ded6878c547b584c5"]}
How to generate a password:
>>> from werkzeug.security import generate_password_hash
>>> generate_password_hash("12345678")
'pbkdf2:sha256:150000$8J65mjTc$db116dd4d5de7eff899d126bd57b4f73910afb1e57982a9ded6878c547b584c5'
2.2.2 back end authentication service
run.py, which implements the login authentication process
from flask import Flask, request, render_template
from flask_login import UserMixin
from werkzeug.security import check_password_hash
import json
import os

app = Flask(__name__)
app.config["SECRET_KEY"] = "123456"
app.secret_key = '123456'

# json file for user name and password
PROFILE_PATH = os.path.dirname(os.path.abspath(__file__))
PROFILE_FILE = os.path.join(PROFILE_PATH, "profiles.json")


# Encryption and storage
class User(UserMixin):
    def __init__(self, username, password):
        self.username = username
        self.password_hash = self.get_password_hash()

    def verify_password(self, password):
        if self.password_hash is None:
            return False
        return check_password_hash(self.password_hash, password)

    def get_password_hash(self):
        """Get password from file"""
        try:
            with open(PROFILE_FILE) as f:
                user_profiles = json.load(f)
                user_info = user_profiles.get(self.username, None)
                if user_info is not None:
                    return user_info[0]
        except:
            print("get password error!")


@app.route("/auth", methods=["GET", "POST"])
def auth():
    url = request.cookies.get('ORIGINURL')
    token = request.cookies.get('token')
    if token == "ABCDE":
        return ("success", 200)
    else:
        return ("go to login", 401)


@app.route("/login", methods=["GET", "POST"])
def login():
    if request.method == "POST":
        username = request.form["username"]
        password = request.form["password"]
        user = User(username, password)
        if user.verify_password(password):
            token = "ABCDE"
            return (token, 200)
        else:
            error = "Wrong user name or password..."
            return (error, 403)
    else:
        return render_template("login.html")


if __name__ == '__main__':
    app.config['JSON_AS_ASCII'] = False
    app.run(host="localhost", port=5000)
2.2.3 front end login page
login.html, which simply implements the front-end web of login authentication
<!DOCTYPE html>
<html>

<head>
        <title>monitoring system</title>
        <link type="text/css" rel="stylesheet" href="../static/rainbowhhy/css/style.css">
</head>

<body>
        <div class="head">
                account number:<input type="text" name="username" id="username" />
                <br />
                password:<input type="password" name="password" id="password" />
                <br />
                <input type="button" onclick="token()" value="Sign in" />
                <div class="flash error" role="alert"></div>
        </div>


        <script type="text/javascript" src="../static/rainbowhhy/js/jquery-1.8.2.min.js"></script>
        <script type="text/javascript">
                function token() {
                        var url = "http://" + document.domain + ":" + location.port;
                        console.log(url);
                        var username = document.getElementById("username").value;
                        var password = document.getElementById("password").value;
                        var fd = new FormData();
                        fd.append("username", username);
                        fd.append("password", password);
                        xhr = new XMLHttpRequest();
                        xhr.open("POST", "/login");
                        xhr.send(fd);
                        xhr.onreadystatechange = function (res) {
                                if (xhr.readyState == 4 && xhr.status == 200) {
                                        // If you log in successfully, you will jump successfully
                                        console.log("success");
                                        var token = xhr.response;
                                        setCookie("token", token);
                                        location.href = url;
                                }
                                if (xhr.readyState == 4 && xhr.status == 403) {
                                        // If login fails, log in again
                                        var error = xhr.response;
                                        $(".flash")[0].innerHTML = error;
                                        $(".flash").fadeOut(3000);
                                        setTimeout(function () {
                                                location.href = url + "/login";
                                        }, 2000);
                                }
                        }
                }

                function setCookie(name, value) {
                        // Set the valid period of the token to 60min
                        const exp = new Date();
                        exp.setTime(exp.getTime() + 60 * 60 * 1000);
                        document.cookie = name + "=" + value + ";expires=" + exp.toGMTString();
                }
        </script>
</body>

</html>
style.css. In order to reflect the importance of customizing a static file directory, a simple custom css is specially written here
.head {
    width: 500px;
    height: 200px;
    margin: 0 auto;
}

.error {
    color:red;
    font-size: 18px;
    margin: 0 auto;
}
3. Start service
Start nginx service
systemctl start nginx
Start flash authentication service
python3 run.py
 It can be made in production systemd perhaps supervisor Start by
Then you can access it and realize the effect
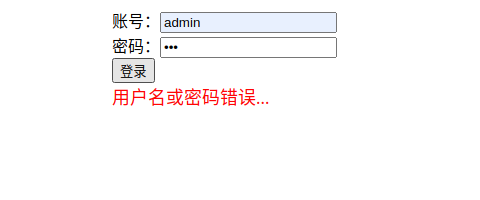
The text implements a relatively simple login authentication page. You can modify the code according to the actual situation to make the login page more perfect and beautiful. Of course, if your company does not require so much, you can directly use the first idea of this article: nginx auth_basic mode, more convenient and fast.
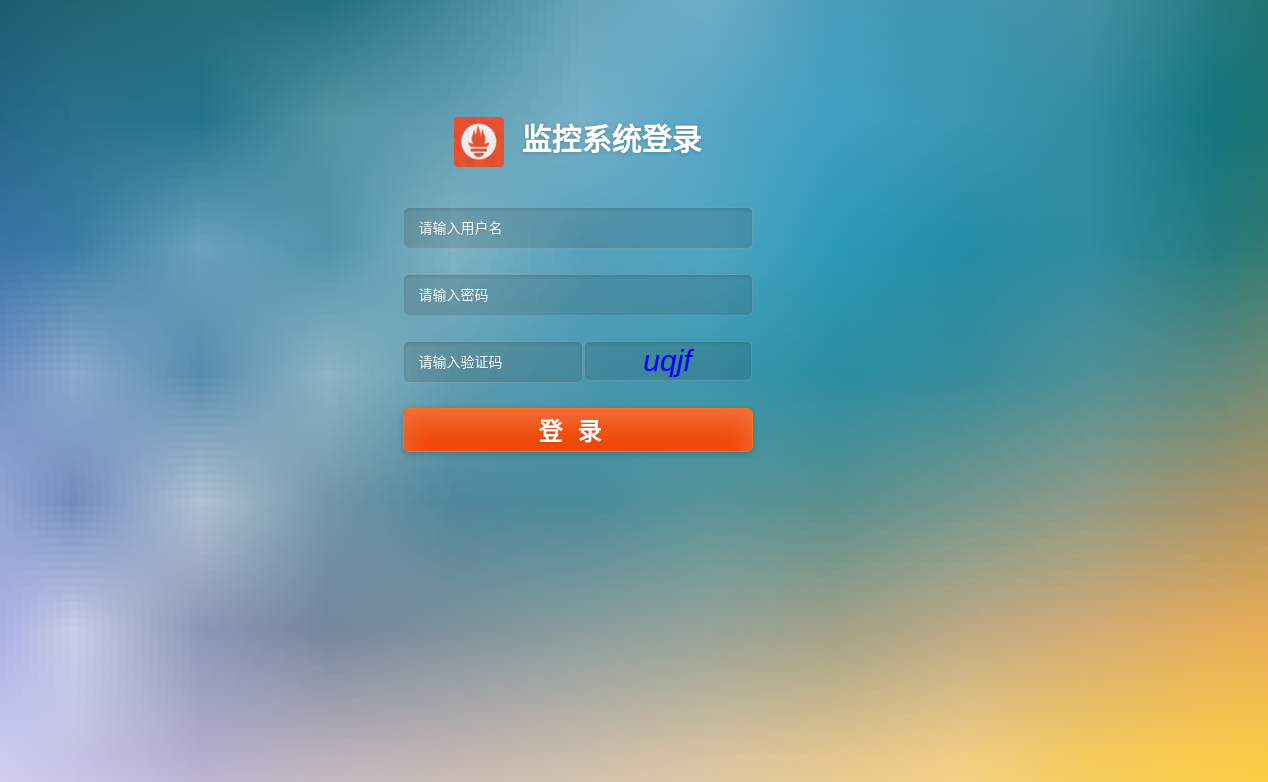
As follows, the previous login interface of our company:
Reference documents
http://nginx.org/en/docs/http/ngx_http_auth_request_module.html